Welcome back Hobby maniacs! Today Orc Painter Nerd is going to show us how he likes to paint rust on a Nurgle Blight Drone!
Today Orc Painter Nerd is guiding us through the first stage of his process for painting realistic looking rust effects on a Nurgle Blight Drone.
Starting off he lays down a varied base coat of the ever popular Vallejo Burnt Umber. Using the control offered by the airbrush he is able to create shading gradients by layering the pigment, making multiple shades using just one paint!
Eww… That thing looks disgusting already! But don’t worry, its about to get even nastier! Orc Painter Nerd is a fan of the old school style of rust damage, and that means chipping solution!
For those of you who are unfamiliar with the concept, it means applying a specially designed layer to the paint. This extra layer easily flakes off the model, taking with it whatever paint was applied over it. This enables an easy and amazing chipped paint look with very little difficulty.
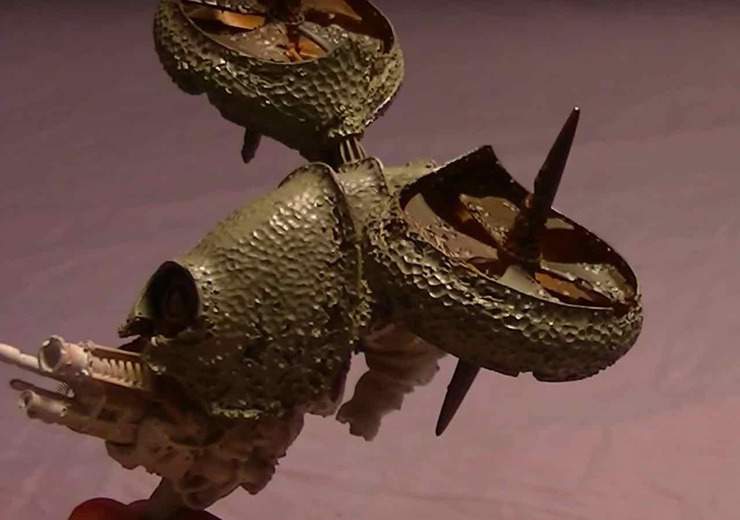
Once this layer is applied Orc Painter Nerd sets to layering on the main color of the Blight Drone, a nice nasty Grey Green color.
Once the Grey Green layer is highlighted and given time to dry, its back at with the nastiest most hacked up brush Orc Painter Nerd owns! Using a gummed up crummy brush for this process protects your nicer brushes from an early demise at the hands of the chipping process.
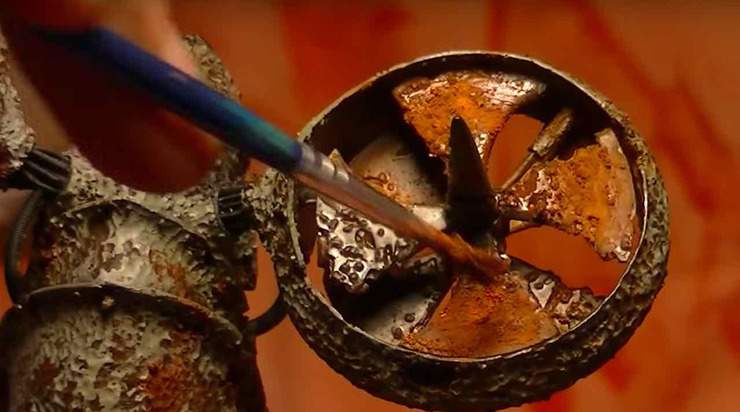
As you can see, large chunks of the paint are just peeling away! Leaving that awesome nasty brown color beneath it showing to the world! Once Orc Painter Nerd fills in a couple of sections with an extra layer of Burnt Umber to enhance some rust patches, its time to move on to the powders!
By mixing weathering powders into a Matte medium Orc Painter Nerd builds up a nice heavy layer of rust all over the props on this Blight Drone!
Check out the whole video for details and stay tuned for the next section in this ongoing series!
