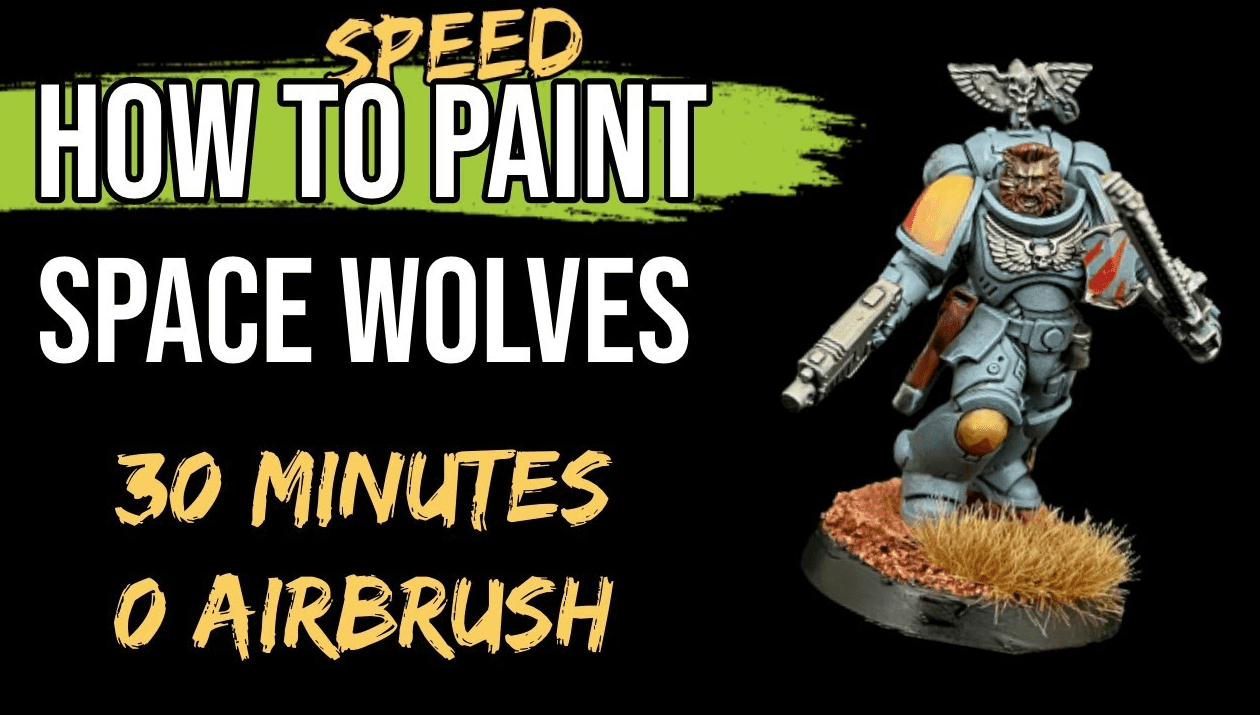
 Painting Space Wolves doesn’t have to be hard; learn how with this fast how-to-paint tutorial from Hellfire Hobbies!
If you’re planning on going with the wolfy boys of the far future, you need to get good at painting blue, and this painting tutorial will help you tackle the steps without much hassle! Just keep in mind this is for a battle-ready standard, so not the highest quality ever, but if you want to field a painted army fast, this is a great tutorial!
Let’s see how to do it.
Painting Battle Ready Space Wolves: How to Paint Tutorial

Step 1:

To finish this step, he does Nuln Oil, just one thin coat over the entire model. To note here, this is where you would want to be painting more than one model as you have to let the paint dry before moving on, so if you were painting a whole squad, hopefully, by the time the last one is done, you could go back to your first model.
Step 2:
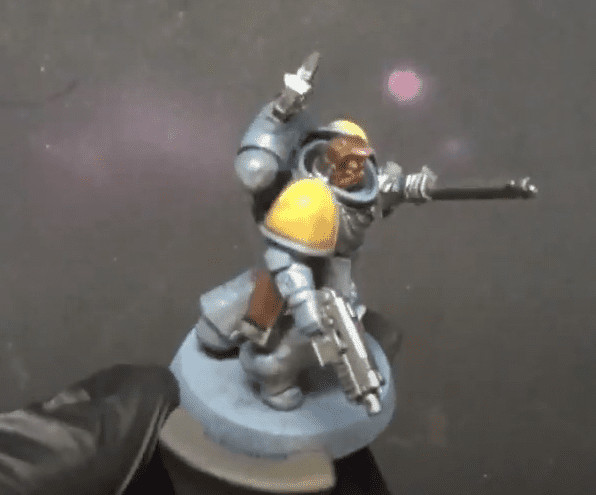
Going back to the shoulder pads, he starts highlighting from the top down with Zamesi Desert. He likes to layer it on from the top down.
Step 3:

Lastly, he takes Agrax Earthshade and does that on the face and the yellow. The last thing to do is either paint the base or transfer him to an already finished base!
Finished Model:
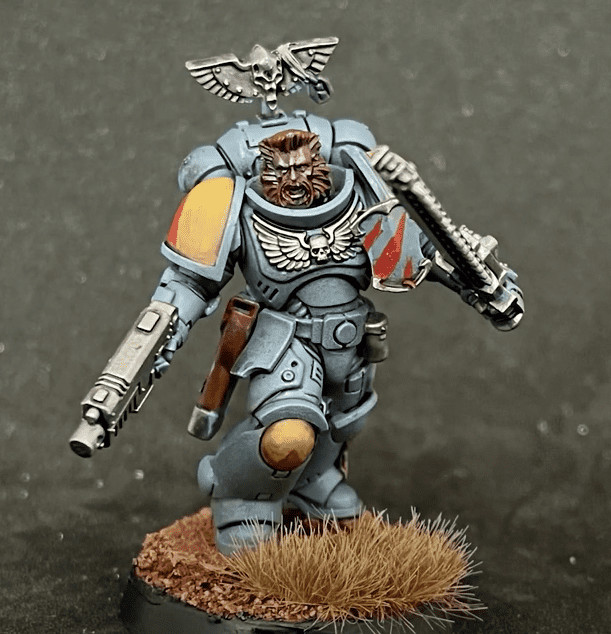
Be sure to watch the video below for all the insights!
That does it for this one! If you want to see more, check out Hellfire Hobbies’ own tutorial by clicking this link.
Go Follow Hellfire Hobbies Here!
This post contains affiliate links, as an Amazon Associate Spikey Bits earns from qualifying purchases.
