Check out our tutorial for beginners and veterans on how to painting viewports and lenses in just a few easy steps with Contrast paints.
Contrast paints have been out for about a year now and some of the hype around them has died down. That doesn’t mean they aren’t still super useful though! They are great for wet blending and speed up the process for old and new painters alike.
This time around Rob is going to show us a little system he developed to paint viewports and lenses faster than the paint can dry. If you want to see more of Rob’s videos, check out his youtube channel. But for now, let’s jump into the tutorial!
Painting Viewports & Lenses For Beginners: Tutorial
Supplies Needed
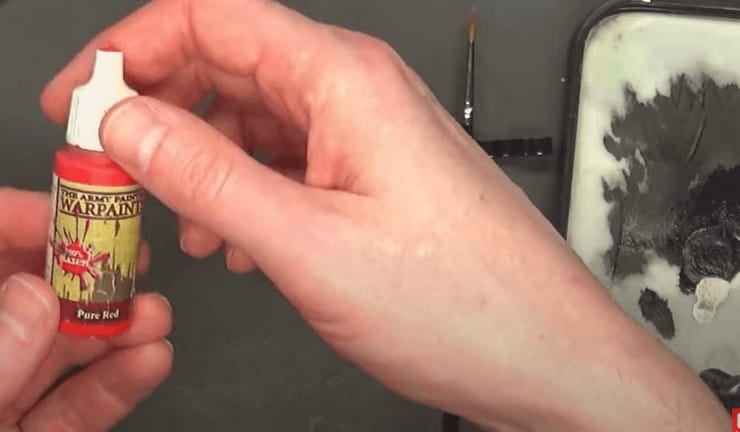 One of the best parts about this is you don’t need a million paints. To get ready grab your Citadel Blood Angels Red, Grey Seer Base, Army Painter Pure Red, and Black. Once your paint is ready, he grabs a Game Envy Brush and the Army Painter Wet Palette. The palette isn’t crucial but just makes everything go faster. You can use a cap or something else if you don’t have one. Now that your supplies are assembled, we’re off to the races.
Step One
 Take the Grey Seer Base and hit all the areas you want to achieve this effect on. Nothing fancy, just a quick base coat. If you’re all about speed painting, check out some other tutorials on it here!
Step Two
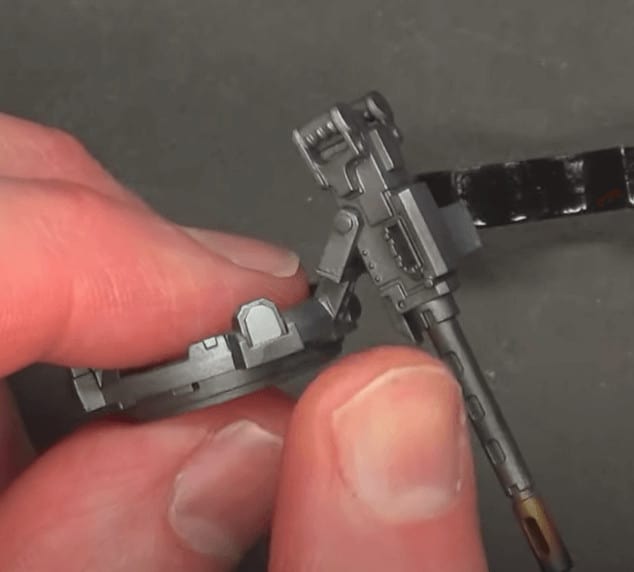
 Take your Black and hit the top of the viewports. Doesn’t have to be neat, just super quick.
Steps Three and Four
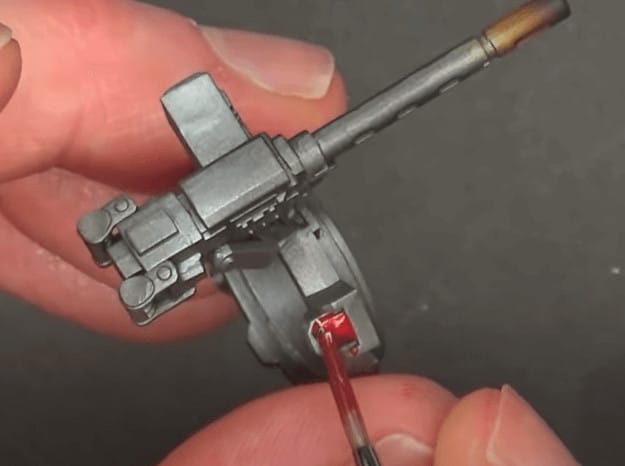 While that’s drying add some Citadel Blood Angels Red to your wet palette in a 50/50 mix with Liquitex Medium Contrast Medium. This just stops it from getting gloppy and really makes the contrast stand out. Once that is looking good to go, apply it all over the viewports. Just add as much as you need until it has the color you desire.
You can see it contrasting almost immediately over the black and grey differently. If it gets away from you and goes into the cracks, just use a dry brush to clean it up.
Step Five
 Just a note, before moving to this step let the contrast paint dry fully. You never want to add highlights over still wet contrast paint. Add a super quick highlight to the edges of the viewport using the Army Painter Pure Red.
Step Six
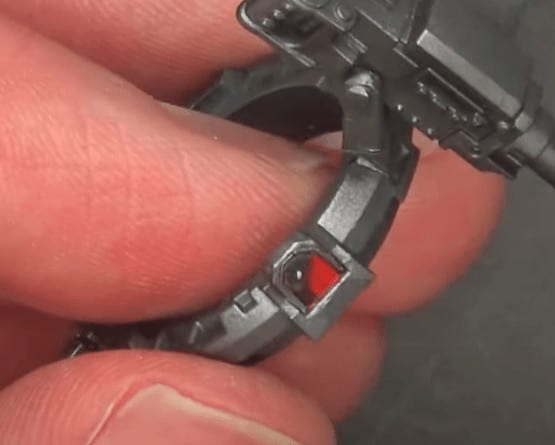 Add a little bitty dot of Grey Seer Base to the top corner to give it the effect of a real viewport with light-reflecting.
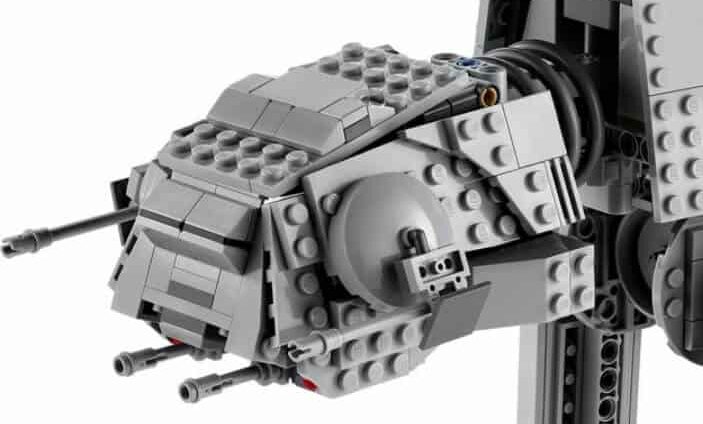
How It Looks On The Model
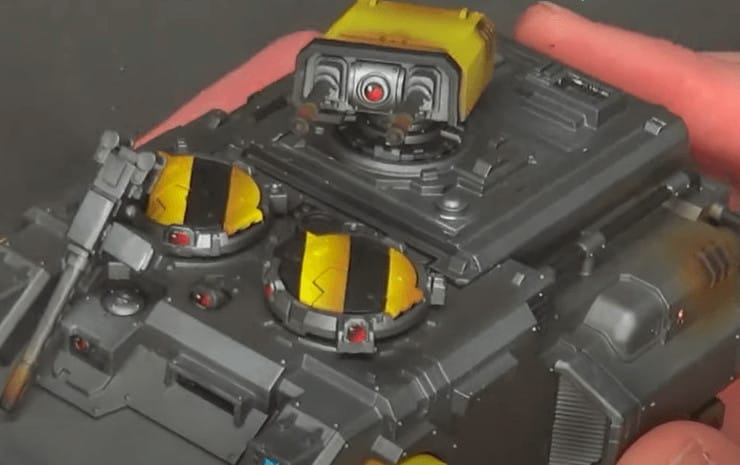 You can see just how much flavor it added to the model! It only takes a tiny bit of time but really makes the mini pop. You can also see it doesn’t matter what type of port it is. Like the rounded ones, the flat panel, or even on the bolters. You can do the same process with Green Contrast or Blue Contrast, just depends on what color you want!
Then hit the whole vehicle with a blast of Matte Sealer (we recommend this one cause it won’t mess up your models) and then after it all dries you can hit the lenses with a gloss varnish to really give a glassy effect. But that’s just an optional step if you want that sort of look on your model!
And that’s it for this super-fast tutorial. It’s a really simple way to make the lenses pop without spending hours on them.
Contrast Paints Still Save You Time: Tutorial
Let us know in the comments of our Facebook Hobby Group, and make sure you enter the latest monthly giveaway for FREE today!