 Painting White Scars seems like a daunting task, but it doesn’t have to be, this Primaris guide will help you paint an awesome army in no time!
Updated February 3rd, 2025, by Rob Baer- with updated paint links and guide information about how to paint Primaris White Scars.
So, you wanna paint White Scars but don’t want to lose your sanity in the process? Good news—it’s totally doable! Sure, painting an army covered in white sounds like a nightmare, but with this method, you’ll be cranking out battle-ready Space Marines in no time.
And let’s be real—White Scars are absolute beasts in 10th Edition, but why stop at just winning games when you can have an army that looks amazing, too? Power and beauty—because you deserve it!
Painting White Scars that Don’t Suck
*The video tutorial above features different models or slightly varied techniques, but the overall painting process remains the same. The steps outlined below will still help you achieve a great-looking White Scars army with the same results!
 This isn’t some abstract theory-crafting nonsense; this was done live, start to finish, in about an hour and a half (with breaks for chatting and spilling paint). This step-by-step method is perfect for getting an army tabletop-ready while still turning heads at your local gaming club or tournament.
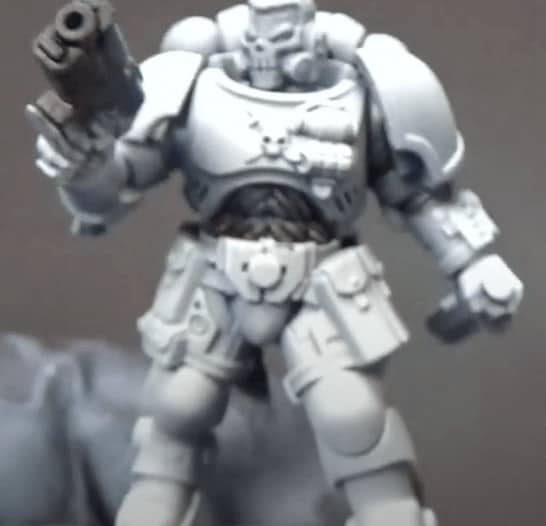
Step One: Taming the White
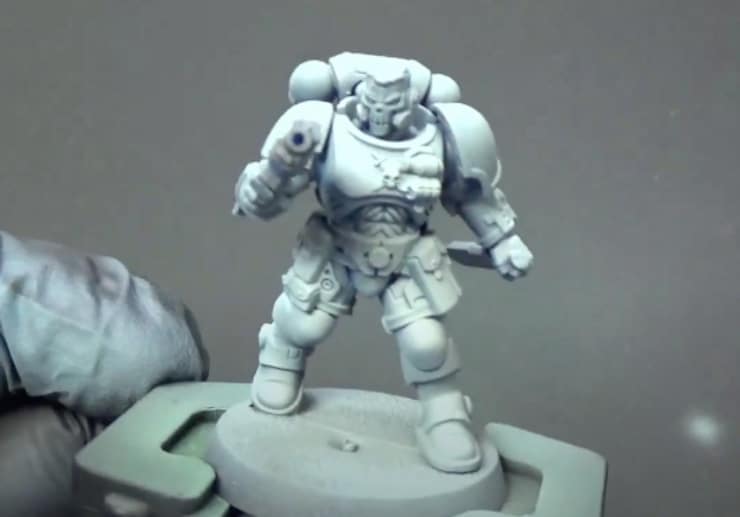 If you think painting White Scars means slapping on pure white everywhere, stop right there. That’s the fast track to an overexposed, flat-looking army. The trick? Limit how much actual white you use.
The two easiest ways to do this are:
- Battle damage – rough them up for that rugged, war-torn look.
- Off-white as the main color – keeps things looking clean without making them look like blank plastic.
For this guide, we’re going with off-white, specifically Citadel’s Ulthuan Grey.
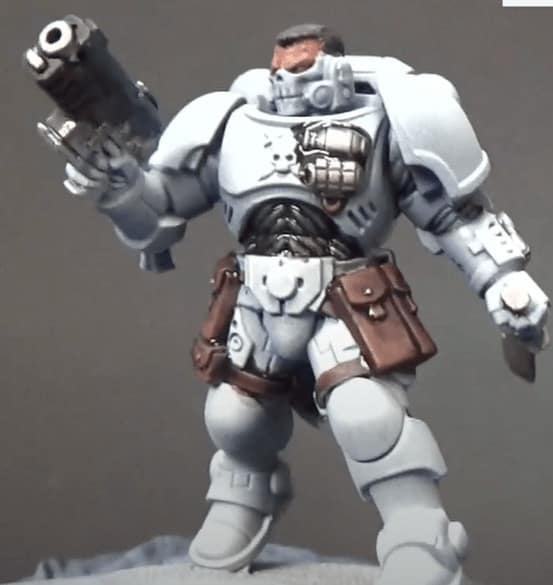
How to Paint the White (Without Going Crazy)
- Step 1: Airbrush Celestra Grey over a Wolf Grey undercoat.
- Why? Wolf Grey is a dark blue-grey that gives us natural shadows without making things look too harsh.
- Step 2: Highlight with Ulthuan Grey, shading at a 45-degree angle from the top of the model.
- Step 3: Add pure white sparingly—only for the topmost highlights and sharp edge highlights to make the armor pop.
Step Two: The Black Bits (Because Contrast is Key)
Your White Scars need some black areas to balance out all that brightness. Think shoulder pads, guns, joints, and cables—and we’ll keep it simple.
- Step 1: Basecoat with your favorite black paint.
- Step 2: Highlight with Wolf Grey (the same color as the base coat for the armor—this keeps everything cohesive).
- Step 3: Don’t worry about smooth blending; a wash of Nuln Oil will handle that for you. It’ll tone down the highlights so they look black, not grey.
Efficiency is king when painting an army—this method keeps things looking consistent and sharp without adding unnecessary work.
Step Three: Brown Bits (Belts, Pouches, and Other Small Stuff)
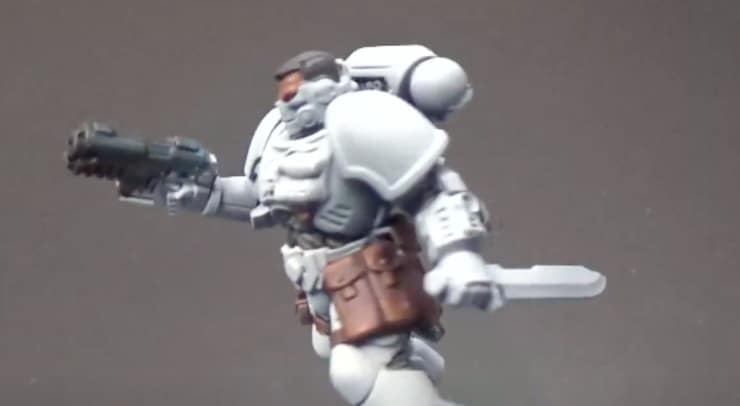
Every little pouch, belt, and strap gets the same treatment—fast, effective, and not an eyesore.
- Step 1: Basecoat with Rhinox Hide.
- Step 2: Highlight with Skrag Brown (yes, it’ll look weird at first—trust the process).
- Step 3: Wash everything with Nuln Oil, and suddenly, it all makes sense.
The goal here is to add depth without making these small details the center of attention. Let the white and red do the talking.
Step Four: Metallics (Shiny but Not Distracting)
Keep your gold and silver clean and simple.
- Step 1: Basecoat gold areas with your favorite gold paint and silver areas with… you guessed it, silver.
- Step 2: Shade gold with Agrax Earthshade and silver with Nuln Oil.
- Step 3: Highlight everything with Shining Silver for that extra metallic pop.
Fast, easy, and effective.
Step Five: Skin Tone (Because Faces Matter)
Most Space Marines don’t have much exposed skin, but the faces they do have need to look good.
- Step 1: Basecoat with Bugman’s Glow.
- Step 2: Highlight with Cadian Fleshtone.
- Step 3: Shade with Agrax Earthshade (skip those overly orange “flesh” washes—they’re weird).
- Step 4: Final highlights with Cadian Fleshtone on the forehead, cheeks, and nose bridge.
Painting eyes? Only if you really want to. Mess them up, and your Marine goes from “battle-hardened veteran” to “guy who just saw a ghost.” If in doubt, let the shadows do the work
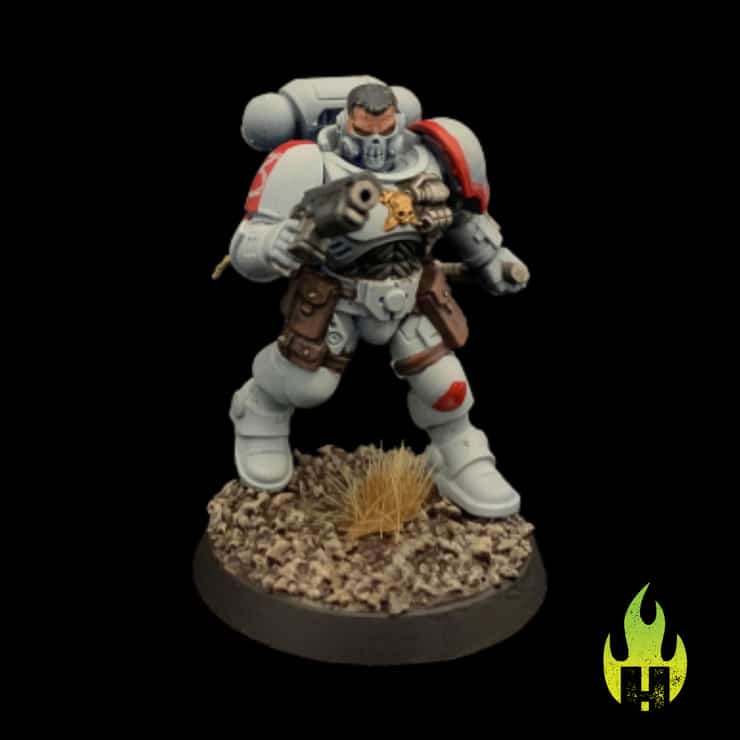
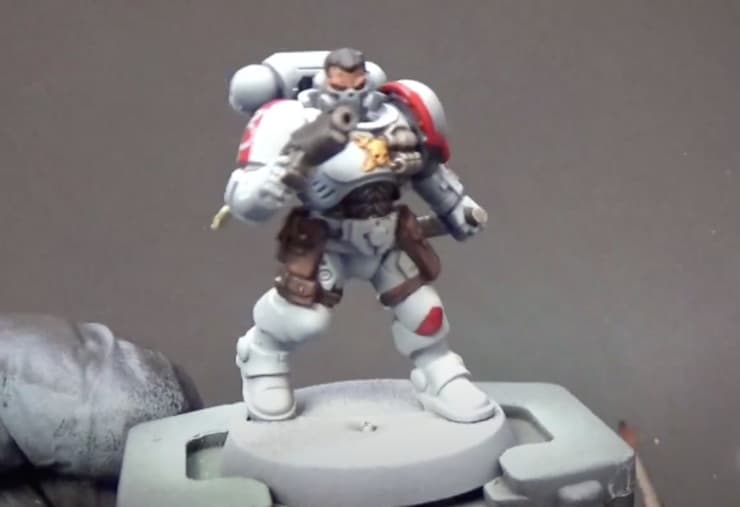
Step Six: The All-Important Red Accents

Red is the defining feature of White Scars—this is the color that needs to be eye-catching.
- Step 1: Basecoat with Mephiston Red.
- Step 2: Highlight with Evil Sunz Scarlet.
- Step 3: Wash with Agrax Earthshade to deepen the shadows.
- Step 4: Re-highlight with Evil Sunz Scarlet to make that red pop.
This final step makes a huge difference—don’t skip it!
Finishing Touches & Base Ideas
Now all that’s left is a killer base to make your model stand out even more. Whether you go for rocky terrain, desert sands, or snow, a well-done base completes the look.
And that’s it! You’re now armed with the best (and least painful) way to paint White Scars.
Follow Hellfire Hobbies for More!
Want to see it all in action? Watch the full video tutorial above! And don’t forget to follow Hellfire Painting for even more killer hobby content.
That does it for this one! Make sure to follow Hellfire Painting to see all of their great work and watch the video above for all the small details!
Learn How to Play Space Marines Here!
Will you be using this guide the next time you paint your White Scars and Primaris?