Today we will look at what has been missing for a long time in warhammer 40k. Siege missions. Come see!
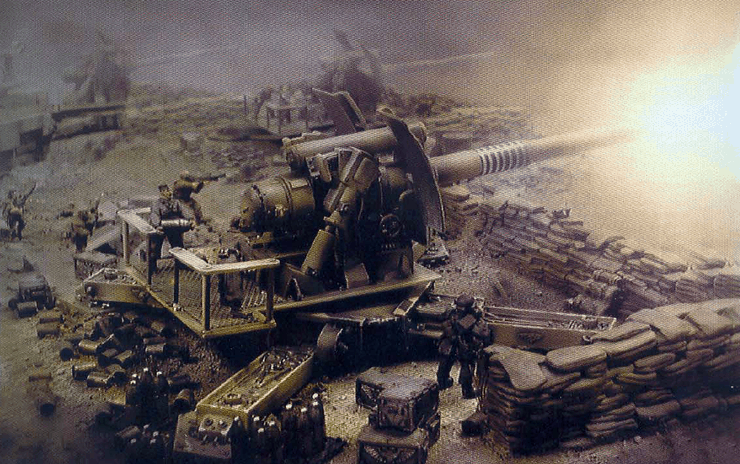
Games-Workshopp has never really given us rules, or at least rules worth reading, to play, for example, the siege of a fortification. Who wouldn’t want to play something like a siege on “The Rock”. Ok, this sounds a bit to big for a game scenario but the siege of an outpost is more then viable. We’ve seen around the community over the years 2-3 set of rules for like this but they are all incomplete or very generic.
I have made up a more structured set of rules and have play tested them a few times up to now. The approach is very fun and different then what we are used to play in 40k. Each time, adjustments have been made and I’m sure others would have a go at it. The following are the rules as they are now. Take note they were made for large games like 4k+ armies played on large tables. I would like any constructive comments on possible changes. Maybe you will find certain things to much or not enough. Now behold, this is a long post.
Introduction To Warhammer 40k Seige
The Siege represents a massive assault on a fortification and there is a fixed attacker and a fixed defender. The rules listed are made to try and balance an overwhelming attack force on a large fortification.
Terrain:
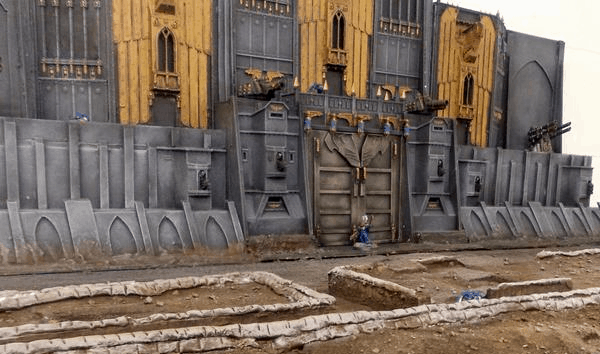
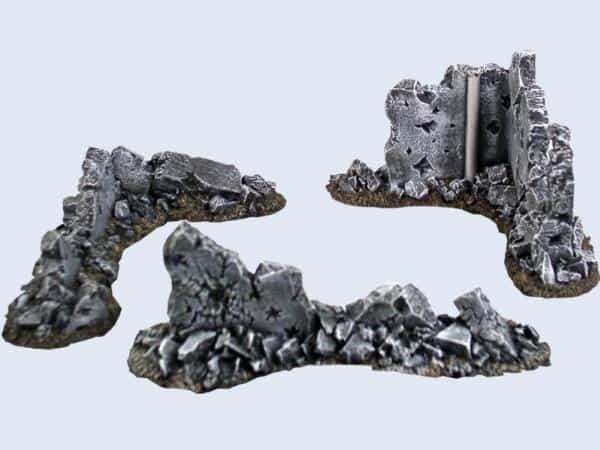
Terrain layout should be 6×8 (2 standard tables). The fortress should be wide enough to cover the width of the table or use a “U” shape type wall within 30” of the table’s defender end. The terrain should resemble a landscape where many bombs have hit the ground. Forests and plains should be burnt down. Limit the ruins placed on the field 0-4 and within the fortress 0-2. Stronghold assault fortifications are accepted (except void shields unless using also escalation rules). The following rules are made considering that the fortress wall is opened within it so you can see all the models within the walls and not a closed wall like the outside. For example, a bastion is a closed building. You would remove one side to represent the inside of the fortress where you can see the models inside.
Forces:
We have 2 types of game play:
- The defender should be 75% of attacker’s pts. For example, 10k vs 7.5k.
- Defenders and attackers have the same points but the attackers have the ongoing special rule. Each destroyed unit have a chance to come back in play via reserves on 5+. These units may not use deepstrike (no drop pods can come back once destroyed). A transport that comes back this way has to wait until a unit (any that can embark) comes back and embark upon it. This includes units like land raiders, storm ravens or any other that can transport units.
Using escalation rules is up to you but if you do, allow Stronghold assault rules (aka, voidshields to be purchased)
The Fortress:
Weapon types that give glancing hits on armor (for example gauss or grav weapons) do not affect fortress armor. While siege drills like the ironclad dreadnought get 2d6 for penetration, a type “melta” gun does not. Lance weapons do not affect armor either (14 is 14 and not 12, or 15 in the case of escalation/apoc games as mentioned later on). Only AP1 weapons may affect the damage (seen later on) table getting +1 instead of the normal +2.
Up to 3 models, 2 bulky/very bulky (1 range weapon only) or 1 walker (dreadnought size, use 1 range weapon only) may fire from any keyholes as long as they are in BtB with this section of wall/fortress. Of course, any number of models can fire from the battlements. Units shooting from a key hole may not be hit at the exception of normal building damage.
When attackers manage to stick to the outside walls/towers (btb), they may shoot inside the fortress using the same rules as the defenders shooting from these keyholes. Just make sure that the keyholes are at a proper height to shoot from. If a defender unit(s) is using the same keyhole, they can only shoot at each other. No close combat is permitted. When this happens, both sides get a 4+ cover save instead of 3, -1 BS and template weapons get 1d3 hits no matter how many can be placed under the template. This is to simulate how hard it is to hit someone within a building up close.
Battlements and fortress walls (when being attacked within the fortress area) confer a 3+ cover save. All defender units within the fortress area are fearless.
Flyers, skimmers, and jump infantry may fly over the walls as normal. Skimmers/jetbikes/flyers may not end/start the turn on a wall/tower section. They must stop before or completely pass over the fortress.
You can never hit a unit inside the fortress walls unless it is a bombardment shot or the attacker is within the fortress area. Also, a blast shot never scatters behind the wall unless you were aiming at the battlements of this one. It will always hit the wall if scattering towards the wall or over. If you were aiming at the battlements, treat as normal at the exception that it can never hit beyond the battlement.
* Fortress Sections:
Fortress walls have an armor of 15/14 gate of you are playing a more epic battle like with titans and super heavies. if not, they will be 14/13 gates.The text considers you are playing titans.
– Walls: Each wall section has an armor value of 15 and 4 hull points. Walls will usually contain 1-3 key holes per floor and a battlement.
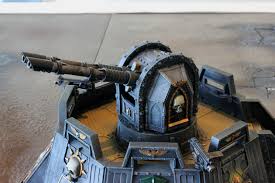
– Towers: Like walls, also have an armor value of 15 but have 6 hull points. They will also have key holes 1 per facing per floor. A tower may or may not have a battlements. This should be adequately represented by the lack or not of a roof on the tower. Each tower may host 1 gun emplacement instead of a battlement. We will discus the maximum of gun emplacements later on.
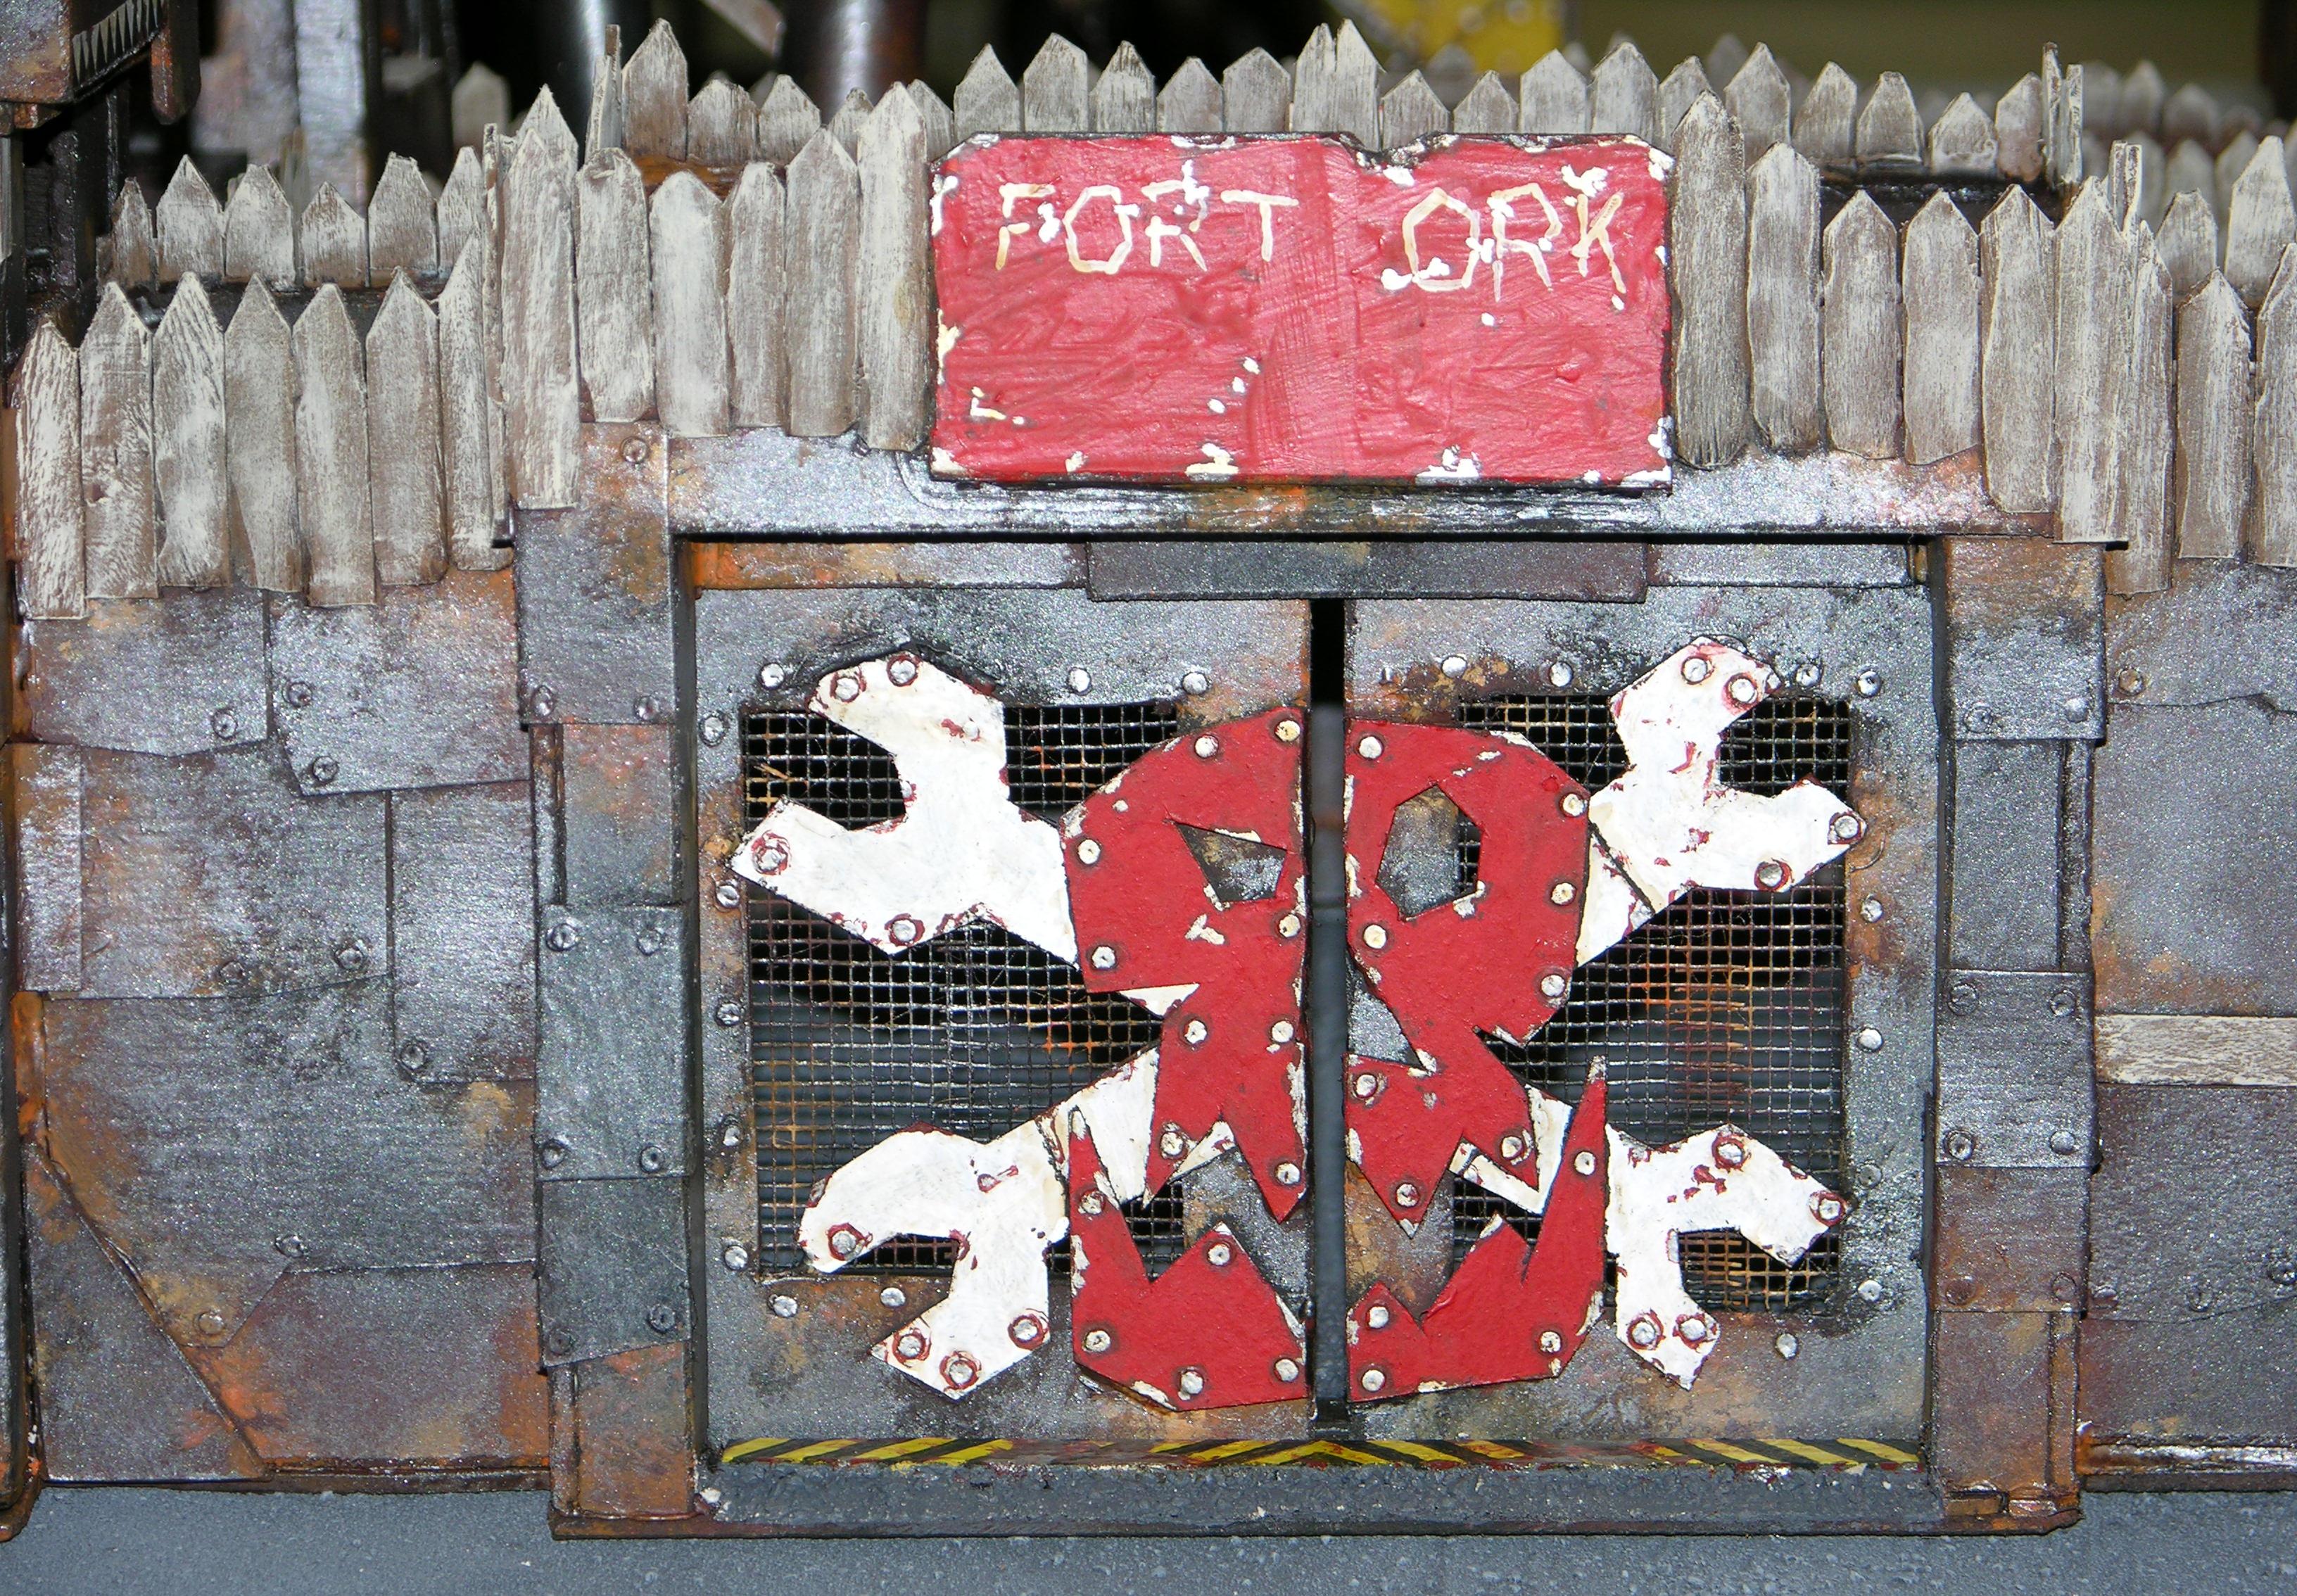
o All fortresses have at least 1 entrance or access to it. These gates should be wide enough to let a large tank go through. Entrances have an armor value of 14 and 4 hull points.
o The gates may be opened by the defender at will to let units come in and out in the movement phase. No units are required in btb to manipulate the gates. A gate can never be opened and closed in the same turn.
o The attacker can attempt to open the gate if he is in base contact with it. This is done at the end of the movement phase. To do so, he needs at least 5 models in btb and have more models then the defender in btb on his side (consider 40mm as 2 models, 60mm as 3 and larger as 6). The squad must not be in close combat. Once the gate is opened in this way, it can only be closed by the defender once there are no enemy units inside the fortress within 6″ of the gate. Remember, The defender does not need to have a unit in btb to open/close the gate.
o Any models shot at through the gate while it is opened and is 18″ or more from the shooter profit from a 5+ cover save even if a clear shot can be made.
o Each gate has its own defense mechanism. If an enemy unit charges the gate (attacker’s movement phase), or if an enemy unit is in btb or under the gate’s arch (defender’s movement phase), a single small blast (scatter full 1d3) S5 Ap5 can be made right away even if defender units are in the way.
– Gun emplacements:
o Gun emplacements are automatic guns which do not need someone in btb to fire each turn. (BS 3)
o An enemy unit may prevent a gun emplacement from firing when it is in btb with it. One model in the unit will not be able to do anything during this time. This is to simulate that someone’s disabling the automatic system each turn. The gun will start firing again once the enemy unit moves away. it might be a good idea to blast it before moving away.
Once a fortress section has collapsed (wall, tower), this part of terrain becomes dangerous terrain and permits both players to enter or exit the fortress if they fit through the rubbles. Remove the section from the table and place some type of terrain marker to represent the rubble on the ground. Since the rubble should be 1-2“ tall, consider anything on both sides of the rubble at 4+ cover save even if within the rubble. The only way to not give a cover is to completely pass it or be in close combat.
Use the following table for damage on the fortress sections. Take note that any other buildings purchased in your army list use the standard damage table from the core rulebook. If a D weapon is used, add +2 to the dice result. Only AP1 weapons may get a +1 to the table. When shooting at a wall/tower, make sure you specify where you are shooting. You can see why with the first entry of the damage table.
1- Ricochet: The shot has ricocheted off the wall/tower (not gate door). Full Scatter 3d6 max distance from the impact point on the wall. The first thing hit between the hit and scatter suffers the results of the weapon shot S/2 Ap-. The shot cannot scatter through the fortress. Same for blasts but the blast becomes a 2 singular shots that you roll separately for scatter. This does not affect templates (no effects in this case, consider as a miss). For LOS purposes and cover, use the direction the shot came off the fortress section. To be honest, the ricochet rule was added to add a bit of randomness/fun to the game.
2- Scratch: Lose 1 hull point.
3- Structural damage: 1 hull point., Units (not walkers) within the section will fire snap shots the next turn.
4- Structural damage: 1 hull point., Units (not walkers) within the section suffer d6 S4 Ap- hits, fire snap shots the next turn.
5- Internal Structural damage: d2 hull points. Units within the section suffer d6 S5 Ap- hits, fire snap shots the next turn. Walkers will not suffer damage but fire snapshots.
6- Breach: Lose d3 hull points. Units within the section will suffer d6+3 S6 Ap- and those on the battlements suffer d6 S5 Ap- hits, fire snap shots the next turn. Walkers will not suffer damage but still fire snapshots.
7- Detonation (7+): Lose d3+1 hull points. Units within or on the battlements suffer d6+4 S6 Ap5 hits and have gone to ground. Walkers suffer a glancing hit on 4+ and can’t shoot next turn.
When a blast template hits the wall (except ricochets), other than the damage done to the wall, units close by may be affected (same side the shot came from only). Put the center of the blast where the blast hit the wall, all models under the blast or clipped by it (excluding units in or on the fortress battlements) suffer S/2 Ap- from the blast weapon. In the case of a D weapon, use S6. This represents bigger debris falling from the wall.
Once a section loses its final hull point, the section colapses. All models in btb, this includes units within the section using keyholes for example (defender and attacker), suffer a single S5 Ap 5 hit or in the case of a vehicle, suffers an automatic glancing hit. To add to this, for each 3″ of height a model was in the section, add +1AP to the hit. A walker that was on the battlements will suffer a penetrating hit on a 3+ (roll on damage table as normal) and may not do anything next turn. All other non vehicle models within 3” of the section will suffer a single S4 Ap- hit on a 4+. If a tower has a gun emplacement, this gun has been destroyed with the tower. Place the surviving models in btb with the rubble (inside or out, defenders choice). You cannot get “First Blood” from a unit destroyed by building damage but you can get the kill point.
Don’t forget that you can tank shock any section of the fortress applying the standard rules.
Special units/rules defender
The points cost for these should be included in the army total so make sure everyone agrees who will sacrifice units to buy these so the the points balance out.
– If escalation is used, void shields may be purchased for each section of the fortress at the same points cost as for a Bastion.
– May include 0-2 fortifications (per team, not per player) of any type (except void shields unless using escalation rules) instead of the normal 0-1 fortification slot.
– May include 0-1 (per team, not per player) gun emplacements for each 12” of fortress. They can be placed anywhere within the defenders deployment zone or on a fortress tower that can accommodate one.
Each emplacement has an armor value of 14, 2 hull points and the skyfire special rule (where applicable, they can still fire at ground units at full BS). Like the fortress, you can never glance, apply lance rules etc…
Battle cannon S8 Ap3, large blast, d6 scatter, 72”, does not need to be placed over a unit before scatter 75 pts
Punisher Gatling Cannon S5 Ap- 20 shots, 24” 85 pts
Quad Gun S7 Ap4 4, shots twin-linked, 48”, skyfire, interceptor 85 pts
Quad Icarus Lascannon S9 Ap2, 2 shots twin-linked, 96”, skyfire, interceptor 105 pts
Plasma cannon S7 Ap2, small blast, d6 scatter, 36”, does not need to be placed over a unit before scatter 75 pts
– 0-3 (for the team) Heavy Artillery 75 pts
Artilleries are large cannons that can shoot over tall fortifications.
o AC 12, 2 hull points
o Immobile
o Cannon range: Min 24”, no Max
o Large blast, full scatter, S8 Ap3, center S9. On a building, subtract 1 from the damage table result. Does not need to be placed on unit before scatter.
o When using 3, you have the option to shoot using the barrage special rule instead but as ap5 and -1S.
o These are still units that can be buffed via psychic commands (at the exception of the barrage).
o These units must be placed at least 12″ away from the fortress walls inside the fortress.
– Defender flyers may start the game on the table as long as they are within the fortress walls and have the hover rule.
– When attacker flyers/deepstrike units enter a fortress (hover mode for flyers), interceptor weapons may fire a second time on a 6+ with no additional penalties than the normal rules for interceptor. This is to simulate the difficulties needed and danger of landing in the heart of the defenders home. Not applicable for underground incoming units.
– Defenders gain BS2 for overwatch (normal weapons only, no rapid fire weapons, no heavy weapons, no specialized weapons like plasma/melta/las/grav…) instead of the normal 6BS1 against assaults made by a unit disembarking of an assaulting flyer (for example storm raven) within the fortress. Note that this is only applied on a unit disembarking a flyer and assaulting the same turn. As with the intercept, this is to represent the readiness of the troops to be assaulted from a slow moving vehicle trying to hover within the fortresses tight space.
– Flyers, may launch an assault within the fortress after moving 18″ instead of the normal 6″ but only if they just entered the fortress airspace in the same sequence. By doing so, they get -1BS to represent the extra boost coming in. This is to simulate a last rush to assault the fortress and at the same time to permit one since fortress walls can be quite thick making the normal 6″ hover move impossible. Note that this is only possible if the assault is made within the fortress coming from the exterior. Any other assaults use the standard rules
Special units/rules attacker
As with the defenders, the points cost for these should be included in the army total so make sure everyone agrees who will sacrifice units to buy these so the the points balance out.
– May include 0-4 fortifications (for the team) of any type (except void shields unless using escalation rules).
– 0-3 (for the team) Light Artillery (50 pts)
Artilleries are large cannons that can shoot over tall fortifications.
o Attackers have lighter artillery to represent the fact that they are assaulting and these cannons are easier to bring along in a battle compared to a defender which have been built for years in place.
o AC 10, 2 hull points
o Immobile
o Cannon range: Min 24”, no Max
o Large blast, full scatter, S7 Ap4, center S8. On a building, subtract 2 from the damage table result. Does not need to be placed on unit before scatter
o When using 3, you have the option to shoot using the barrage special rule instead but as ap6 and -1S.
o These are still units that can be buffed via psychic commands (at the exception of the barrage).
o Take note that you cannot fire at units within the fortress that are 6″ or less from the fortress wall.
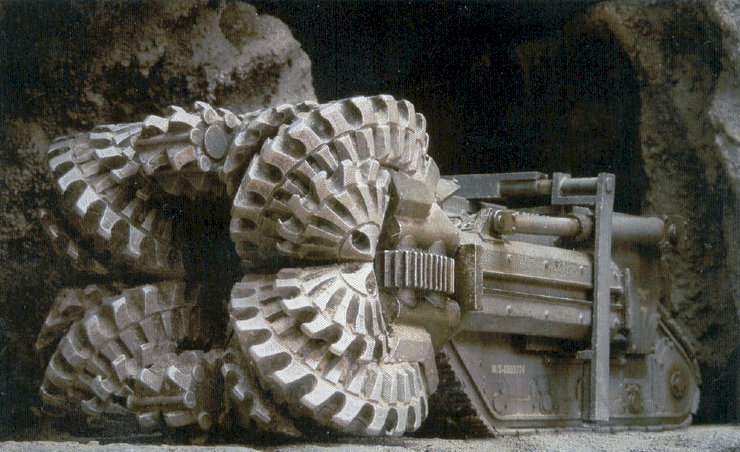
– 0-3 (for the team) Kamikaze Tunneling Drill (60 pts)
You can find the rules for this vehicle at the end of this document.
– 0-3 (for the team) Breaching Drill (60 pts)
You can find the rules for this vehicle at the end of this document.
– Assaults made by a unit disembarking of an assaulting flyer (for example storm raven) within the fortress have the furious charge special rule. If they already have this rule, they gain rage instead.
– Units with the infiltration special rules may never infiltrate within or closer then 12″ of a fortress section. All other rules apply as normal.
Deployment:
The deployment should be made on the longer part of the table. Thus, playing on the table length.
The fortress should be placed in a manner that we can have 36″ minimum between the attacker and defender deployment zones. usually max 24″ from table edge.
Night fighting rules do not apply within the fortress or within 24″ of the fortress walls outside. Even special items or characters. We consider that the fortress is well lighted for all encounters making it impossible for defenders and attackers to hide in shadows. Defenders never profit from night fight for the same reasons unless they have units outside this zone. Attackers profit from it the same way as standard rules at the exception mentioned above.
Defenders always deploy first but attackers will start the turn (unless the defender steals it no bonuses of any kind allowed). The defender may deploy any units at a max range of 12” in front of the fortress or completely inside the fortress. The fortress gates may be opened or closed at the start of the game. Defenders discretion.
Attackers are limited to deploy at least 36” away from the enemy fortress and 24” away from any enemies posted in front of the fortress.
Game length:
The length of the game should be at least 8 turns long and a possibility to extend 3 more turns on a 3+, 4+ and finally 5+ unless you are playing a smaller game.
Primary Objective:
Within the fortress, there is a comm. relay used by the defender for communication purposes with the outside world. He who occupies the comm. relay will benefit x/2 (min 6) victory points at the end of the game. x being equal to the amount of fortress sections there are. To have the relay in your possession, you must have a troop choice within 3″. The comm. relay can be placed anywhere within the fortresses ground level.
Secondary objectives:
Each collapsed fortress section gives the attacker a victory point. Each unit destroyed gives 1 victory point (defender or attacker). Slaying the warlord and first blood still apply but attackers get 2 VPs instead of 1 for the warlord. Line breaker does not apply in this scenario. If the ongoing special rule is used, units coming back do not allow any extra points if they are destroyed again so make sure you mark them as such.
You can add to the game an electric generator. This generator feeds electricity to maintain the fortresses power. It can be placed anywhere on the table ground level. defenders discretion. If the attacker takes it out (must be in base contact 1 turn), night fight rules apply until the end of the game or if the defender fixes it. To fix it, an infantry model must be in base contact with the generator. On a roll of 3+, the generator id fixed. The points cost for each individual sabotage/fix is 1 victory point. Not a big deal to add to the game and can add an interesting aspect to it.
Reserves:
Reserves only start on turn 3 and on an ongoing 4+. Like older editions but starting round 3. Reserve roll modifications can be applied as normal.
Victory conditions:
The one with the most points wins. Simple enough.
Special Units
Kamikaze Tunneling Drill 60 points
BS Front Side Rear HP
– / 11 / 11 / 10 / 1
Unit Type: Dedicated Transport
Wargear: Melta-cutter drill
Special Rules
Subterranean Assault
The Drill is an unusual assault unit as it arrives not from above or even via teleport, but from under the ground, boring its way to the surface in an explosion of burning earth and rock destroying itself in the process. Hades Drills and their attendant units are always placed in reserve and arrive in the game via the Deep Strike rules modified as shown below, with the Drill itself arriving first and the Hades Assault unit arriving on the subsequent turn through the opening it has created.
Rather than placing the model for scatter, place a Blast (3″) marker. Roll to scatter as normal to determine where the template is placed. If the template is placed in clear ground, place the Hades Drill on top of the template as normal. If the template is placed in contact with an enemy or friendly unit, fortification or building, that unit suffers an immediate Tank Shock or Ram attack (see the rules for Melta-cutter Drill). If this attack is sufficient to displace the enemy unit so that the Hades Drill can be placed without an enemy unit being within 1″, or destroys the fortification, vehicle or building in question, then the Deep Strike is successful. If not, the Drill suffers a Deep Strike Mishap with the roll on the table modified by -2. If the ‘Deep Strike’ template is partially or completely off the table or in some other form of impassable terrain, the Hades Drill is simply lost and it,s dedicated unit must come in from normal reserves.
Melta-cutter Drill
The drill is not a true battlefield weapon but a piece of heavy engineering equipment. However, it can be very effective at close quarters, using its power-grinders and melta-cutters to shred and vaporize anything unfortunate enough to be caught in its path. When conducting Ram attacks against other vehicles, buildings or fortifications, Ram attacks caused by the Hades are treated as Strength 7, AP 1 and have the Melta rule (gaining D6 extra armor penetration), regardless of how far it has moved or other factors. Enemy/friendly units Tank Shocked by the drill suffer D3 Strength 7 AP 2 hits.
Follow-up Attack
Instead of actually carrying troops on board, accompanying troops follow within the Drill’s wake. Rather than roll for reserves normally, the assault squad attached to the Drill arrives from reserve automatically the turn after the Drill breaches the surface, and may be placed in relation to the area of the ‘Deep Strike’ template just as if they had disembarked from a non-assault vehicle. If they cannot be placed (if, for example, there is no room to place them), they count as suffering a Deep Strike Mishap, and may only attempt to enter the table in the area of the Drill’s ‘Deep Strike’ template on future turns. Take note that other reserve units (this can be any from the entire attackers team, not just the player’s) may attempt to enter the game using one of these holes BUT, must do so only if a hole has been created and that no other units have done the same via the same hole the same turn. In other words, you can’t have 2 units coming in the same turn via the same hole. Take note that only models with 25mm bases may use the underground assault.
Breaching Drill
……………………………………………….
40 points
BS Front Side Rear HP
– / 13 / 13 / 10 / 3
Unit Type: Heavy Tank (Special)
Wargear: Grinding drill, Ceramic Plating
Movement
Normal movement but can’t flatout.
Special Rules
Grinding Drill
The drill is not a true battlefield weapon but a piece of heavy engineering equipment. However, it can be very effective at close quarters, using its power-grinders and grinding-cutters to shred and vaporize anything unfortunate enough to be caught in its path. When the drill comes in contact against other vehicles, walkers, monstrous creatures , buildings or fortifications, an auto-hit of str 10 ap- is made regardless of how far it has moved or other factors. Once in contact, if the target has not moved away or any fortification, the target suffers 1 hull points automatically for the 1st turn and 2 hull points each other turns after that unless destroyed first. This is due to the continuous grinding. When ramming an infantry (non-walker, monstrous creature) unit, they simply step aside.
What’s your take on these?
born in 1969. Programmer/analyst for an engineering company. Been playing wargames for over 17 years. Founder of Wargaming Saguenay (french based community).
