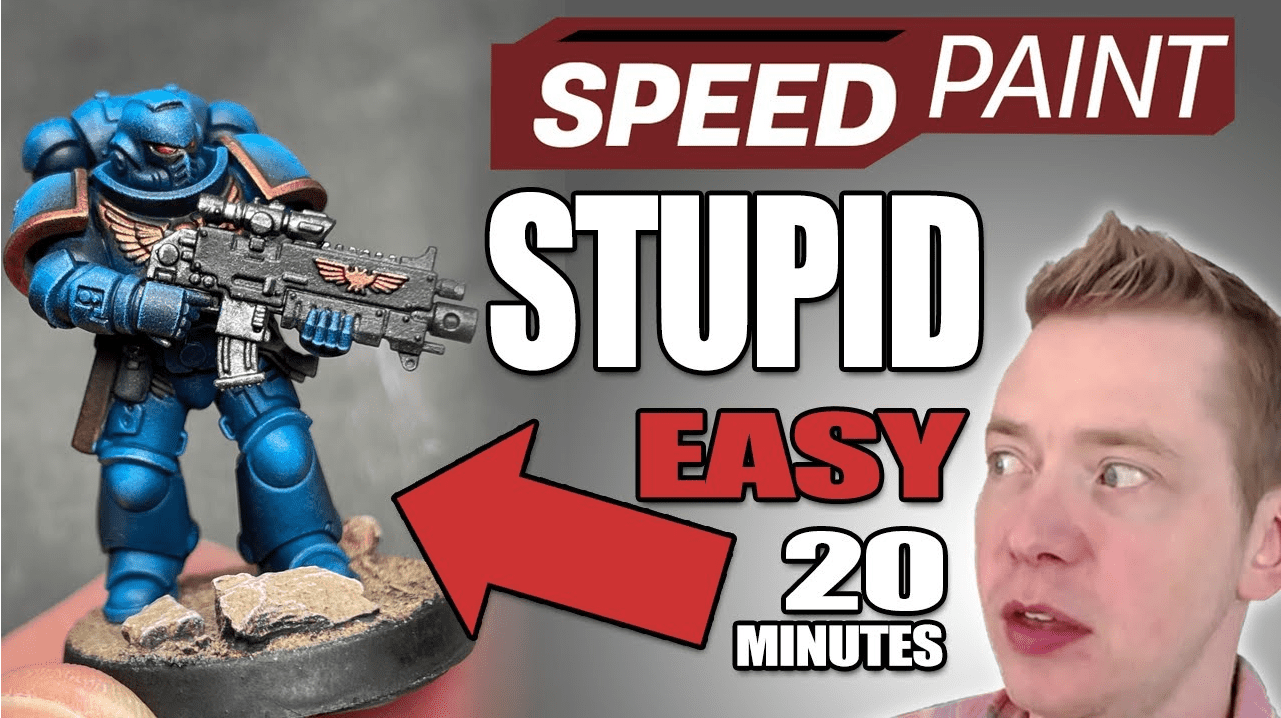
 Don’t miss how to Speedpaint Space Marines in about 20 minutes without using expensive and overly hyped paints like Citadel Contrast paints.
The Army Painter is known for having some of the best and most affordable paints on the market, and their Speedpaints really feel like a game-changer.
There were some people confused about how to actually use them (as directed), so since Rob has had them for a while now, he shows us the proper way to get good results fast!
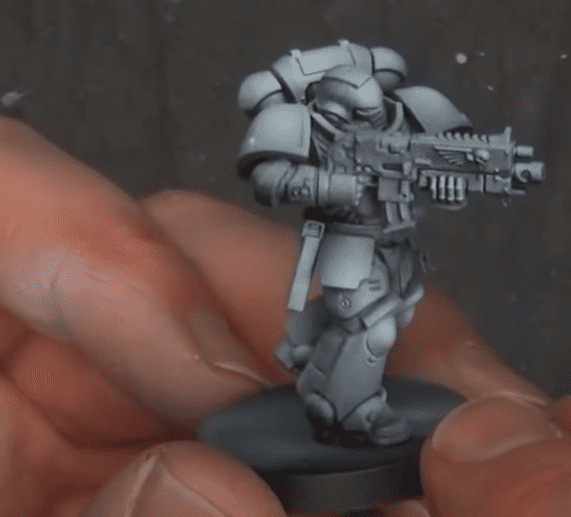
Speedpaint Space Marines Without Expensive Contrast Paints
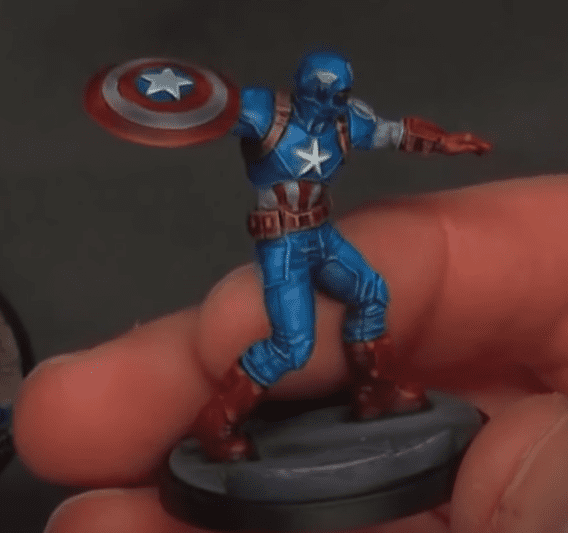
 People have been asking Rob about this for a little while now. Considering he’s had the paints for so long, he made two tutorials, one with a Marvel Crisis Protocol mini and another on a Space Marine.
There has been a little bit of drama there about Speedpaint by folks who seem to want them to do more than what they are designed for. These paints are designed to be a single-coat solution. However, you can wait for around 6-8 hours to add more coats, but you really don’t need to. It’s meant to just get your minis on the table super-quickly and get playing!
If you want to do anything else than speed paint with the new speedpaints, just use regular acrylics or even Citadel Contrast paints (for double the price).
To see what all the colors look like with different undercoats and such, you should check out the Goobertown Hobbies video, as he goes super in-depth on that aspect, and it’s totally worth a watch…
Step 1:
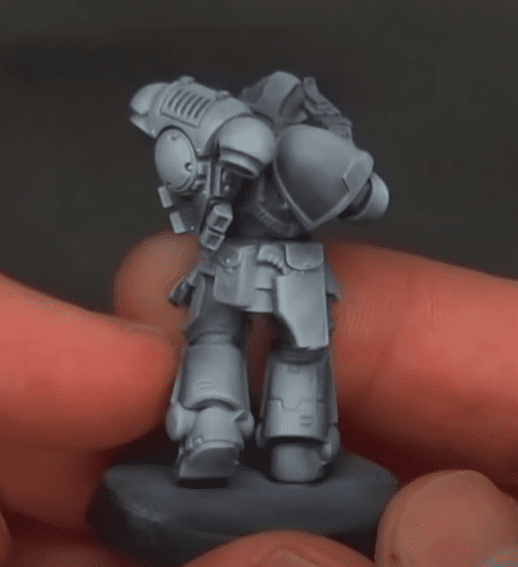
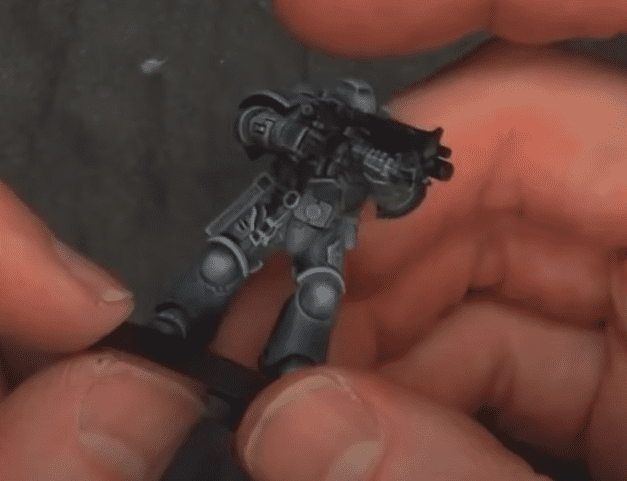 To start, he does a full black primer on the model, then he’s going to do a value highlight. For the value highlighting, you can use, Daler Rowney ink, Pro Acryl White, or The Army Painter Cadre Grey, it’s really just up to you and what you like the best.
He is going to do this technique with an airbrush but it can also be done if you don’t have one via a heavy drybrush which is shown above.
But with how many resources are out there for how to airbrush you should really think about learning to use an airbrush! If that doesn’t convince you though, again, you can just use a heavy drybrush to get the values you want just like above!
 Now, when you’re doing the airbrushing, Rob puts just a little Flow Improver in there, then just throws in a few drops of the DR ink. He then sprays the white from a top-down, as where the light would hit, to start. Then, he hits some of the areas where you want to draw attention to, like the hands and such. Make sure to leave some deeper areas dark so there will be more contrast.
Step 2:
 The next step is doing cutbacks. This stage is optional, but will really add that pop of color and will only take about an extra minute. Now he puts black into the airbrush and just makes some areas more pronounced where he may have gone a little too far with the white. This is usually done from the bottom up.
Step 3:
 This step starts with a matte coat. Rob does this almost whenever he uses the airbrush. Rob uses the Testors Matte Coat and just sprays the whole thing. If you cant find the Testors, he uses the Tamiya version. This coat is super easy, he just sprays the whole model. Next, he wants to do some of the metals.
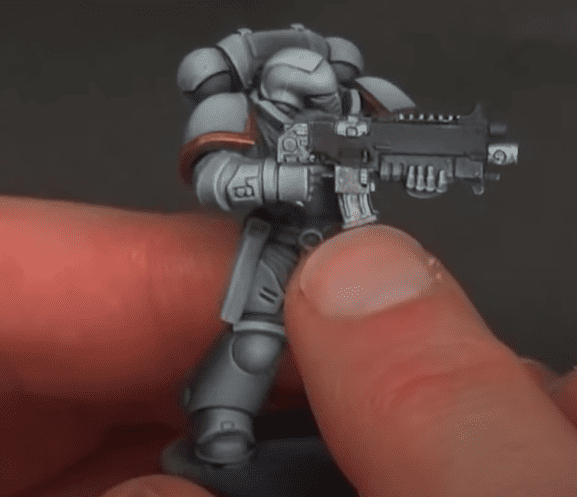
He just takes his favorite metal and does all the metal spots like the gun and etc… For this, he uses a synthetic brush from Monument because you don’t really need the benefits of the sable brushes.
Then, for the shoulder pads and gun, he uses bronze and black respectively. This will take the most time of the whole process!
Before you basecoat your model, if you want the edges more pronounced do a quick drybrush of the white over all the armor panels! That way the speed paint will pop them with no effort whatsoever.
Step 4:
 He starts with a wash and does a Dark Tone Wash from the Army Painter and puts it in a bottle cap and some flow improver mixed with glazing medium. Just be sure to let your paints dry before going onto this step. Just mix it all up, get a bunch on your brush, and basically apply it to your entire model from the top down.
If you see anything too crazy, you can just take your brush with a little moisture on it and just dab off the excess. Then wait for the glaze to dry, and you can optionally matte coat your mini at this point as well.
Step 5:
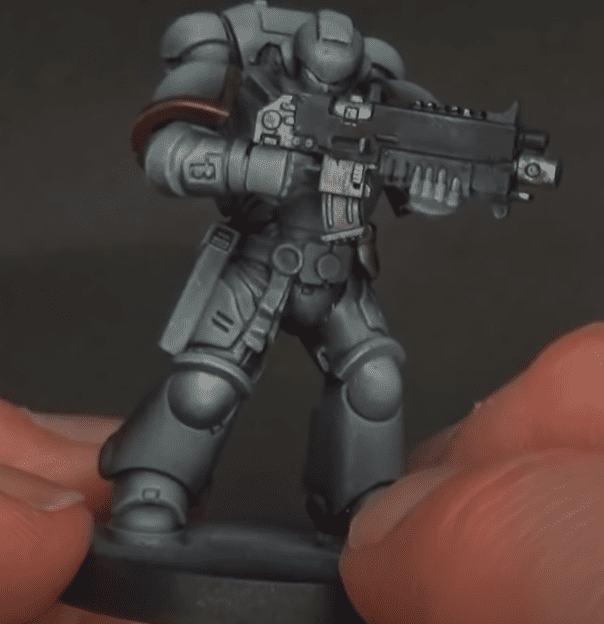
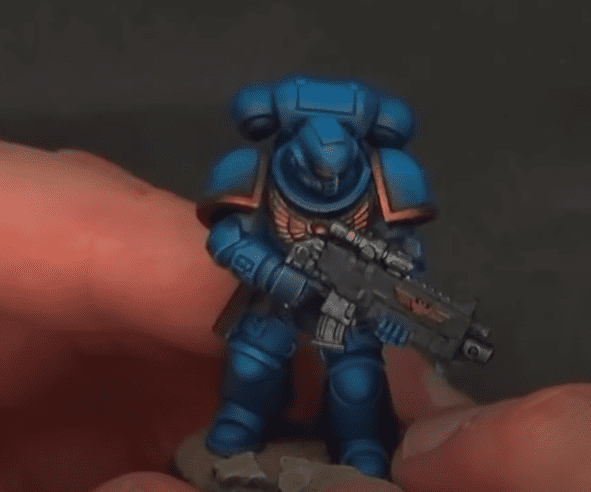 He’s using the Magic Blue speed paint for the armor and just fills up his brush with it. He goes over the entire thing and if you use too much or little in one spot, you can just rub it right off with your finger or a moist paper towel! Obviously, that won’t work forever but because it activates, you have a little time to fix your mistakes.
Unlike acrylics, this is meant to be a one-coat solution, so no need to do more coats! After that, he does a coat for the armor, some Blood Red for the eyes, Pallid bone for the Seals, black for the gun, and Hardened Leather for the pouches.
All just single coats!
Wait for it to dry and then matte coat your miniature, and it is ready for the table!
Final Thoughts
 If you just let this dry and maybe do some value highlighting prior, this stuff will get you great-looking results super fast! Just be sure to coat your minis and let everything dry! Overall, Rob loves using this as you can get great results in a very short amount of time. For a one-coat solution, this is super hard to beat!
Grab Your Army Painter Speedpaint Here!
Will you be using this tutorial to paint your Space Marines with Speedpaint? Have you used The Army Painter yet?
Let us know in the comments of our Facebook Hobby Group, or our new Discord server, and make sure you enter the latest monthly giveaway for FREE today!
Get ad-free access to the site, a monthly drop of miniatures, and support some of the best creators out there for as little as $6 a month on Patreon!

This post contains affiliate links, as an Amazon and eBay Associate Spikey Bits earns from qualifying purchases.
About the Author: Rob Baer
Rob Baer
 Job Title: Founder, Publisher, & Managing Editor
Founded Spikey Bits in 2009
Socials: Rob Baer on Facebook and @catdaddymbg on X
Bio: Virginia restless, miniature painter & cat dad. He blames LEGOs for all this, as there was something about those little-colored blocks that started it all. Spikey Bits sprung from Rob staying motivated to hobby on his backlog of projects, while sharing his knowledge with others during the early blogging era.
LEGO maniac and scale model hobbyist in the 80s turned miniature wargamer and trading card player ever since. He’s played every edition of Warhammer 40k and Warhammer Fantasy (since 5th Edition), but Titans of all sizes will always be his favorite! It’s even rumored that his hobby vault rivals the Solemnance Galleries, containing rulebooks filled with lore from editions long past, ancient packs of black-bordered Magic Cards, and minatures made of pewter and resin.