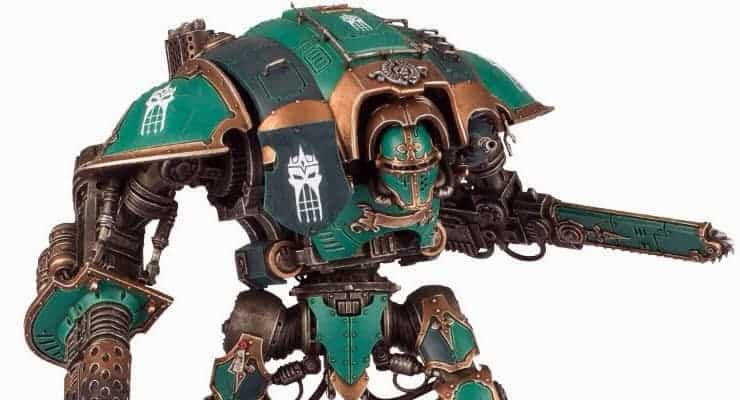
Don’t ruin YOUR new Knight Titan, let me make the mistakes for you! Checkout today’s assembly tutorial on everyone’s favorite Super Heavy kit!
The knight kit is a pretty recent kit right? However there are so many different options with all the different styles it’s more important now to get your customization game down. You don’t want to show up to the table with a buster looking model.
Today I’m going to show you have to assemble the knight titan so we can magnetize or airbrush it sufficiently later on down the road.
A lot of it is just double checking everything. I’ve put together everything over 9 times and I still mess it up. Don’t sleep on it. Especially with all the moving parts, if you’re using plastic glue and have some seepage make sure you’re moving the parts as you go to keep it from locking in at the molecular level.
Pro-Tip: Don’t cut out all your parts and put them in the box so you have to dig through them looking for the part you need like it’s a LEGO kit.
Step 1: The legs go together fairly easily, the two halves just go together. Then it attaches to the leg joint, and it attaches one way so you don’t have to worry about putting it in the wrong way. You’ll want to be careful though on the pistons and make sure you’re lining up the notches right. I didn’t do a great job in the video so watchout on that part!
The leg part attaches to the foot. Nothing crazy about it. It just locks right in. Then wash rinse and repeat the other leg. I’m keeping the armor plating off because I want to air brush it later on!
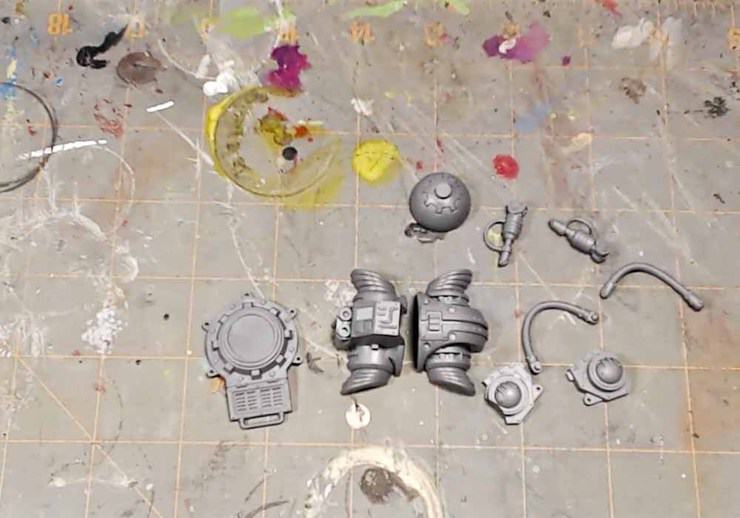
The hip joint system is fairly simple, it locks in pretty well. Again pretty straight forward. The wires go in only one way, it’s pretty ingenious and a bit tricky. It lines up different than it looks. I’ve messed it up on every knight I’ve ever made,and had to go back and fix it. Don’t be a stupids – read the directions!
Once it’s complete the hip section you an can put in a ¾ inch sprue on the top nub, and put it through the waist join so that it connects even better.
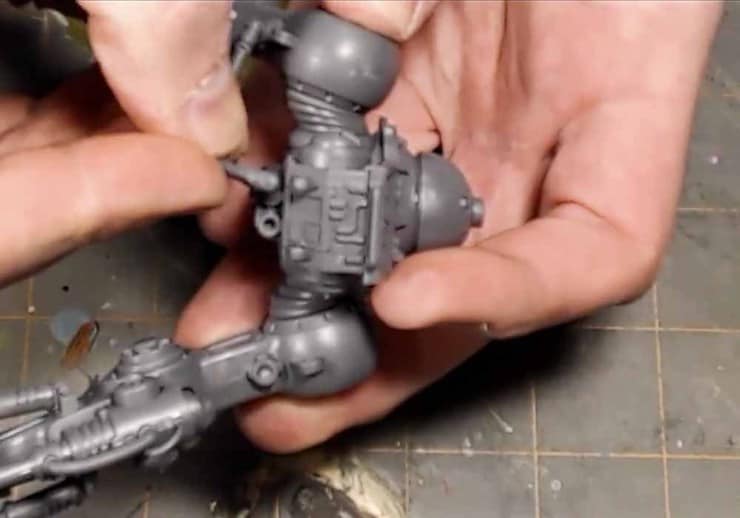
There are two pieces on the shoulder that HAVE to be assembled separately or you’ll mess up the build and have to go back and fix it before you attached the armor mounts to it.
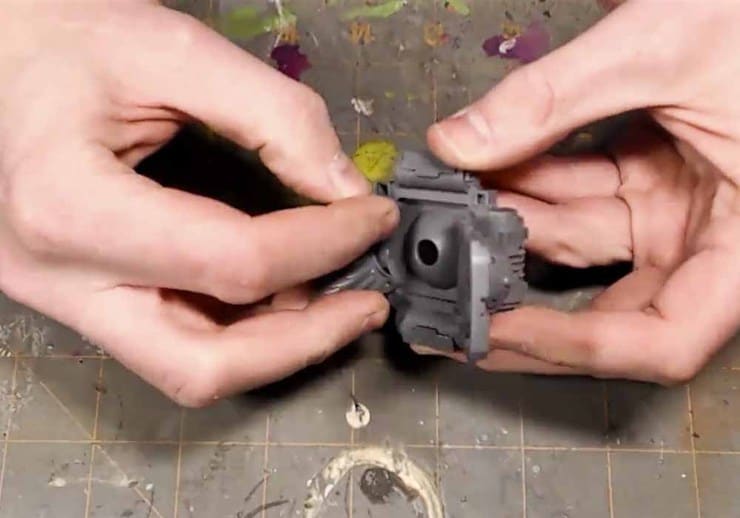
The smokestacks are easy enough just get the right parts. In in head area, you don’t want to get glue in the recess, it’ll prevent it from moving, you might need to go in and wipe away some excess glue with a wet paper towel. Make sure you go back and wiggle it so you can get full range of motion on the head.
The stubber and the melta are really simple. I didn’t glue them in because I I’m going to magnetize it. The knight shield I left off because I wasn’t sure which one I wanted in.
With the AA mount you want to make sure you glue just the tiniest little spot so that it can articulate.
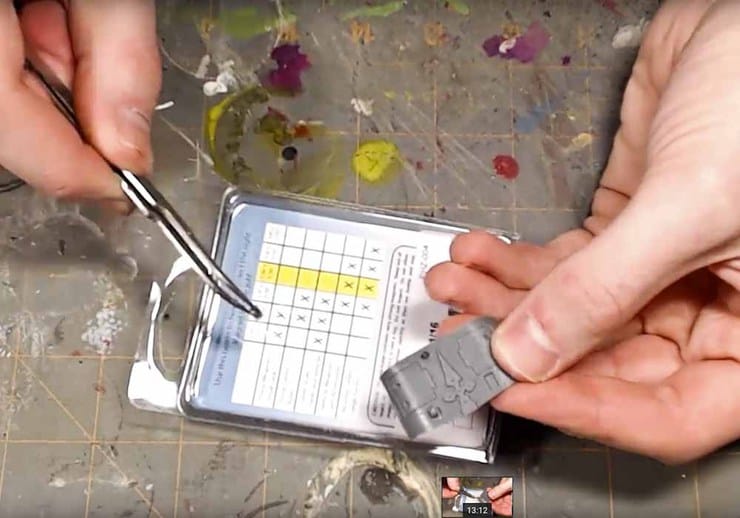
Pro-tip: For the tiny pieces, you can get some tweezers and put a dab of glue on a piece of plastic for a palate and then you can dip in the part with your tweezers and then put it on the model just to give you a bit of extra control. There are a fair amount of little nubs and hand holds on the model.
With the missile launcher system I only glue the nub bits and leave it mostly apart because I’m going to want to get in there to reinforce it for magnetization.
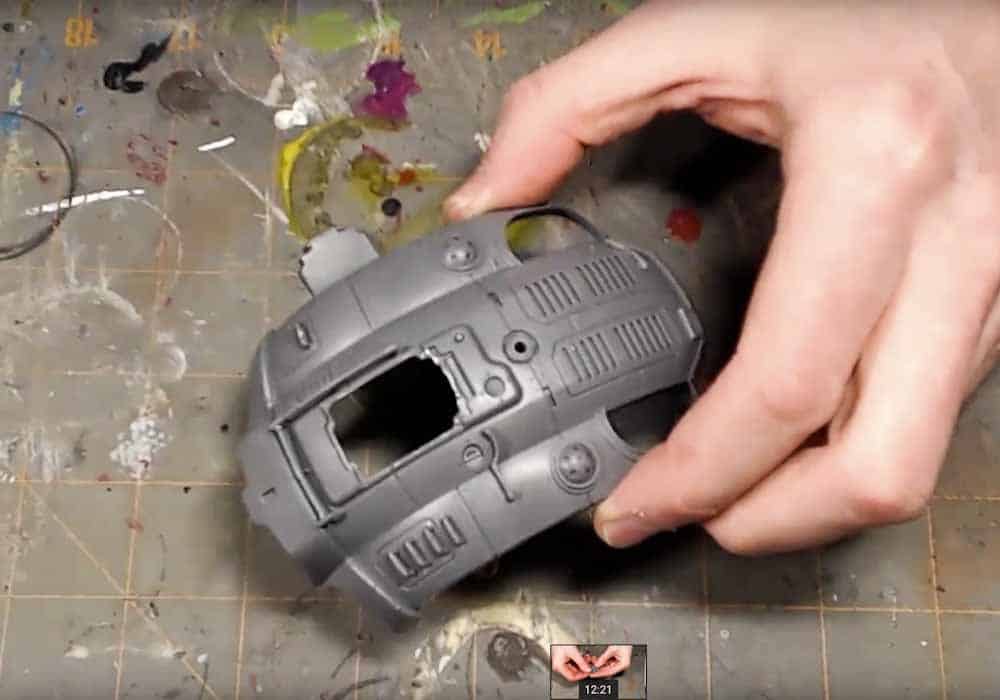
The AA gun goes together super easy. It’s a bit fiddly and it can get away with you. Make sure the slot fits into the mount flush.The armor plate I kept off for airbrushing.
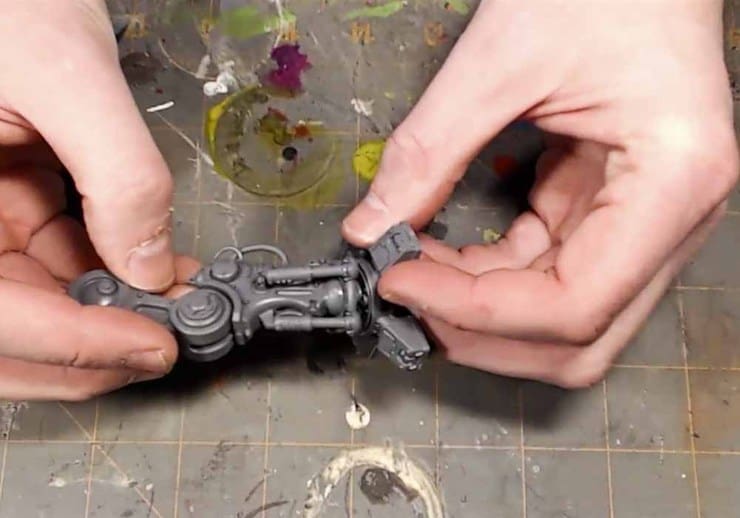
The arms are mostly straight forward, but if you put the piston on the high side you’ll mess it up, it goes to the low side. In the video you can see I messed it up at first glance – agian going from memory and not reading.
There is also a little nub that I’m going to slice off in the future, shown here, so be sure you don’t glue that part down.
The Gatling gun goes well smoothly, but don’t worry about some crazy magnetization because it locks in just fine.
If you glue the front piston on and then twist it as you move it, it won’t glue itself all the way down. I don’t attach the armor plate or glue it down because I will airbrush it separately as well.
The sword is huge and make sure, again, you’re twisting to keep the articulation of the joints and pistons solid . If you get some overspill you can go in and scrape it off, sometimes it’s good because you can fill up some of those gaps.
Don’t glue the Thunderstrike gauntlet over top the arm section either otherwise you won’t be able to magnetize it.
If you want to see first hand what to do, and what not to do check out our assembly video below!
