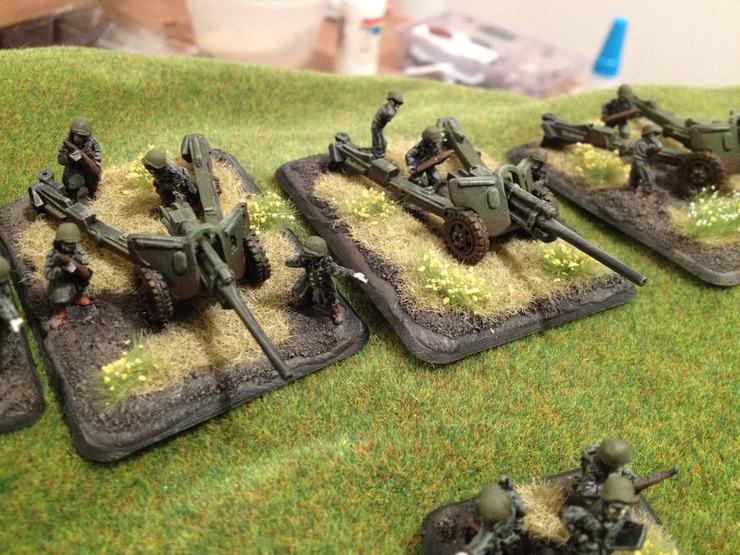
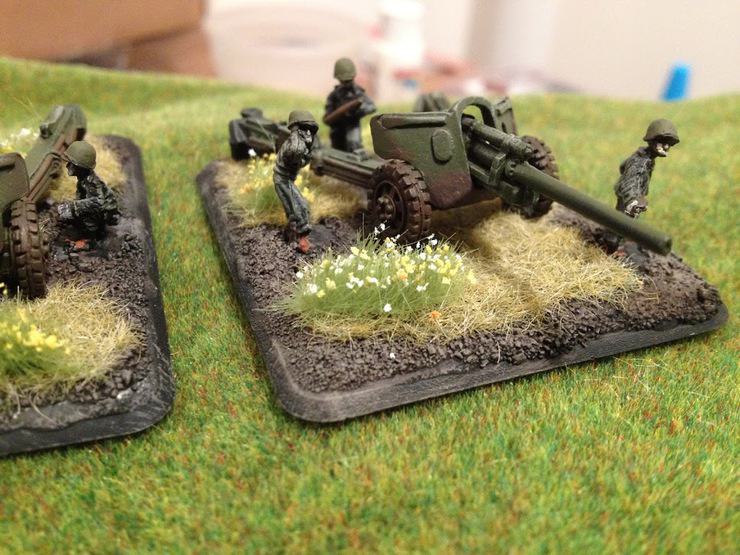
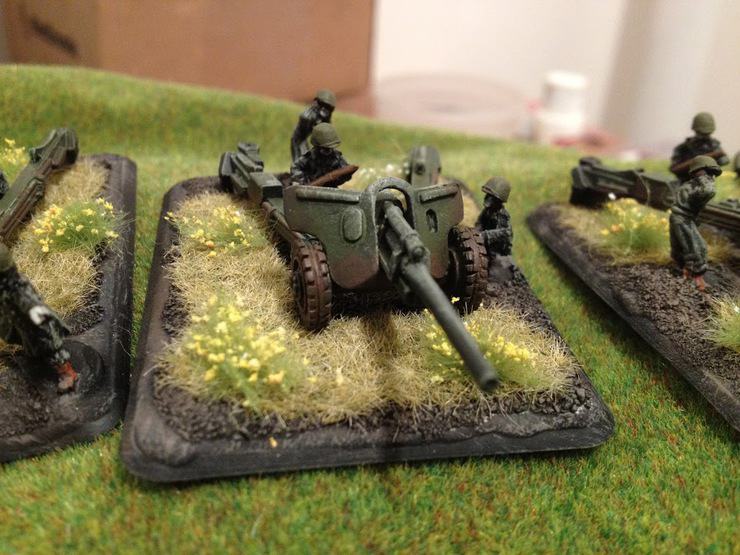
Proper basing Flames of War miniatures is one of the most important steps toward getting your army to look good on the tabletop.
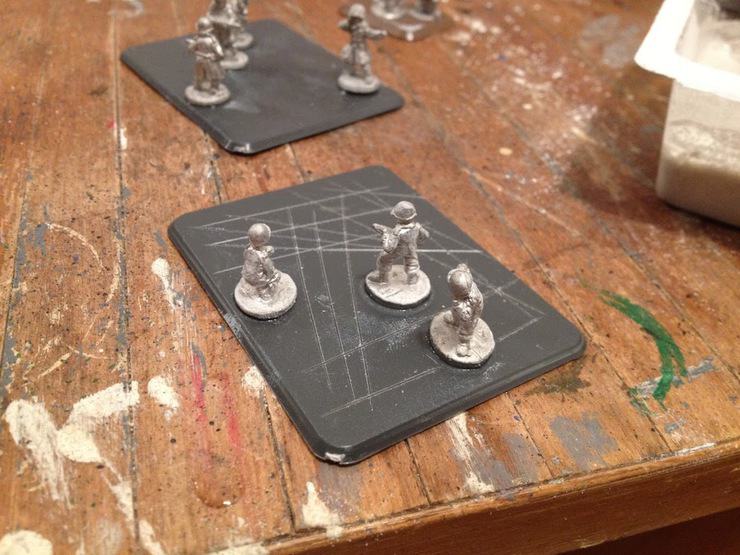
There are many talented, award-winning painters out there whose bases are superb, but I have come to a series of techniques that gets good-looking results in a very short time. After you have glued your models to the base (in these examples we are using American M5 3″ guns) score the base using an exacto-knife. Just a few scratches will do.
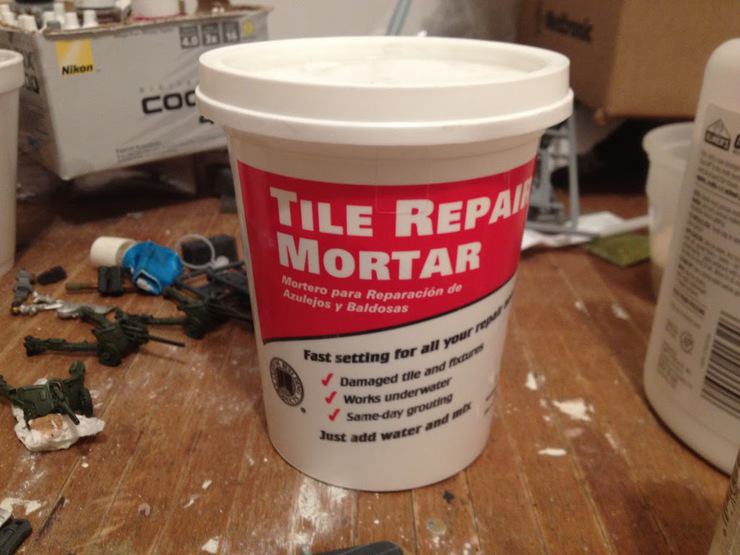
Then I mix up some tile mortar (I buy it dry and then mix it with water) and use a beat-up old drybrush to spread the mixture around the base. The primary goal is to reduce the edging that the models have around their feet. The putty doesn’t have to get on top of that little base, just as long as it reaches up the sides.
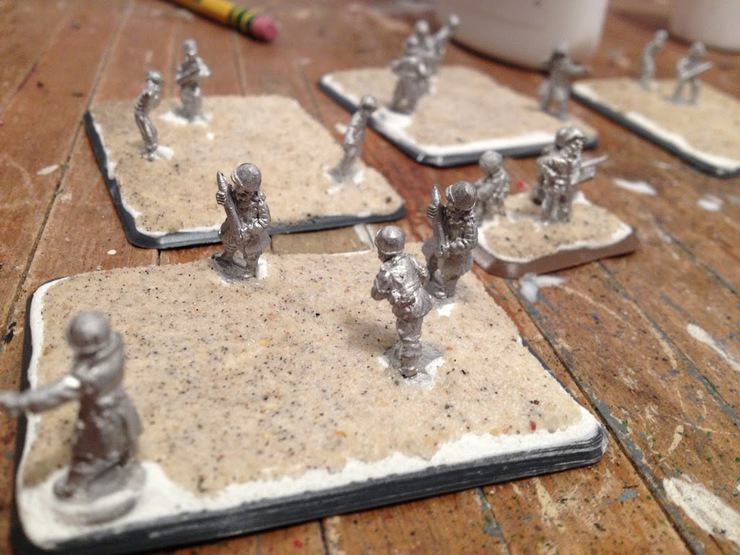
Incidentally, the guns are added after everything else is done.
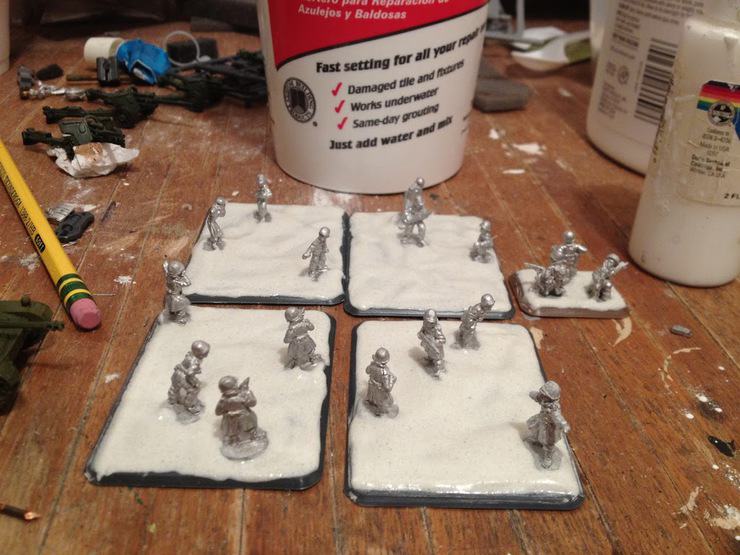
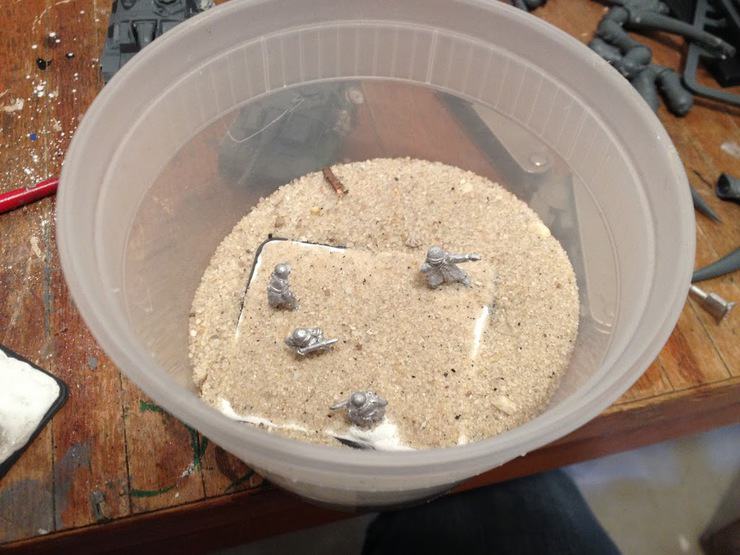
The next step is to take some simple ‘ole Elmers glue and spread a thin layer across the base. This time you probably do want to carefully apply some glue to the small base at the model’s feet, which will reduce the amount of flat surfaces in the final product. Then dip the model in a bowl of sand or whatever basing material is appropriate to you. I live near a beach so sand is readily available.
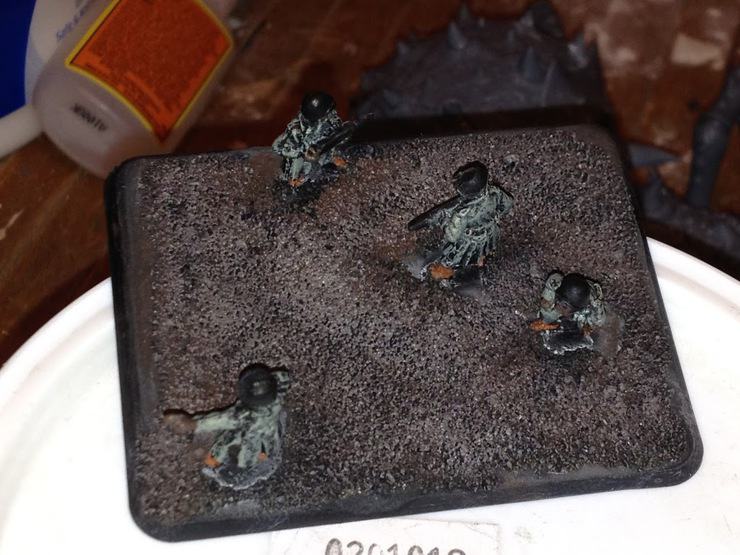
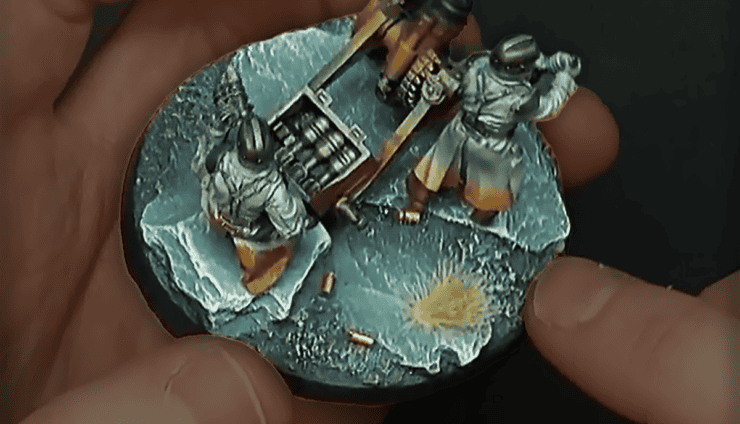
Next I did my standard undercoat of black. This was followed by beginning to paint the infantry models on the base. One tip: paint the boots of the models before painting the base, that way the boots look like they’ve been well-worn. Also, just FYI, the infantry models featured in this article are not painted to any real standard, they’re just acting as a placeholder for the base, which is what I’m trying to highlight. Once the infantry had their basic colors I went ahead and covered the base with a “heavy” drybrush of a dark brown mixture (use whatever color you’d like to achieve your desired effect).
The next drybrush should be a color that is slightly lighter than the first coat. For these guys I mixed together a “frozen mud” type of color.
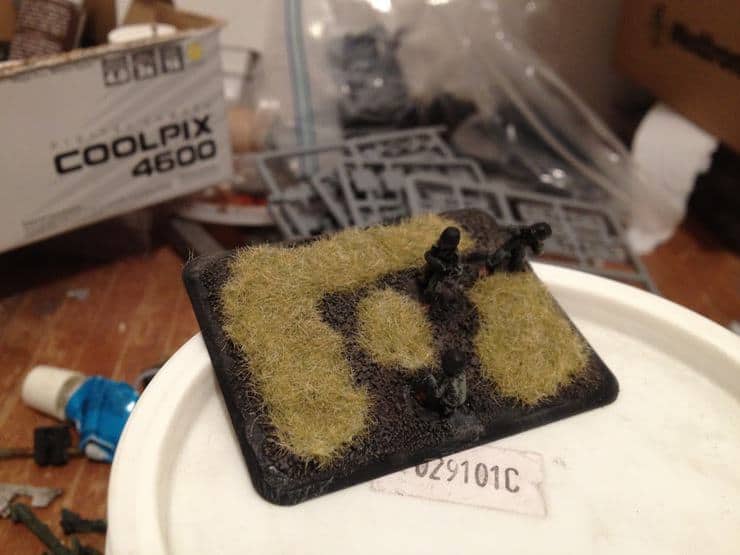
This is also a good opportunity to make a note of the bases of the models that will need to be further masked with paint and static grass. Speaking of which….
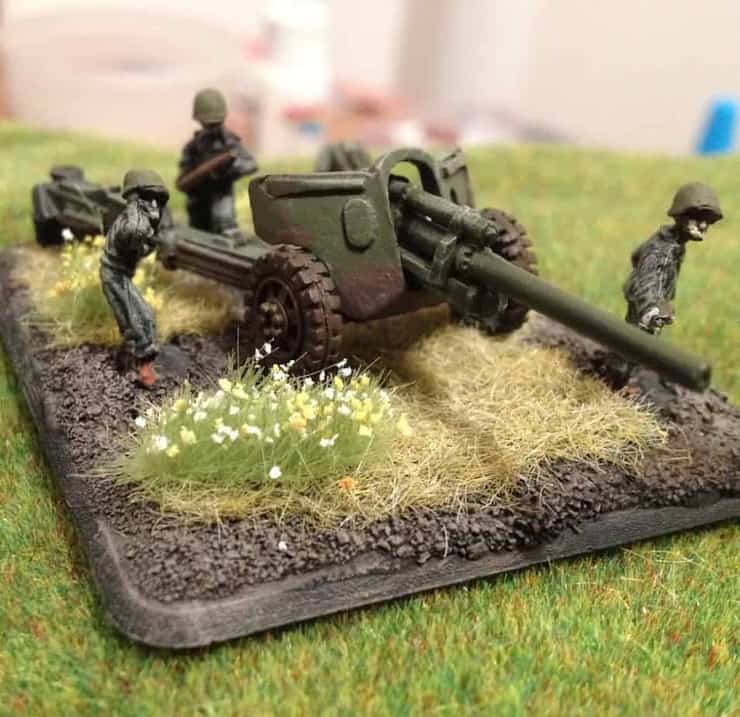
I apply static grass to a good 75% of the base’s surface, using Elmer’s glue to affix the inital layer of static grass, then relying on the natural clingy-ness of the grass to add some bulk to the effect. I don’t like to completely obscure the dirt effects I’ve added since I like how it looks. I used standard GF9 Static Grassfor this project.
After this came my favorite part: applying Army Painter Tufts! Just put a small drop of Elmer’s glue on the base where you want the tufts to go, and apply the tufts using tweezers.
I am a huge fan of the tufts. I cannot recommend them highly enough. They are very cheap and can really make your bases stand out from the other armies in your store.
Finally, I will use black paint to go around the edge of the base and cover any stray marks of paint from all the drybrushing that has been done. And that’s how I base my Flames of War miniatures. Thanks for reading.
Be sure to checkout Parker’s great FoW Hobby blog over at D Minus One-MBG