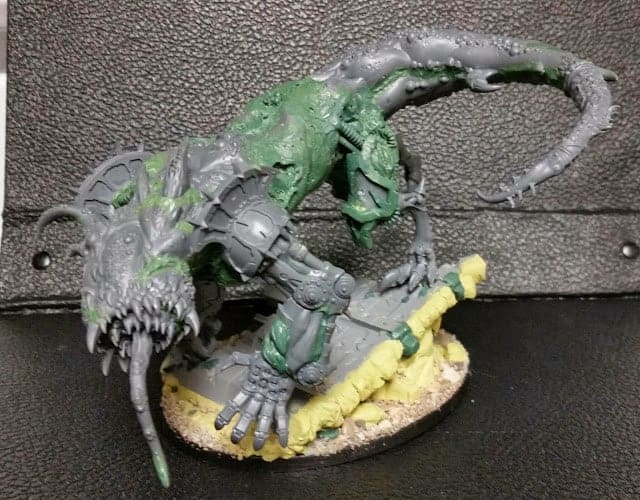
TJ here from DFG to show off what I would consider one of my best conversions/ kitbashes: The Panther; a Nurgle themed Maulerfiend based on the arms from the Warhammer Fantasy Glottkin model.
This project has been a ton of fun and I have challenged myself to try techniques I am unfamiliar with and a gravity defying pose. The Glottkin arms could be used easily in many projects and this is my submission to the community. I am extremely proud to show this off here so let’s take a look around this fecund feline!
So it all started with the arms from Glottkin, which I was going to make into a worm themed Heldrake like the Hell Worm I sculpted a couple of years ago. When I convert and sculpt, it is all about challenges and the prospect of a nice, semi-premade worm did not seem like a challenge.
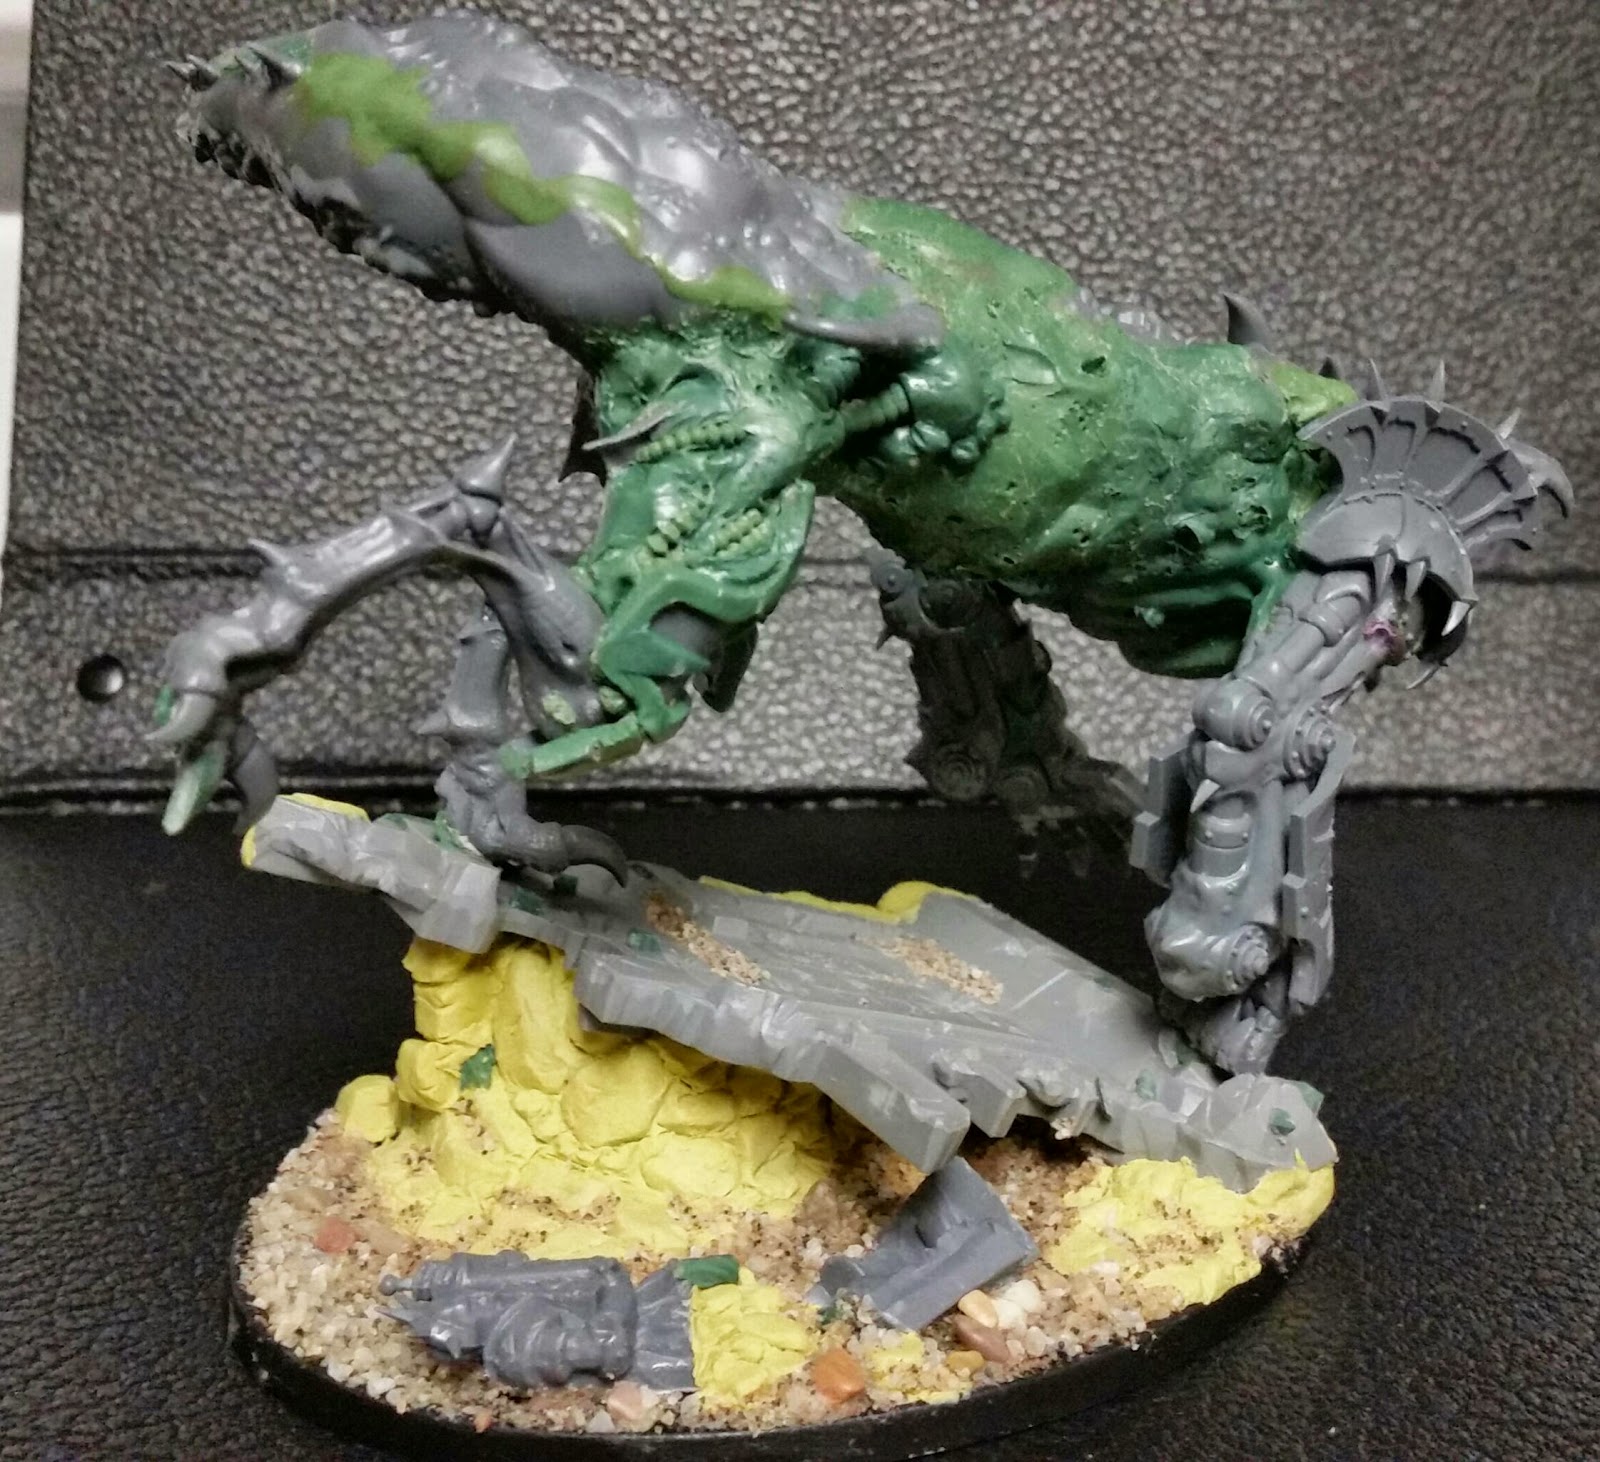
That was when the shape of the two arms laid next to each other on the desk struck me as being somewhat feline. There seemed to be a whip-like tension to the tail and a poised look to the bend of what would be the neck. In minutes I was digging out bits and the concept for Project Panther was born.

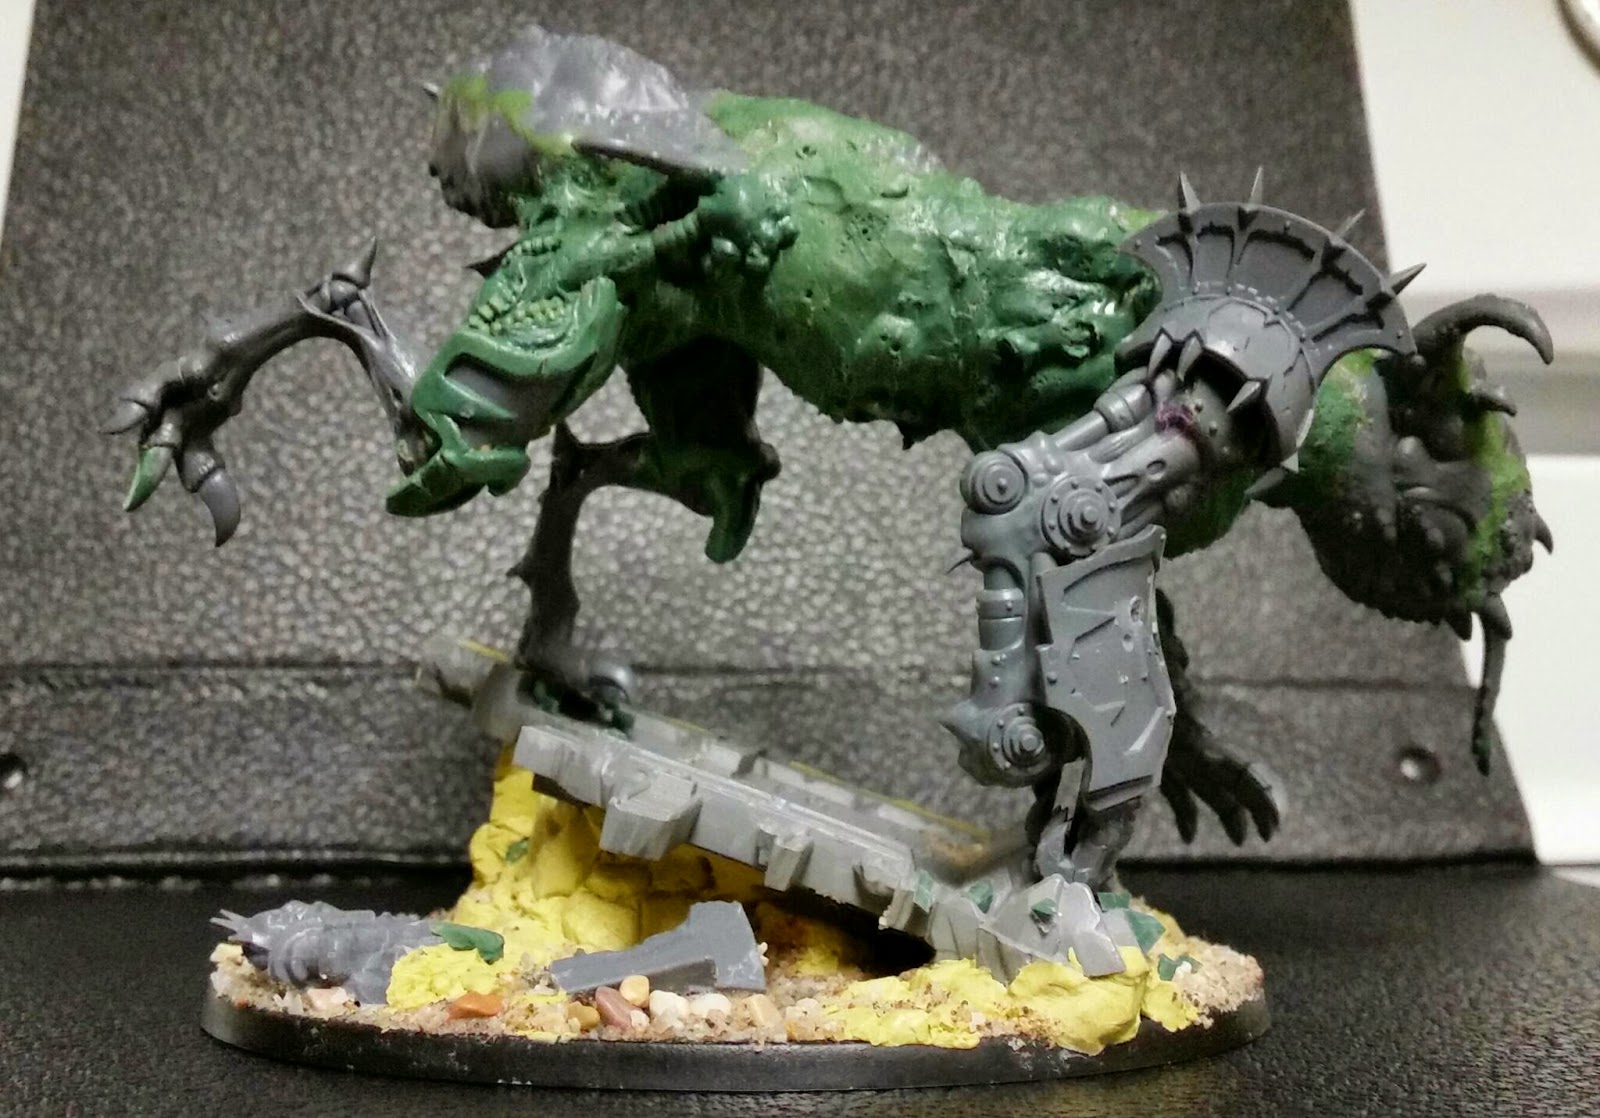
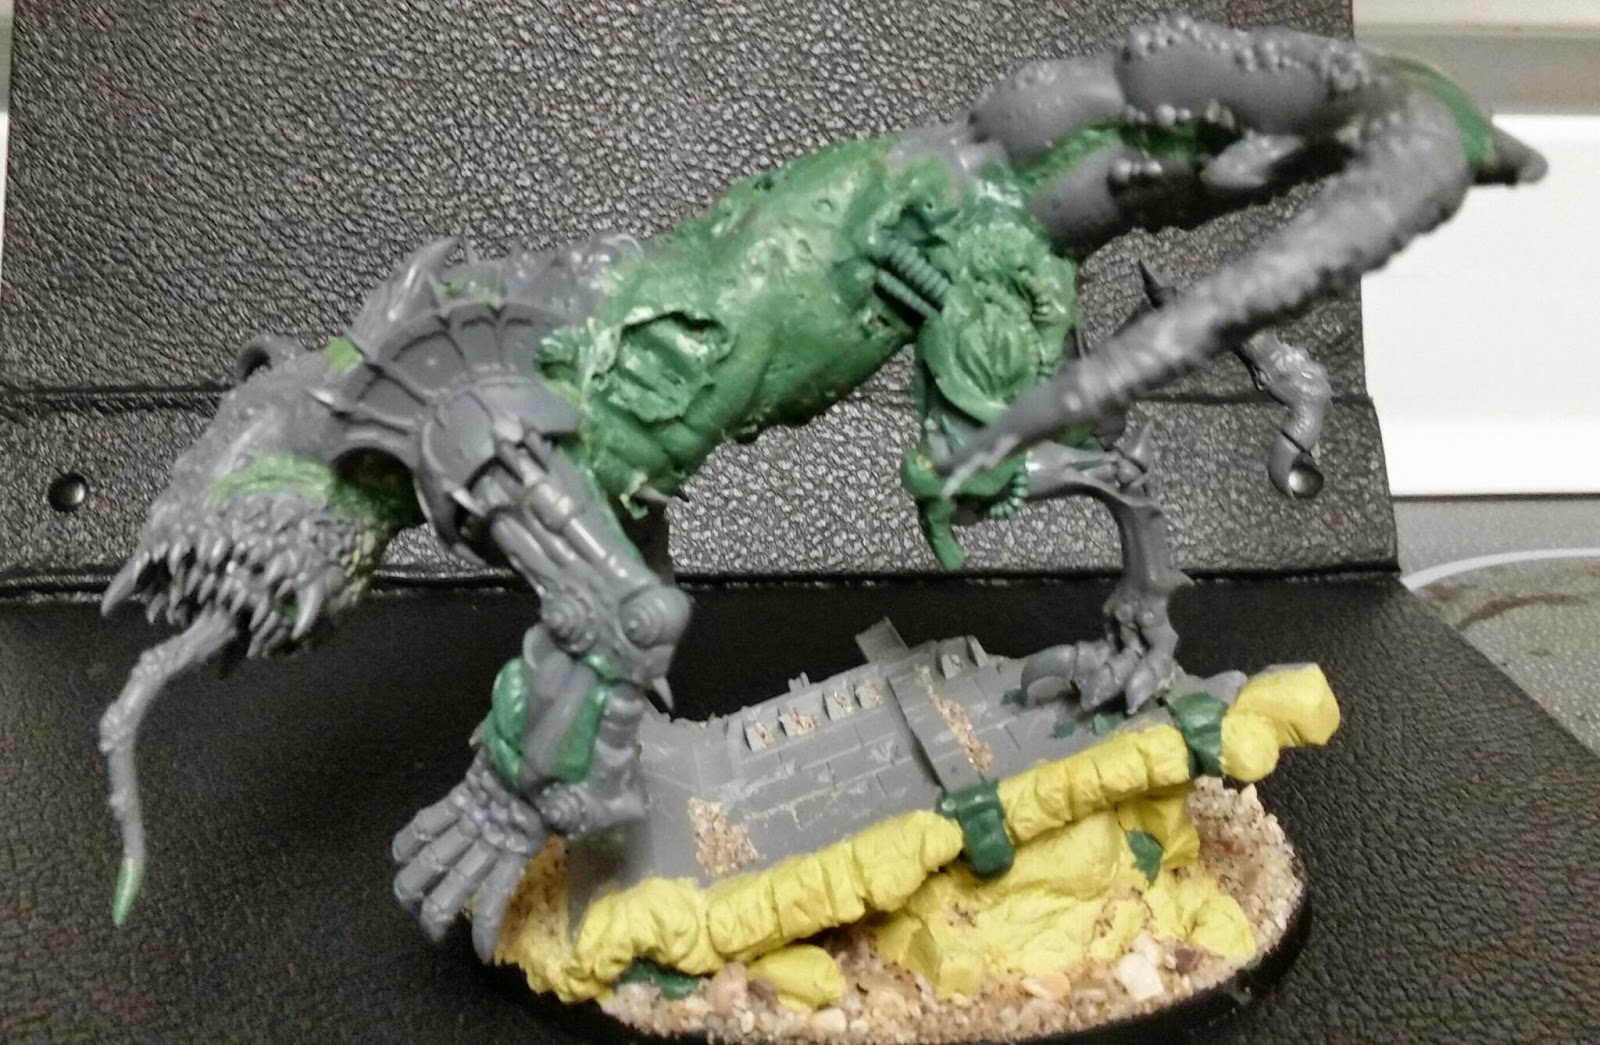
Once I decided the shape I wanted at least on challenge to start with immediately, so I wanted to revisit action positions like the one I explored with the Flying Monkey Daemon Prince. This time I also knew I wanted to go deeper on basing than I ever have before (most of what I have done has been cork and plastic), so this pose was the real start and informed how I would position the arms and legs.
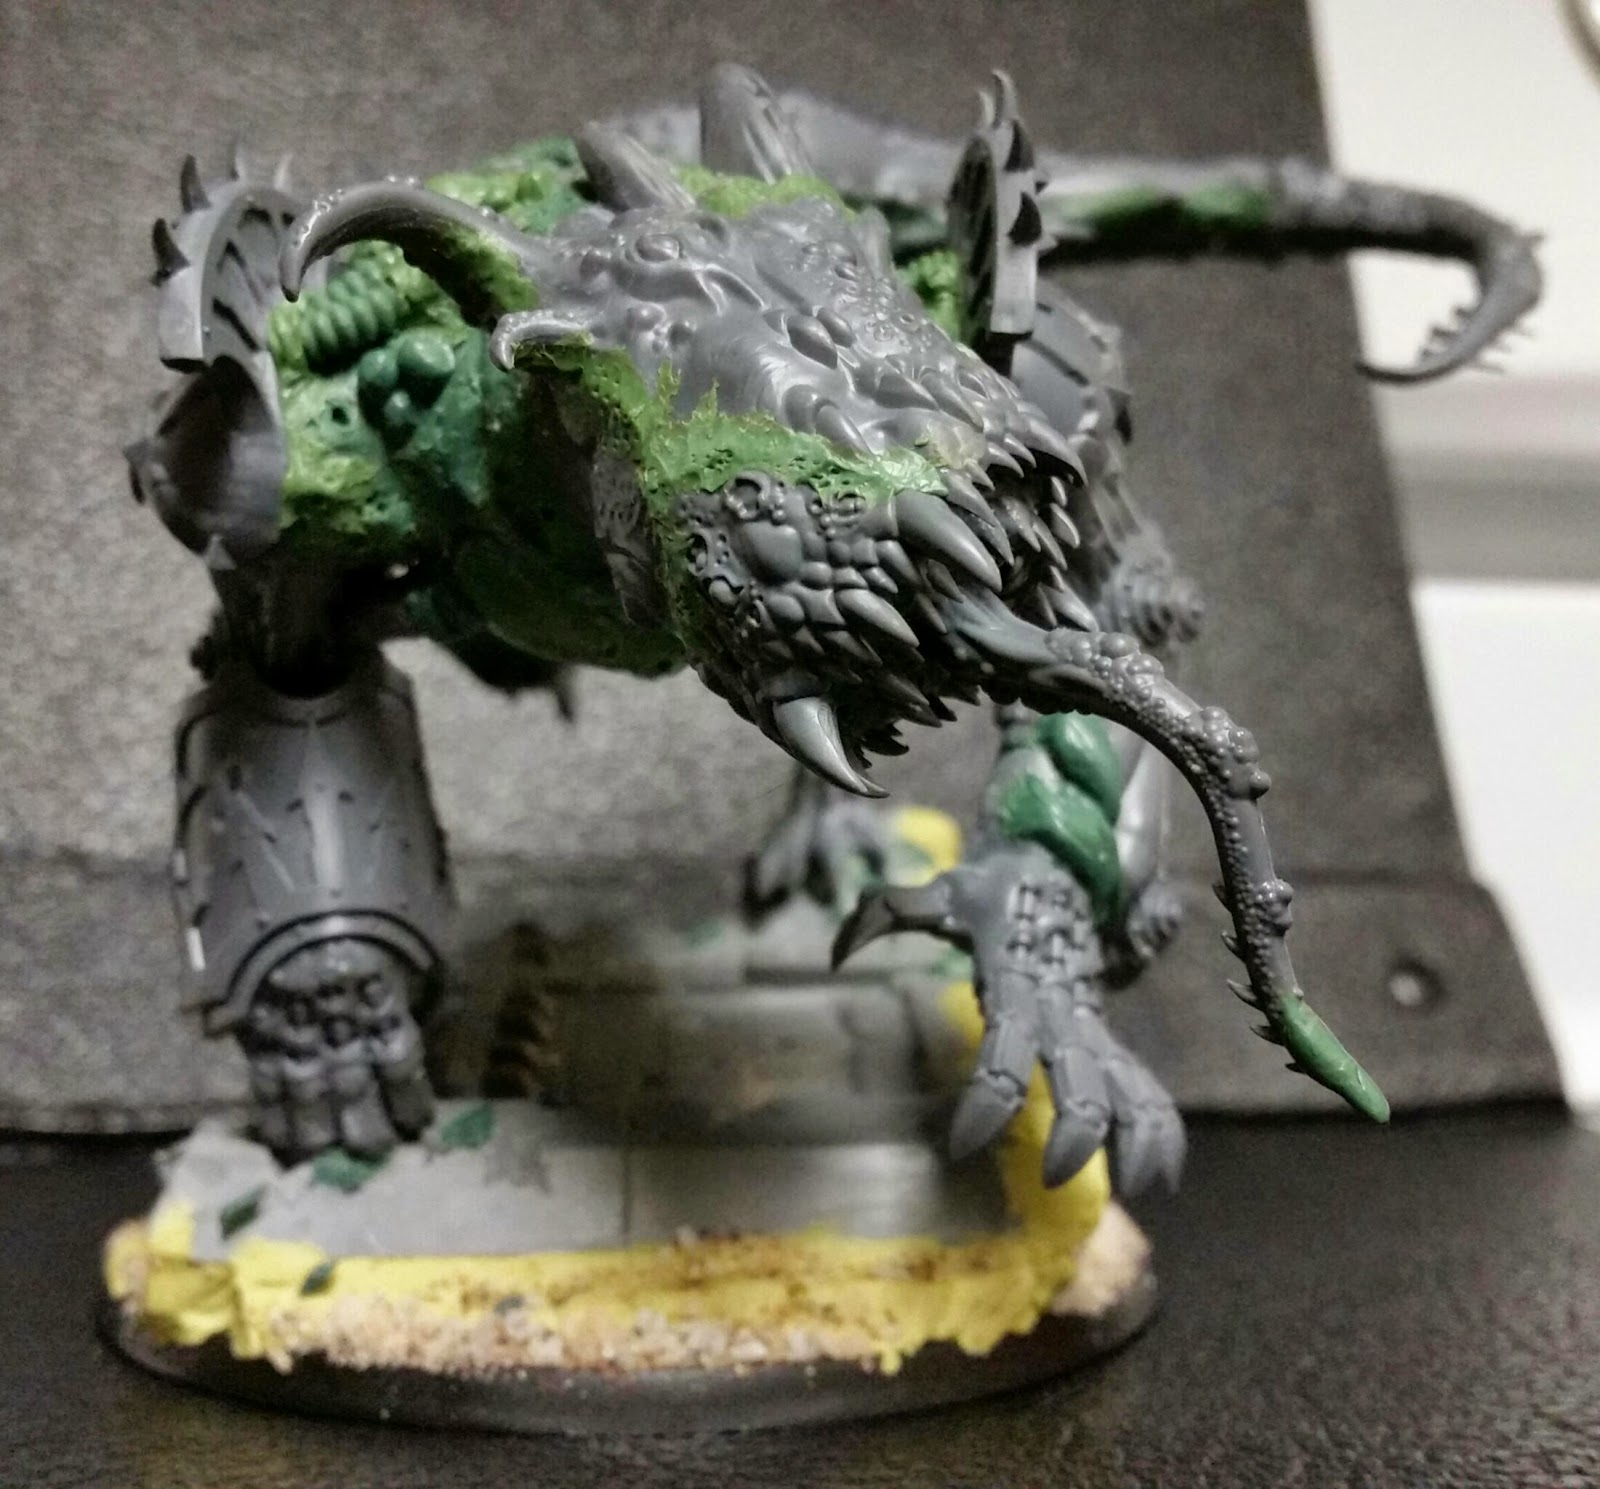
The legs came armored in Grey Knight armor, so I had to sculpt new, chaos themed armor for the legs over the existing set once I had finished filling in the body and creating the green stuff skin. I also took the worm origin into consideration as I added cables (made by the GSI tentacle maker) to the legs. This will convey the mechanical nature of the daemon engine and also add some color opportunities once painted.
Here is a shot of the other leg where the cables come from under boils and tentacles. This is also a good profile shot of the belly, which was filled in with foam over an armature made from an old coat hanger. The foam filler was then covered and shaped with Milliput, which then I then added the “skin” I mentioned over, making the body to match the existing plastic surface of the Glottkin arms.

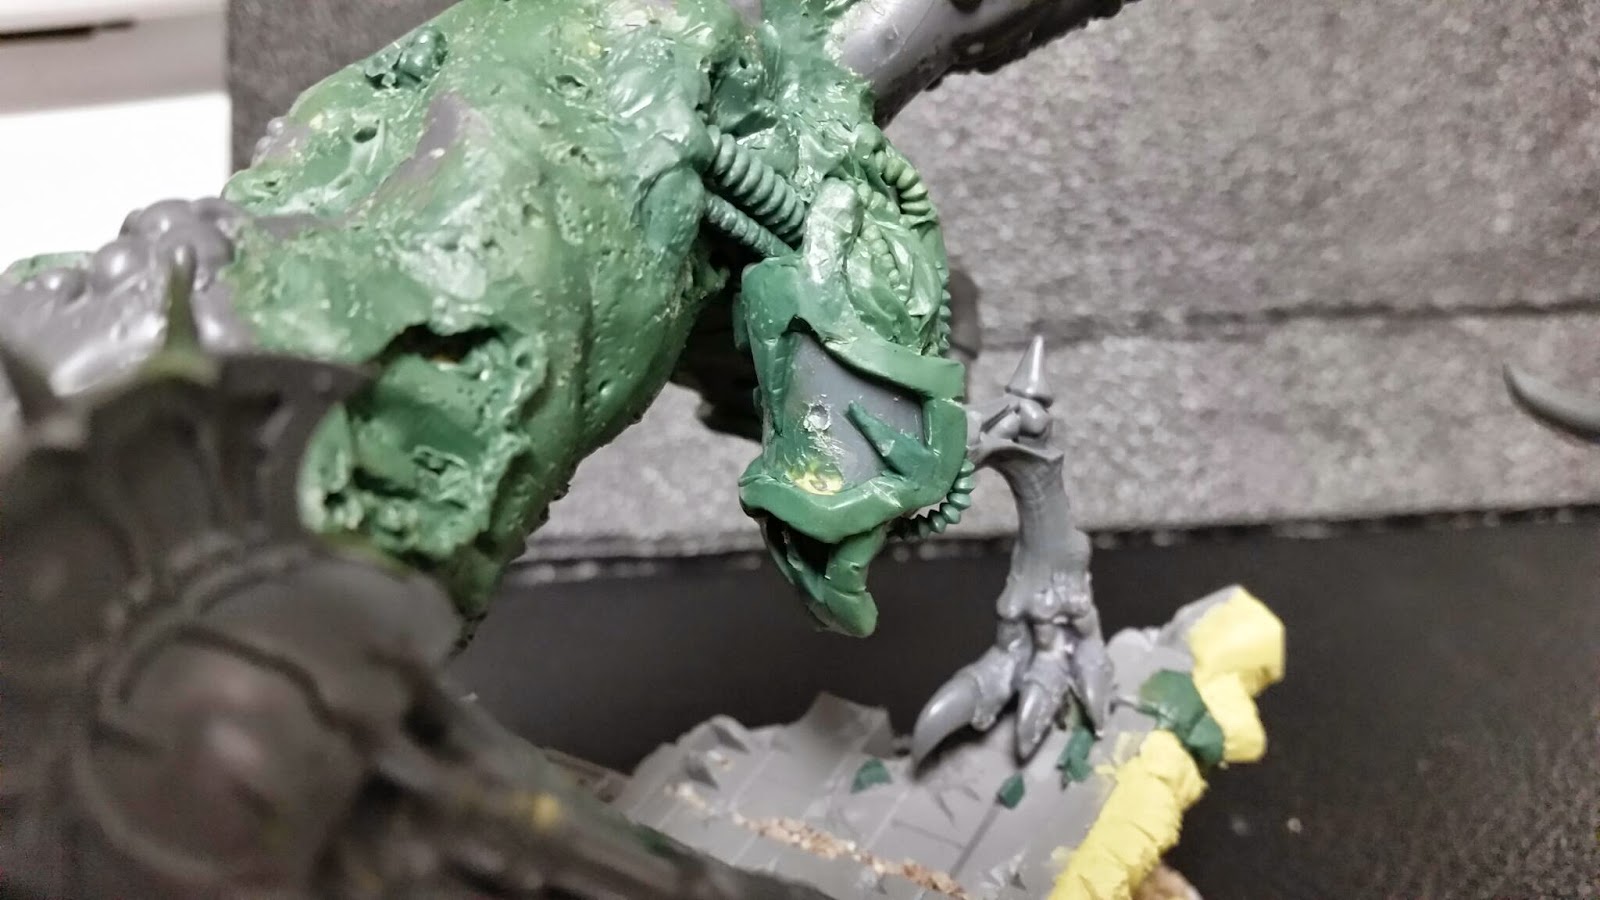
More cables were put into place to “connect” the arm to the body. More than once during the Green Stuff sculpting, I crushed an area I had been working on while sculpting another. This would happen just because I needed to grab it a certain was and I would just forget about what I might be grabbing. It is an easy mistake to make and one you think I would stop making, but there I was! To fix the issue, I just broke the sculpting down into sessions that would cover a certain area at a time.

When I ordered the new arms from the Maulerfiend kit, I grabbed them from Bits World on Ebay and when they came, they were missing armor. Rather than wait for the plate, I sculpted some flesh to match the flesh already present on the mauler arm.
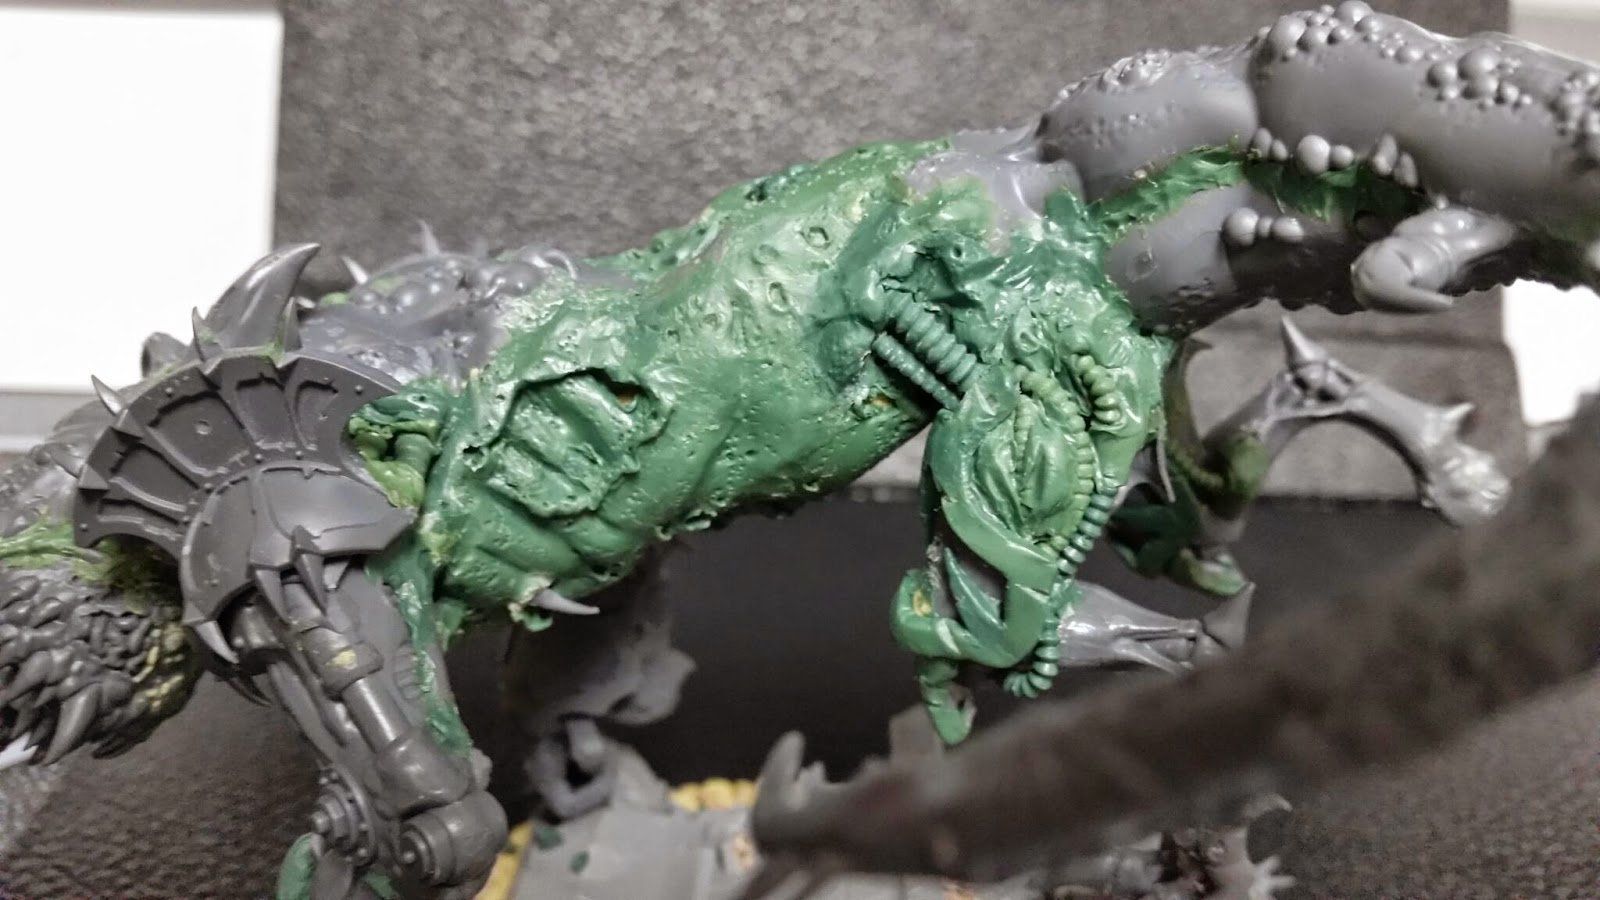
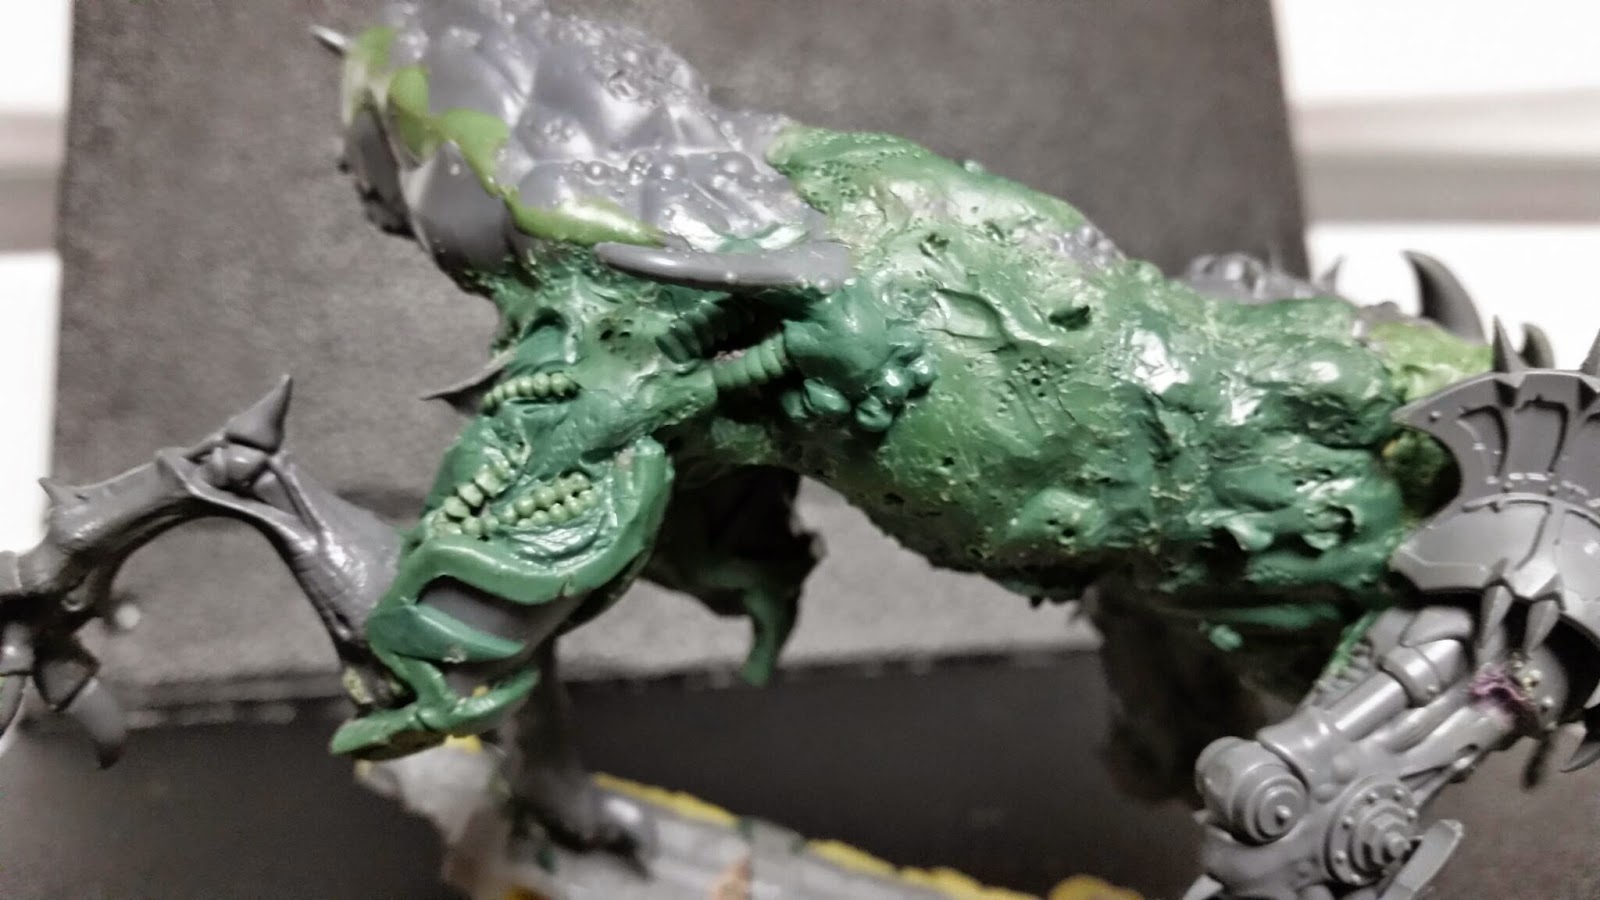
Another profile shot displays some of the layering work I did with this sculpt. I have rarely layered and when I have it has been to achieve a skin-over-exposed-guts look. Here, I sculpted ribs, then muscle, then skin, which in this one spot is broken. This should expose all of the layers in one way or another and offer a great little spot to paint.

The bottom of the wall section is usually flat, so I did some work to add some bulk to it that should look very good (in theory) once I get it painted and powdered. Fingers crossed.

The wall is propped on a crumbled pillar (another thing that will be obvious and hopefully awesome once painted). My army is based mostly on what looks like a battle ground of shattered ruins that have been reclaimed by dust and sparse, starved grass. The intent is not that the way was just ripped from the ground and shattered. I actually intend for it to be a section of older ruins.
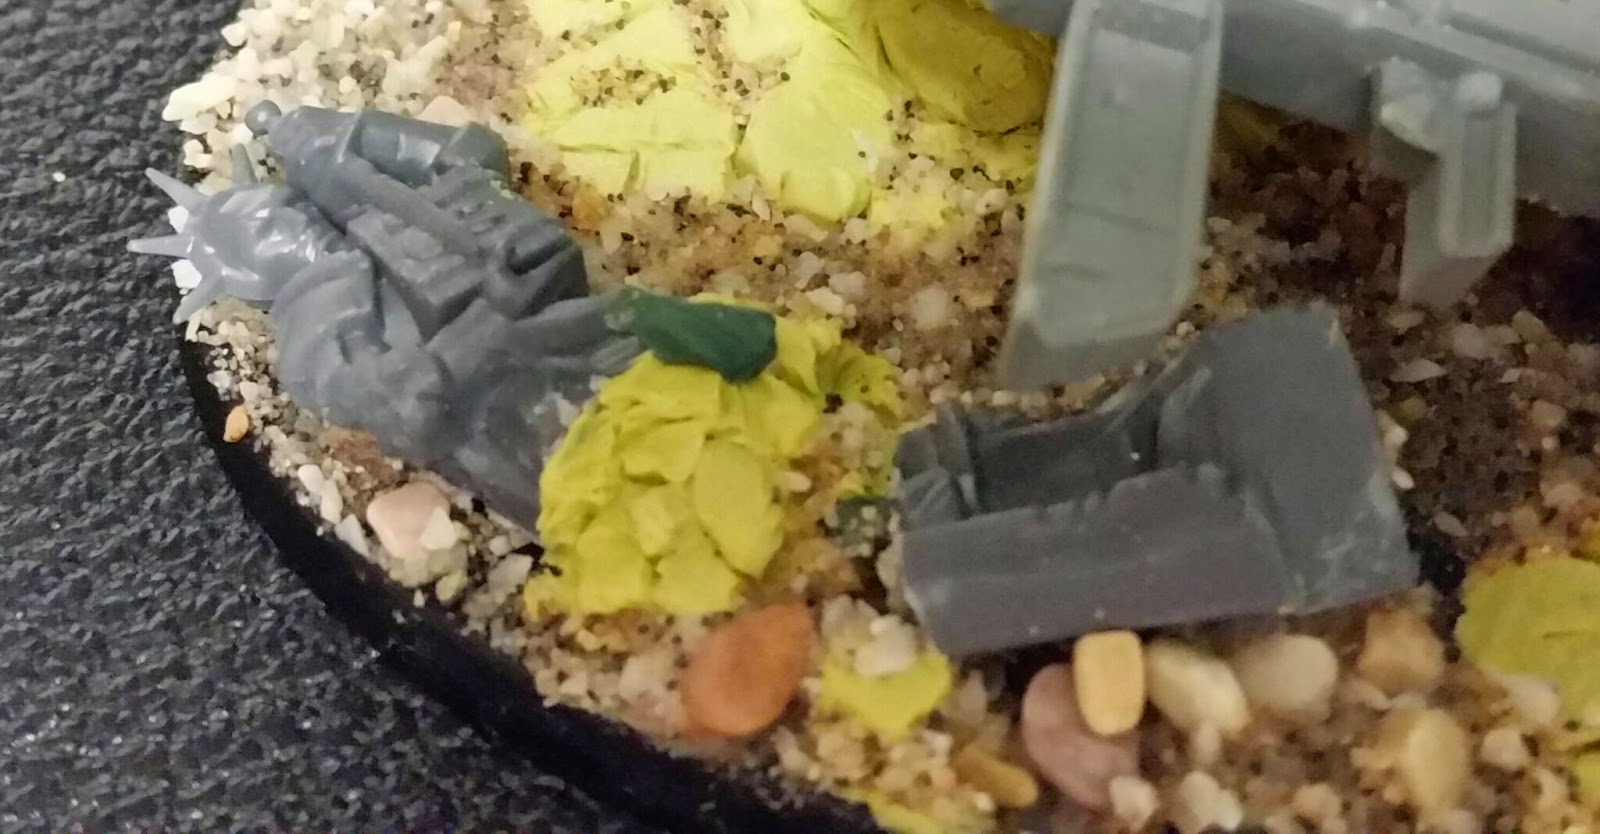
The statue is one from some Warhammer Fantasy building set I had from some other project. I have had it for years and finally found a purpose for it. I cut it up, dropped the pieces onto the base and then sculpted some rubble with some parts that match the actual plastic of the statue.

The fist is one of the anchor points and is mounted to a part of the column that was already shattered, which was conveniently fist sized! I added some cuts of scrap green stuff to the area around it to illustrate the impact of the fist as it shattered the surface of the column.
Speaking of anchors; the only way this model work is because of how it is pinned. I pinned the back left foot and this front right fist using brad nails, which are about three inches long and incredibly strong. The brad nail in the fist is pinned two inches into the arm and one inch into the base.
The rear pin is 1.25 inches pinned into the leg and the rest is anchored through the plastic wall and in a section of the Milliput that I specifically sculpted late in order to fix the pin in place.
The result was a very strong bond. I tend to build my models to travel and to play and I can’t stand a fragile base situation. I tested this base by shaking the model like a paint can to make sure it wouldn’t fly off. It didn’t budge.

Overall, this model took a lot of work, but I like it. For me, it has a lot of little stories weaved into spots where I fought back against a setback or a mistake. There are private jokes for me and Easter eggs hidden for sculpting and modelling enthusiasts to find when they look closely. My models tend to have those kind of stories and histories in them for me and it really makes me enjoy creating them and seeing them on display or on a table.
At the end of the day the feeling I get from creating new monsters and finding a way to challenge myself with each project is what keeps me coming back.
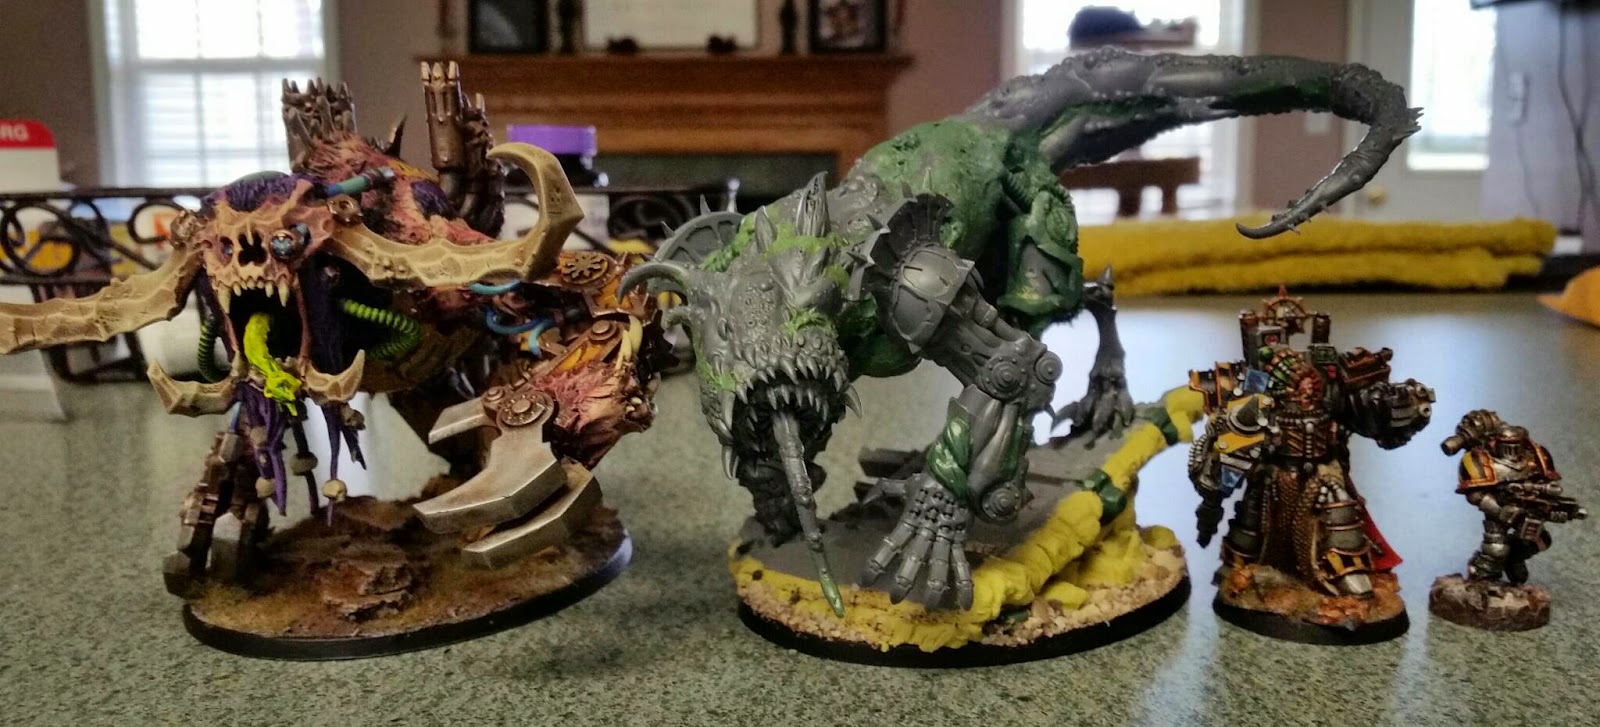
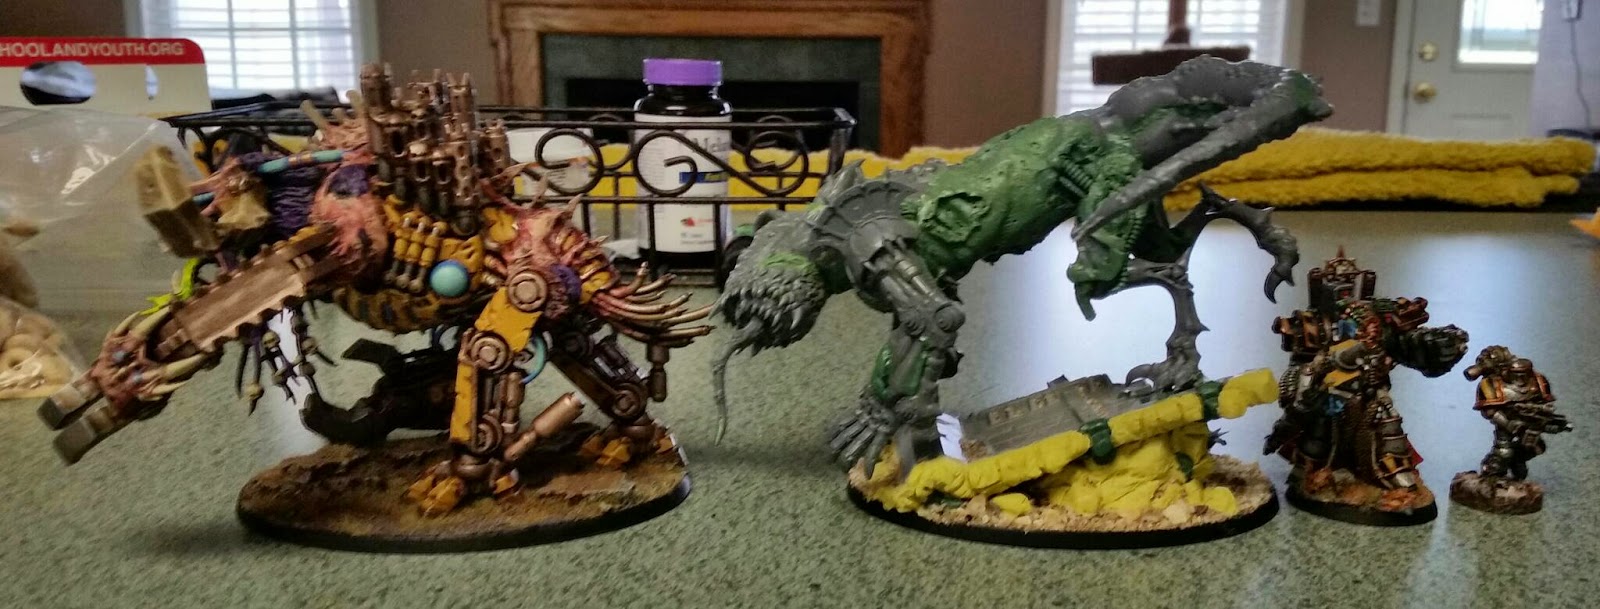
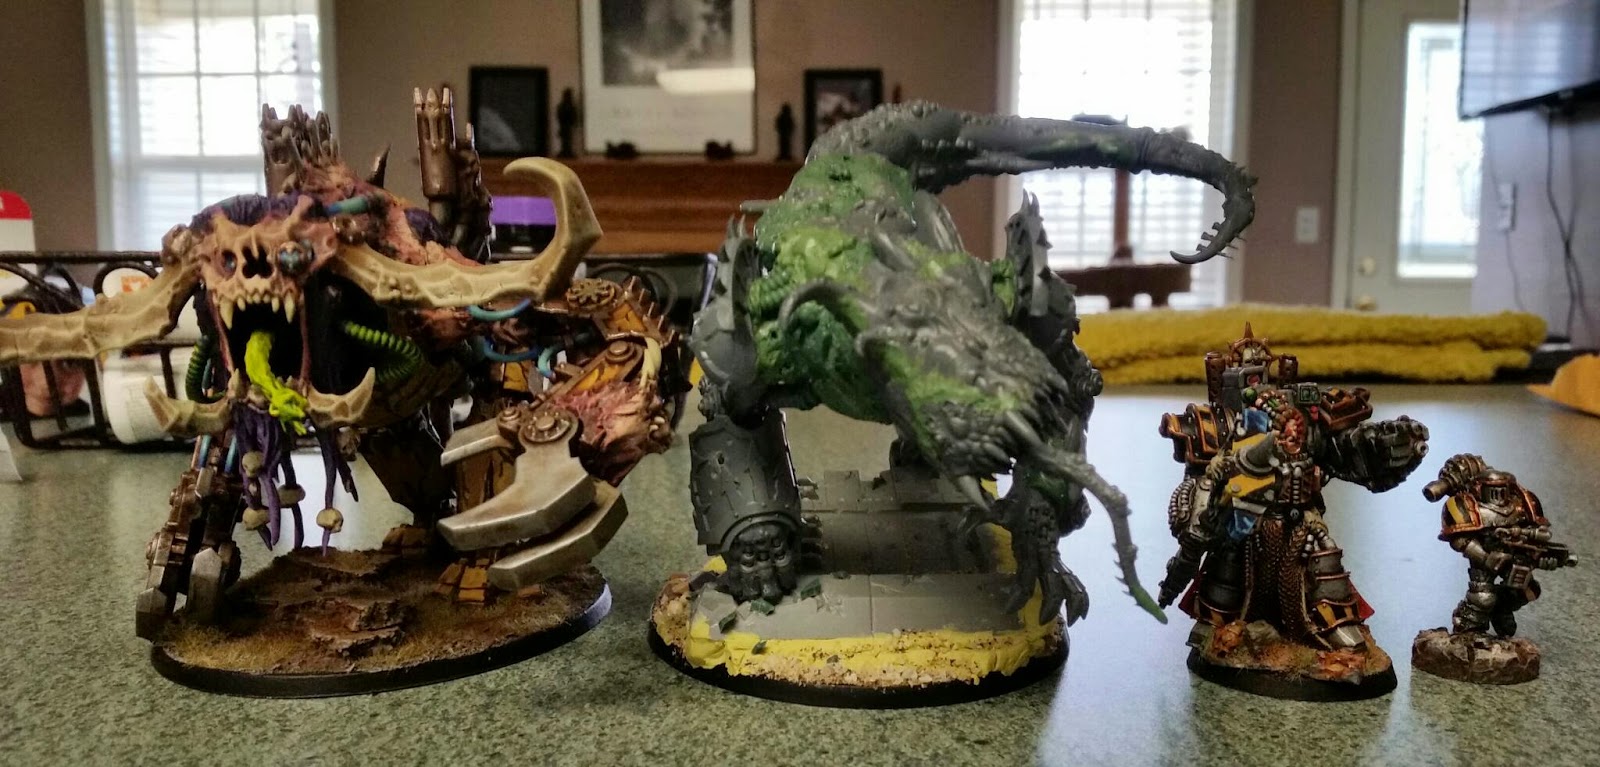
Here is the Panther next to another Maulerfiend kit bash, the Mammoth (on the left), Perturabo and a random Iron Warrior (both on the right) for size comparison.
As you can see, the Panther Mauler’s head and torso are the same size as a regular Maulerfiend (the model the Mammoth is based on), though the tail takes it beyond that though not by much as it is curved inward. The basing does take it high and is a disadvantage I am willing to live with as I prefer the “Rule of Cool” to borrow a line from Mini Tim.
Overall, the project has been a ton of fun and is another step toward my goal of being the “King of Monsters.” As I type this, the primer is drying and I really cannot wait to put some paint on this model. In the meantime, I would love to see what the community here has to say about the model and I welcome any and all feedback as it can only help me grow. Thanks for reading this extremely huge post!
