Getting a table to game on is only half the battle. Come see how to build cheap ruins terrain for your tabletop cheap and easy!
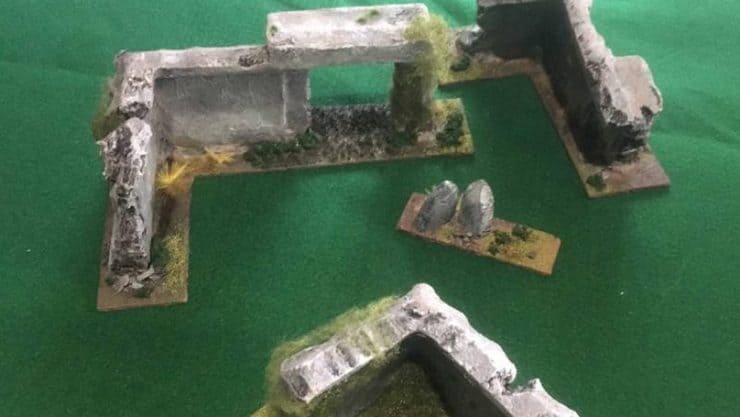
After building my fancy gaming table, it became apparent that I did not have nearly enough terrain to cover the board. Thus, a set of ruins were created!
Having spent my monthly hobby money on the table, I decided to make something relatively on the cheap with what I had on hand. This set of ruins was created relatively cheaply and with little effort on my part.
For this project you need the following:
- Foam Cutter (you could use a knife in a pinch)
- PVA or White Elmer’s Glue (Never use super glue on foam as it will melt the foam)
- Cheap acrylic paints (black and couple shades of grey)
- Cheap brushes (seriously, get a set of five for $2)
- Hand Saw ($3 at hardware store)
- Baseboard (thin but it needs to be sturdy)
- Any type of basing material you have.
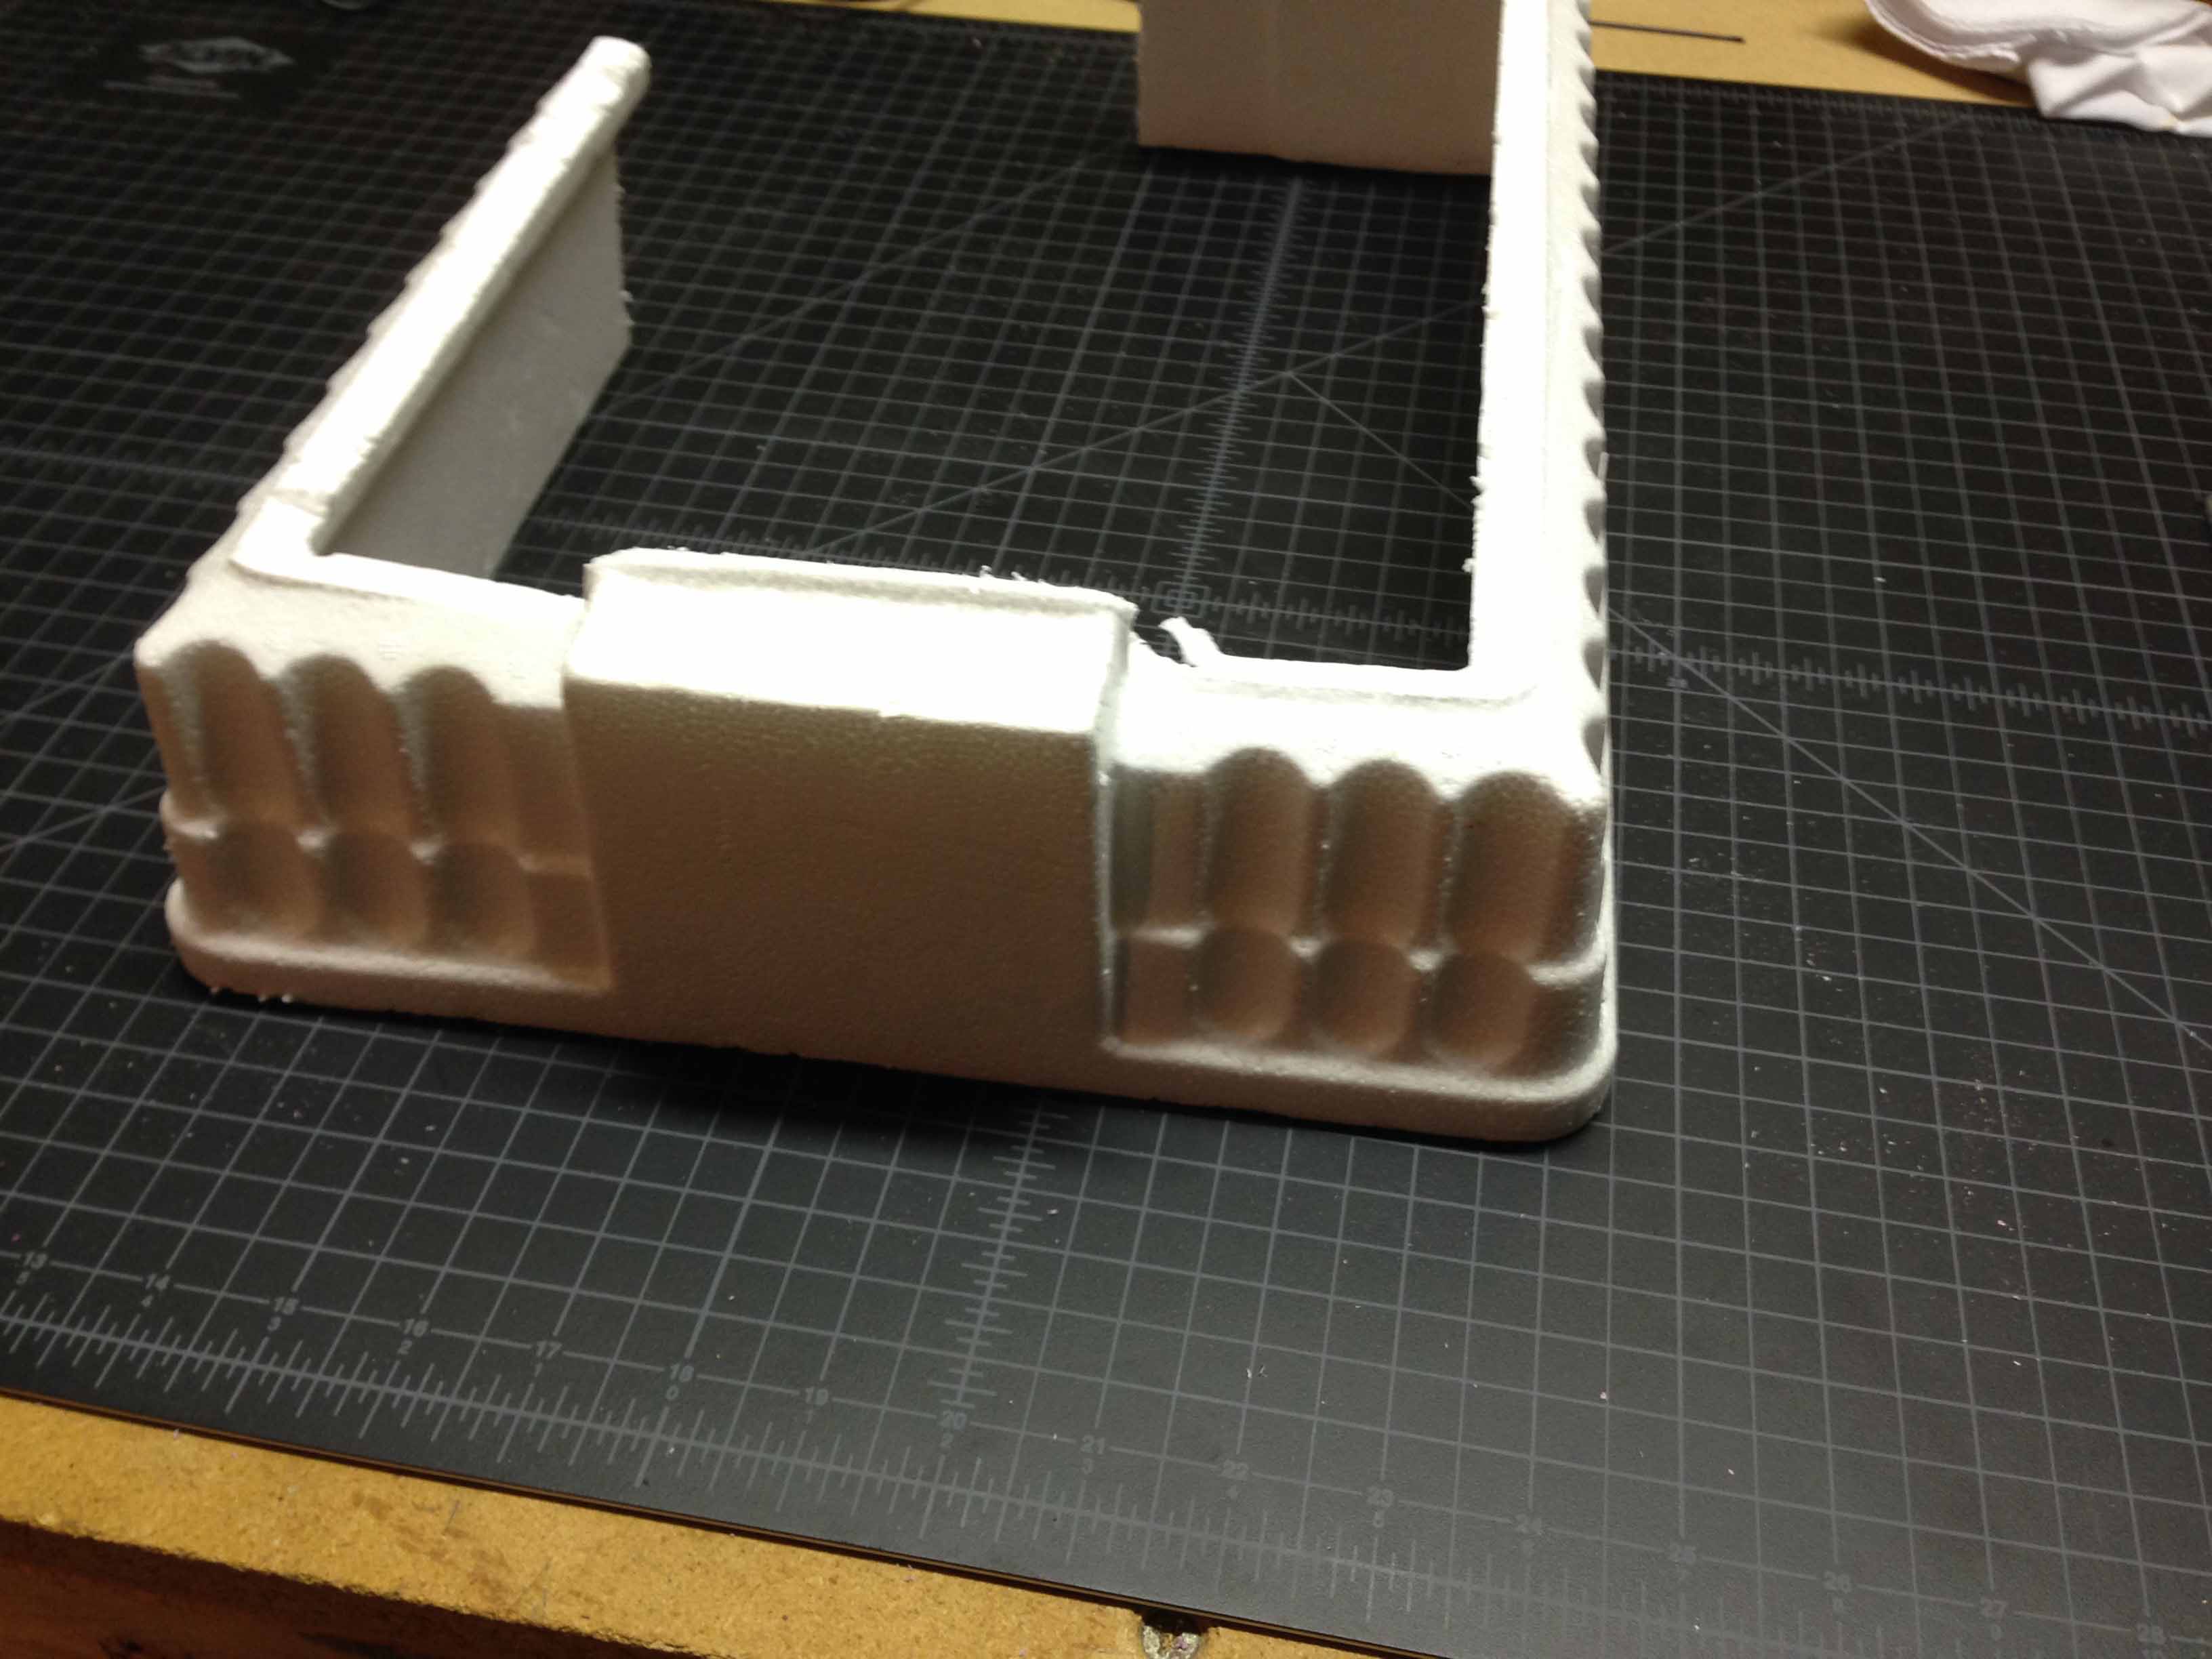 Starting with the foam: this is just some packing foam that I found in the hallway at work so it is easy to find. If nothing is at work / school you can try calling computer stores and see if they have any they are willing to give you. A lot of things are shipped in foam, so if you call around sooner or later you can find somewhere that has some foam they are just going to throw out.
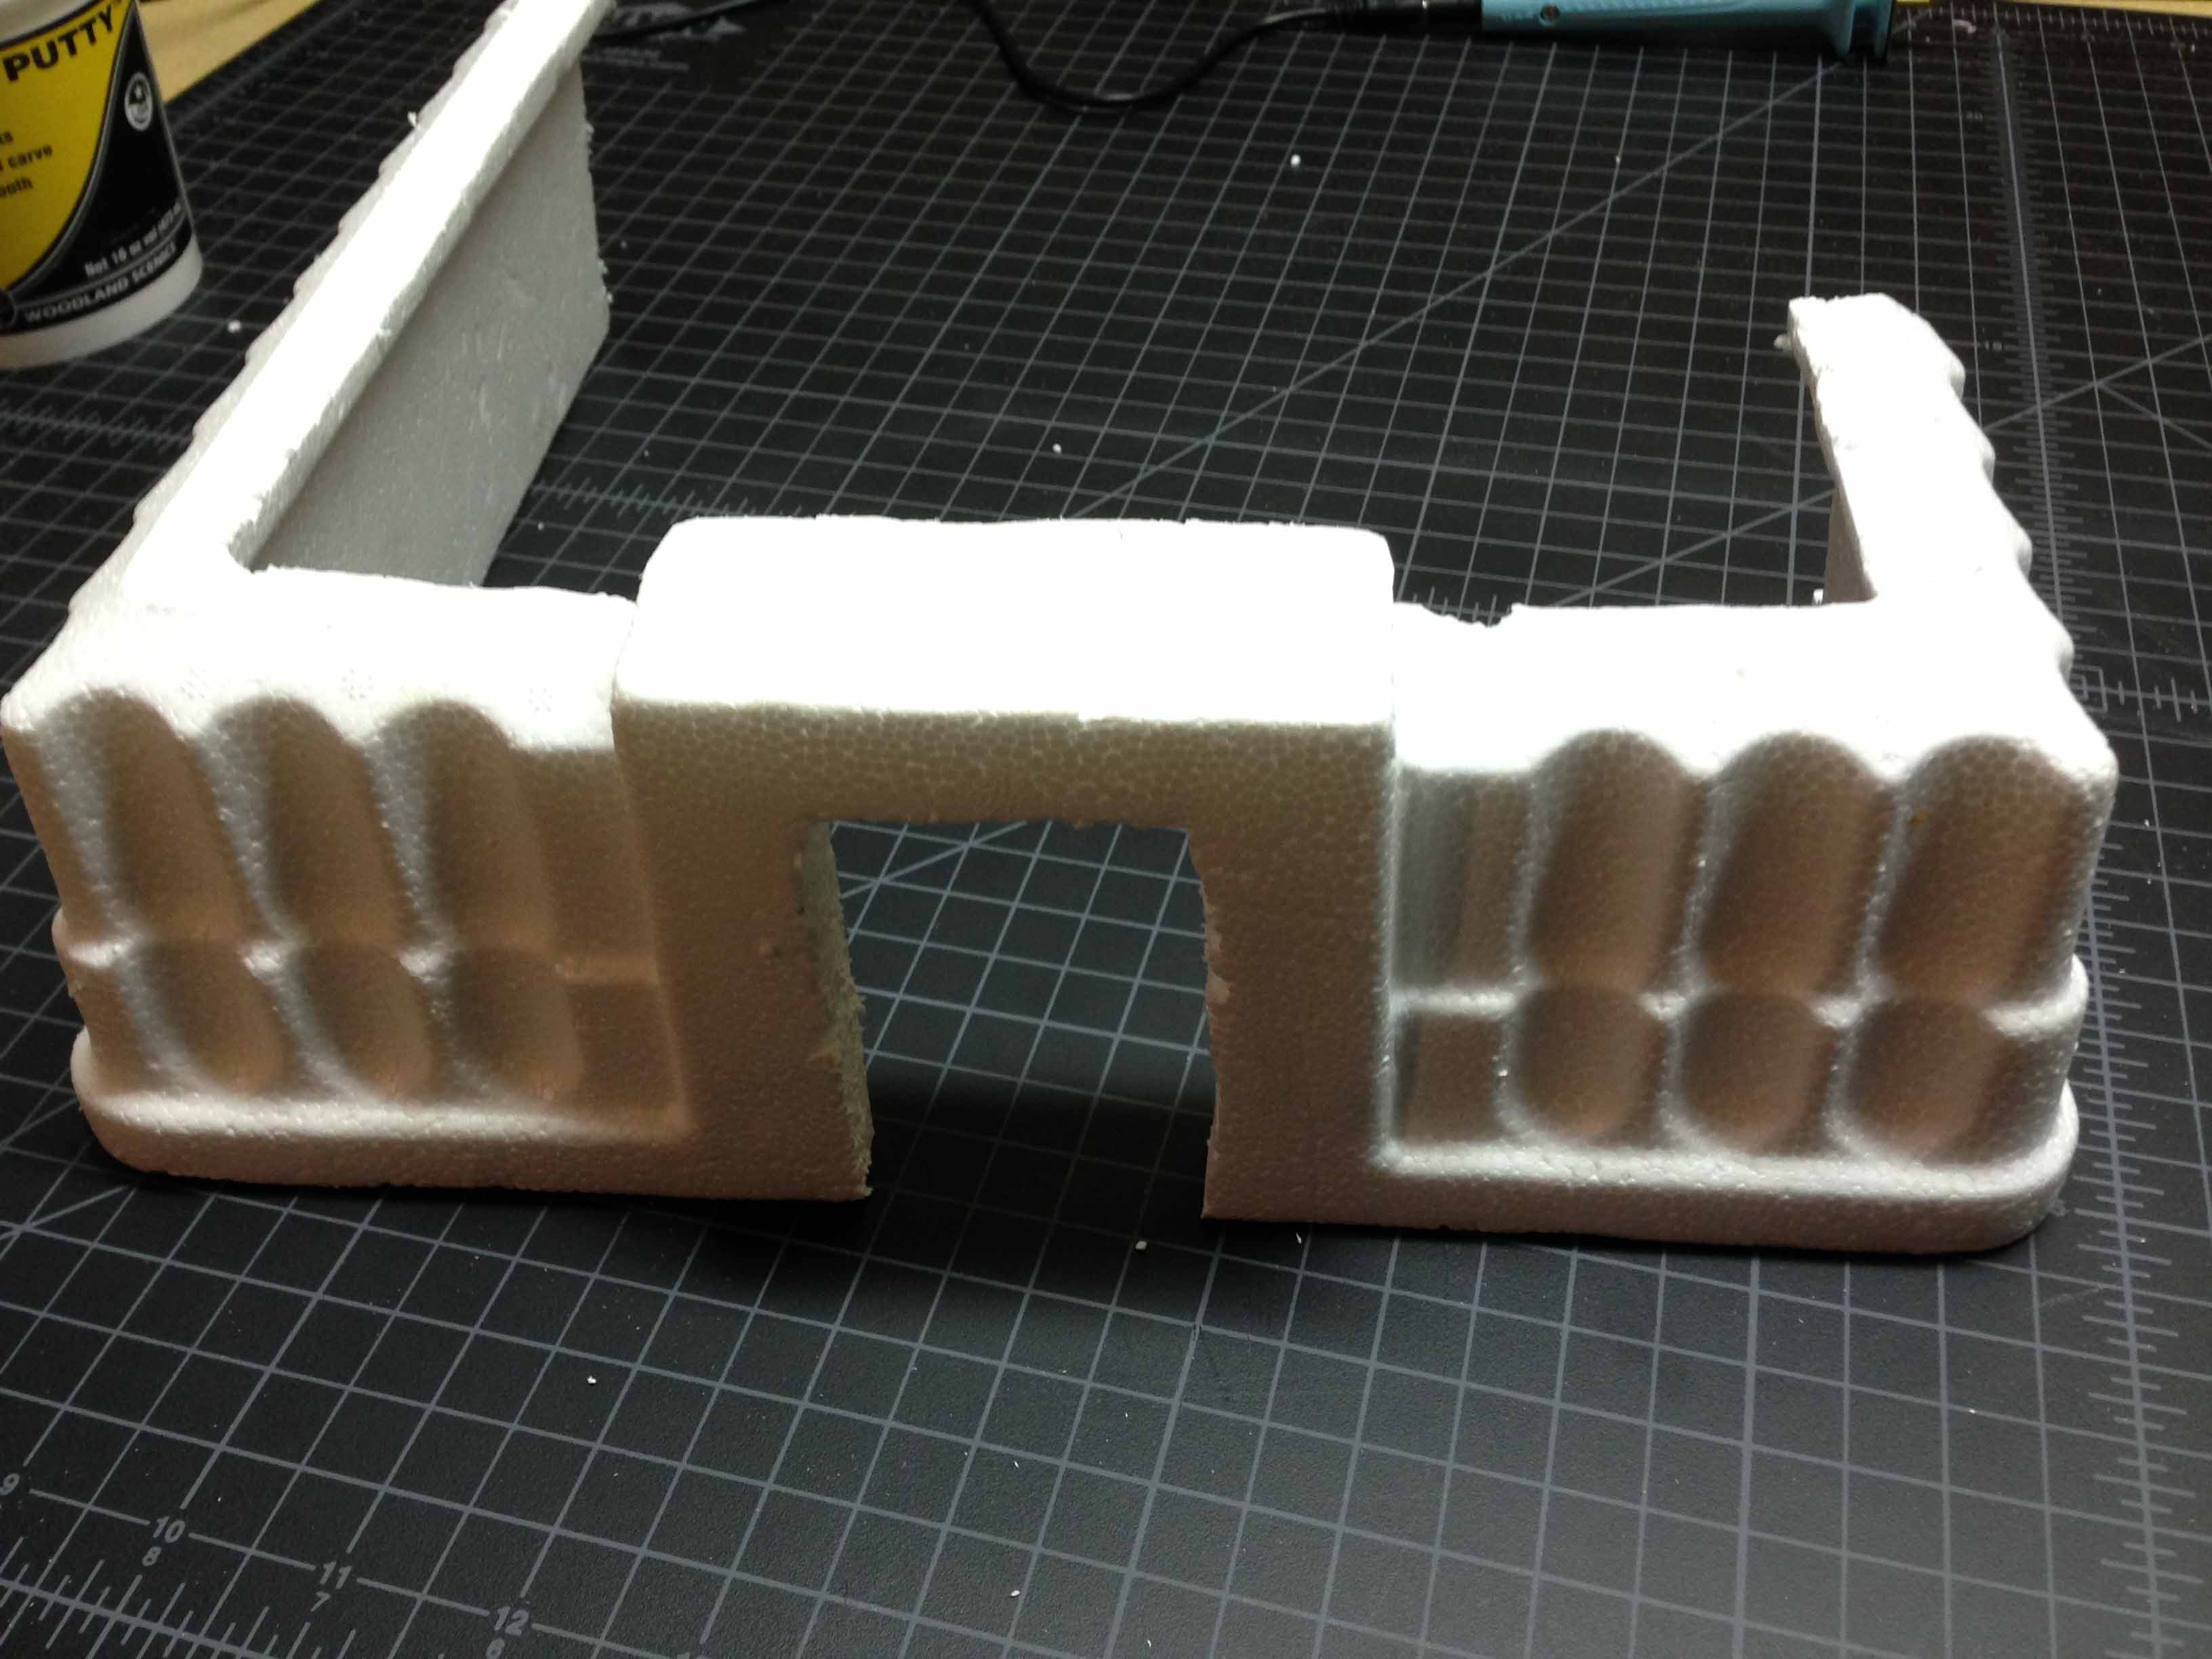
Then, using the foam cutter (you can find them cheap at hobby stores), cut out some random chunks out of it with no rhyme or reason. When you think about a ruin, think that once they collapse from whatever reason the elements are going to chip away at any exposed parts. Once you are happy with what you have cut out, set it aside and repeat for as many pieces as you want.
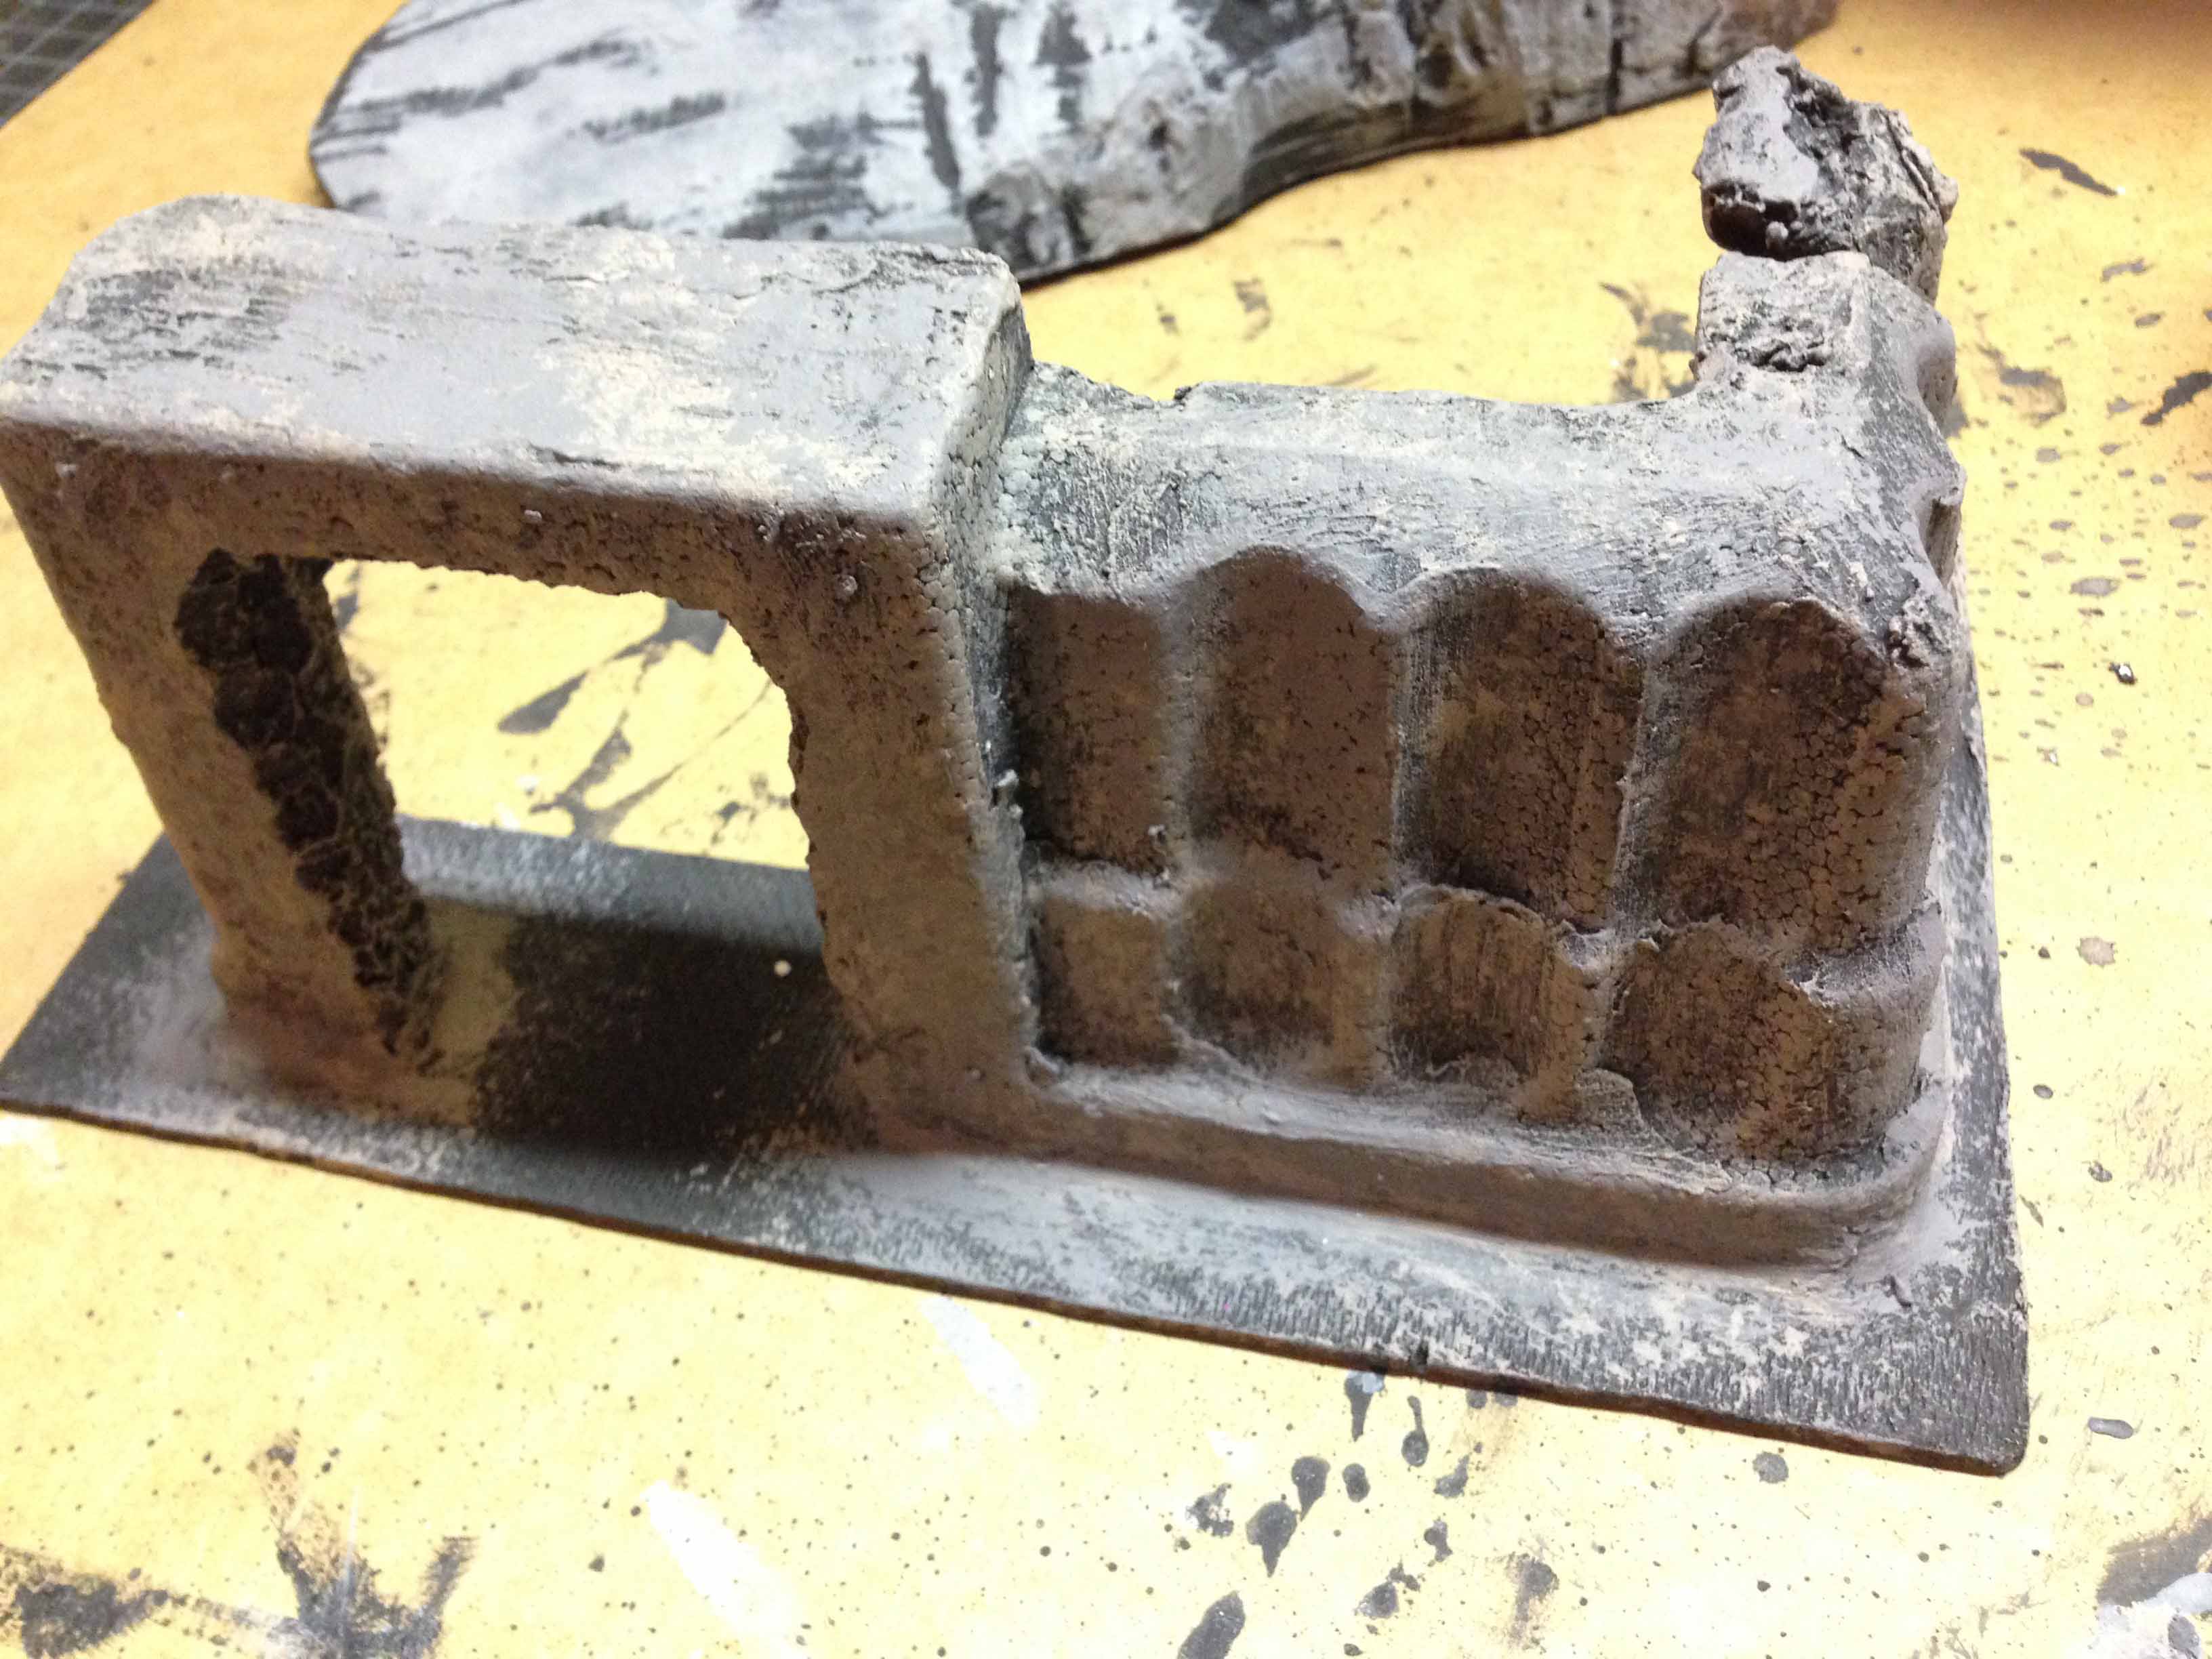
Next, put the pieces on the baseboard (about $10 a sheet) and trace an outline using a pencil, then cut out the baseboard using the handsaw. Or you can just use a ruler like I did measure out a rectangle, and then cut that to be used as the base. After that you will want to paint them up, the paints I use can be found at the hobby shop and cost between 60-90 cents each so about $5 total. I use black first as a base coat and then go heavy with a coat of a dark grey, following by a lighter hand of a medium grey to pick out bumps and rocks. After that I usually dry brush with a light grey, followed by a very fine dry brush of white for the walls, and then a similar scheme with the baseboard except replace the grey and white with a brown and orange. (Note: Never use spray paint on foam, it will melt the foam).
 Once dry, it is time to finish them off with some basing material, on these I put some rock (free) and had some leftover flock from a Woodland Scenic Grass and Foliage diorama kit ($8). I tried to scatter it around like birds or whatnot dropped random bits here and there. Also, I added some moss/vine things growing up the side of the ruins for a little bit of flair and call it good. Total if you already have the glue, foam cutter, and handsaw will run you about $25, give or take a dollar.
![]() More from Trav the Builder on Miniatures & Tactics
More from Trav the Builder on Miniatures & Tactics