Join Trav the builder on his first tutorial going over how to build a good gaming table in his first step by step guide for the actual table itself.
So I want to start this article off by saying I am not good at construction things, so this really is a very simple project to do if I can do it. Seriously look at this picture, does this look like someone who is good at making things? (I have shorter hair now, still look homeless though)

With that being said I did build a complete table and it holds up pretty good, so if I can do this over 3-4 hours in an afternoon so can you! Let’s get started with the materials you are going to need to purchase from your local lumber / hardware store. (In the mitten state that is either Home Depot or Lowes)
First you will need to have the following items on hand:
- Drill with drill bits and screw driver bits
- Tape Measure
- Pencil
Items you will need from the hardware store: Note there is a ton of options for different kinds of wood and things, the main thing I was looking for was sanded (we don’t want splinters) and price. So don’t get overwhelmed by the many different kinds of wood, stick to cheap, sanded, and the right size. Also the tags are going to show Common and Actual size, use the Common size when you buy these.

- (A) ONE 4 foot by 8 foot piece of sanded plywood (1/2 inch thickness) – 19 dollars
- (B) ONE 4 foot by 4 foot piece of sanded plywood (1/2 inch thickness) – 7 dollars
- (C) TWO 1 inch by 4 inch 6 foot boards – 6 dollars total
- (D) FOUR 1 inch by 4 inch 4 foot boards – 8 dollars total
- (E) ONE box 1 and ¼ inch dry wall screws – 4 dollars
- (F) ONE box 1 and ½ inch dry wall screws – 4 dollars
- (G) Staining product, I used the pre-soaked wipes – 7 dollars
The nice people at your local lumber yard are more than willing to cut the lumber for you so you need to do the following to each piece of wood:
- The 4 foot by 8 piece (A) needs to be cut so that you have a 4 foot by 6 foot piece, leaving you with a 4 foot by 2 foot piece. You will then cut that piece into 4 pieces so they are 6 inch by 2 foot lets call them (A.2)
- The 4 foot by 4 foot piece (B) will be cut into 4 pieces so you have 4 pieces at 6 inch by 4 foot. Then take 2 (very important only 2!) and cut them so that they are 6 inch by 2 foot and 1 inch pieces. let’s call those (B.2)
- The 1 inch by 4 inch by 6 foot boards (C), leave these alone they are perfect the way they are, just like our parents tell us.
- The 1 inch by 4 inch 4 foot boards (D), all of these need to be cut that they are 46.5 inches long (3 feet and 10.5 inches)
- They are drywall screws at 1 and ¼ inch (E) ask someone to find them inside the store.
- See above except they are 1 and ½ inch (F)
- I used the staining wipes (G) which are little bit more expensive but I didn’t want to mess with a brush and wiping it with cloths so how you do this is up to you. The color I choose was walnut, cause I like walnuts.
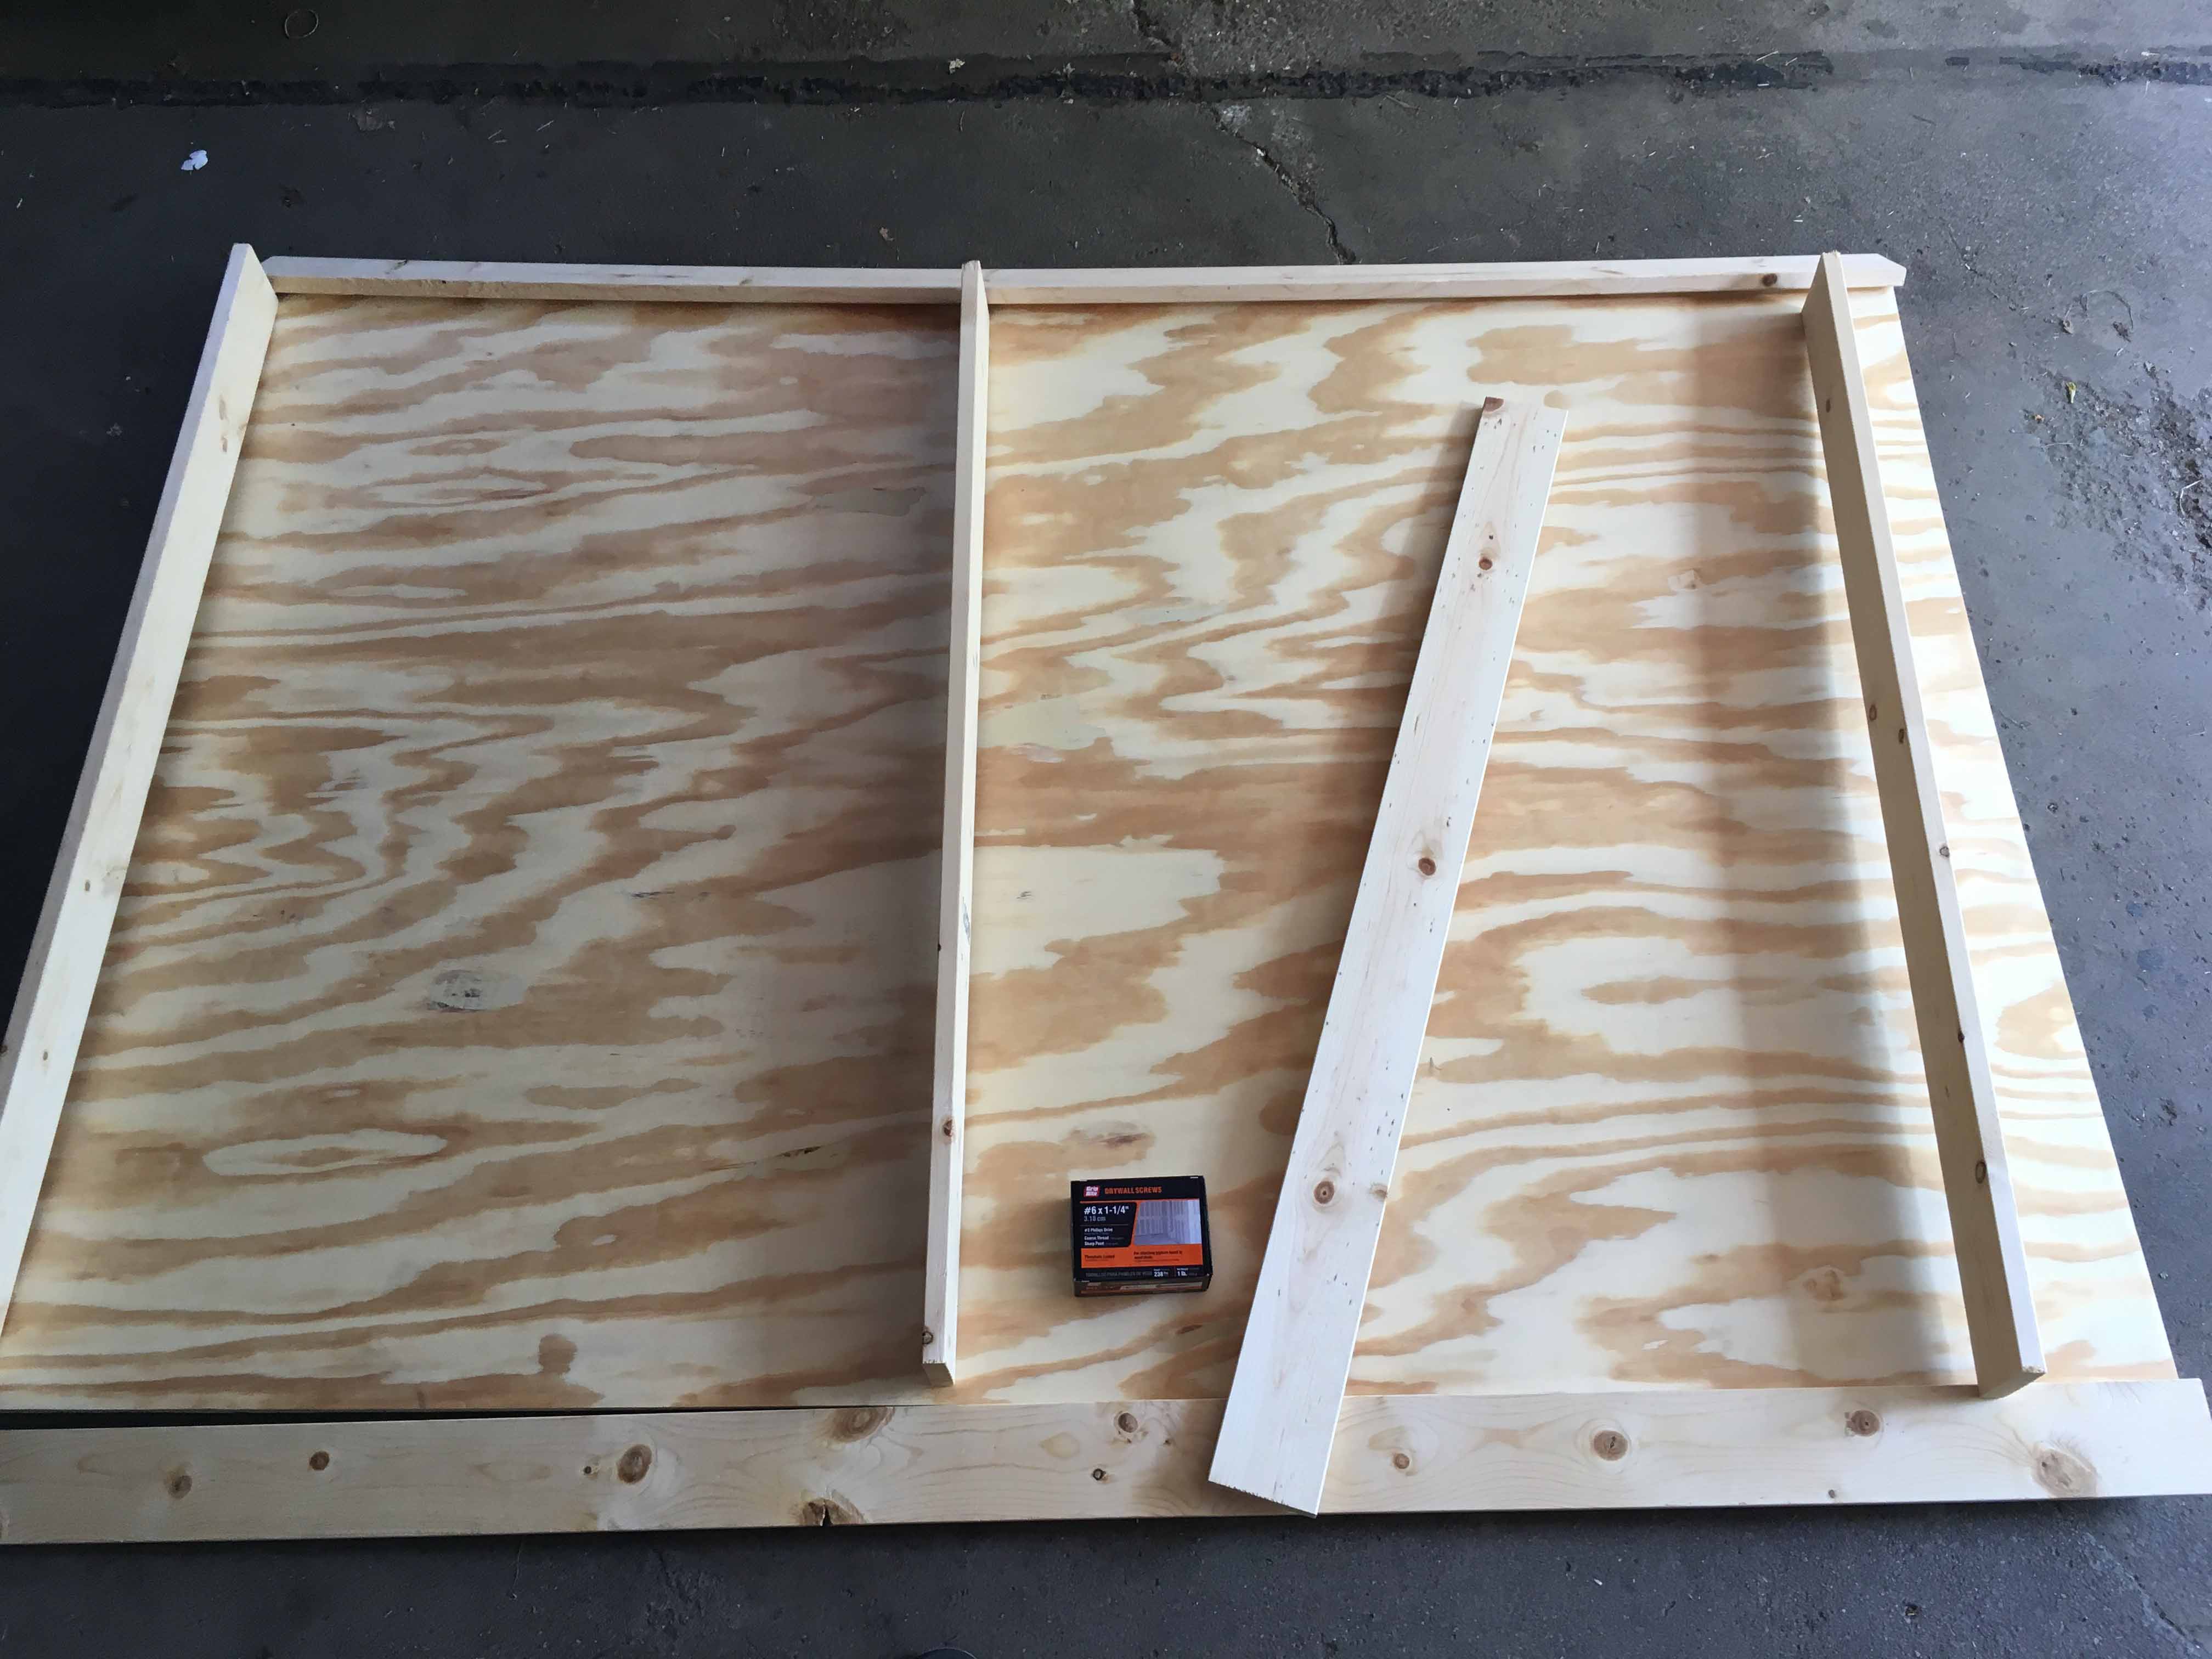
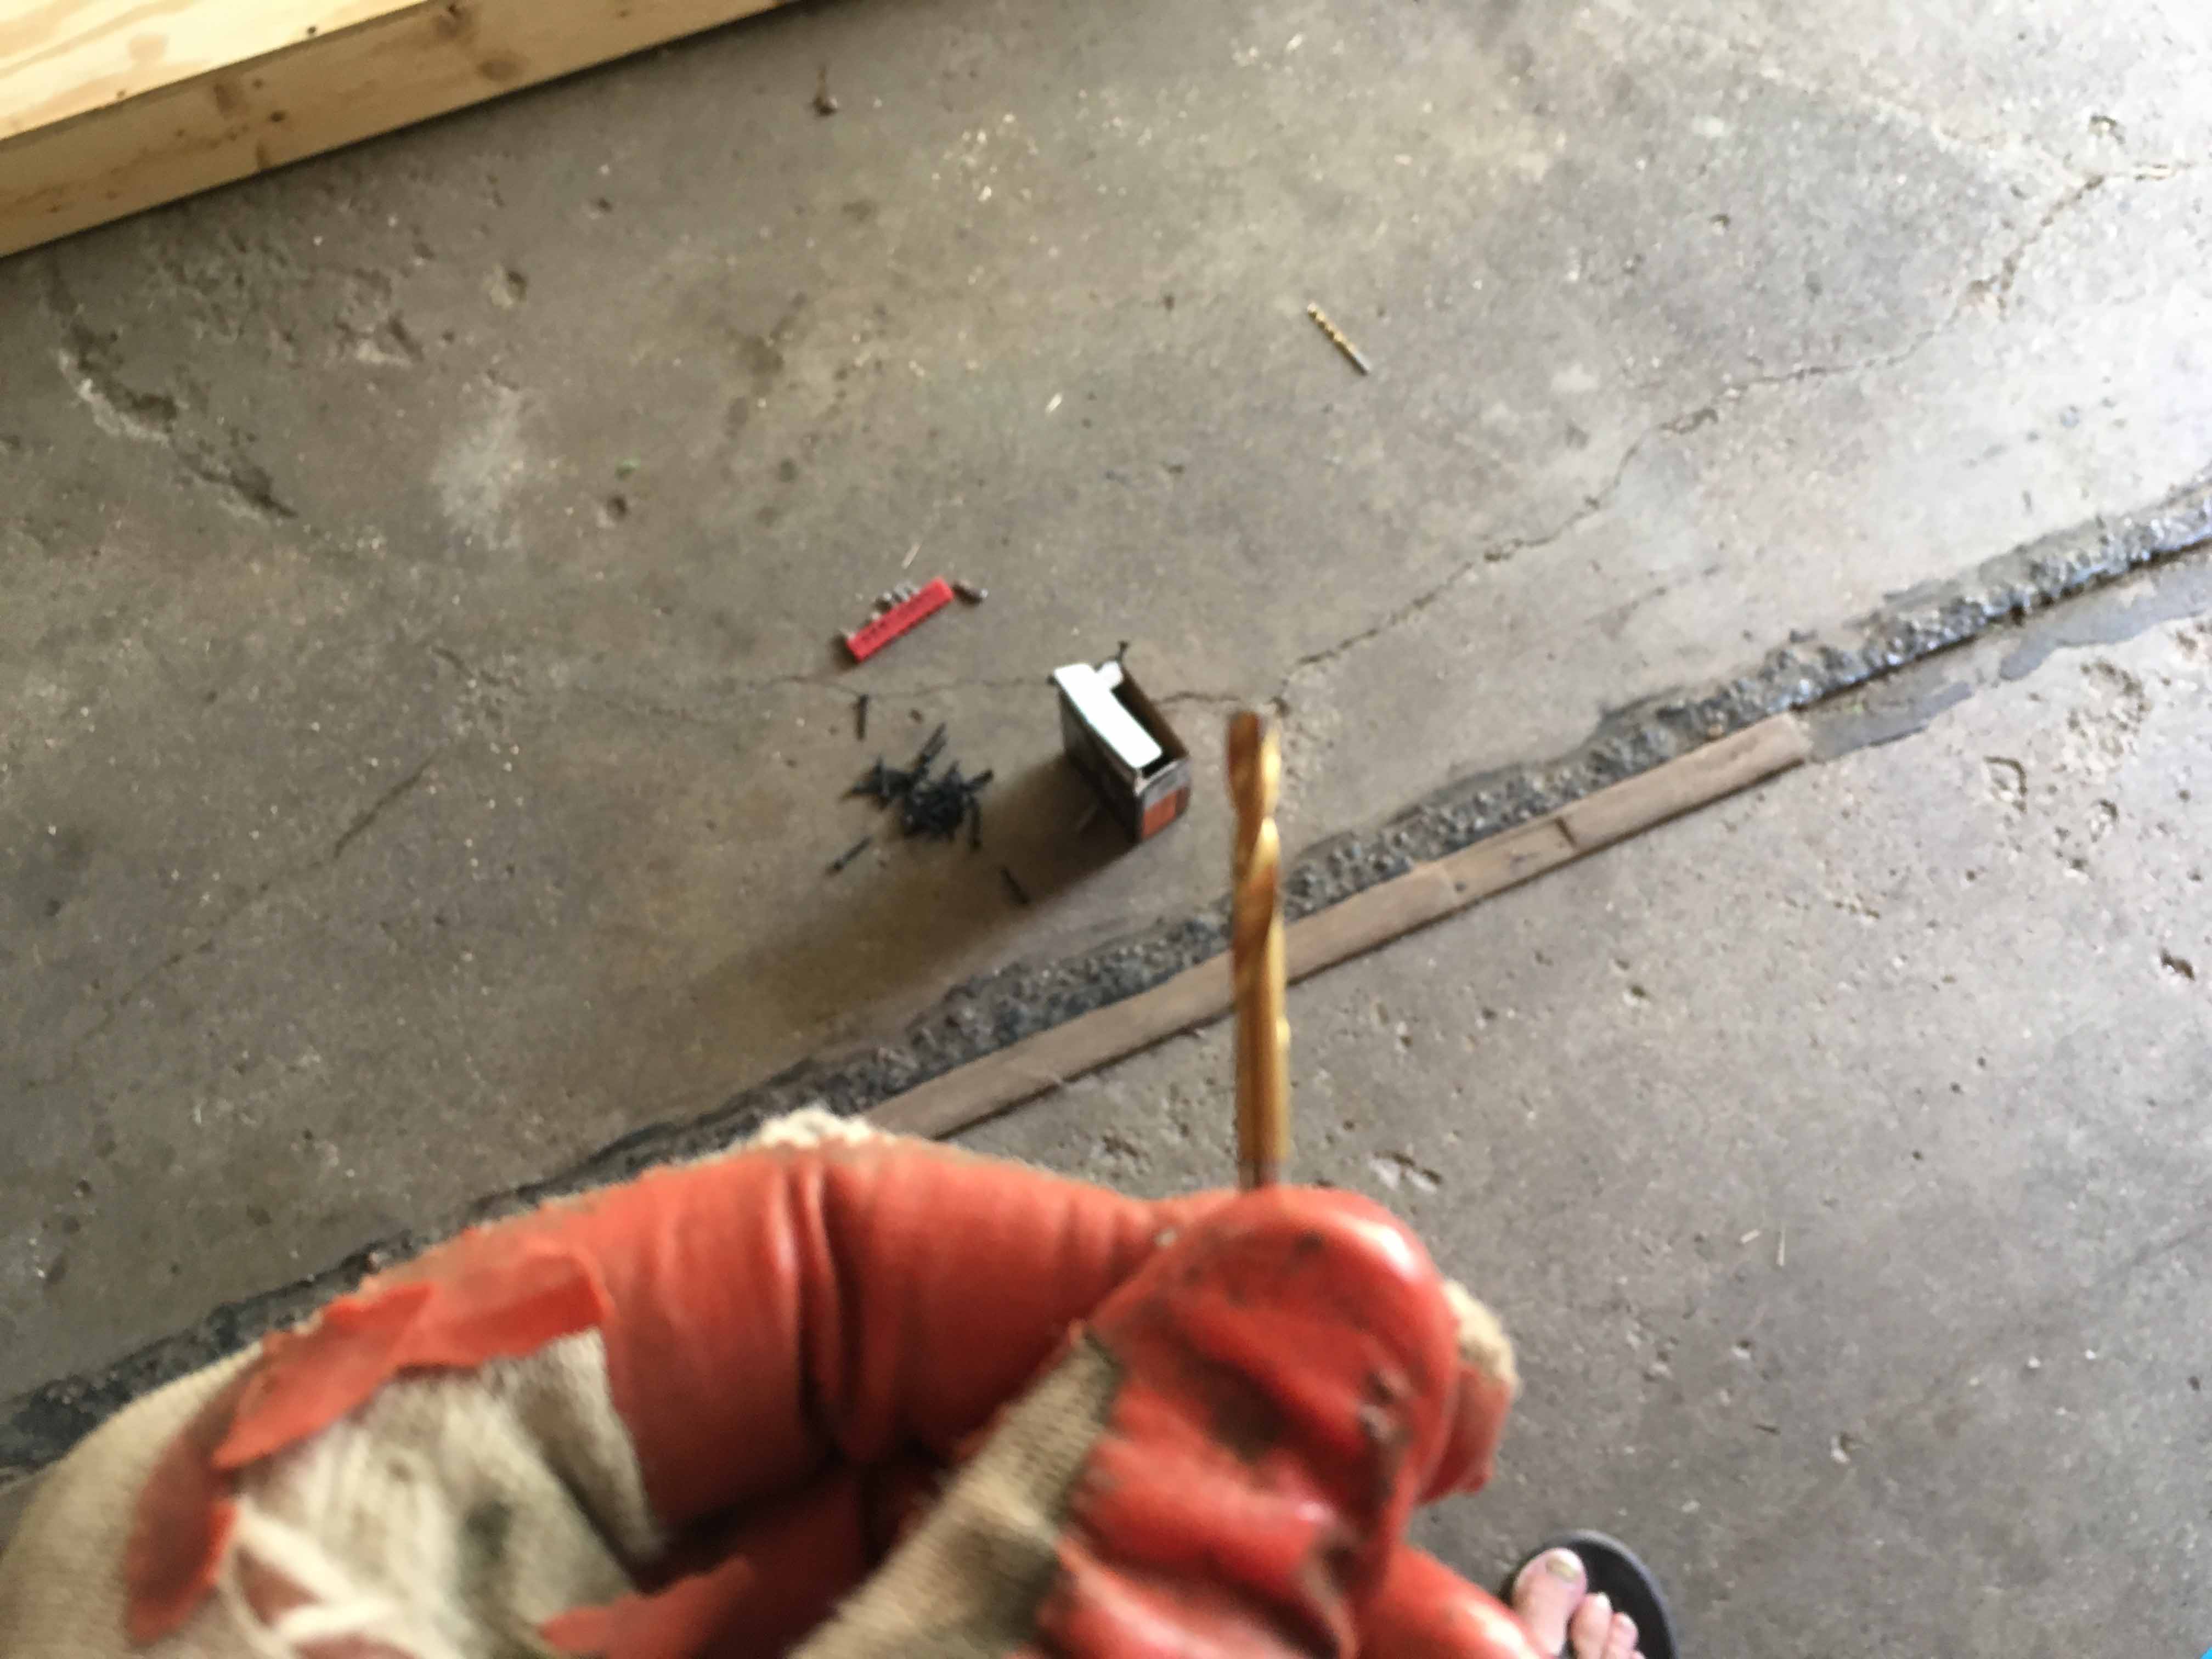
Now you are ready to get started but first choosing the nicest size of your 4×6 plywood (A), to be the table top. Underneath that on your least favorite side you will put the TWO 6 foot 1 x 4 boards (C) length wise. You are going to start on one side and drill a starter hole using a 1/8 inch drill bit, and then proceed to screw in the 1 and ½ inch dry wall screws (F) into these starter holes through the top of the plywood. (Note on the starter holes, keep the drill bit going as you pull it out, otherwise you could end up with a broken drill bit like I had)
They are to be spaced 6 inches apart, I found the best way to do this was start on one end line up the boards and do two holes. Then screw in the 2 screws, and then go back and do 2 starter holes, do 2 more screws, etc., this helped me keep the 1 x 4 boards (C) tight with the ply wood (A). Repeat this process on the other side of the board so that you have both 6 foot 1 inch x 4 inch (C) boards on running length wise.
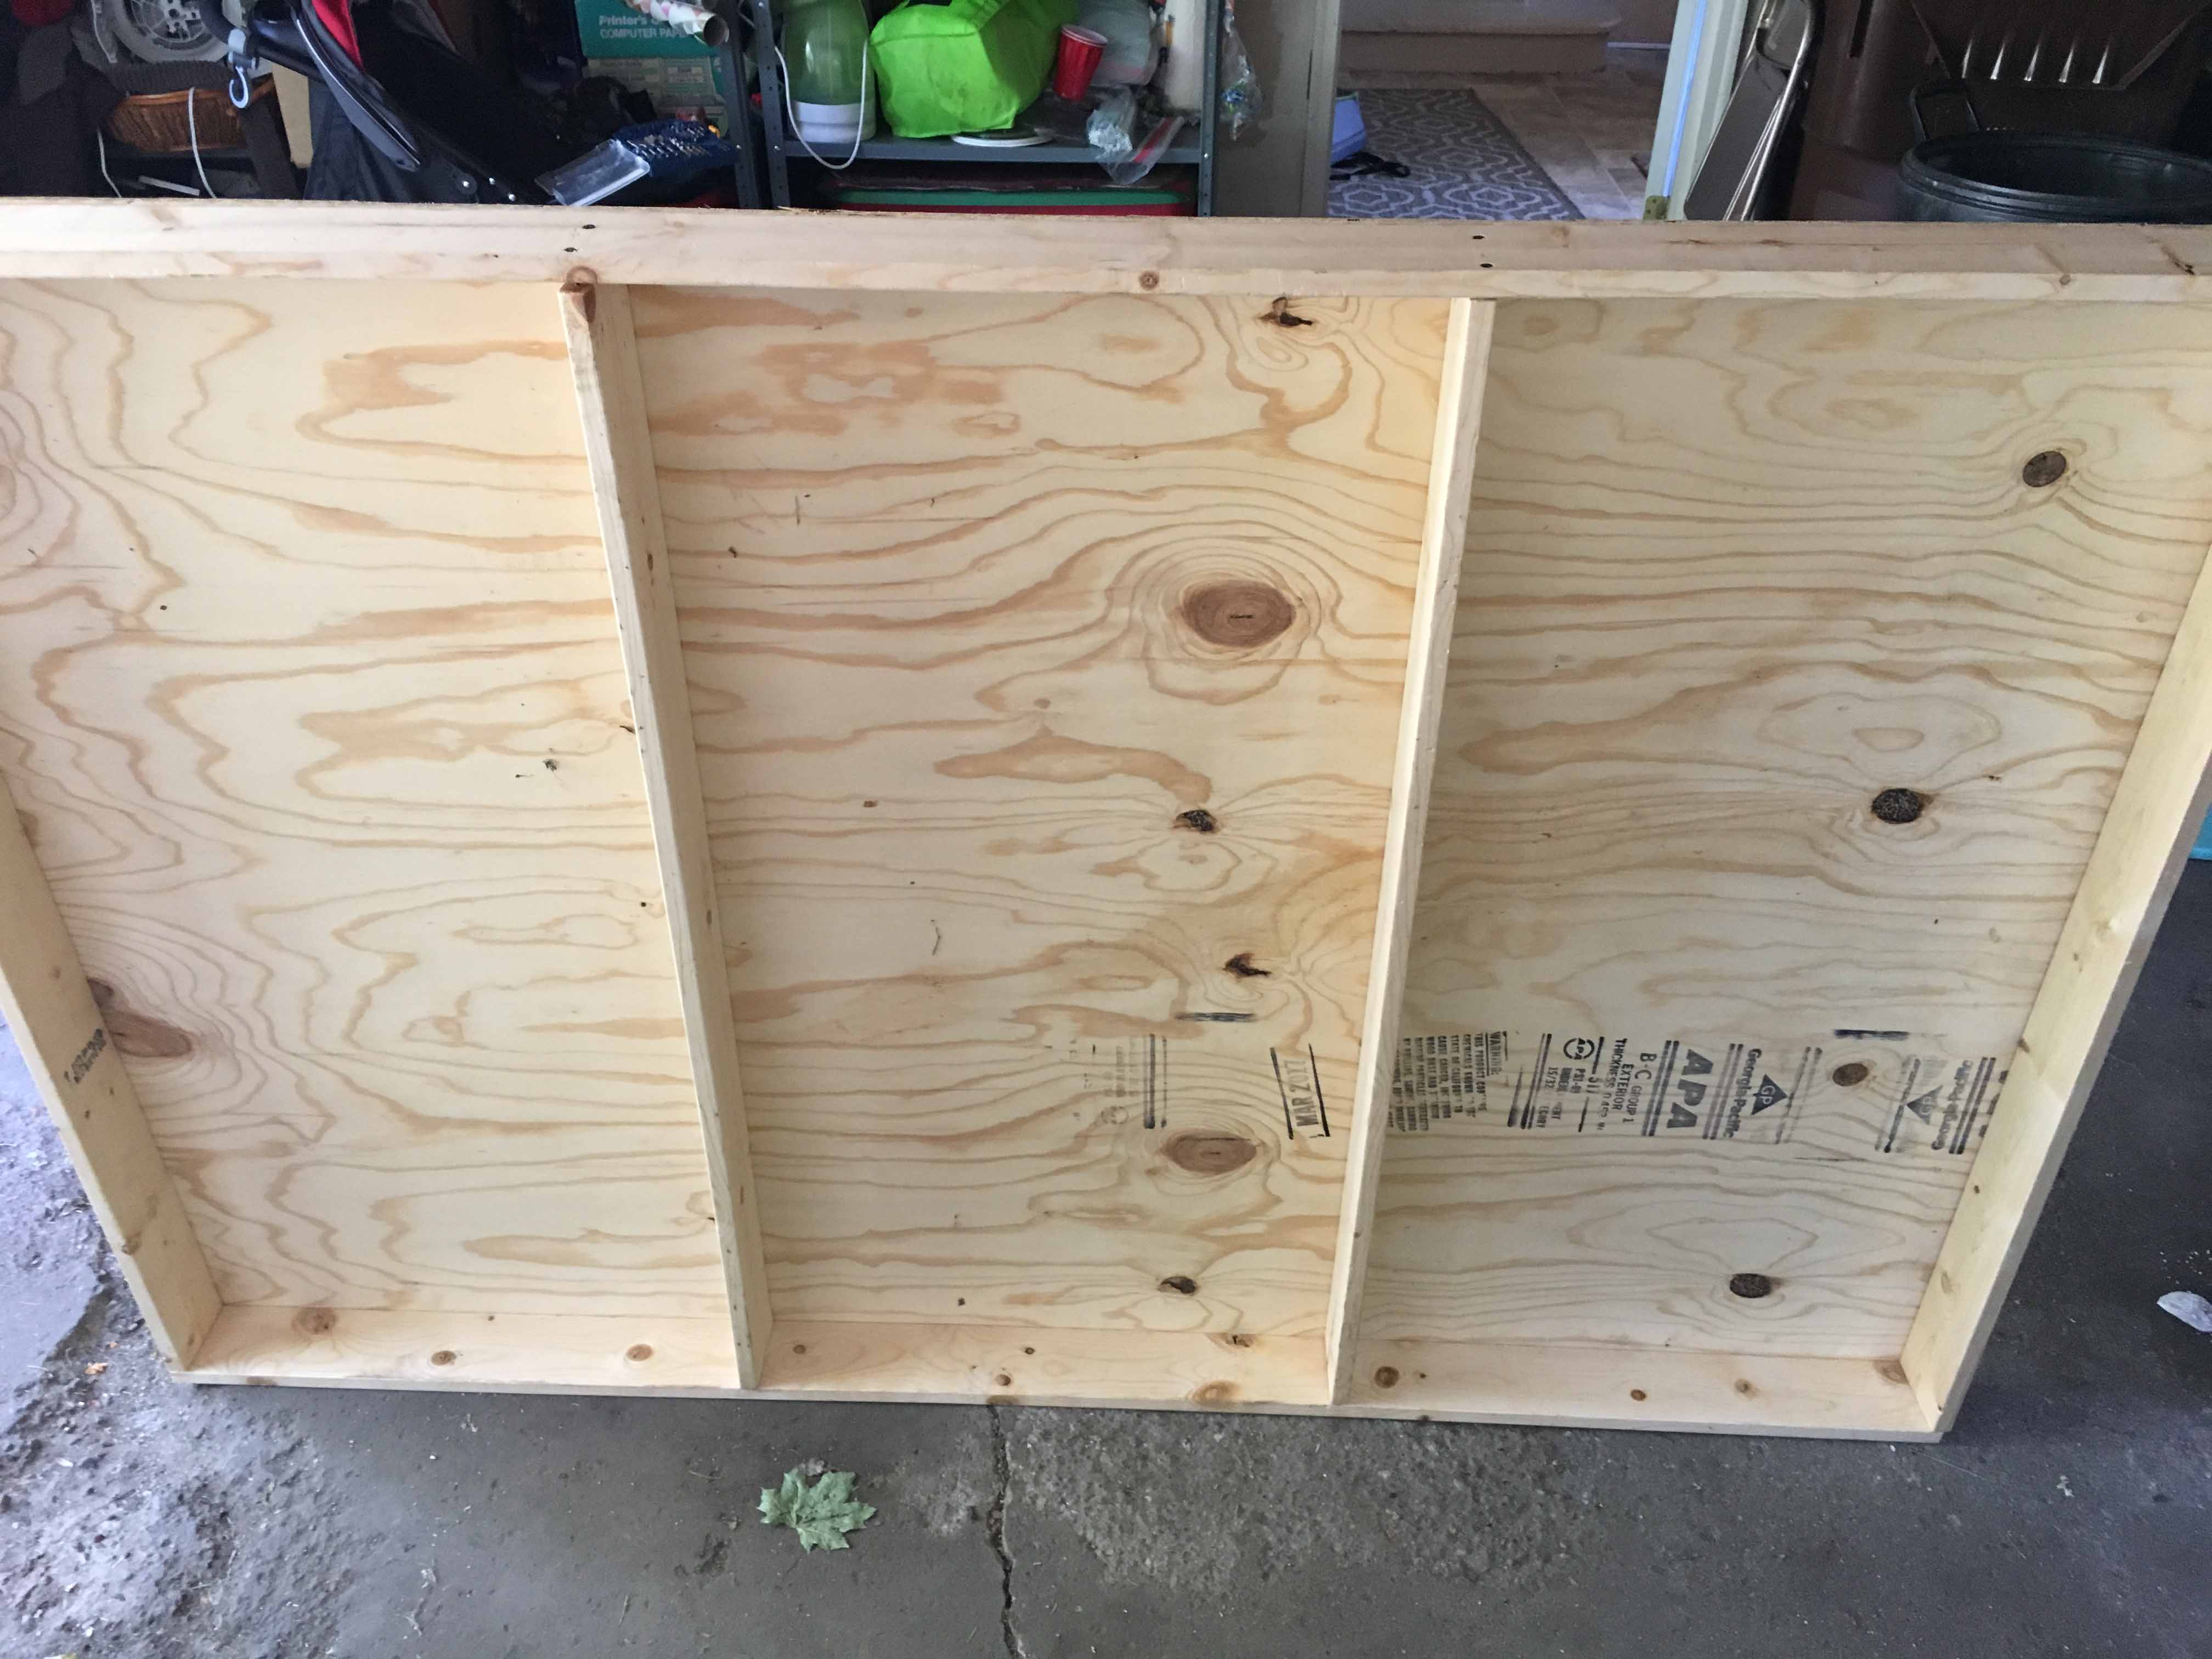
Now it is time to put the width wise boards (D) in to finish the frame to prevent warping, and to brace the table for when your friends inevitably lean on it. Again notice these boards were cut just shy of 4 feet to account for the two 6 foot boards you have already installed. You are going to put one every two feet so there are 4 spaced out equally under the table. This is where I noticed they did not butt up against the length boards equally but they were pretty close. Then again using the starter holes, through the top of the board you drill a 1 and ½ inch drywall screw (F) every 6 inches attaching the plywood to the brace.
At this point I decided to attach the boards together underneath so I again used a starter hole but this time the 1 inch by ¼ inch dry wall screws (E), drilled 2 screws through the 6 foot 1 x 4 boards (C) into the 46.5 inch boards (D). This closed the gap along the frame and, I hope, makes it stronger, really the gaps just bugged me so I did it.

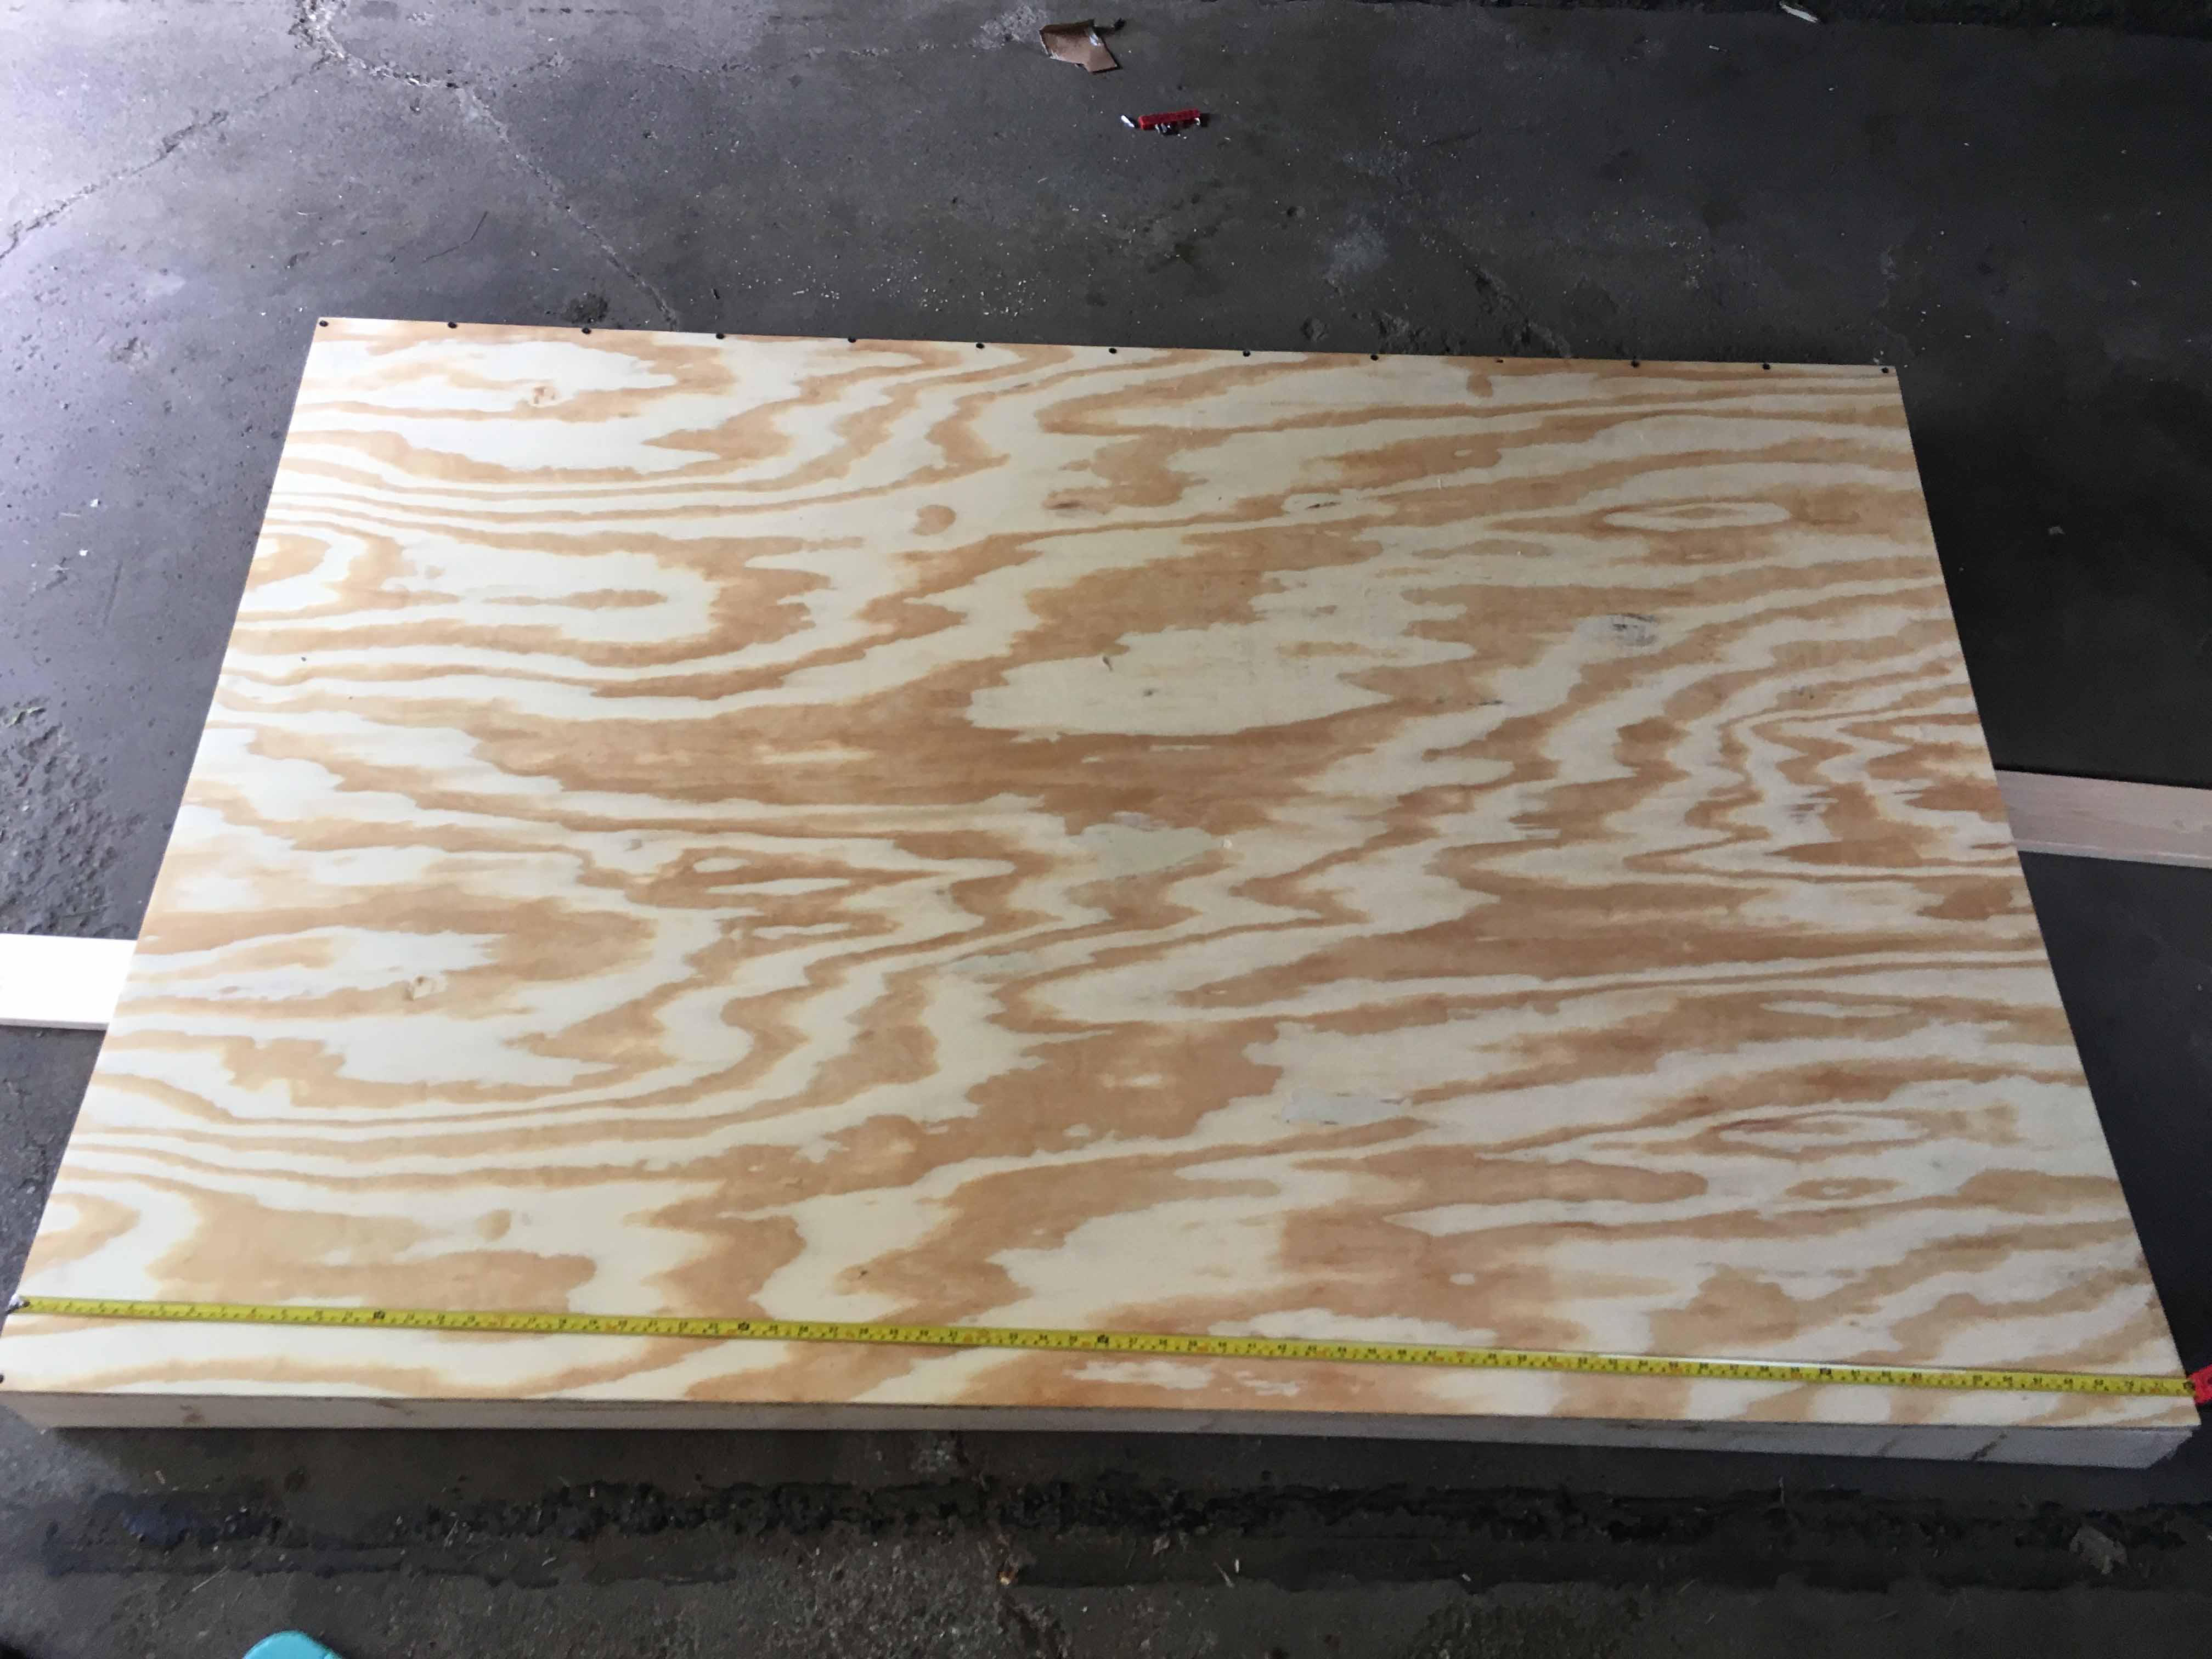
Underneath your board should now look like this and if so congratulations, your over halfway done!
The next article will cover putting the sides up to prevent dice from rolling off, buying a cheap cover, and doing a very simple stain on the edges.
![]()