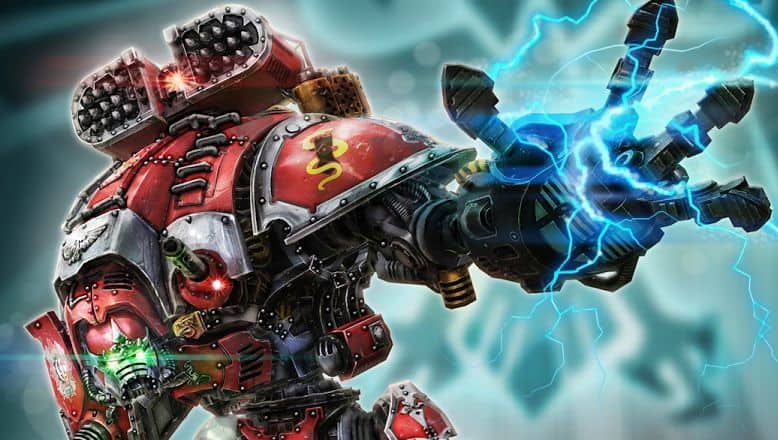
Come see some new easier ways to magnetize the Imperial Knight Titan and get a better range of motion from all the weapon options as well with these hacks.
Knights have so many awesome weapon options to choose from, and third-party vendors are making even more options to kit out your knight in the best possible or coolest ways. Take a look at some awesome tips to make magnetizing easier!
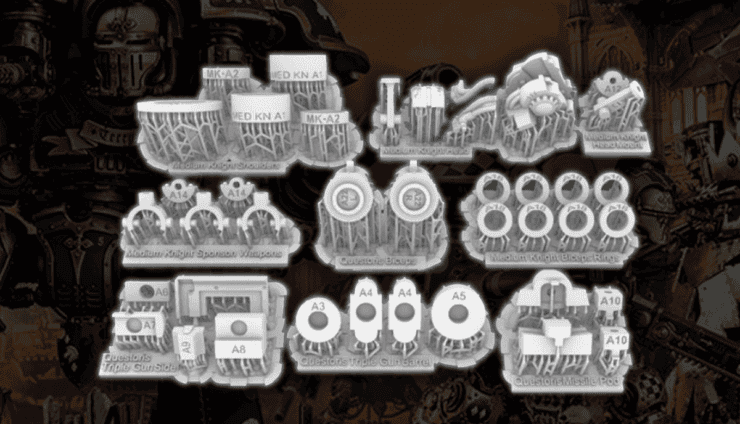
In building up the Custodes Knight, magnets have been extremely useful. Not only do we cover magnetizing each weapon option, but also the joints that require magnetization as well.
Take a look at this easy process, and be sure to scroll down and press play on the video below for the entire process!
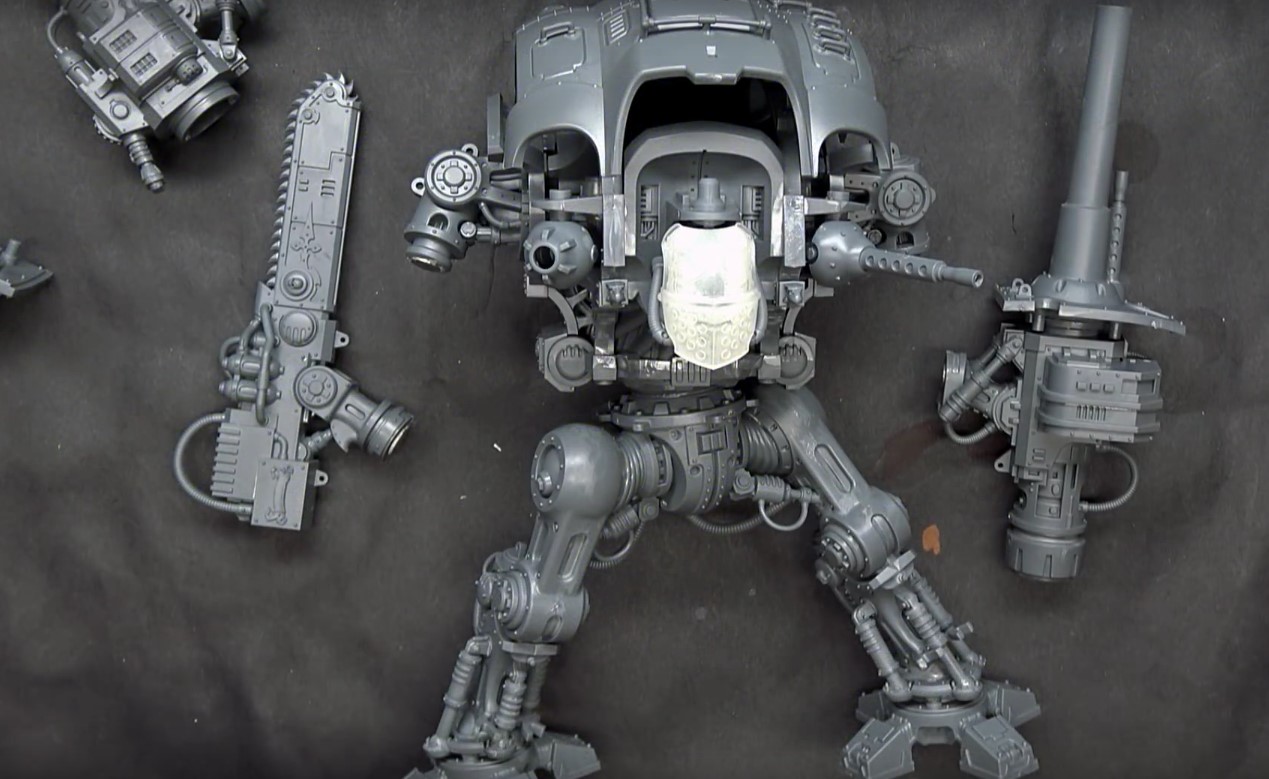
All the arms are currently magnetized with a 1/4″ magnet (6mm), allowing for swapping between weapons by drilling out the joints. The top option is also magnetized, using the 1/4″ magnet on the carapace and 1/16″ magnets on the weapon options. These magnets are supported in the weapons with pieces of sprue. However, with the shoulder pads, it is difficult to remove the arms for easier swapping of weapons. To get around the difficulty, so the arm can still be removed and put back on easily, the shoulder joint should also be magnetized.
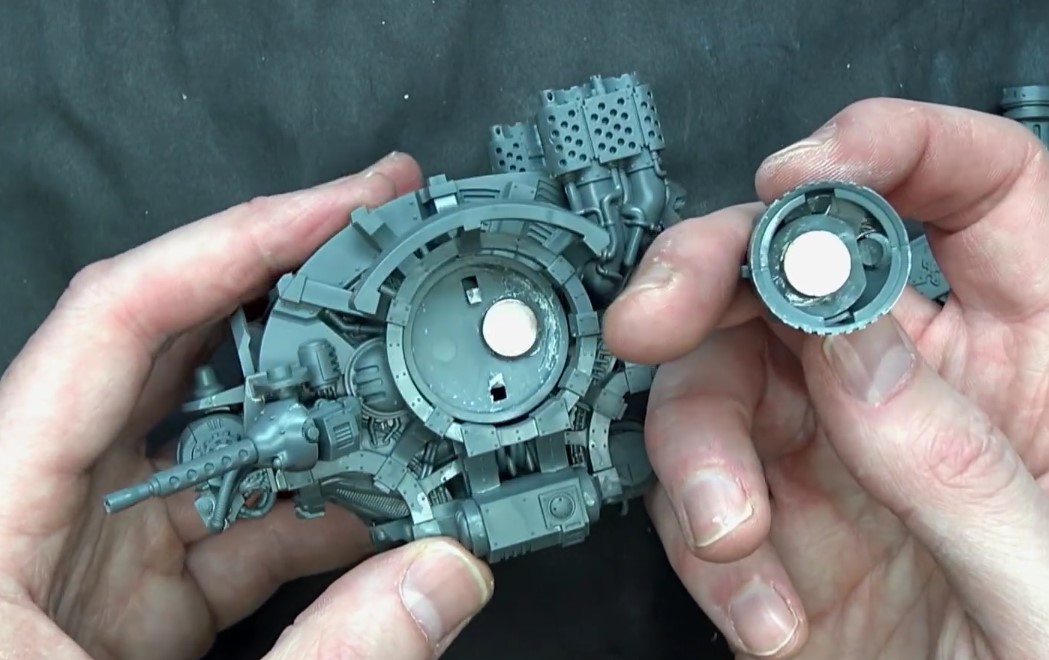
The first step is to line everything up in a “measure twice, glue once” process. Since the arm piece is deep (about five magnets deep), we will use our leftover piece of sprue to trim down and boost up the size of the magnets. For gluing the pieces of sprue and magnets, super glue will help a lot as well as a little bit of Zip Kicker CA Accelerator. Apply some kicker to the magnets directly and glue to the arm. Double Check the polarization prior to gluing your second magnet in and be sure everything will line up by dry-fitting prior to gluing down the second magnet. Once everything is lined up, glue away!
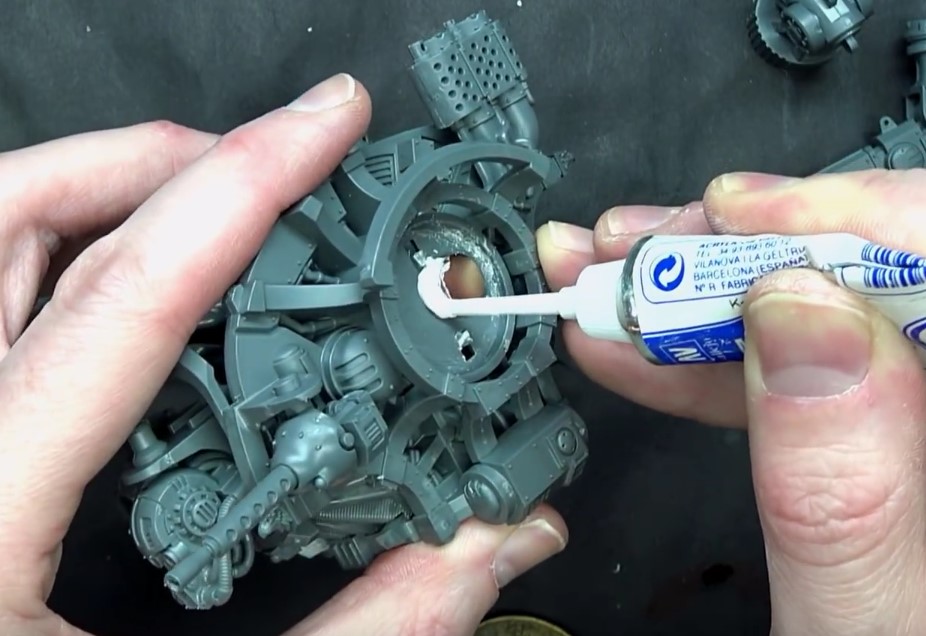
Once the magnets are in and the glue is set, apply some Vallejo Plastic Putty around the magnet to give it an extra bit of sealing power. Be sure to clear off your magnet of the plastic putty so they will sit flush on the model and not have any clearance issues.
Those steps make magnetizing models quite easy. Sometimes projects will take multiple magnets to fit properly in the model, so be prepared to adjust this. Magnetizing makes things easier, not just for painting, but posing and switching out your awesome weapons.
Take a look at the other awesome magnet tutorials available on the site, and be sure to check out the entire process and tutorial by pressing play on the video below!