With the new edition of Age of Sigmar coming out in June I realized it’s been almost 3 years now since the release. Looking back at previous articles, the last painting article I did was nearly 2 years ago. Since then I’ve learned and improved my painting through practice, watching videos, and trial and error.
My stuff is good enough to draw the interest of people at the FLGS walking by, but I am by no means a Golden Daemon winner, so don’t treat these as golden rules. Treat them more like suggestions that may help bump you from that beginner level to intermediate.
Paints Tips For Noobs & Vets
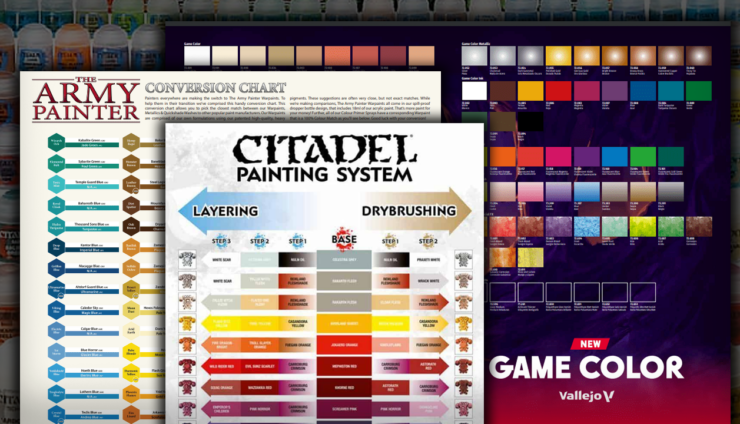
Generally, I’m a faithful citadel paint guy, but I do dabble with some of the other brands. Sticking to the citadel paints lets me use their painting app (I love it and use it all the time), and I have a couple GW painting pdf’s printed off for home.
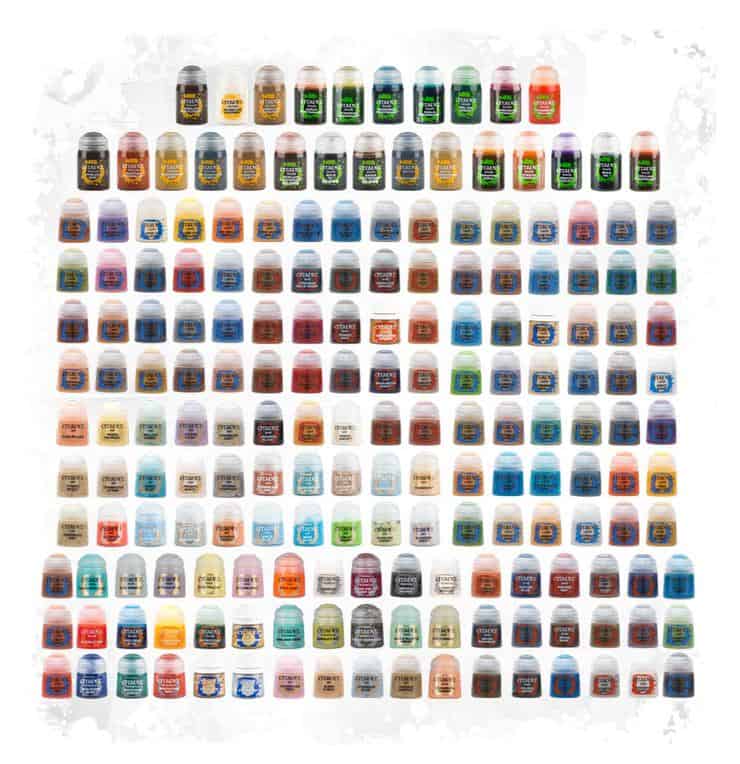
Having a wide variety of paints is a great way to add contrast to detail to your miniatures even if you’re not great at painting. You can always mix two colors of paint together to create different shade levels and save some money.
But, if someone told me to look through my paint collection and pick 10 (non-shade paints, more on that below) these are the 10 I would choose.
- Abaddon Black
- White Scar
- Zandri Dust
- Base Prime color of your choice
- Layer Prime color of your choice (same color as your base though)
- Gehenna’s Gold
- Leadbealthcher
- Runefang Steel or Stormhost Silver
- Rakarth Flesh
- Rhinox Hide
This pretty much covers your bases and lets you put out a tabletop quality model. You have your main color, your metallic colors, your leather and cloaks, flesh tone, and some minor details like bone.
After those 10, there are 3 shades I use more than any others, to bring out details on your miniatures. You can also use them over white primer to get nice effects where you want the white to show through. (Like flesh for example).
- Nuln Oil (used on armor, weapons, etc.)
- Agrax Earthshade (used on pretty much everything)
- Reikland Fleshshade (used on flesh tones, or gold metallic)
Once the shade covers your base coat you can brighten it up by using the next brighter paint on that area. Add a little bit of the white scar to the layer and use that to edge, just be careful not to overdo it.
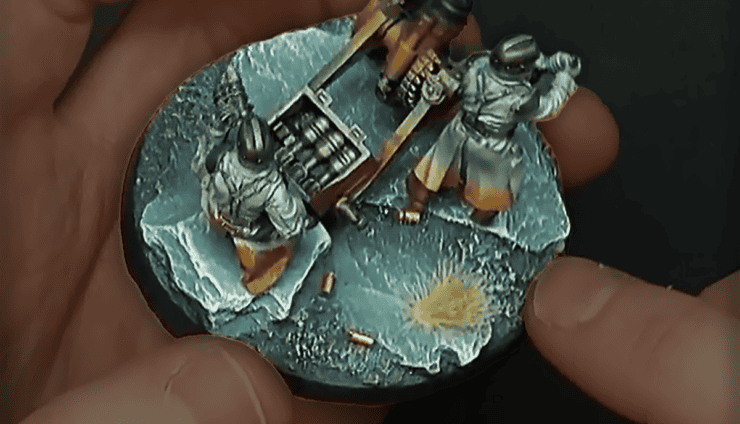
My final paint is always a texture paint as I find that to be the easiest way to make bases. (previous article here) I would choosethe one you like, hit it with a wash, and then dry brush it with one of your colors for texture. Finish off the model by painting the lip around the base with standardized color, I use black, but some people use browns or grays.
- Texture paint of your choosing (I like Astrogranite or Stirland mud a lot)
Paint Brushes
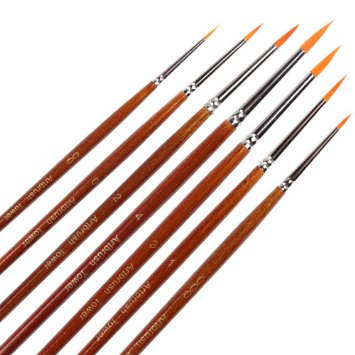
I started off with cheap brushes from my local hobby store and managed to get decent results. However, there are two brushes that I spent a little more money on and they have saved me time and frustration.
- Citadel Small Layer Brush: (Will eventually replace this with a Windsor Newton 7 series)
- Windsor & Newton Series 7 Kolinsky Sable Brush – Round #00
The citadel brush is great for beginners and lets you get some fine detail work and move through the edging quickly. The #00 brush is great for super fine details and makes things like eyes, gemstones, making fine detail work much easier. However, the Windsor & Newton is a $17.00 brush, so if you want to skip dotting your model’s eyes or other super fine detail work I think you can get by with just the Citadel Small Layer brush which is about $7.00.
Use the cheap brushes for the base layers, shades, and texture paint, then do all the cleanup work using the layer brush. One key thing that’s made my good brushes last a long time is using “General Pencil 105-BP The Masters Brush Cleaner and Preserver” after every use. (To me a good brush is one that costs more then 2-3 bucks each.) This helps keep them like new after a lot of use and gives them a lemon scent!
Seriously, if you are getting the Series 7 brushes, do not skimp on the maintenance. Buy this cleaner and use it after every painting session.
Priming & Finishing
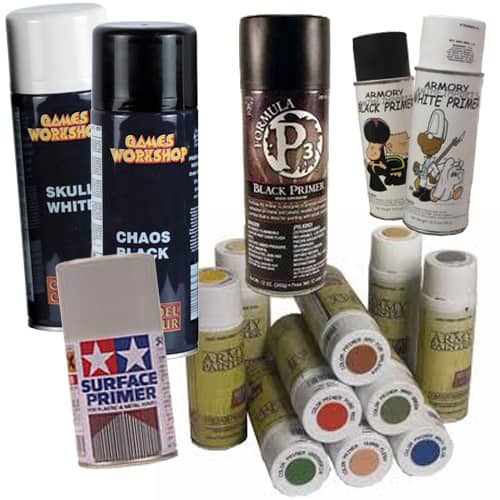
For a while, I was just using grey primer from Krylon Colormaster that I would purchase at any supermarket, spray it on and call it good. Then I got an airbrush (more on that later) and used the more expensive primer and holy cow what a difference. The rattle can primer is fine for table top coverage, but even in pristine conditions and using quick passes I sometimes still lost detail. After using Vallejo Black and White primer using an airbrush and comparing it to Krylon spray can primer there is much finer detail from the more expensive primer. Now I have never used Games Workshop spray can primer, so I cannot compare the airbrush primer to their rattle can, but if I did not have an airbrush I would probably invest in either the GW black or white and try that over another can of Krylon.
Primer gives your models a good base coat to build paints on top of. It’s important to consider what you want to do with the colors before priming. White is a little less forgiving in my opinion, but it also allows for you to use washes as a base color and let some of the white primer shine through as natural highlighting. Black is more forgiving and has shade already built into the recesses, but it can take longer to build up brighter colors.
Something I’m just trying out is Zenithal Priming. In this technique, you prime the model black, then pick a point above the model and spray white/grey primer at it from a 45-degree angle. It’s supposed to help give you natural gradients and natural object source lighting, but I have yet to try it out.
To finish models, I use a coat of Testors Spray Lacquer Clear Coat over the models. Be sure to read the instructions and follow the advice of the optimal spraying conditions! You do not want to spend hours painting models only to spray when it is super humid outside and get stuck with a frosted model.
Moving forward (airbrush, advanced techniques, etc.)
As I mentioned earlier, I finally invested in an airbrush and so far i’ve been pretty happy with it. However, I have not used it enough to really give much advice. The airbrush itself is a cheap one, but after using it for priming and to paint up a couple of test pieces of terrain I can certainly see it’s usefulness. I would also like to explore wet blending and some other more “advanced techniques” to continue growing as a painter. Adding new color combinations, techniques, tools, etc. keeps painting somewhat fresh and gets you excited to start painting new miniatures.
Final Note:
There are three things aside from brushes, paints, techniques, etc. that have helped me progress as a painter more than anything.
- First is planning and organizing your paints so you can easily grab what you need and move onto the next color. When I first look at a model I decide how I want to prime it, and gather all the paints I plan on using on the model and have them in a special area so that I can easily grab them. It might only be an hour here or there that I can paint, so I want to maximize the time I have, and not think about colors or searching for the right shade of paint.
- Second is join a painting group at your local gaming store even if they don’t offer anything for joining! Not only does it impose a sort of deadline (ours is monthly) that nags at the back of your mind, but it also is a space you can ask for advice and ideas.
- Third is to finish what you start before moving onto the next shiny new thing. Some miniatures (looking at you Reavers) I did not enjoy painting. So while I suffered through it, I would think about my next project and get excited for it. Instead of moving on, and probably never finishing the Reavers, I made a promise to myself to finish and then reward myself by painting a cool and exciting model next. That motivated me enough to finish my project in time to make my monthly deadline.
There you go! Hopefully, this helps you take the step from beginner to intermediate-advanced painting. Keep practicing and eventually, you will have an army you can be proud to show off on the table top. Just remember to keep your expectations realistic and not compare yourself to the best of the best. And always remember to finish what you start!
 Learn more hobby hacks!