Don’t miss a guide to some important lessons learned while painting Age of Sigmar Nighthaunt models with an airbrush aimed at beginners!
In this tutorial installment, I decided to do four heroes from the Soul Wars set together because they aren’t really big pieces. Also, many of the colors can be used on multiple models at the same time which is especially nice using the airbrush.
I am using the same set up as before, with the models primed a Vallejo White, but instead of using Vallejo Airbrush Thinner I am using Vallejo Flow Improver.
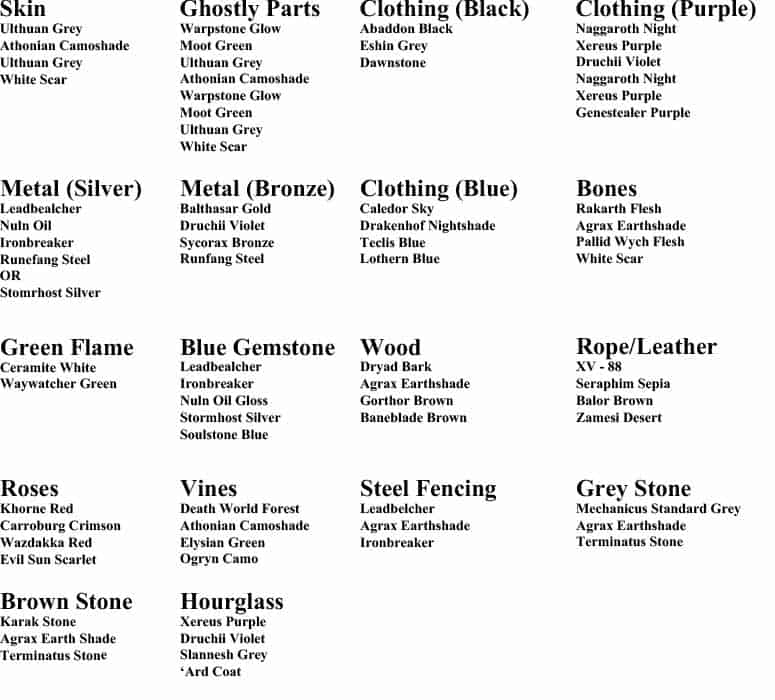
Here is my paint recipe list with the colors in the order I applied them.
Airbrushing, the Good:
I am really liking the airbrush now, especially when I swapped out the thinner for flow improver. I had good paint consistency throughout the painting sessions and had no exploding paint which a drastic improvement is. Following my same formula as before I did the tops of the models first so the black and purple clothing, and then followed that up with the ghostly parts.
Then washing everything, I repeated the process and again dropped my PSI with the bleed off valve and got a nice highlighting effect. I still went back with the brush to get fine highlights, but the base colors looked good and I could keep my highlighting to a minimum. The fade in between the two main colors (clothing and ghostly bits) in my mind is worth it to use the airbrush for that alone.
Airbrushing, the Bad:
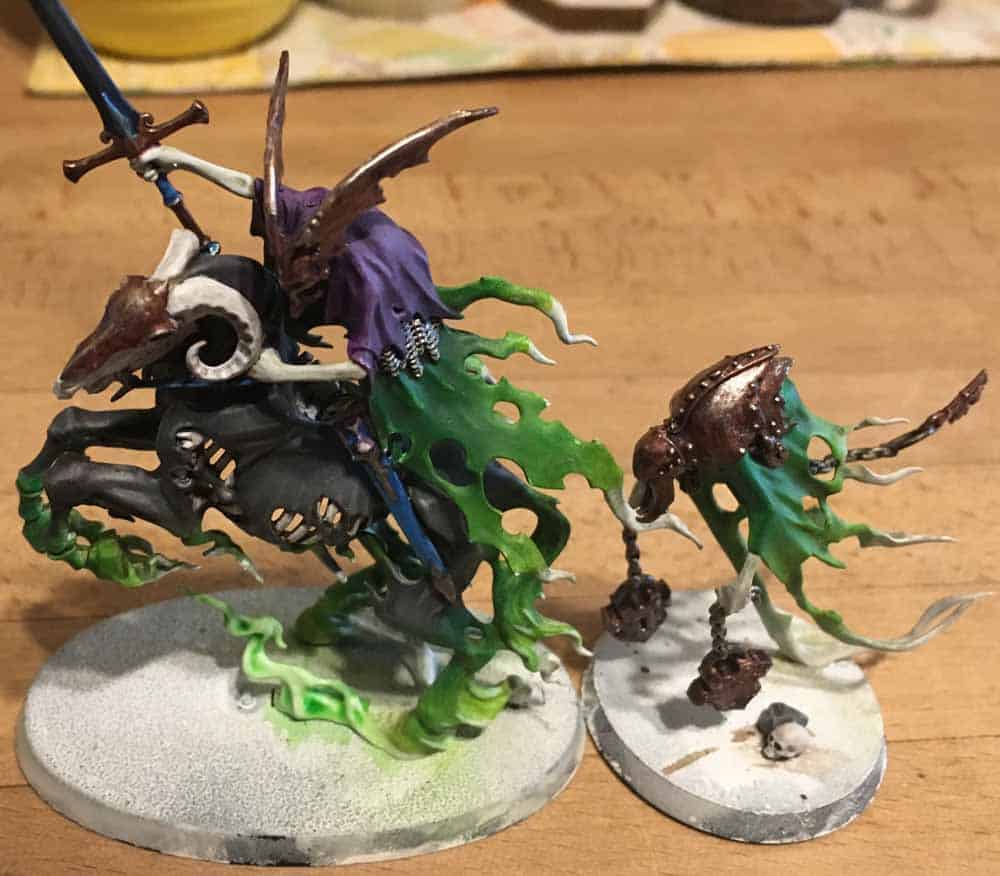
This time around I was generally much happier with my airbrush since I began using the Flow Improver. For 90 dollars I do wish I could get in a little closer with the airbrush and do things like skin tone and finer detail work. Then again, 90 bucks is cheap in the airbrush world so really beggars can be choosers. Below is about as far as I can get with my current airbrush before I switch to a standard brush.

Things I Learned from Airbrushing:
Use Vallejo Flow Improver over the Thinner is hands down some of the best advice I have gotten. It made the entire painting experience much more enjoyable. My other tip has to do with the cleaning. I had some paint build up inside the tip. When I broke down my airbrush at the end of the second day, I took a shot glass and filled it up with Airbrush Cleaner and soaked the cap, color cup and with the needle removed the end of the housing part in the cleaner overnight. This made it way easier to get in there with some dental tools to get out any dried-on paint that I might have missed from previous cleanings. Once that was done I also used some airbrush lube (I use Badger Juice) for the trigger and where the needle slides in and out as that is supposed to prolong the life of the airbrush if you do it from time to time.

Thought Process:
This goes beyond the airbrush and brings you into my sort of thought process on these models and includes the brushwork I did. I generally am leaning towards brighter yet cooler color schemes with the army on a whole. Tying everything together using the green ghostly parts but making all the tops different colors. (Except the Spirit Torment because he doesn’t really have a clothing part) As these are hero troops I wanted them to be a cut above the rest as well so I did not add any rust effect or bronzed weathering to their metal parts. I figured they are more powerful souls and so would not resort to whatever they pick up.
One thing I did want to do is use more of my Nuln Oil Gloss shade which I really like but don’t have a chance to use often. (I accidentally bought it when trying to buy a pot of regular Nuln Oil.) They work great for making the gemstones pop more and I decided to try it on the Knight of Shrouds on Steed’s weapon and then went over it with a series of Guilliman Blue Glaze to give it a blue tint. Finally, I bought a pot of ‘Ard Coat for the glass bit over the hourglass to give it shine because it needed something and the internet said it really worked. Well, put me in their camp because it certainly helps.

Things I Didn’t Like:
If I could go back, I would make the bone details less of a white color and more of an off-white color. I thought the ancient looking bone would stand out with all the black, but it almost stands out too much. Same with the hourglass, I used purple thinking it would tie in nicely with the scabbard being blue, but really, I should have made it a brighter color to give it some pop.
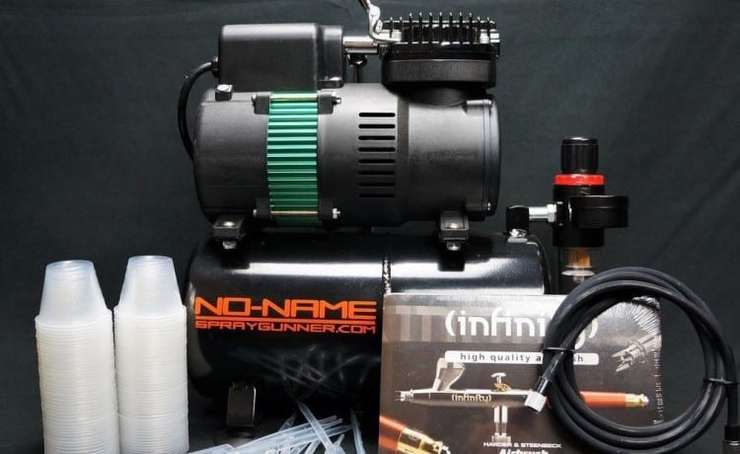
Spikey Bits H&S Ultra Compressor & Airbrush Combo Package
Completed Models:
- 6 Spirit Hosts: 240 Points – Battleline
- 20 Chainrasp Horde: 160 Points – Battleline
- Knight of Shrouds on Ethereal Steed: 140 Points – Leader
- Spirit Torment: 120 Points – Leader
- Lord Executioner: 80 points – Leader
- Guardian of Souls with Nightmare Lantern: 140 Points – Leader
Total Painted 880 Points
On the Paint Table:
For my next hobby project, I decided to jump into the centerpiece model as I have not painted a big model in a long time. Also, I managed to snag a sweet deal off eBay for the new Black Coach for under half of retail (I just had to wait for 3 weeks of shipping) and am very happy with how the model looks. It is put together already, and primed white but does need a little TLC before I start slinging some paint on it.
Previous Airbrushing Articles:
![]()
More AoS How-To For Noobs!
This post contains affiliate links, meaning that Spikey Bits will earn a commission if you click through and make a purchase.