 Kenny from Next Level Painting is back to help us nail down painting black and yellow for miniatures. Don’t let these colors trouble you!
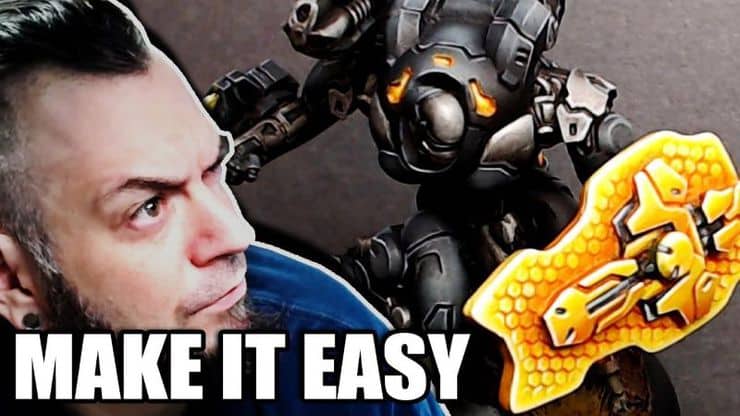
Today Kenny helps us tackle two of the colors generally thought of as the hardest to paint. We’re of course talking about black and yellow! He’s going to be showing us by painting up a Firebrand Warjack from the Privateer Press Kickstarter: Warcaster Minis.
He’s going to be using techniques from his awesome 101 painting curriculum, which is a set of three easy lessons to get your minis on the tabletop fast and looking good! Get your paints and brushes out and let’s go!
Painting Black & Yellow For Miniatures: Tutorial
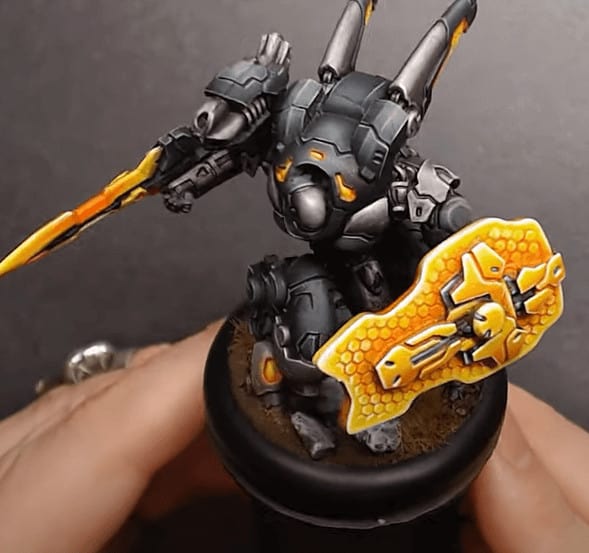 This is the end result we’ll be going for, now let’s see how to do it! If you love what Kenny can do with these minis, check out some other tutorials here.
Priming
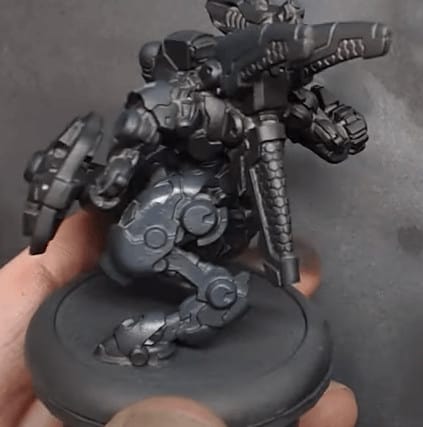 You can do this with a normal primer, but he’s showing how to do it with the airbrush. If you want to use your airbrush for priming, add a little bit of thinner, not flow improver, to the mix, and then throw in some gray to the airbrush on top of the thinner. Then spray the whole mini as a base coat. With the airbrush just make sure you get good coverage.
Next, add some black to your airbrush for your next coat of primer, then hit the entire mini. This will take several coats so be patient. Let this dry for a good while before moving on, maybe even overnight. Next step, put Gravedigger Denim in your airbrush with some thinner again and hit top-down priming highlights. Use this stage to grab all the highlights and really set the tone for the mini moving forward.
 Next, add some white to up the value, and some blue if you want to. Just depends on how light you want the highlighted areas to be. Keep the paint watery here and turn down your PSI as low as it will go and keep working. Hit the highlights again here including all the places that will be yellow as well. Just keep thinning it and making more and more passes, until you almost have an off white in your airbrush.
Base Coats
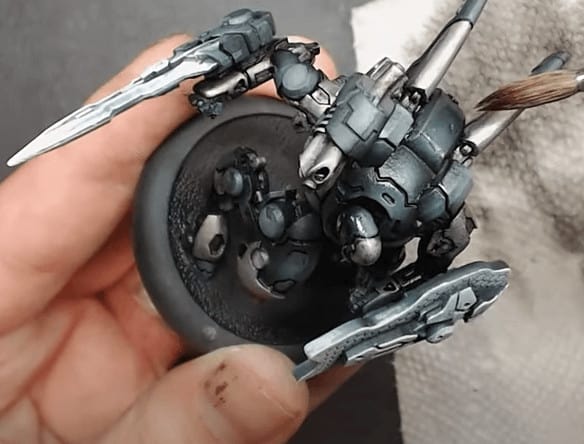
 Get some light and dark silver on your wet palette. Mix them together until you get a color that’s an in-between of the two main colors. Then lay down some solid base coats over all the parts you want to be metal. Next, add in more of the lighter silver and do a second coat.
 Then add in some Galvanic Steel into the mix. This takes out the glitter of the other two colors and gives it a solid metal feel. Then take some white on a dry brush and hit all the areas where you want highlights. You don’t have to be too careful here, just get a good looking base for the highlights.
Wash
 Take some Mr. weathering Multi Black and wash it over the entire model. Use some of the solvents to make it thinner while doing it and don’t get build-up on any one spot. This will take multiple passes, just keep using the Solvents to stop any spots from building up.
The Yellow
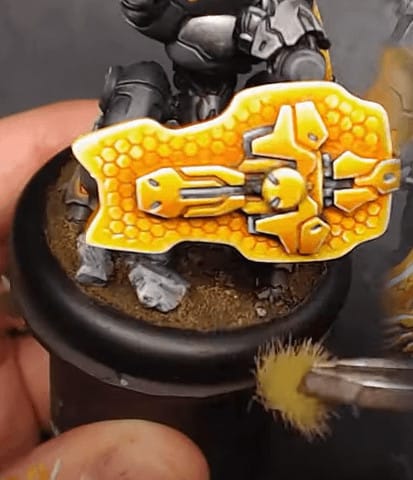
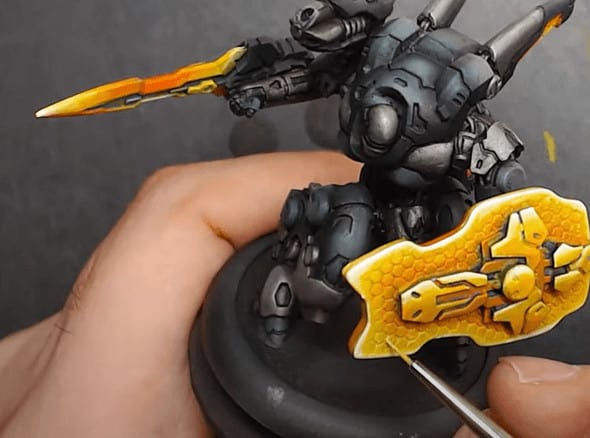 Next, take Infernal Orange and Yellow and mix them together on the wet palette. You go reverse order here and start with the lighter yellow. Take your time here and build it up in layers. Just keep moving it around and don’t let it build up. Then start bringing in the orange and mixing it in with the yellow and hit all the same areas again.
This just builds up the yellow without trouble. Keep mixing in more and more orange and hitting from the inside out. This takes a decent amount of coats so don’t get discouraged, just keep every layer light. You’re going for bright on the outside, dark on the inside. The last step is to hit the very edges of everything with a white layer to give it that gleaming effect.
Edge Highlights
 Use the gray from before and hit edge highlights on all the black areas. If you don’t edge highlight darker paint schemes like this, it will not pop on the tabletop. Nothing too crazy here, just make sure to hit every spot you want to be highlighted and the majority of the edges. Then go back to your metallic mix and edge highlight all the metal bits.
Making The Base
 Start with Vallejo Dark Earth Pummice and lay it all over the base until you have the texture you want. Then he added some Elrik’s rock pieces to add some more depth. While that was drying he went back and did some more of the yellow glazing on a few effects he felt like needed it. Just wherever your eye wants them.
Once the base is dry he used the dark brown wash from P3 and washed the entire base. Nothing too hard but just a good wash over the entire thing. Then hit a tiny bit of gray on the rocks wherever you want. No need to be very precise. Then just dry brush the base once the wash is dry with a light brown. The last step is to throw on some gamers’ grass, and… you’re done!
This one takes some more time than some of his other tutorials but the end result is worth it!
Painting Black & Yellow For Miniatures: Tutorial
If you want to get an even better look at how to pull this off, check out Kenny’s full video! If you liked this tutorial, you can also support Kenny on his Patreon page, and stock up on all the great Chaos gear over on his Heretic Swag store.
This post contains affiliate links, as an Amazon Associate Spikey Bits earns from qualifying purchases.