 The Primaris Techmarine and Hammerfall Bunker have arrived at the studio, check out our unboxing and build of the new models!
This week we are unboxing the new wave of Space Marines that just came out and seeing what it takes to get them ready for the tabletop. Rob goes over the Primaris Techmarine and the Hammerfall Bunker compares them to other Marine models, and tells you the GOTCHAS to be aware of when building them!
We are going to show you everything including the sprues, bits, and of course comparisons. That way you can decide if these are worth your hard-earned hobby dollars. Let’s go!
Primaris Techmarine & Hammerfall Bunker: Unboxing & Build
Get Yours For Less From Amazon or Dicehead Games!
 Even more Space Marines have come into existence… If you are a little tired of Marines and want to see how the new Necrons go together check out Rob’s unboxing of them here.
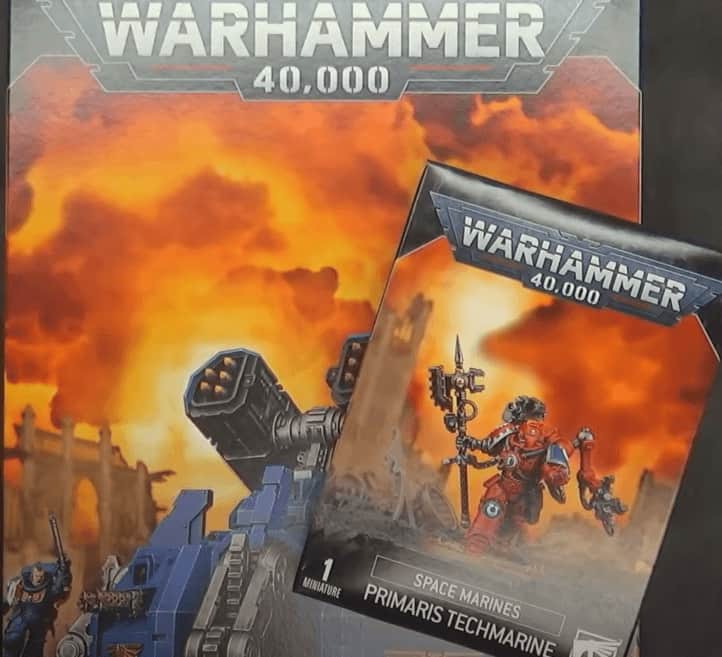
For now, though, let’s focus on the new kits. They were priced about what we thought they would be, $35 for the Techmarine and $60 for the Bunker. Nothing out of the ordinary, but $60 for basically a terrain feature, up to you if you think it’s worth it.
Time to jump into the individual kits!
Primaris Techmarine
 Let’s go ahead and build this guy and see how it goes!
Instructions & Sprue
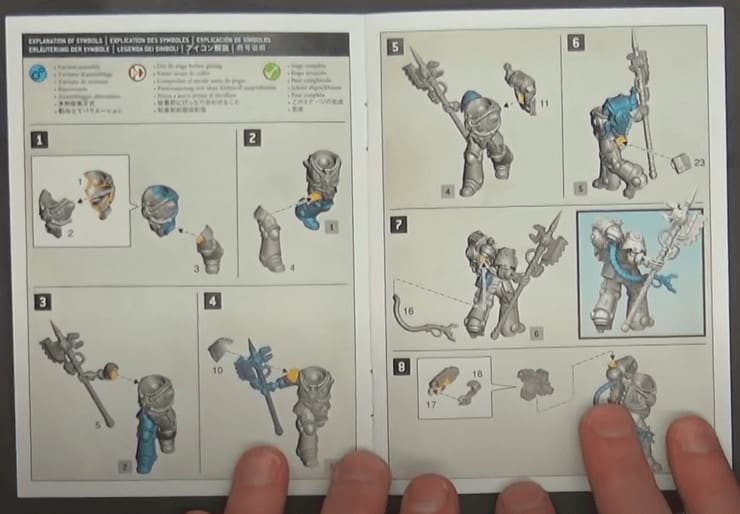 Looks pretty standard. The legs are already preposed and the shoulder pads are separate so you can swap them out to your specific chapter if you want. The main options for customization come in the left arm. You can use either the “join the dark side” open hand or the pistol arm. There are also two heads that can be swapped out for another one if you really wanted to.
 You get one sprue in the box. Some of the single release sprues have been a little more price-wise if they contain two characters. Like the Custodes release for $50. This is not fully the new easier to build style, so you’ll have some trimming to do. Either way a pretty cool sprue with a bunch of options for a single mini.
Completed Techmarine
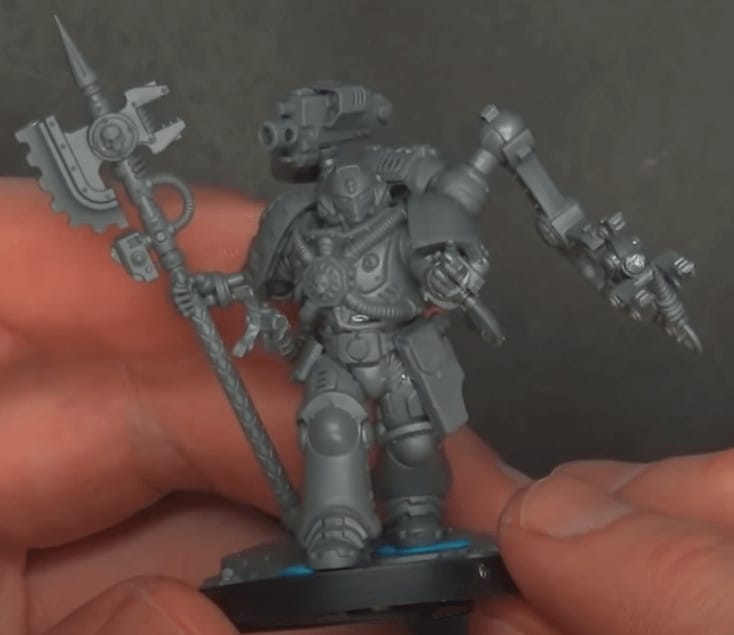
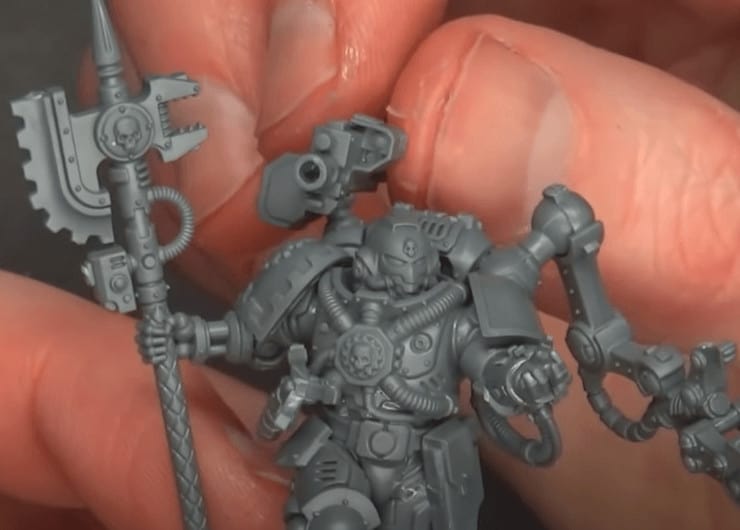 It goes together pretty well for the most part and Rob used the Extra-Thin Tamiya Gluefor almost the whole build. Mounting the front claw to the servo-arm is a little precarious though but that’s really the only thing.
He did not glue the gun on top, so it can swivel around and search the battlefield for the enemy. Since the base is half premade, Rob’s going to fill the rest of the base in with the Liquitex sand. Just something to keep in mind. Overall a great looking mini that went together pretty easily.
Hammerfall Bunker
 Rob was a little worried about this kit after building the Silent King. This is the Easier to Build style, so hopefully, it goes better than the Silent King. Let’s see how it goes!
Instructions & Sprues
 It seems pretty straight forward and looks like you glue together the insides where the mold lines are. The bottom is also going to be open so it won’t be too heavy. The guns are just glued in, so it looks like you could magnetize it if you wanted to, but may take some extra work. Looks super easy, but we’ll have to see!
 You get two almost identical sprues in the box. The sprues are very well set up and have plenty of detail. With the new style, there is so much less trimming to do, so hopefully, you’ll be able to get it on the tabletop faster. Overall, the sprue looks pretty good and doesn’t seem too hard to build.
Win a Set of Pro-Acryl Paints: Enter Now!
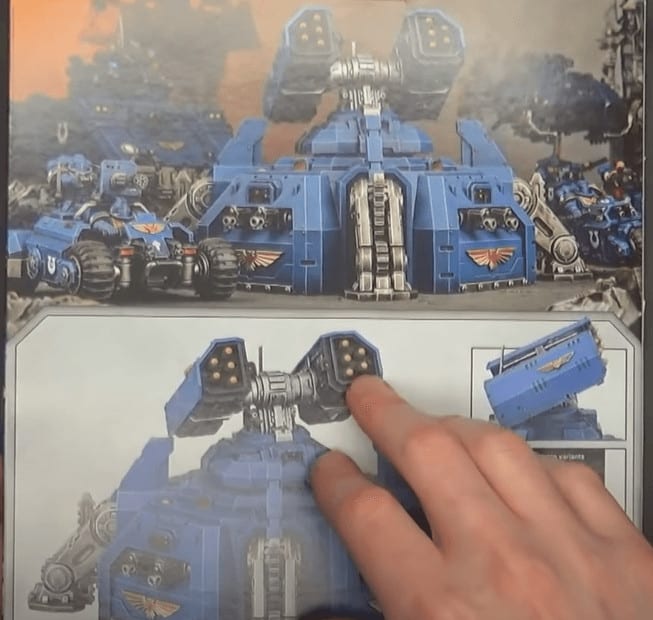
Completed Hammerfall Bunker
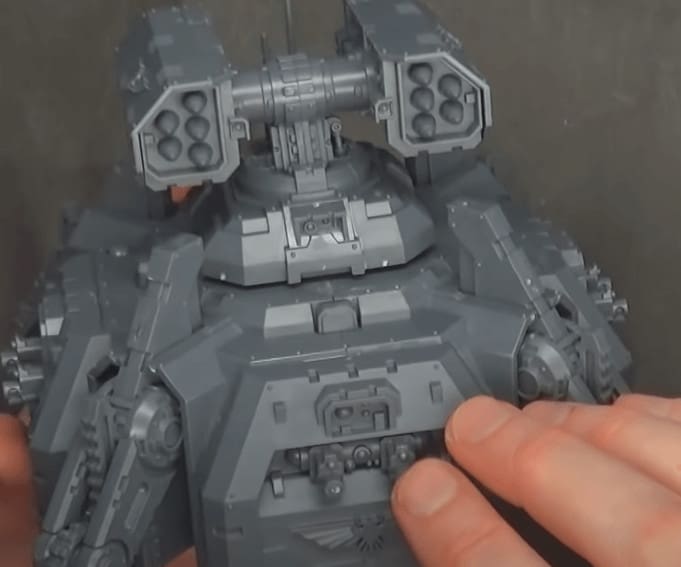 Pretty fun little build overall that wasn’t too hard and no real GOTCHAS. There also aren’t too many flash lines to trim off, just where it wasn’t a two-sided piece going together. The only thing missing was the fact that the bolters are not drilled out, not a huge issue though. The rocket pods also rotate which is pretty cool for thematic effect!
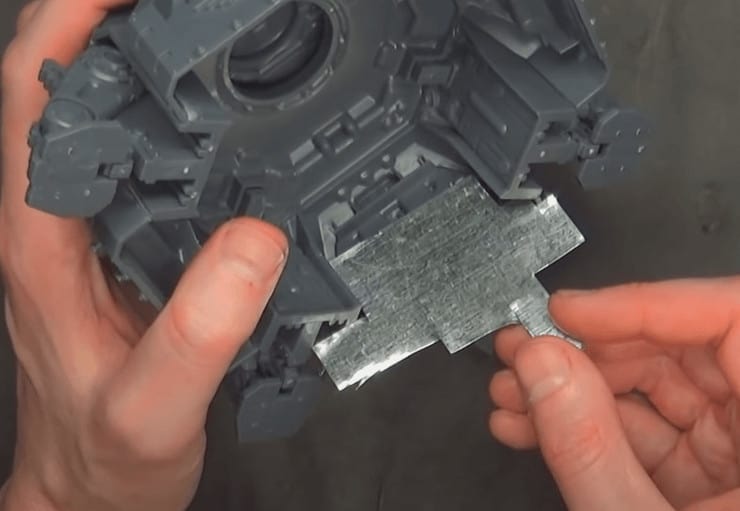 With the bottom being open, you could definitely magnetize the weapons. You would have to glue a piece of tin to the inside and then magnetize each weapon with a 3/16 magnet.
Rob likes to grab his magnets from the Magnet Baron to help support a fellow hobbyist. The tin is super cheap and you can get a big sheet for like $8, then you just clip it down to fit inside the bunker. With the tin and bigger magnets, it should be strong enough to hold it all together.
 Not sure how many of you played Dawn of War, but you could drop your reinforcements onto a terrain piece with the drop pod. And guess what, the drop pod fits perfectly on top of the Hammerfall Bunker!
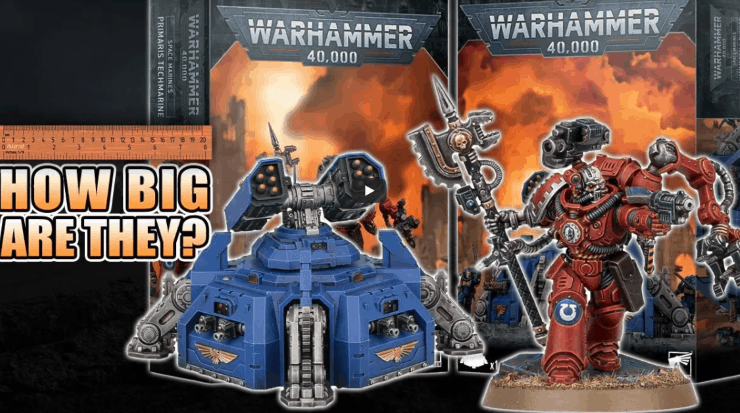
Size Comparisons
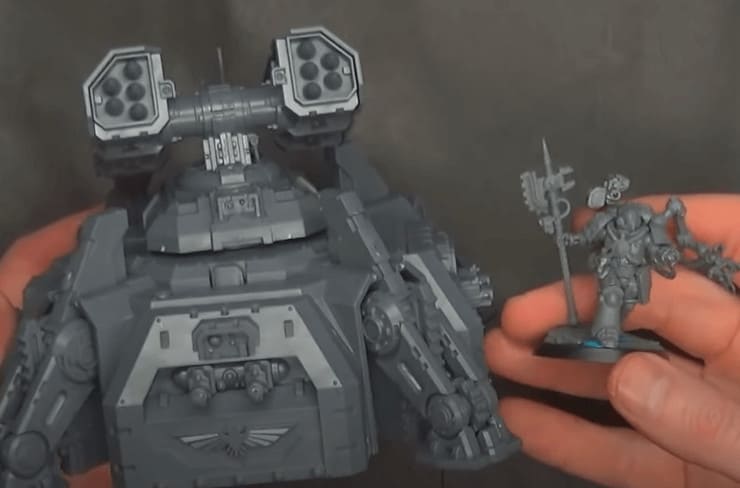 Who would have guessed it? The Bunker is way bigger than the Techmarine, seriously though, the scale looks pretty good on these.
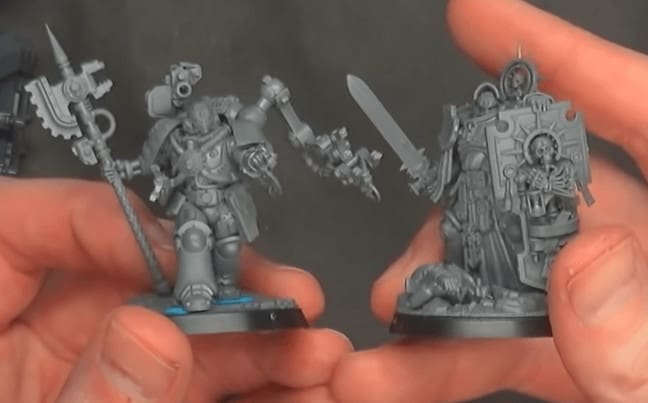
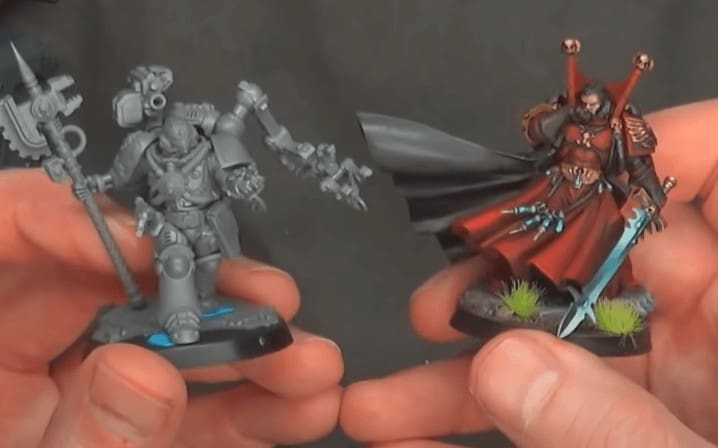 The Techmarine lines up pretty well with all the special characters that came out in the past couple of years. Perfectly sized for the 40mm base.
That does it for this one, overall two pretty cool minis! The builds were easy, magnetization is possible, and the scale looks spot on.
Will you be adding either of these to your collection? will you go all the way and magnetize the Bunker?
Let us know in the comments of our Facebook Hobby Group, and make sure you enter the latest monthly giveaway for FREE today!
You can also support us on Patreon and get ad-free access to the site, plus a ton of minis that helps support some of the best creators out there! This post contains affiliate links, as an Amazon Associate Spikey Bits earns from qualifying purchases.