 Today The Army Painter walks us through how to airbrush terrain to get it looking good and on the table fast in their latest painting tutorial.
The Army Painter is known for having some of the best and most affordable paints on the market! But they also have an extensive collection of painting tutorials and paint guides- like this one on terrain.
Their tutorials are perfect for learning how to get your terrain on the table. If you want to see everything The Army Painter has been releasing and their other painting tutorials, check them out here.
If you’ve been struggling to get your terrain on the table, this is perfect for you! Just as a note, all the paints, and tools used in this video will be from them, which you can pick up all the colors here.
Let’s see how to do it!
How to Airbrush Terrain: Army Painter Painting Tutorial
 Painting Terrain doesn’t have to be hard, even if the results look good as you’re about to see in this tutorial!
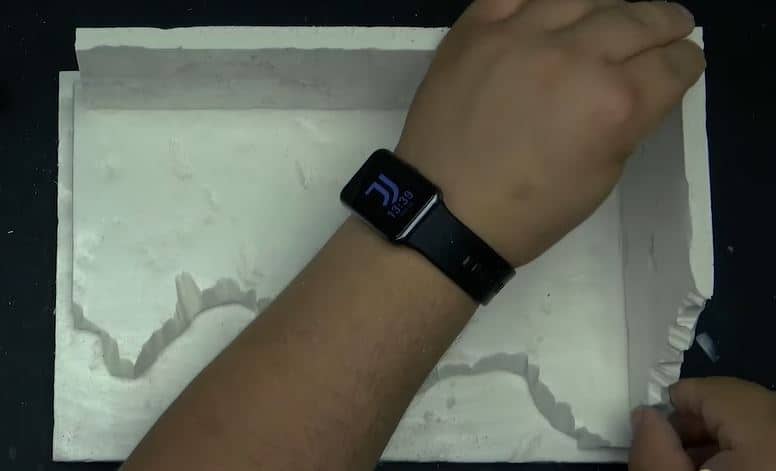
The Gamemaster Products they offer have everything a new or veteran hobbyist needs to make awesome terrain. To start, just think about the type of terrain you want, then use the tools inside to build out your walls, hills, or ruins in this case.
You can do this to any scale you want.
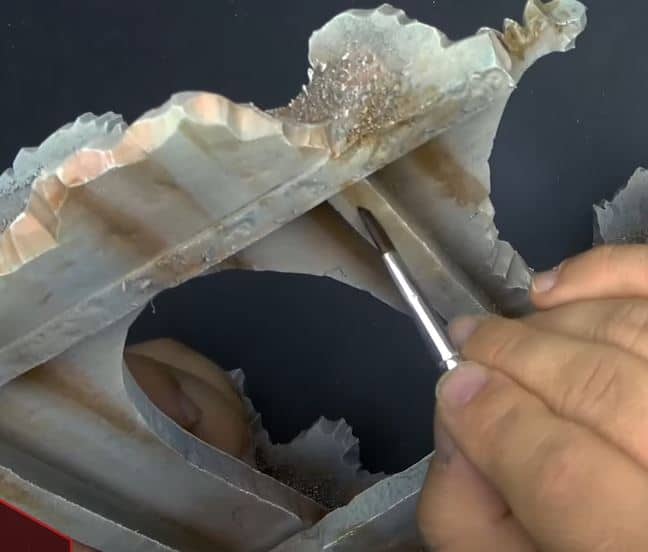
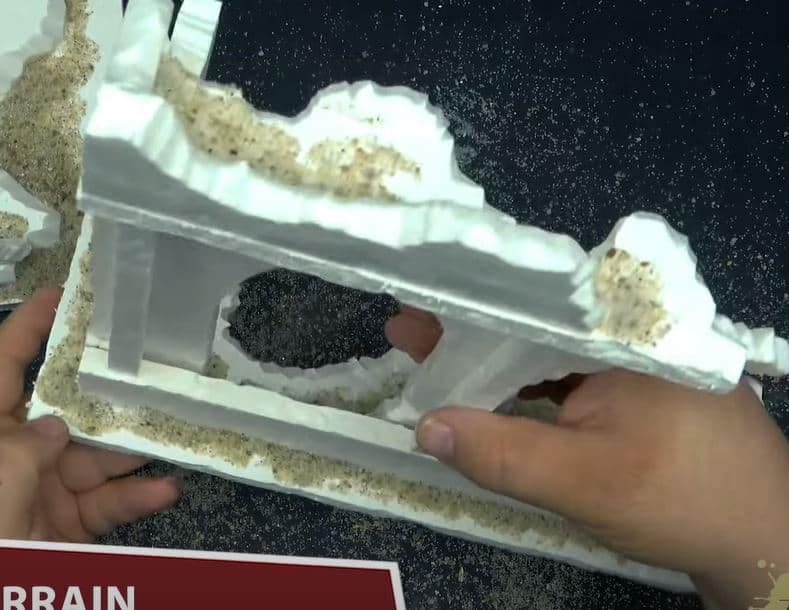 To add some depth, especially for ruins, make sure to beat it up a little bit. He fashions two pieces of terrain, one a little simpler, the other a little more complicated. They go fast through this part, but have plenty of other videos focusing just on this.
Priming Terrain
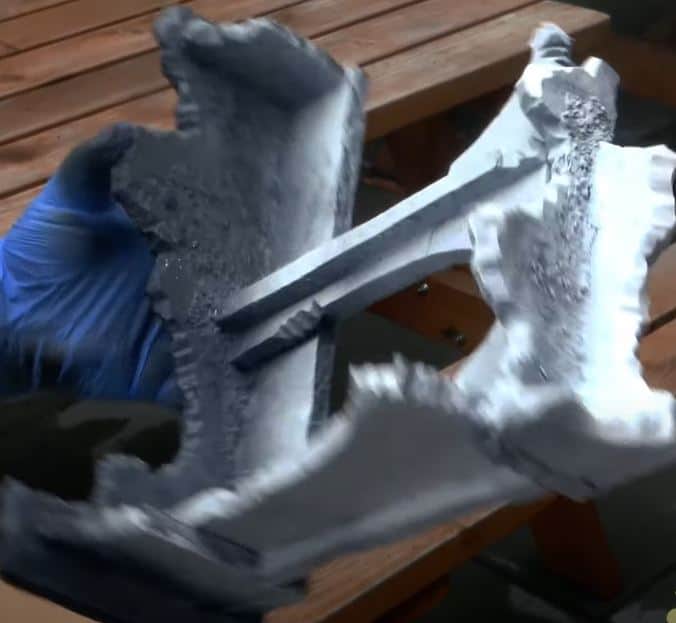 To start, use the special terrain spray they have, which won’t deteriorate the foam. To start, they use black, but then to save time later goes back with the ruins and cliffs to create a little bit of color dynamic. Once that is all on, he applies the Snow and Tundra to the top portion.
Airbrushing
 They will be using the new Air Paints for this, starting with Uniform Grey. He uses this on the vertical walls and the floor to give it some real ruins feel, as well as where he did the white.
Next, take Molten Orange, and add some rust areas where you want it, mainly from the bottom of the ruins and some lines down from the top to give a great effect. After that, move to Bleached Bone and pull some streaks down from the walls and build up highlights. To add more depth, go with Oak Brown and build more streaks and shadows.
Drybrushing
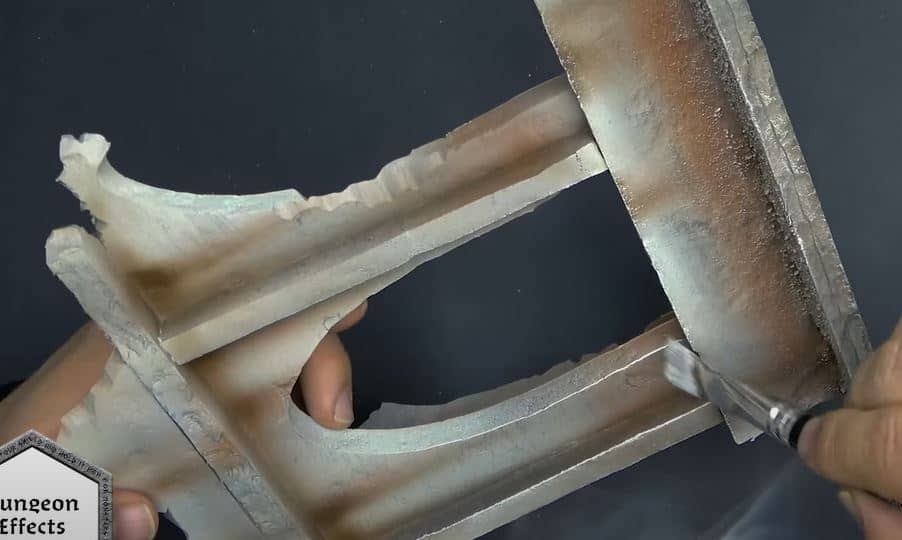 Load a large drybrush with Cavern Effects and paint on the rocks and rubble to create more contrast. Keep the same drybrush and put Dungeon Effects on all the hard edges.
Washes
 Washing terrain is different than a model, they mainly stipple the wash on to create some grime on the terrain and pull the streak from the top down with Flesh Wash.
Applying Tufts
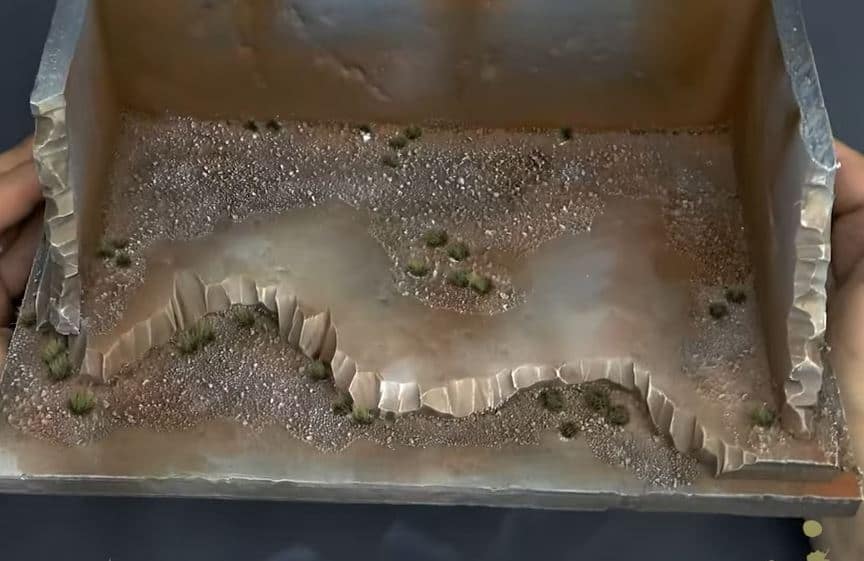 To really finish it off, grab some tufts from the terrain kits and apply them randomly on the piece to make it look super realistic.
Finished Terrain
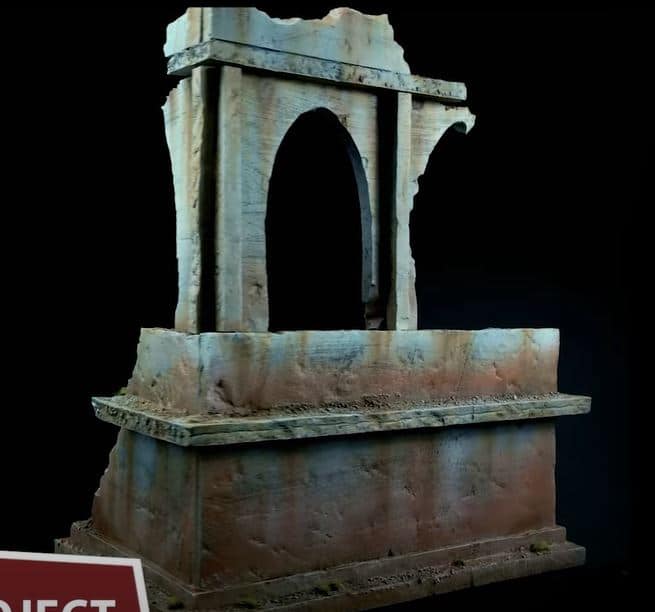 There you have it! Great-looking terrain done without much hassle.
Be sure to follow The Army Painter on Youtube for more great content like this.