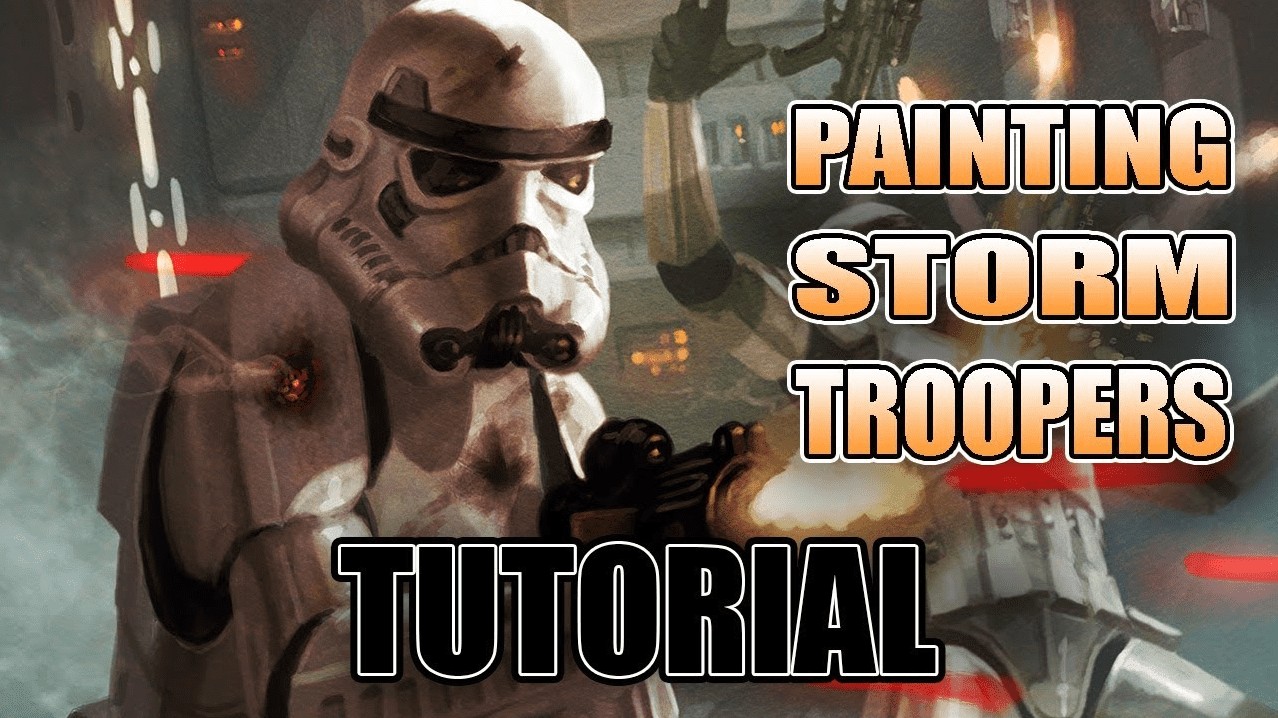
 With this easy painting tutorial, learn how to paint Star Wars: Legion Stormtroopers and tackle that pesky Imperial white!
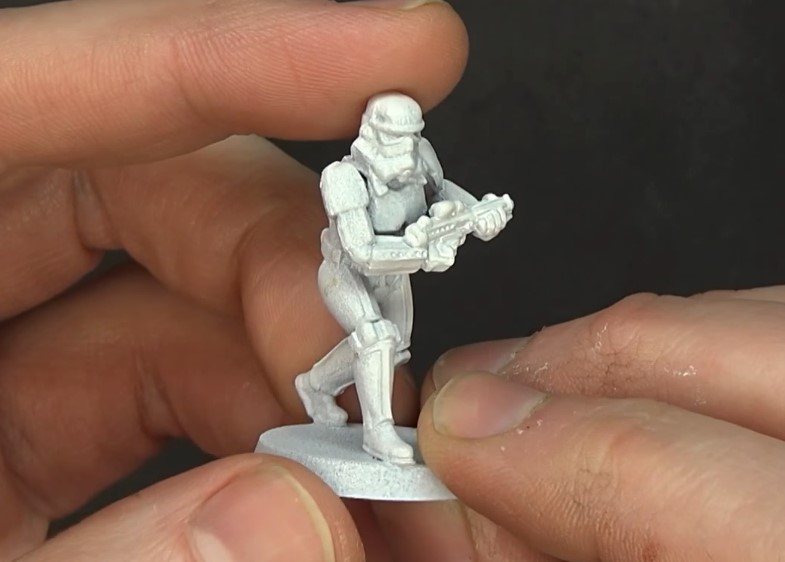
Star Wars: Legion models come unassembled and unpainted. Each box assembles pretty easily, with push-fit models that will require glue to stay together and have minimal mold lines to clean up, which is nice.
Take a look at this quick six-step guide to painting and get your forces ready for battle!
How to Paint Star Wars: Legion Stormtroopers
Before we get into the steps for painting Star Wars Legion Stormtroopers, let’s check out the paints used in this video. You can click the links below to grab your own!
- Army Painter Matt White Spray
- Matt White Base
- Matt Black
- Gun Metal
- Dark Tone Wash
- Quickshade Mixing Medium
- Vallejo Coarse Pumice
- Desert Yellow Primer
- Desert Yellow Base
- Anti-Shine Matt Varnish
Step 1:
 Start with an Army Painter Matt White spray, and be sure to take your time here, as this will be a big step toward getting a crisp white.
Always prime in a well-ventilated area. Shake the can really well to warm up the paint and mix everything correctly before spraying. To prime, spray in short, controlled bursts at a distance of 9″ away from the miniature.
Let the models set for a minimum of five minutes before flipping and spraying the other side.
Step Two – Base Coat
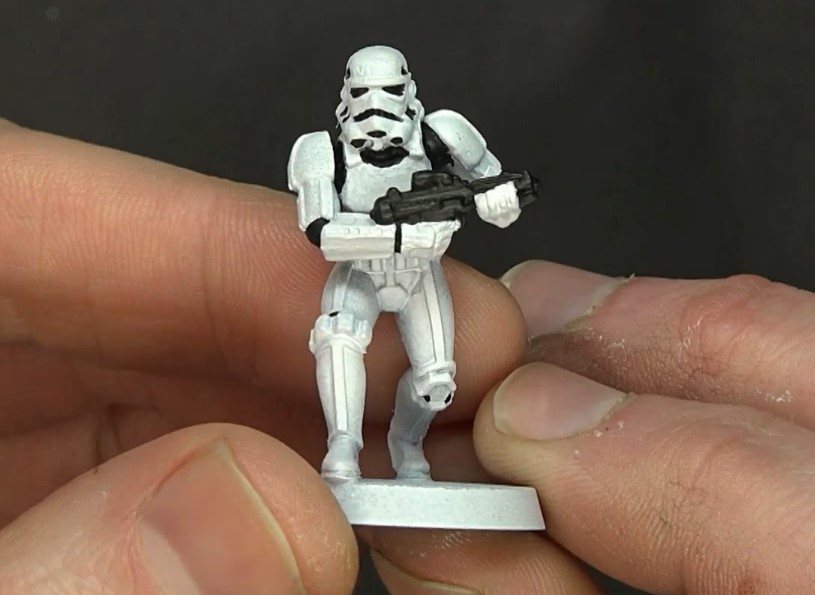
Stormtroopers are primarily two colors: white with black. The Matt White Primer from Army Painter covers the need for basing in white, but if any spots are needed, then the Matt White base paint will cover them quickly.
The Matt Black by Army Painter needs to be applied carefully by bracing the miniature to keep it steady and apply carefully in small bursts. Once everything is dry, and the black is applied to all spots you want it to be, clean up by going over with small dabs of Matt White.
Gun Metal by Army Painter can be applied to the gun on spots you want metallic.
Step Three – Washing
 Once the base coat is completely dry, apply some gloss (or matte) coat to set the paint and set it up for washing. Make sure the coat is completely dry before you move on to the next step.
Dark Tone wash mixed with Quickshade Mixing Medium by the Army Painter is a good choice. To wash, start at the top and pull down towards the bottom on the entire model. With the gloss coat, the wash should easily be moved around the model and get into the recesses without too much staining on flat surfaces.
If you use just the wash, the dark tone may stain the white too much, as we saw in the video. But there is an easy fix that we show you; just go back through with Matt White and brush onto locations you want to be lighter.
Be sure to thin the white a little, in this case, and the Stormtrooper will still have good shadows and contrast.
Step Four – Basing
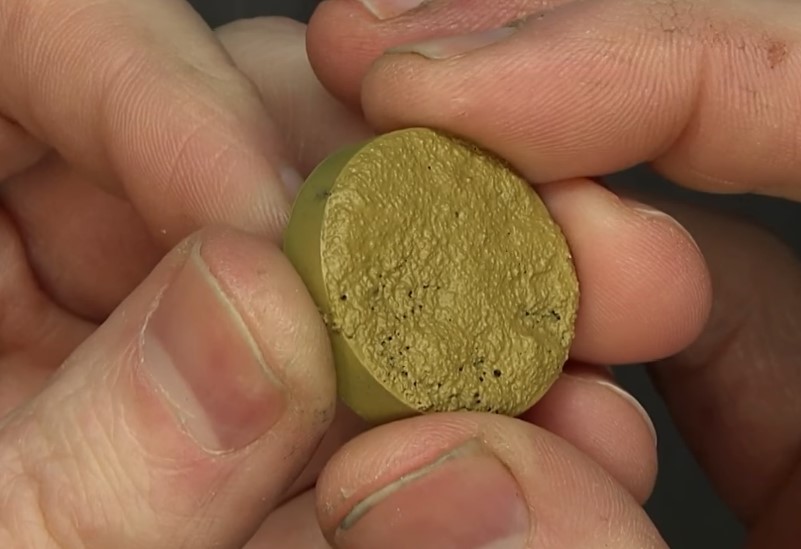 Vallejo Coarse Pumice is a fantastic product for applying texture to bases for various purposes. Another option is to mix fine-grain sand with PVA glue. With a flat ladle, apply to the base in the pattern you want and let dry completely.
For models with firing arcs, you can notch out the lines when the pumice starts to firm up after you apply it.
With our desert bases, we primed them with Desert Yellow Primer by Army Painter.
Step Five – Detailing the Base
 Drybrushing is a fantastic technique to get different layers of paint onto the textured base. Since the pumice (or sand) has a lot of texture, the raised edges will catch the paint from the brush quite well without becoming oversaturated.
Move the brush in one direction over the base to avoid getting streaky lines. Matt White is brushed on first, followed by Desert Yellow. Finally, add white once again over the top. This will give layers of colors to the desert, building up various contrasts and having the desert texture be layered.
Step Six – Transfering to the Base & Final Touches
 To transfer the miniature from one base to the other, carefully use a hobby knife in a downward, perpendicular motion with the blade flat against the previous base.
The figure should easily pop off the base with light pressure and a thorough motion (watch your fingers, though). Then the miniature can then be re-attached to the base with hobby glue.
Once attached, paint the lip of the base with Leather Brown in several thin coats. Finally, seal with a matte varnish. In this case, Anti-Shine Matt Varnish by the Army Painter.
Once sealed, you can add grass tufts and other terrain features to give the base some more character, and not “frost” the tufts with the matte spray.
There you have it, six easy steps to painting and basing Stormtroopers! They look fantastic and can be based in a variety of ways. Be sure to check out the entire process by watching the video above.
What’s your favorite way to paint Stormtroopers?
Let us know in the comments of our Facebook Hobby Group, and make sure you enter the latest monthly giveaway for FREE today!
Get ad-free access to our videos, a monthly crate of miniatures, and support some of the best creators out there for as little as $6 a month on Patreon!

This post contains affiliate links, as an Amazon and eBay Associate Spikey Bits earns from qualifying purchases.
About the Author: Travis Pasch
Travis Pasch
Job Title: Head Writer & Editor
Socials: @paschbass
About Travis Pasch: Travis has been a Warhammer 40k hobbyist since the 1990s, playing the game since Third Edition. Through extensive traveling, he’s seen a lot of the miniatures hobby from across the world, giving him a unique perspective on the latest gaming topics and trends.
Travis’s brother even owns a commission painting studio, where he’s picked up a lot of good advice and techniques for painting Warhammer and tabletop miniatures over the years, as well. Travis joined the Spikey Bits team in 2019 and has been the lead writer since 2020.
Currently, he’s working on converting all his 40k Adeptus Mechanicus models and becoming a true tech enjoyer, complete with both sad and happy robot noises!