Squadrons in Star Wars Armada are heating up and will only get hotter! Come and see what makes them such amazing units in Armada!
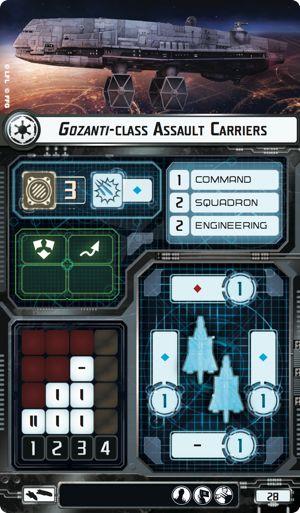
Gozantis are great little ships in Armada. They can help your activations by activating them to hopefully force the enemy to close the distance with your ships to make them juicy targets for return fire. But they also can be great for activating squadrons cheaply and effectively. Their squadron value of 2 works excellently with squadrons and works great with supporting your larger, deadlier ships. Let’s take a look at a powerful combo that can add up some damage fast!
Colonel Jendon is the ultimate support ship with his special ability and his inherent Relay 2. During your activation, you may forgo Colonel Jendon’s attack to choose another friendly squadron at distance 1-2 that can perform an attack, even if it has already activated. This is a fantastic way to get Maarek Stele performing 2 attacks each turn! With Relay 2 built in to this combo, a Gozanti can hang in the backfield away from danger, activate squadrons, and choose Colonel Jendon and Maarek Stele regardless of range from the activating Gozanti. This is a deadly combo that has been seen to put Imperial Star Destroyers out of their misery in no time at all.
Would you try this combo in your Armada fleet? Try it out and see how effective this deadly duo can be!

