Hey everybody, Brandon from GMM here! It’s that time of the year again, time for my sixth Adepticon!
I am more excited than ever before, as I am doing two armies this year rather than one. One for 40k and one for Fantasy.
So let’s get started on the basics.
One of the things I do when making these armies is try and find interesting objects to turn into a display.
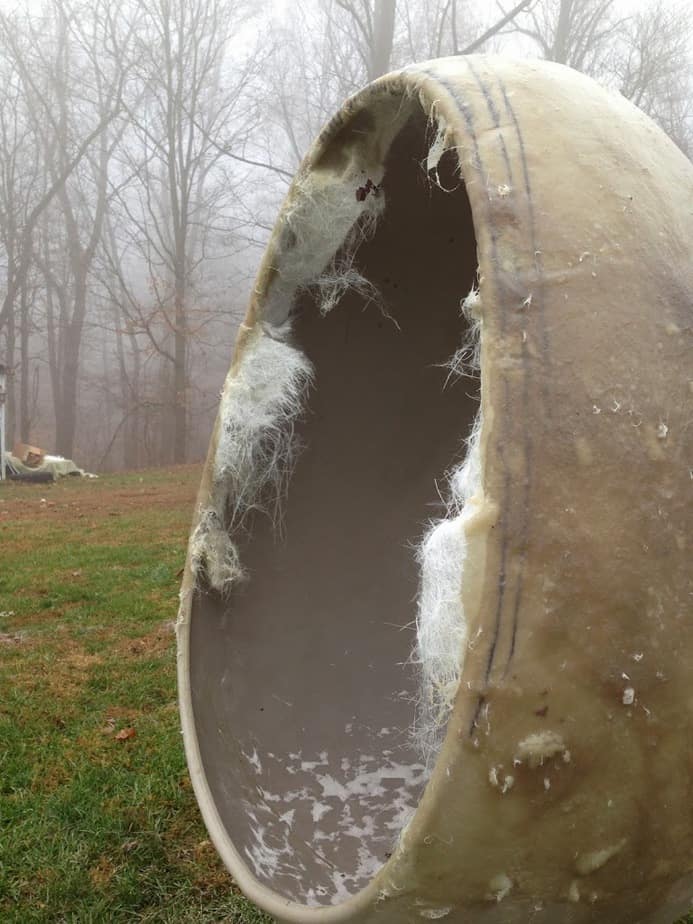
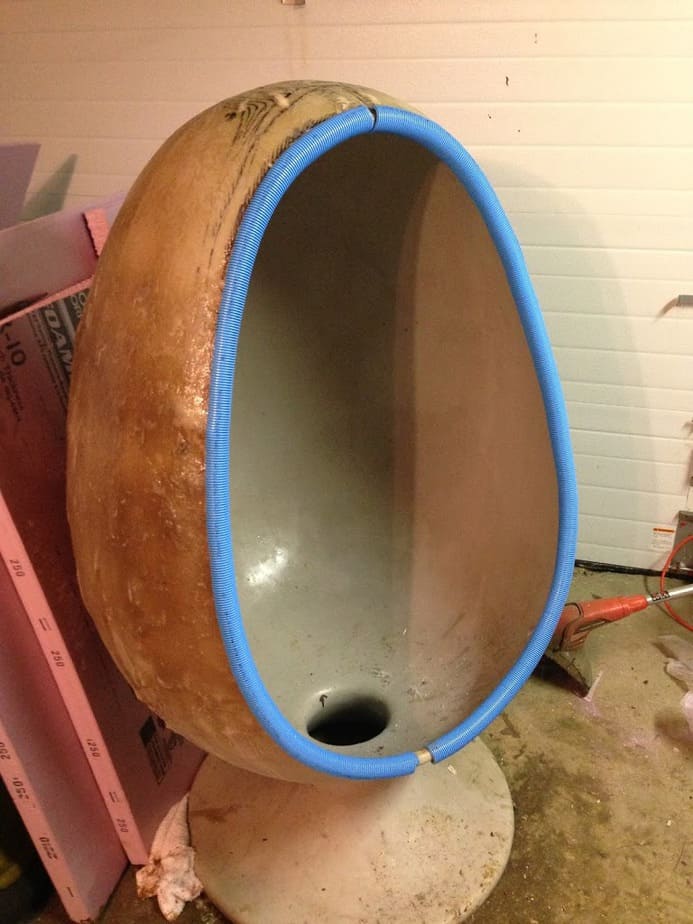
I had an idea to use an egg chair when watching ALIEN and having seen one of these earlier in the week on a pawn sort of show. I looked to ebay and found this (these are the actual Ebay auction images).
I bought the egg, and it was shipped via freight to a local Yellow Cab of all places. I got a phone call from a very confused cab driver. We picked it up in my Dad’s van and brought it back to their house.
My mom sits in the chair. And she’s not THAT small! It’s a huge chair.
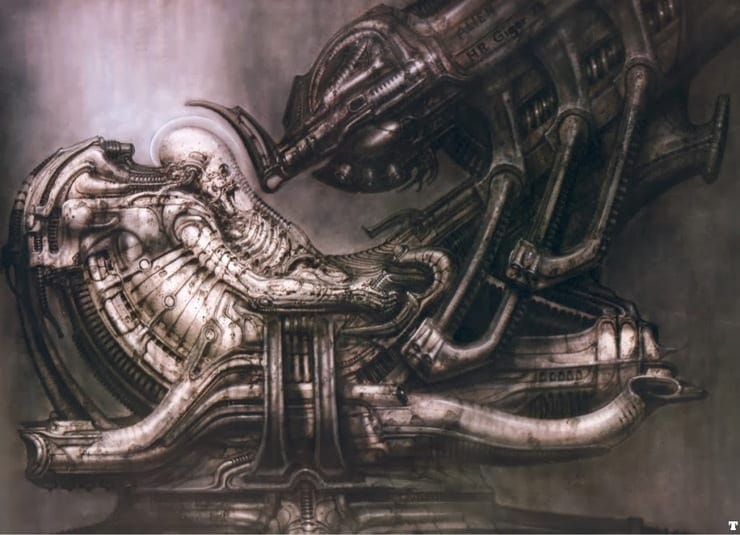
Obviously being inspired by Giger and ALIEN, I want to do something similar in design to the egg. This is a rough sketch I did just to map out something in my head.
I drew a bit on the raw plastic, to get a better idea.
The Space Jockey is the primary inspiration for the chair, although all of Giger’s work is pretty inspirational. I want to copy the biomechanoid lines, and the fossilized flesh tone of the Engineer. One of the things that makes Giger stuff so creepy, is in terms of lines it is very mechanical, but in color it is exremely organic and sickly.
The first thing I did was wrap the egg twice over in fiberglass. Fiberglass is a woven mesh of glass fibers that is then coated in resin to create a hard shell. A HUGE problem with the egg as-is, is it is extremely wobbly. I am afraid if I did not do the fiberglass, in transport it would shake all the putty off.
Once the resin cured, I cut away access, drug it to the backyard and washed it out. I had to use a bucket because my hoses were frozen!
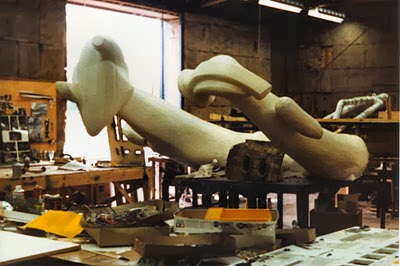
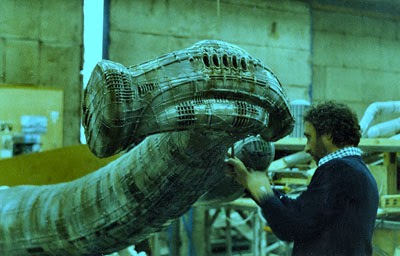
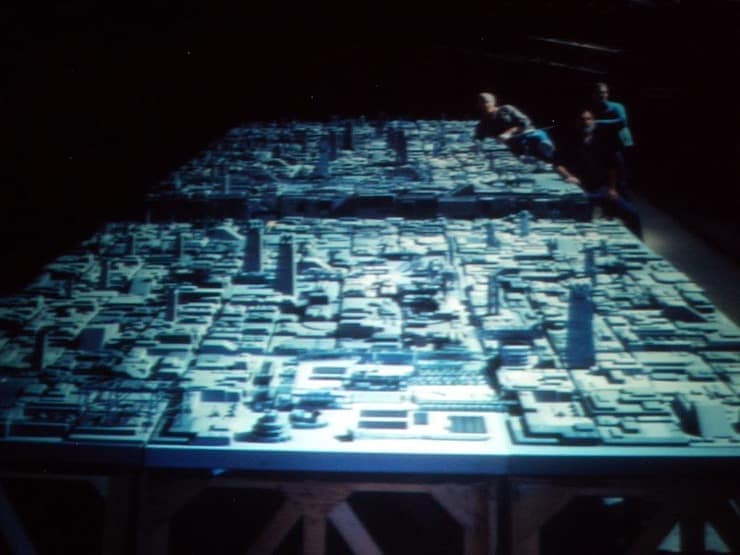
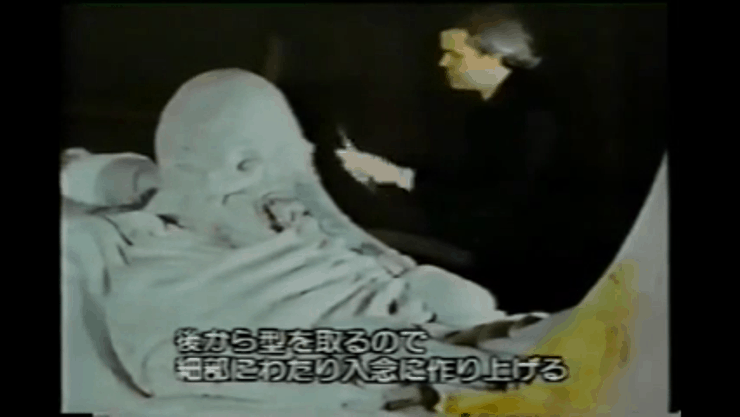
There has always been something very romantic about traditional model building. I am an old soul in the sense I prefer traditional effects to computer generated. It’s not an argument of skill, but in my opinion one of charm. I grew up with movies using traditional effects. We all have seen the Death Star trench and the ALIEN xenomorph. The fact that these were framed with wood and sculpted with clay or model parts makes them more interesting to me.
Ill never be able to work in a movie studio back in the 70s-80s of course. But this is my opportunity to try and experience that for my own and in my own way. Ill never own a piece of the Death Star trench, but if I can get a feel for what it was like to work on something like that, that to me is just as valuable as a creative person.
It has always been one of those dream worlds of mine that an artistic person tends to have – Industrial Light and Magic sort of work space where you have all the model kits in the world to work with, and the freedom to create an original work that is more than the sum of its parts, and the parts are no longer visually recognizable as their original form.
Prop and effect construction has always been one of those hobbies similar to Warhammer, in that you either know of it and what it’s about or really haven’t considered it. I follow several prop blogs and auction sites on twitter and like to see what comes up for sale or some new discovery. There are a lot of really great prop reproduction and collection forums out there as well worth checking out.
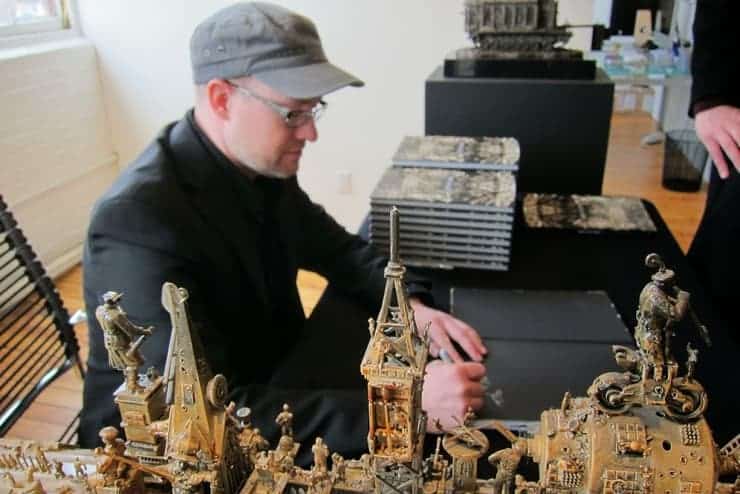
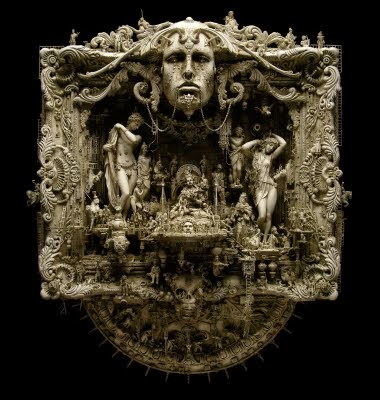
This brings me to what I hope to blend this technique with visually – the style of artist Kris Kuksi. He would be best known in the Warhammer world for his church tanks, but these are really the least of his works. He is best known for his huge baroque assemblages of random toys, statues, appliqués and found items. When I first found his site I spend an entire evening looking for as many images as I could, and I remember vividly trying to find close ups.
So hopefully all of this I can blend together into something interesting and a fitting homage to these great artists. It should be a fun adventure and I hope you enjoy it with me and the final result in the next month or so. Thanks for following along!
I have made a good deal of progress on the throne over the past two days, so let’s catch up with that and also give a bit of history of the parts involved. This project won’t be as intellectually stimulating as the egg, but I think it will be more fun in ways, as I love to build fantasy terrain, and I think it will still be just as over the top as the egg. But let’s get started.
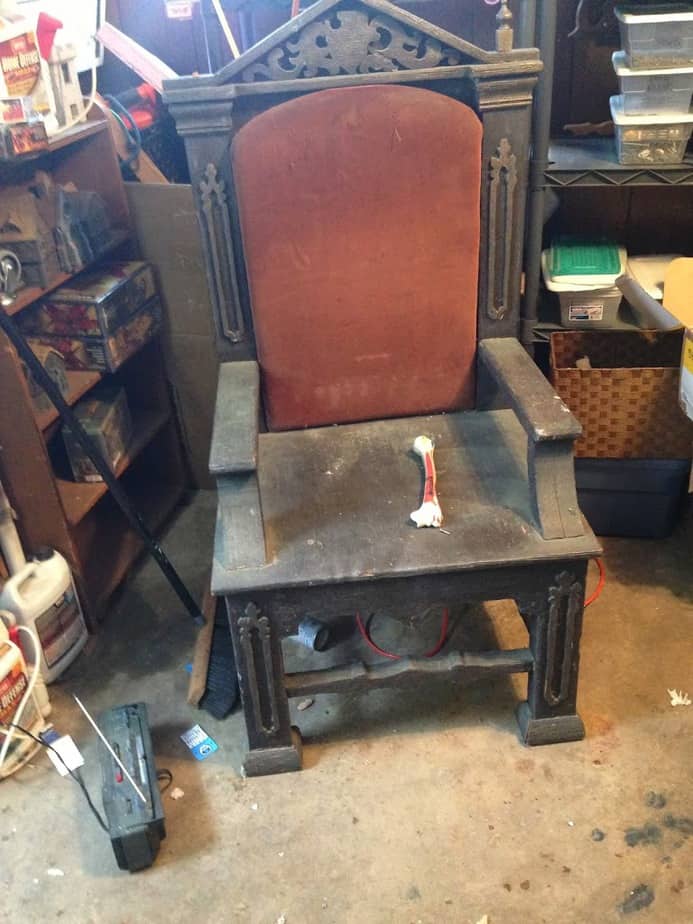
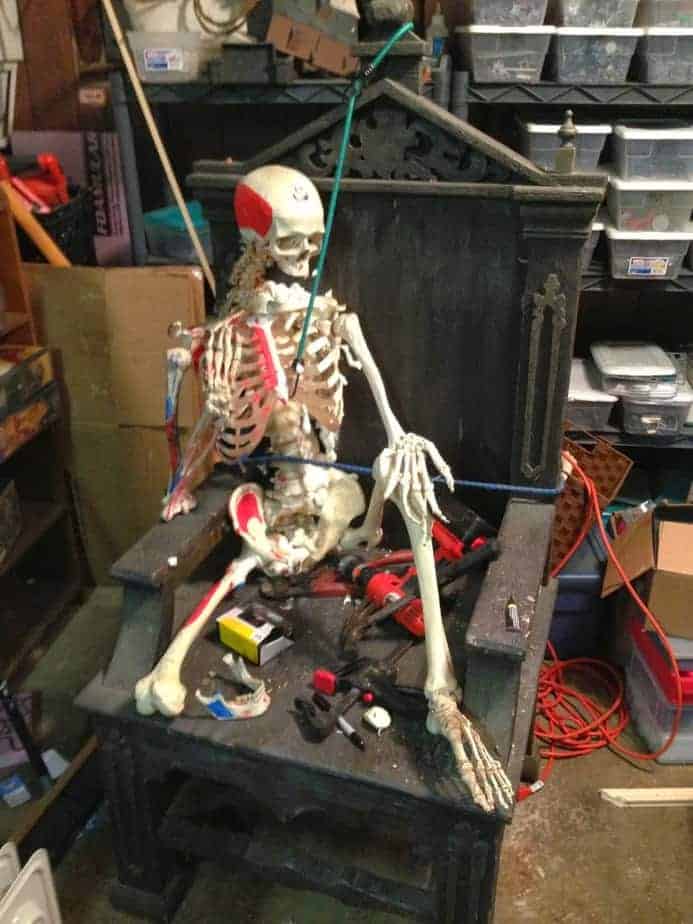
The image above I took last summer. While I have just now started, I owned both the skeleton and the throne for a little while. The throne itself I have owned for a couple of years. It is a legitimate antique – a prop from a play of Henry VIII – from the 1930’s or so. Although this story is word of mouth, it is from original owner to antique dealer to me. The antique dealer is more of a very large curiosity shop who has had real Warhol’s, enormous walls from monasteries, and furniture from every century so I do trust his word. I did not buy the egg chair from him, but I definitely looked.
This is the skeleton in it’s natural habitat taken right before I bought him. He looks so happy! But I had plans for him.
Time to go to your new home! And so he sat in the throne in the garage until now, where he gets a more fitting and permanent seat.
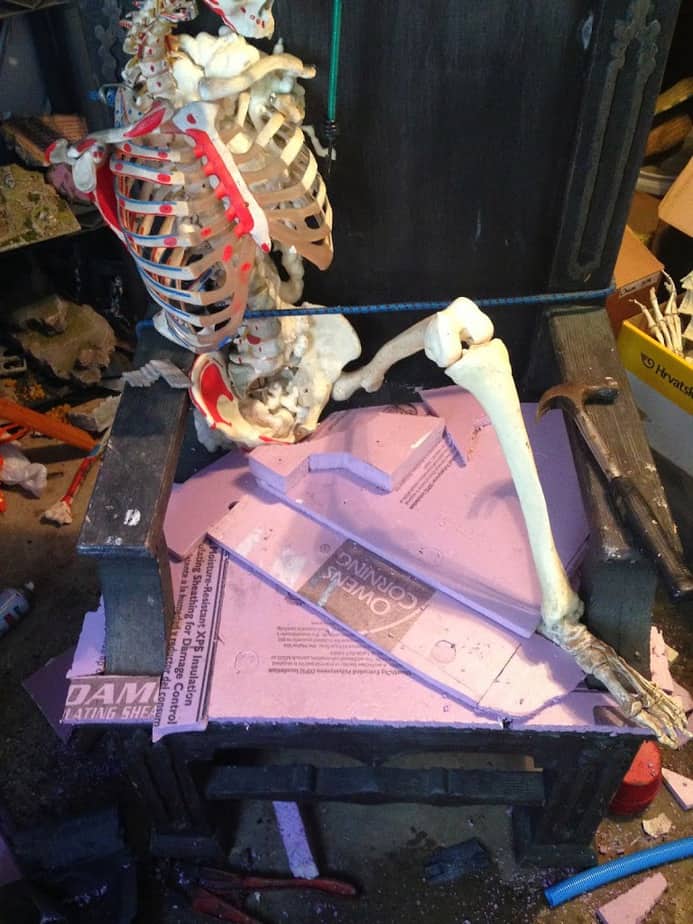
So time to get started! I cleaned up the throne, took the skeleton off, and took the back pad off. While I am obviously going to be “destroying” it as an antique, I would like to keep the throne relatively intact. Other than removing the pad and adding wheels, I do not want to alter the chair much. It doesn’t really matter, it’s just sort of a personal OCD respect for antiques thing. I have to add wheels to get it around, and I have to remove the pad to secure the skeleton.
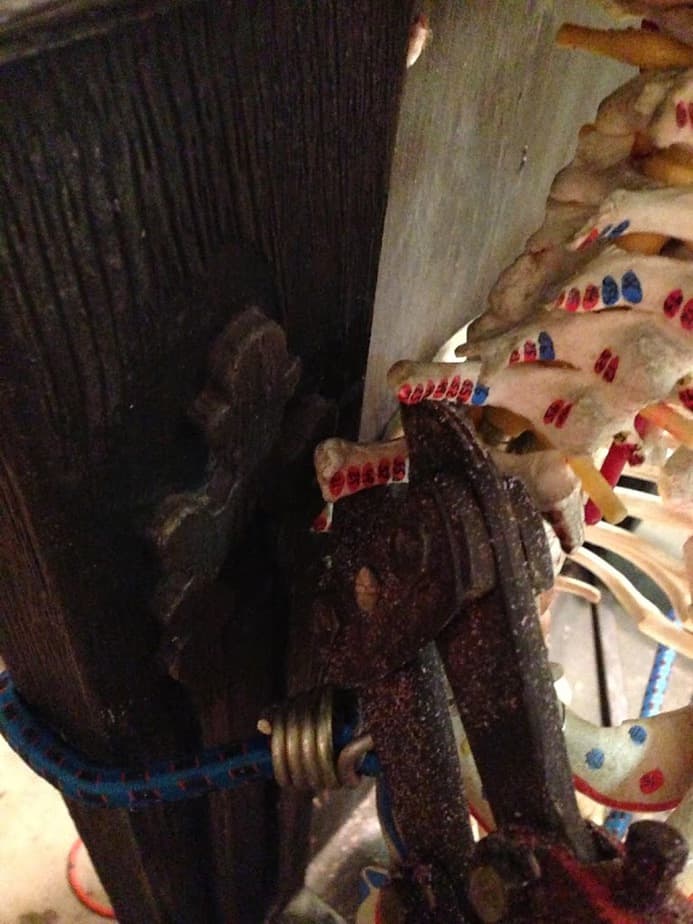
First things first – off with his head! The skeleton has a MASSIVE amount of hardware. This giant rod runs all the way from the top….
…to the bottom. But it also makes a good giant pin to secure it.
Here I used cords to secure him in the pose I wanted. From here I could simply drill the heck out of the skeleton and put pins in wherever I want.
Pins in the back of the head going to the chair will secure it in place. There will be many more things that will secure the skeleton in even better, but this is to hold it for now.
This would hurt!
Here the leg is in place and I am eyeballing the arms which are not secure. I know this is what I want for the left arm, but I am still working out the right. I do like this pose for it’s “Jack Skellington-ness.”
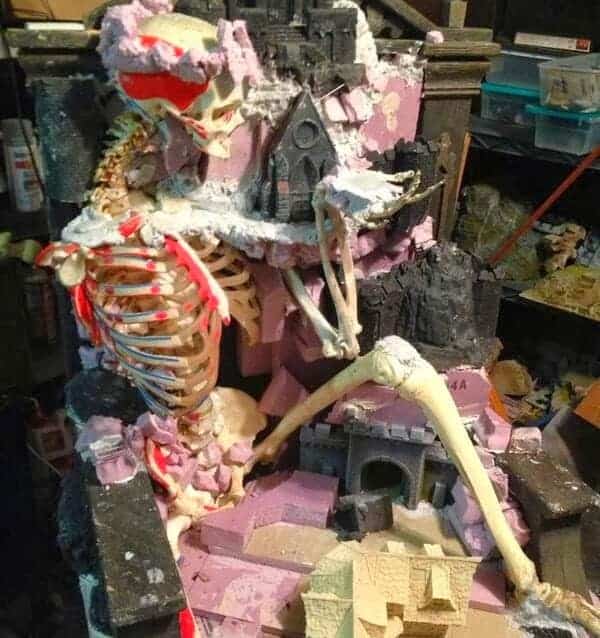
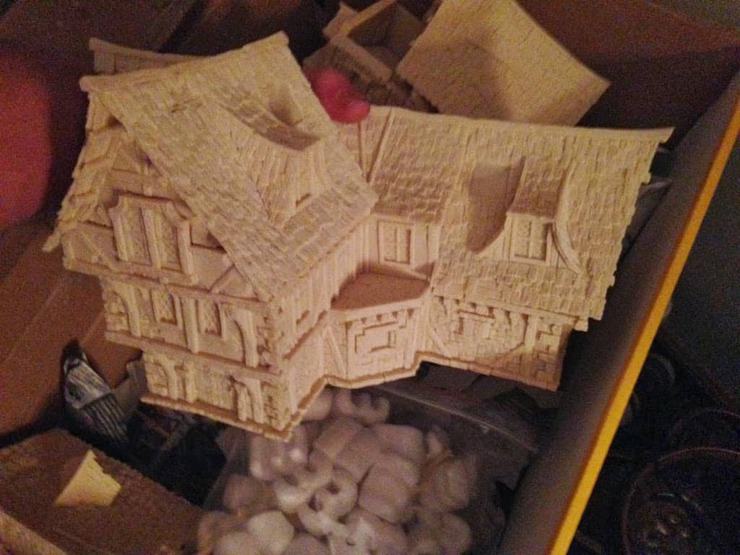
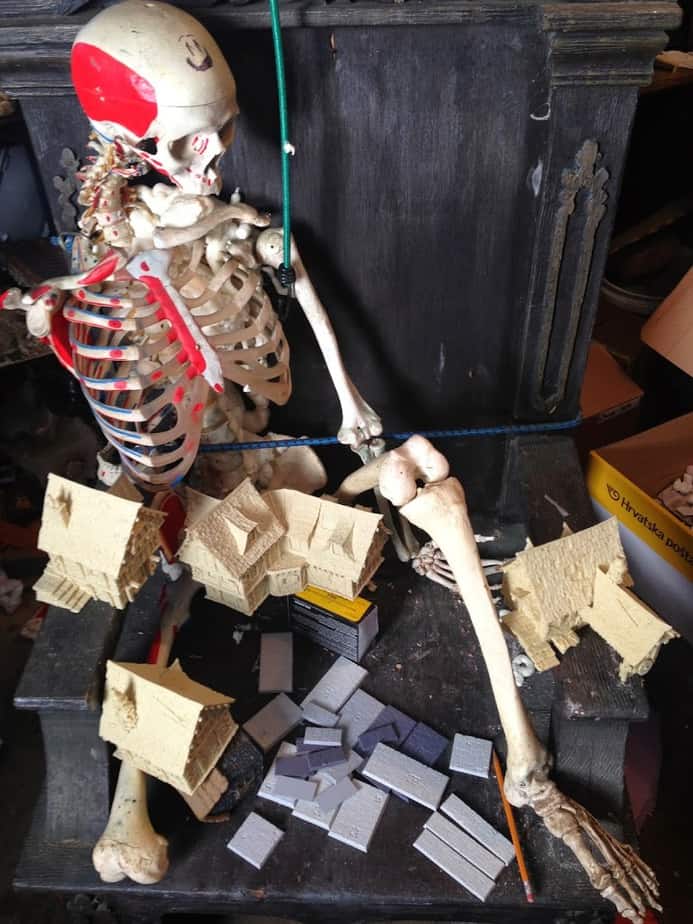
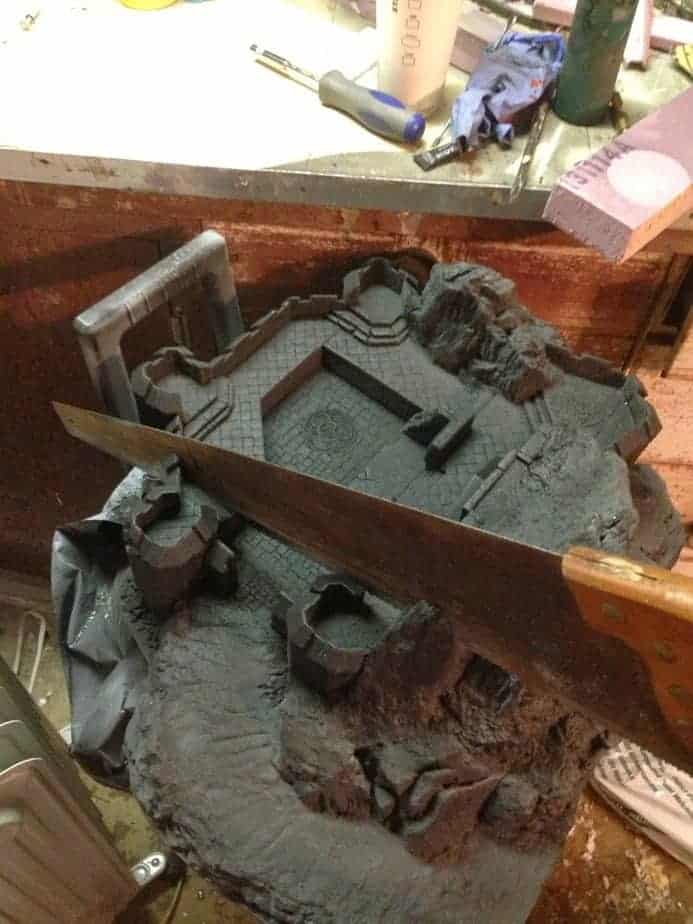
Here is a view of the terrain I will be using. I basically bought everything from tabletop-world since it is just so dang amazing and it would take me a month if not more to make something as good. I will be magnetizing these so that they can be painted separately and used for gaming.
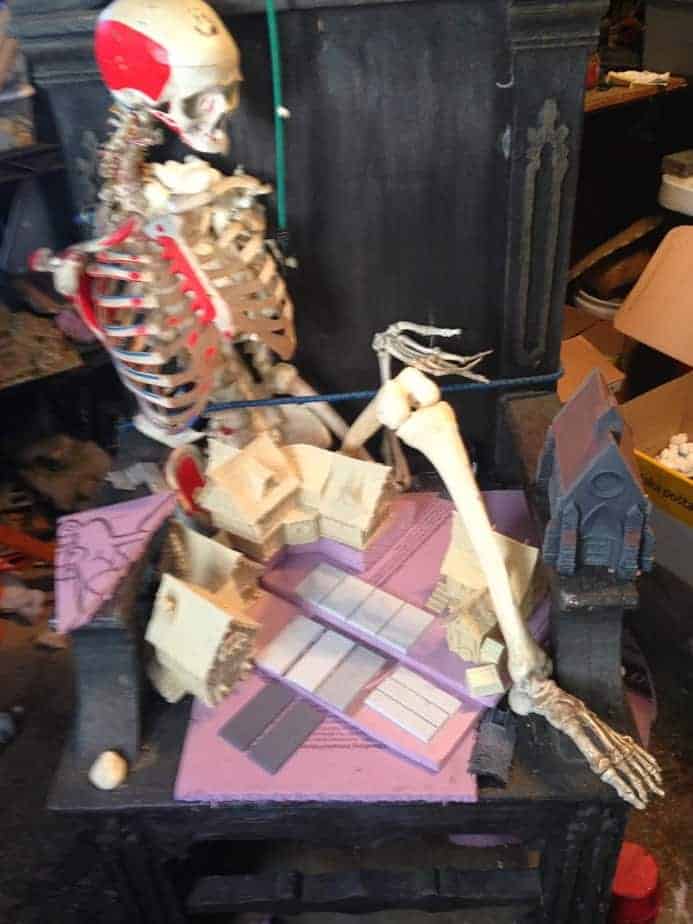
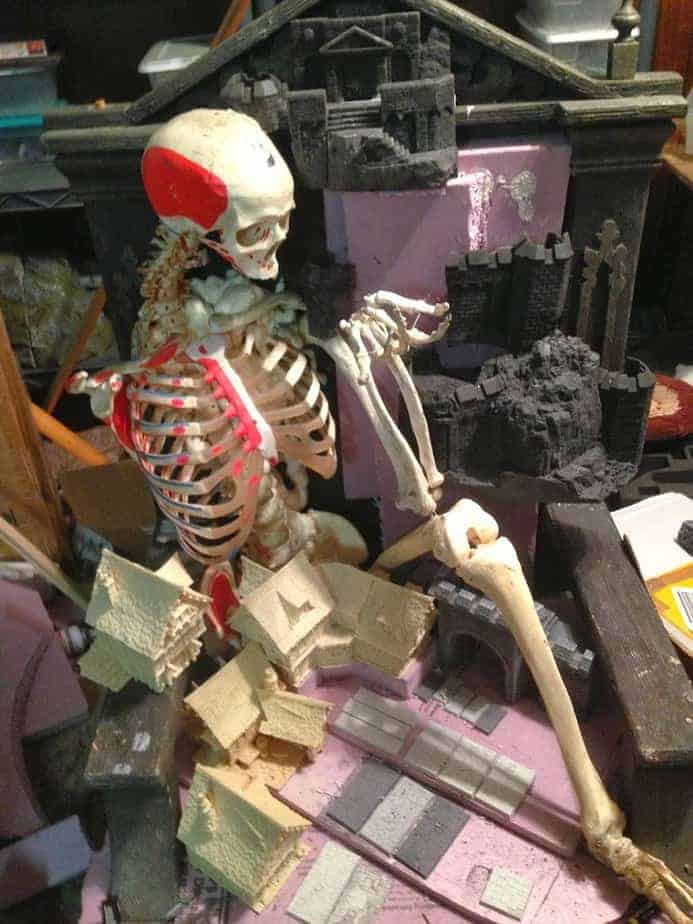
Here are a couple images of me goofing around trying to figure out the best looking and efficient placement of everything. This takes a bit of time each year, but it is one of the things I look forward to. It’s a small thing but it’s like a puzzle you have to solve. Each one of my armies has a LOT of thought put into layout and placement.
I decided to add tiers to the city street. Small enough that it doesn’t look silly with chariots, but large enough to make a visual difference – 1/2″
I made a decision, glued and pinned the foam. I decided to have the foam cover the seat, and I will add trim to the outside of the sit to make it flush. Although I still need to go buy that..
No problem! Also, a plug for ziterdes.de – amazing terrain, and great for things like this since it is foam!
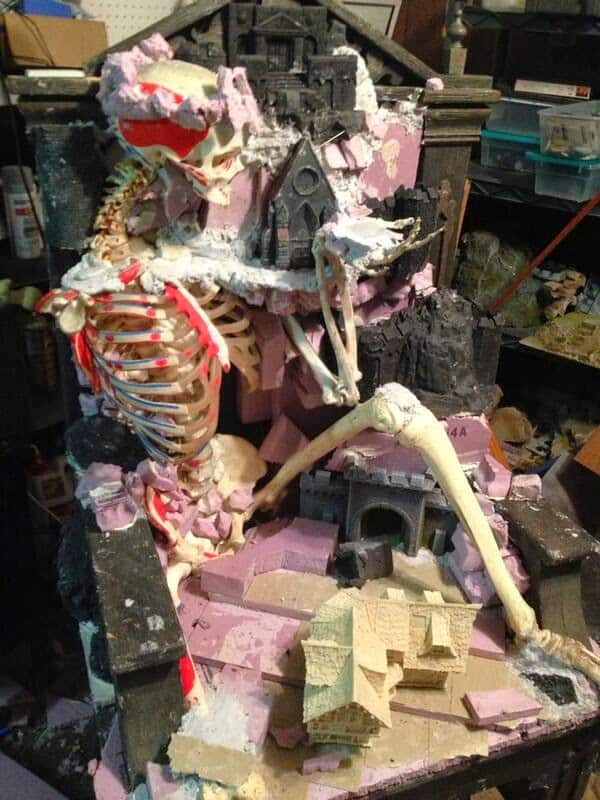
Now I am starting to try and wrap my head around the top part. It is going to look a lot worse before it gets better!
Working out how to place the castle took a lot of brain wrestling. I pinned it to hold it up temporarily.
My solution for the biggest problem – the visual exit to the back of the city and entrance of the army – is a GW castle face.
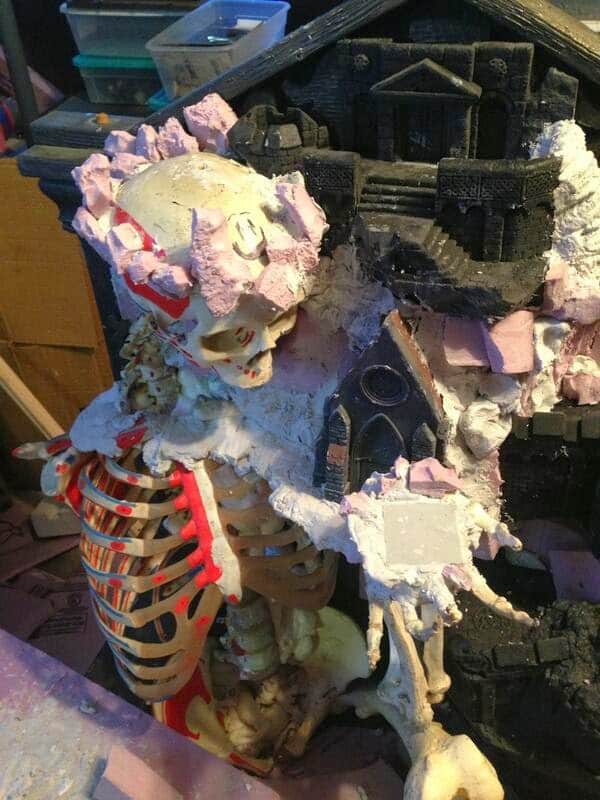
And here we have a LOT of blocking in. This is basically just throwing in a ton of putty and foam and then coming back and adding and somewhat subtracting later. This is all about filling holes and giving stability and support.
So hopefully next time I will have some more refined work done on the mountain. Stay tuned! Keep up with my latest work on Facebook, or connect with me on the blog! –GMM
