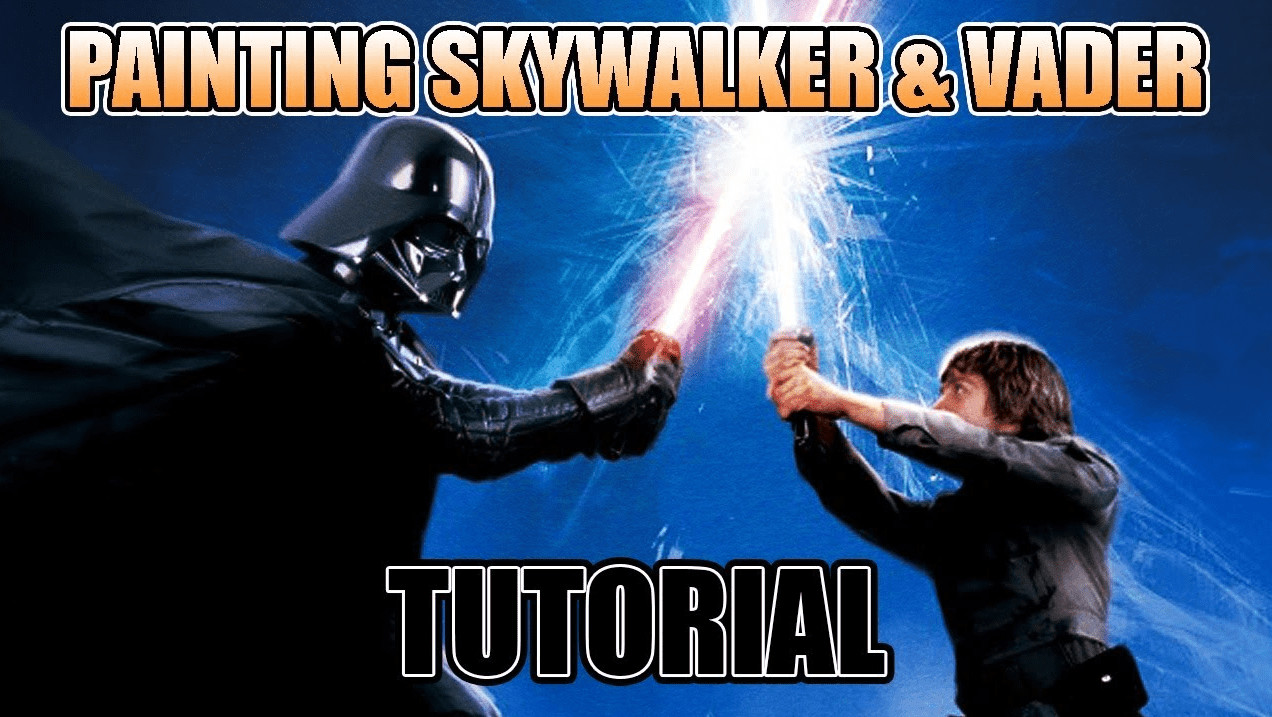
 With this easy painting tutorial, learn how to paint Star Wars: Legion Darth Vader and Luke Skywalker miniatures!
The force is strong with the Skywalkers, providing them with the means to lead their armies to greatness as opposing generals for the Star Wars: Legion starter set!
These Star Wars: Legion models come unassembled and unpainted. Each miniature assembles pretty easily, with push-fit models requiring a little glue to stay together and minimal mold lines to clean up, which is nice.
Take a look at this quick painting tutorial and see how to paint your Dark Vader and Luke Skywalker miniatures.
How to Paint Star Wars: Legion Darth Vader & Luke Skywalker
Before we get into the steps for painting these Star Wars: Legion models, let’s check out the paints used in this video.
You can click the links below to grab your own!
- Matt Black Primer
- Necromancer Cloak
- Warpaints Mixing Medium
- Gun Metal
- Dark Tone
- Gloss Coat
- Castle Grey
- Chaotic Red
- Dragon Red
- Warpaints Mixing Medium
- Pure Red
- Desert Yellow spray
- Leather Brown
- Barbarian Flesh
- Strong Tone
- Elven Flesh
- Viking Blue
- Troglodyte Blue
- Stone Golem
How to Paint Star Wars Legion Darth Vader: Painting Tutorial
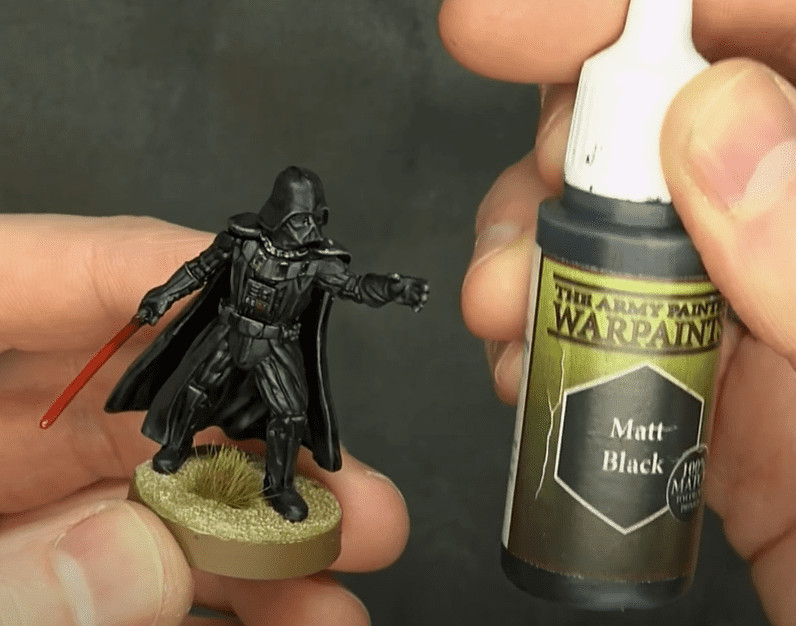
Every primer has a dropper bottle color to match!
Step 2: Base Coats
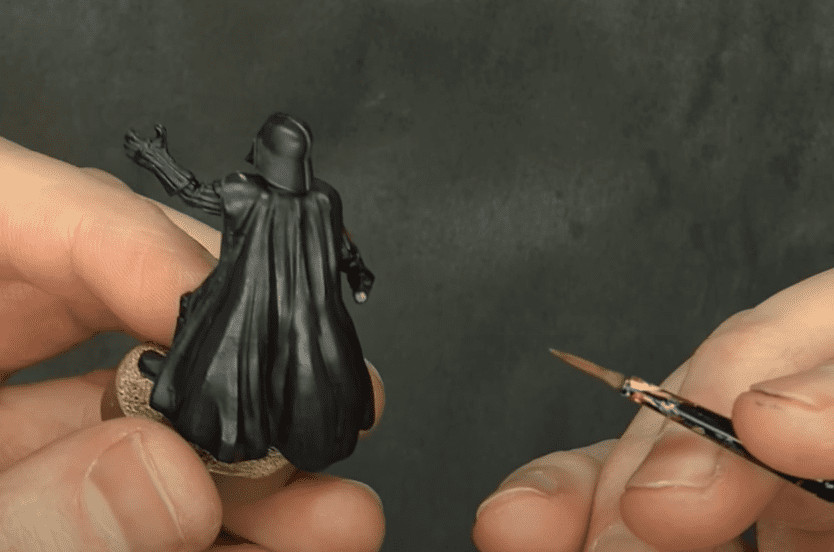
Considering there are so many flat areas on him, you need to add a little of the medium to give the flat areas some pop.
Step 3: Final Base Coating & Washing
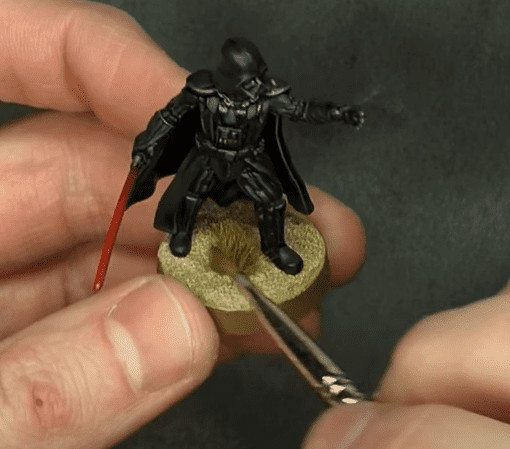
Using Dark Tone, coat the entire model with the wash and dab up the sections that have pooled up.
Step 4: Highlights
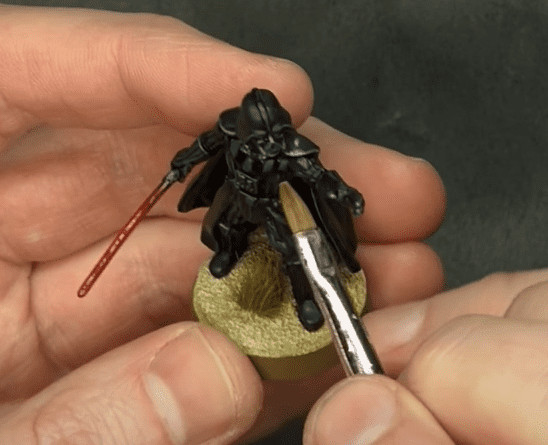
For the cape, Rob only edged the very tip of it. Vader is honestly a dark model, so don’t get too carried away with the highlights here, as you’ll take away from the overall effect.
Step 5: Lightsaber & Base
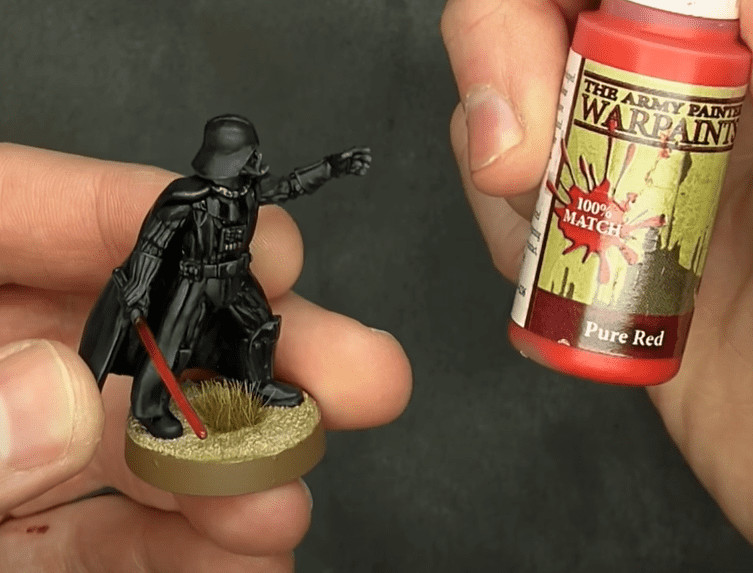
Just go from the bottom to the top, and blend the dark red from the bottom to the brightest on top. The last stage of Pure Red is really just on the very tip, be sure to leave some dark areas so you can really see the contrast of colors.
For the base, Rob did it the same as the Stormtroopers, which you can find here. Finally, seal with a matte varnish to protect everything you just did!
How To Paint Star Wars Legion: Luke Skywalker Painting Tutorial
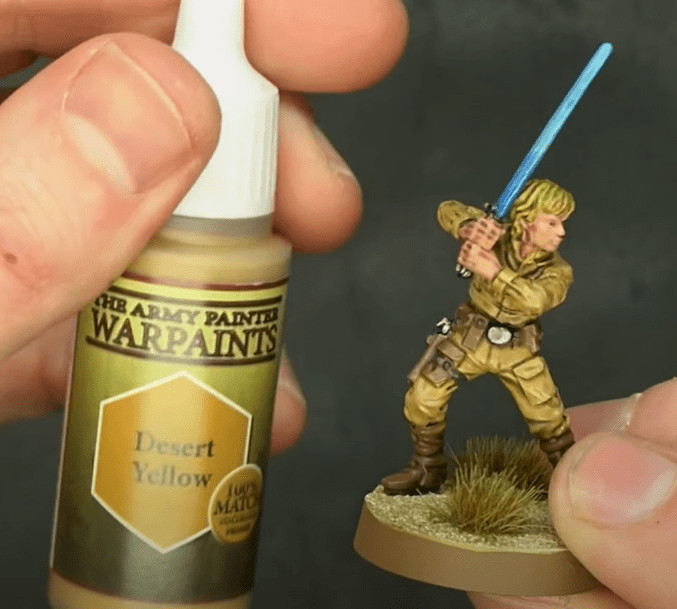
Step 2: Base Coats & Washing
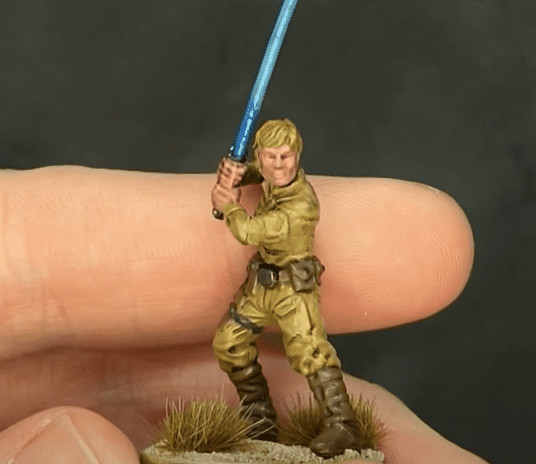
Gun Metal is put on the belt buckle, blaster, and lightsaber hilt. Barbarian Flesh is used to basecoat the hands and face. Just like with Vader, the base coats take some time, but be sure to get good coverage and not be too messy.
Seal the model with a Gloss coat spray here before washing not to mess up the previous steps. Then wash the whole model with Strong Tone, applying the wash from the top and working your way down, pulling off any wash that pools. You want it to get into the recesses, but don’t let it pool.
Be sure to keep your brush moving in this stage, and this will help with pooling. You can also dab it off when you remove the wash, but always keep the brush slightly wet.
Step 3: Highlights

Considering Luke has many more raised areas than Vader, this will take some time. However, just be sure to hit all the raised areas on the skin and hair, but take your time here, as too much highlighting will make the model come out a little wonky. This is Star Wars after all, not Tron!
Step 4: Lightsaber
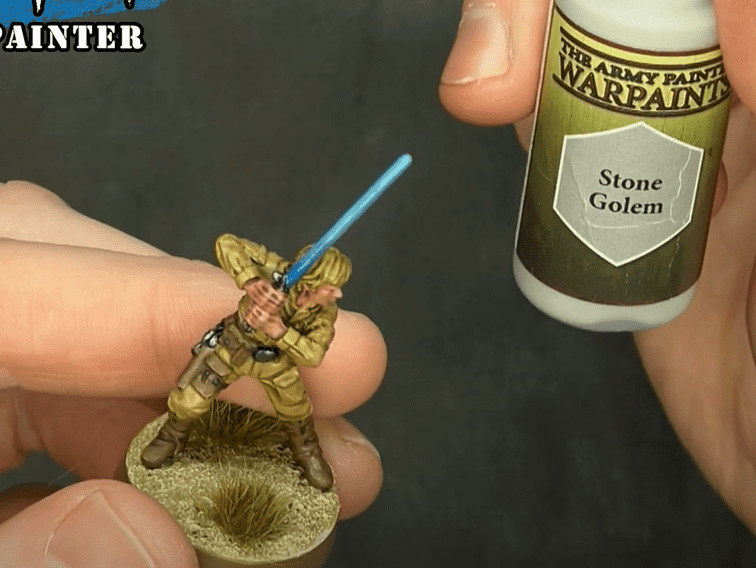
Again, you want the top of the Lightsaber to be the brightest part, so as long as your base level is darker and the top is brightest, you should be good to go.
Step 5: Base & Finishing Touches
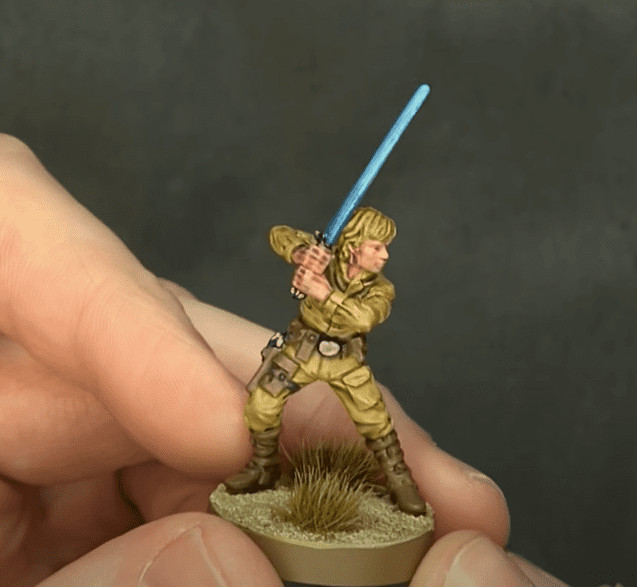
What’s your favorite way to paint Star Wars Legion models like Luke Skywalker or Darth Vader?
Let us know in the comments of our Facebook Hobby Group, and make sure you enter the latest monthly giveaway for FREE today!
Get ad-free access to our videos, a monthly crate of miniatures, and support some of the best creators out there for as little as $6 a month on Patreon!
This post contains affiliate links, as an Amazon and eBay Associate Spikey Bits earns from qualifying purchases.

