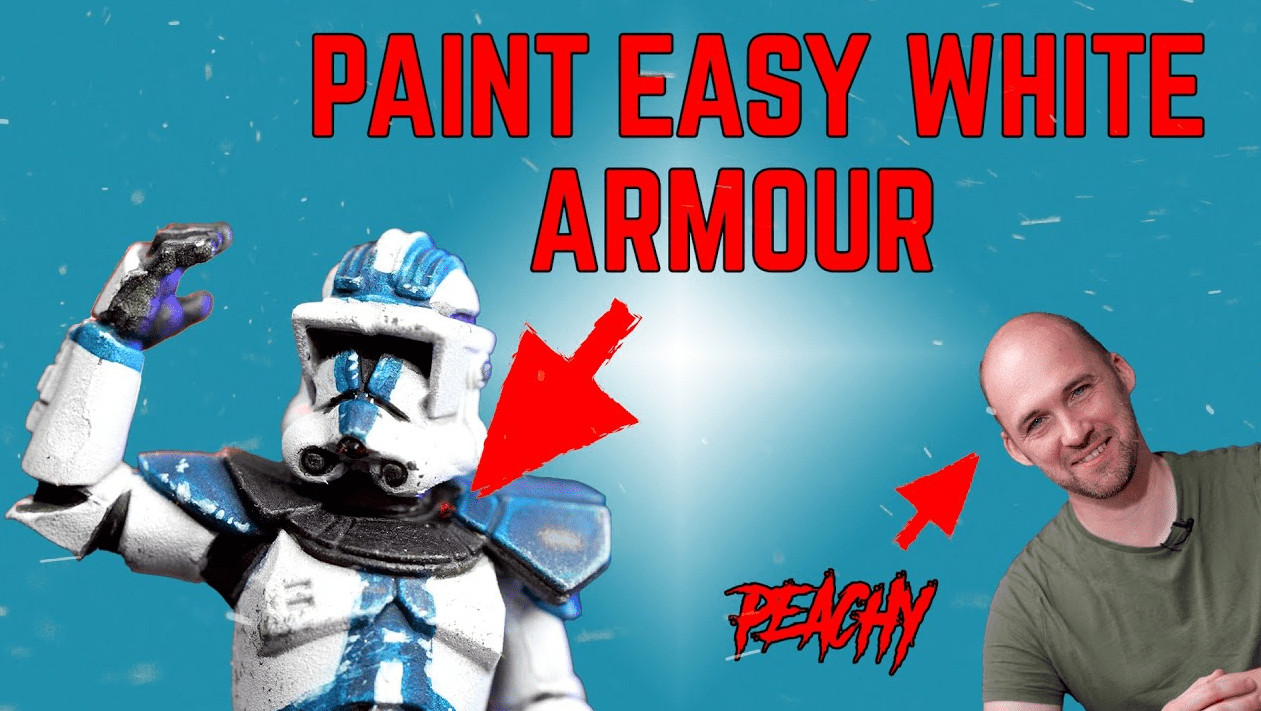
Peachy has recently joined the Painting Phase and has started making excellent painting tutorials on YouTube! They also have a Patreon, so if you want to show some extra support and get great rewards, go check that out here!
If you’re looking for an easy way to paint your new Clone Troopers or just white armor in general but don’t want to spend too much time on them, this tutorial will help you tackle the steps without much hassle!
Speed Paint Clone Troopers & White Armor With Peachy!
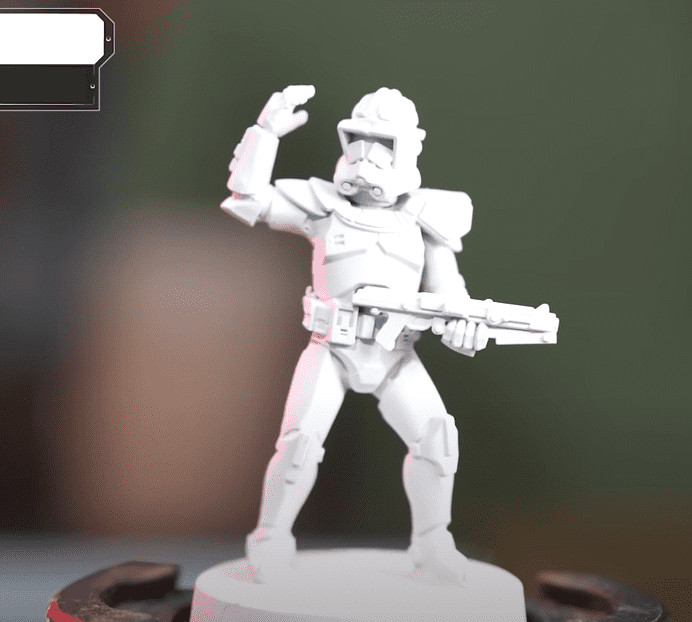
Before we get into all the steps, let’s check out the paints used in this video!
- White Scar Undercoat
- Soulblight Grey
- Bold Titanium white from Pro Acryl
- Black Legion
- Iron Warriors
- Skavenblight dinge
- Stormfiend
Step 1:
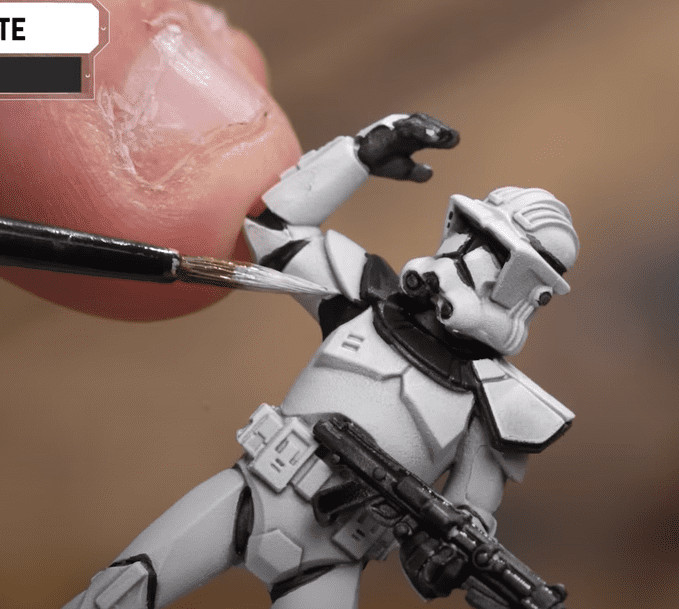
Next, he takes the Bold Titanium White and does a light drybrush of the entire model. Aster that, he takes the Black Legion and hits all the insides of the armor, the gun, visor, and neck area. This can get messy, so if you paint over any other areas, clean them up with the white from before.
Step 2:
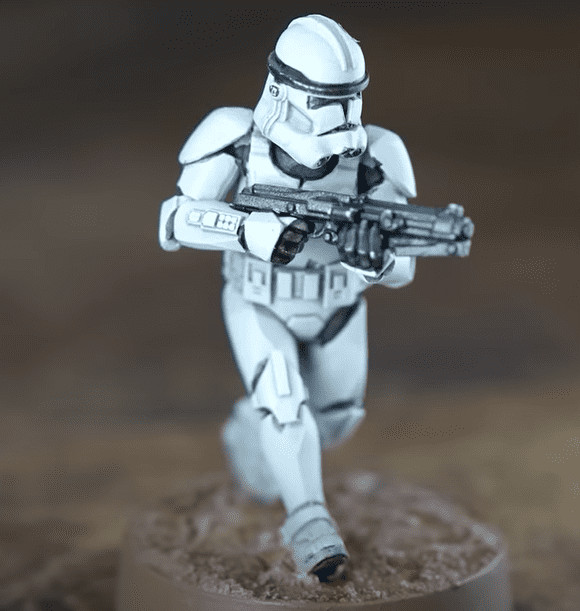
Next up, he takes black legion, coats all over the gun, and then does a second coat with it super toned down. This is honestly all you have to do for battle-ready minis. However, he wants this to be part of the 501st, so. We’ll take it a couple of steps further!
But, again, you could always just leave yours here and call them done.
Step 3:
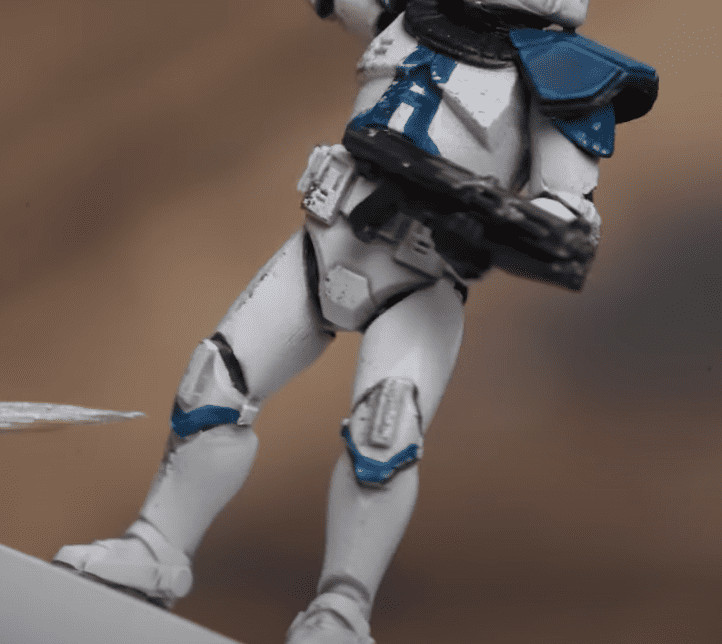
Next, he takes the white and makes a letter I in the chest, right in the middle. For battle damage, you can take the white and hit the blue a little just with the tip of your brush where you think it looks good.
Basing:
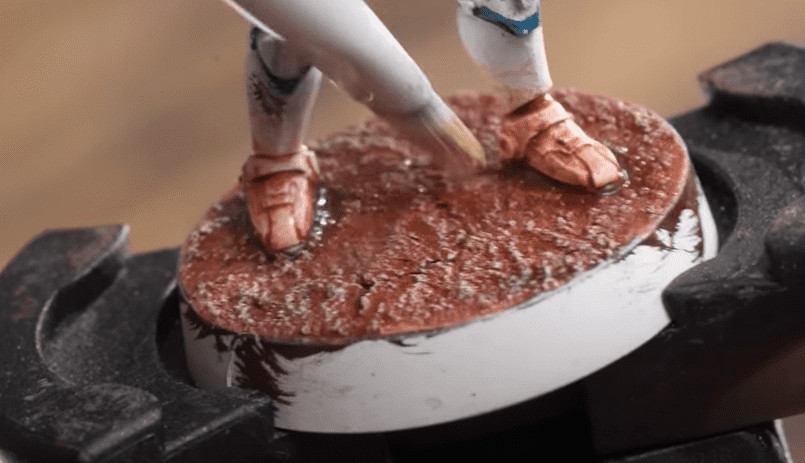
He takes the Martian again and thins it down with water. While it’s still wet, he feathers that onto the feet. Next, he takes Seraphim Sepia, hits the whole base with it, and just a little bit up onto his feet. Lastly, he drybrushes it with Screaming skull very lightly to bring out the highlights.
Finished Model:
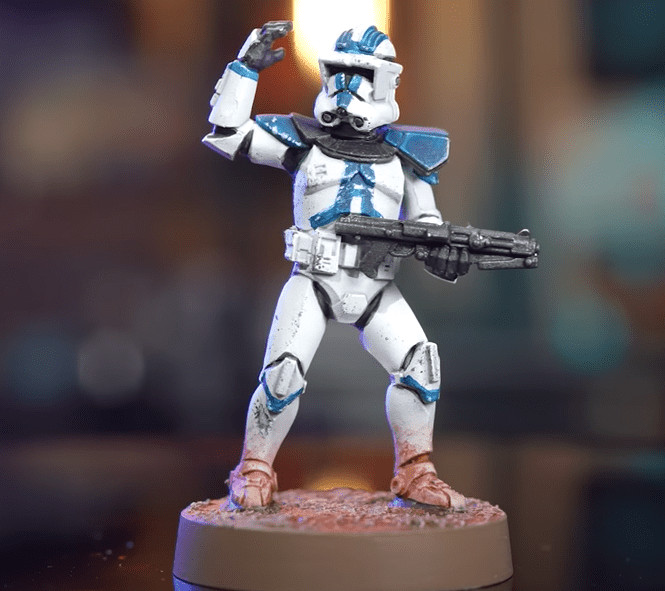
Be sure to check out the full video below for all the tips, or you can check out the links below for more content!
Click Here To Follow Painting Phase on Patreon or YouTube
Have you checked out any of the new painting tutorials by Peachy, like how to paint Clone Troopers, since he left Games Workshop?
Let us know in the comments of our Facebook Hobby Group, or our new Discord server, and make sure you enter the latest monthly giveaway for FREE today!
Get ad-free access to our videos, a monthly crate of miniatures, and support some of the best creators out there for as little as $6 a month on Patreon!
This post contains affiliate links, as an Amazon Associate Spikey Bits earns from qualifying purchases.

