If you need to keep your Quasar carriers safe from harm, employ the Centicore Jamming Barrier! This build will keep your ships in the fight!
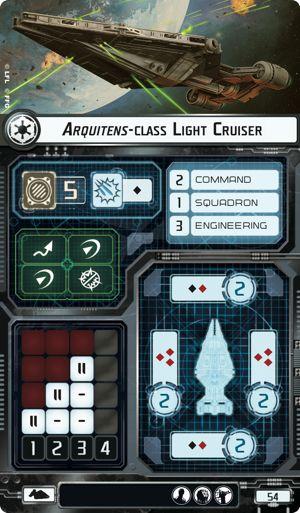
The key to this build will feature an Arquitens Light Cruiser with the Centicore title. This essentially will create a ship that will have the Relay keyword. You can equip this Arquitens with the standard loadout of Turbolaser Reroutes or any other Turbolaser that will suite your needs. Let’s get this crazy build rolling!
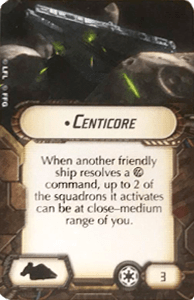
Centicore is a 3 point title that makes it so that when another friendly ship resolves a squadron command, up to 2 of the squadrons it activates can be at close-medium range of you. This can be treated like to old Relay rules where there was no distance restriction, but only affects 2 squadrons. Fill in the gap with a Lambda shuttle.
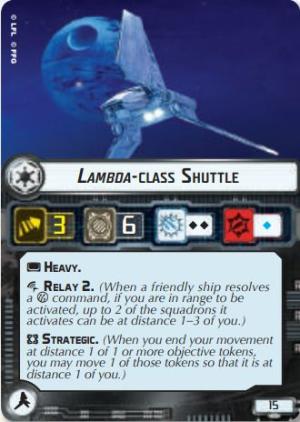
The Lambda shuttle was recently changed to allow squadrons to be activated at range 1-3 of the Lambda shuttle, as long as it is in range to be activated itself. This shouldn’t be a problem, especially with options like Boosted Comms.
This can help you cover the gap with the Centicore and also adds Strategic, which can allow the Lambda to move objective tokens at distance 1. Perfect for the Jamming Barrier objective.
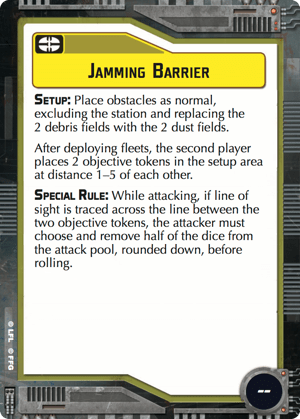
Jamming Barrier essentially creates a distance 1-5 line that reduces half of the dice from an attack pool if the attack is traced across the Barrier. This barrier is between 2 objective tokens, which can be moved as needed by your Lambda.
The idea is to keep the Centicore and Lambda on one side of the Barrier, and a Quasar on the safe side of the Barrier.
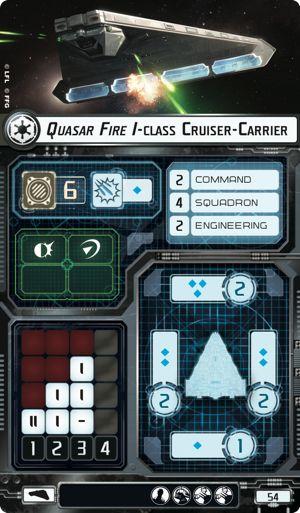
Since the Quasar has only blue dice, and can command 4 squadrons, it prefers to stay out of the fight. It won’t mind being behind the barrier, safely issuing squadron commands from out of reach with Centincore and Lambda Relays.
This can essentially be a bunker of protection that you can drag along with your Lambdas to keep your fragile Quasar safe from harm. Use new tactics to keep your fighters in the game longer in Star Wars Armada!

