 Jack of Clubs is back with another painting video and this time he’s painting a giant 54mm scale 3D printed Space marine. Let’s see how it is done.
Jack of Clubs is a regular on the site and the podcast each week. He also does a bunch of painting tutorials and conversion tutorials on his youtube and Twitch channels every week. This time around he is tackling a 54mm Space Marine he 3D printed with the Photon S.
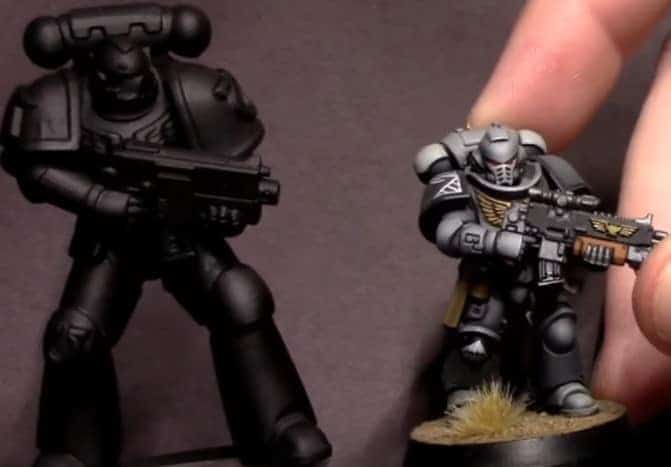
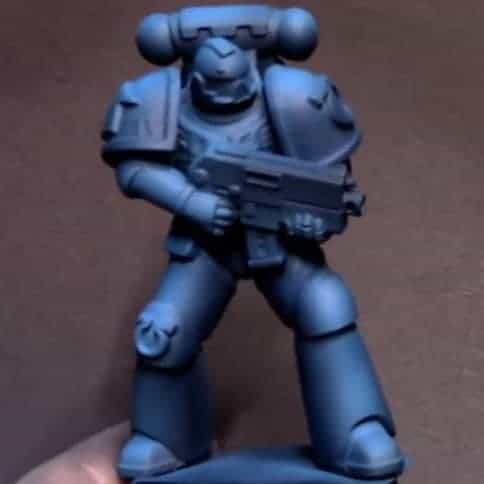 Firstly he takes Pro Acryl Dark Blue and bases the model using the airbrush on top of black primer. He follows this with Pants Blue as a basic up-down highlight and then Sky Blue on top of that to be even more precise with the highlight.
 Next, he moves straight into the metallics using Dark Silver by Pro Acryl. He also uses Rich Gold for any other non-gunmetal metallics. He also quickly touches in the black details with Coal Black.
 Next up he will add the company marking on the shoulder pads using a 50-50 mix of Soilant Green and Camo Green. He then goes over it with pure Soilant Green.
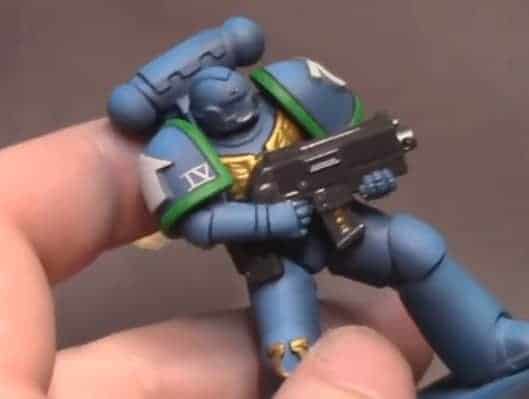 After he uses Dark Warm Grey for the first coat of other details like the tactical arrow and the ultima symbol on his shoulder and back. He highlights the face of these with Light Neutral Grey to make the symbols pop.
At this point, he also adds in some black lines around edges where he thinks the wash won’t settle correctly.
 With that done next up is wash. Here he uses the combination of Mr. Hobby Multi-Black Oil wash and its solvent to get it a unique look. Just remember to do a layer of solvent before the oil wash, then use the solvent again to remove some of the wash from the brightest areas.
 Then he touches up all the old details we still want bright. Use the same colors as before on the shoulder lines and white symbols. Then Dark Neutral Grey for blacks, followed by a Warm Grey for edge highlights.

At this point, he tries to do some paint scratch type highlighting with Dark Neutral Grey. Then he takes the blue from the armor and just highlights the bottom of those scratches, followed by some minor edge highlighting around the model with the same blue.
The rest of the edge highlights are Bright Yellow Green on shoulder pads and Bold Titanium White on the white symbols. Once this is done, if you wish, you can add Varnish to protect your finished model!
And with that, he is complete! If you want to hear Wyatt’s break down, watch the full video below.
Follow along with the latest from Jack of Clubs on YouTube below or LIVE on Twitch four nights a week!
This post contains affiliate links, as an Amazon Associate Spikey Bits earns from qualifying purchases.