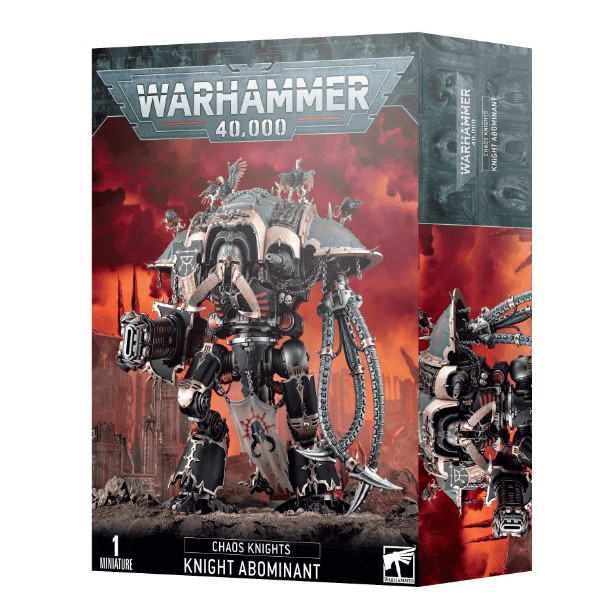
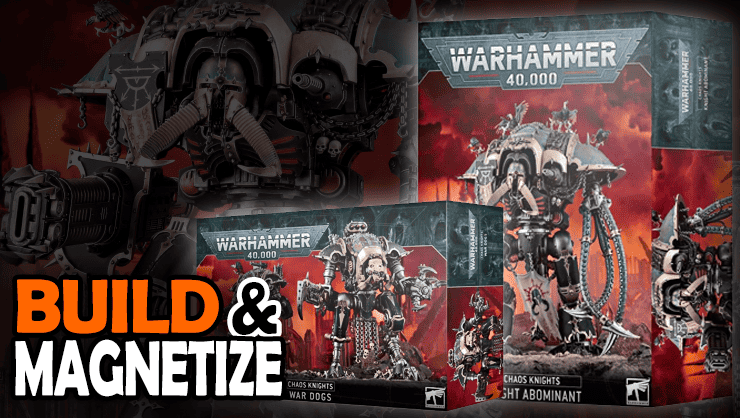
 Here is how to magnetize the Warhammer 40k Chaos Knights Renegades Abominant, War Dog Karnivores models to future-proof them!
Rob is back building and magnetizing the new Chaos Knights Abominant, War Dog Karnivores to show you how to future-proof them. He’ll see what it takes to get the minis ready for the tabletop, show the size of the models, and tell you the GOTCHAS to be aware of when building them!
We are going to show you everything, including the sprues, bits, and of course, the size. That way, you can decide if this is worth your hard-earned hobby dollars.
Future-Proof it: Magnetize Your Chaos Knights
Click here to get your Chaos Knights for less from these retailers: | Amazon | Dicehead Games | Bazooka Games | Frontline Gaming | Element Games (UK) | or | eBay |
Since we’ll be using a ton of magnets, everything Rob is using comes from the Magnet Baron, as they have pre-made magnetization kits for projects like this. Use coupon code Spikey10off to get 10% off your next order with them!
Obviously, magnets for this Chaos Knights will be extremely useful for changing your army lists between not just games but new codex books and editions of the rules.
Magnetizing & Build Chaos Knights Abominant, War Dog Karnivores

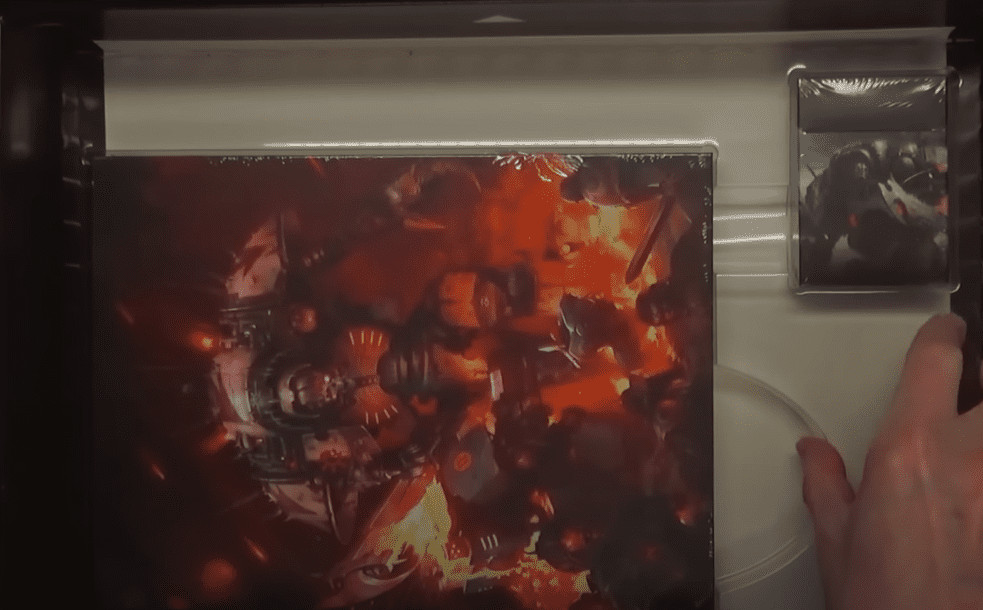
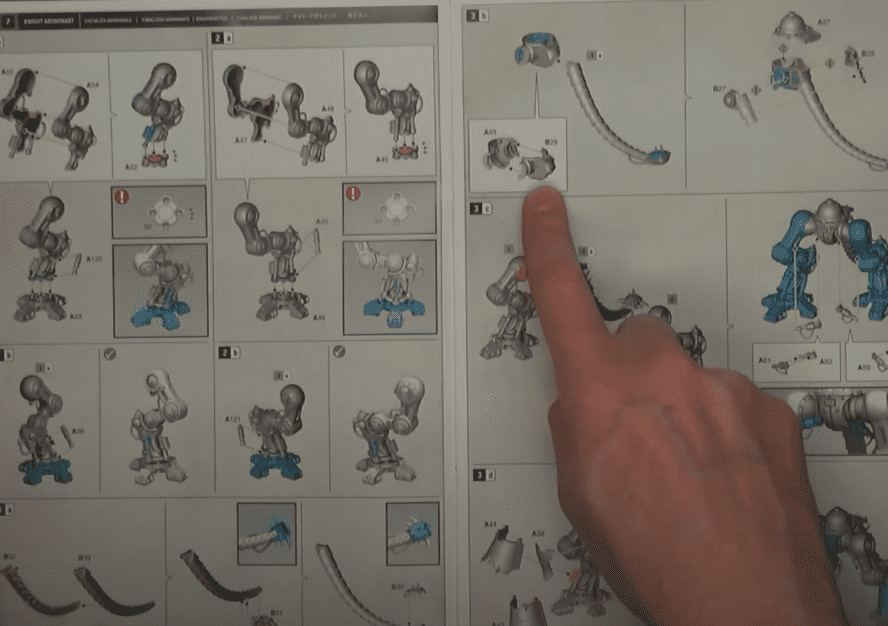
Instructions
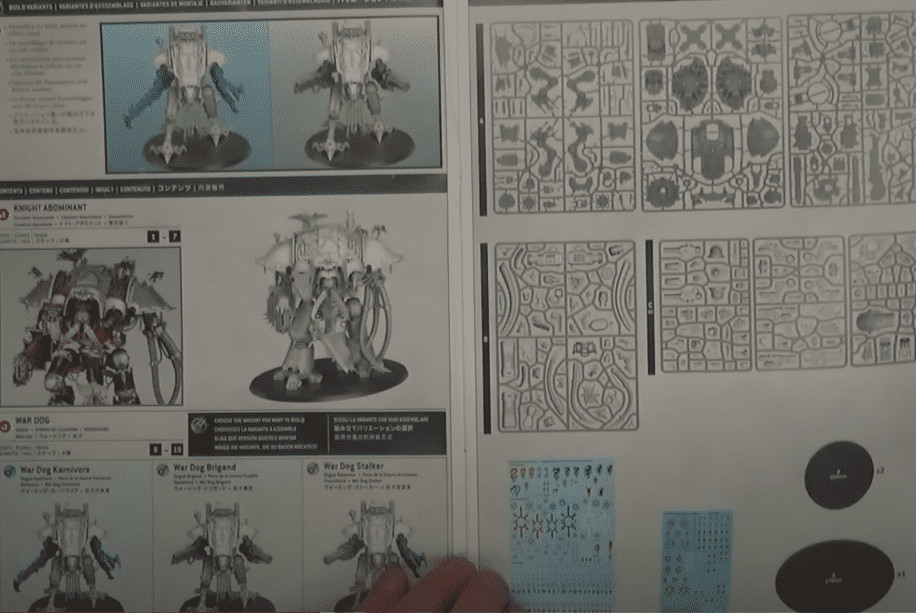
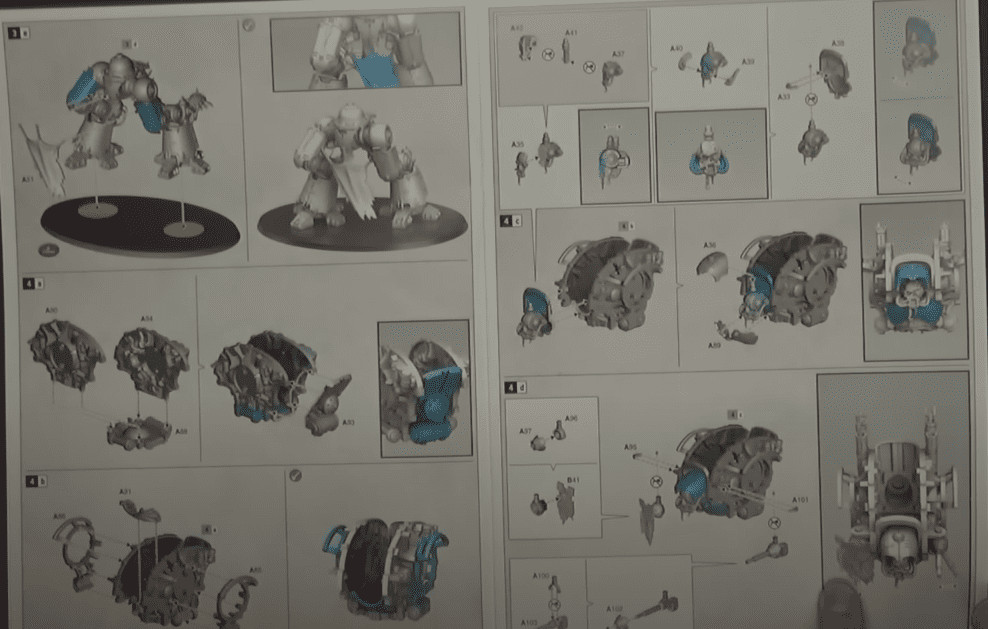
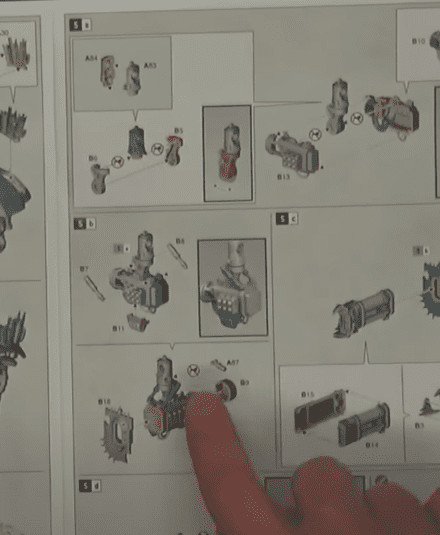
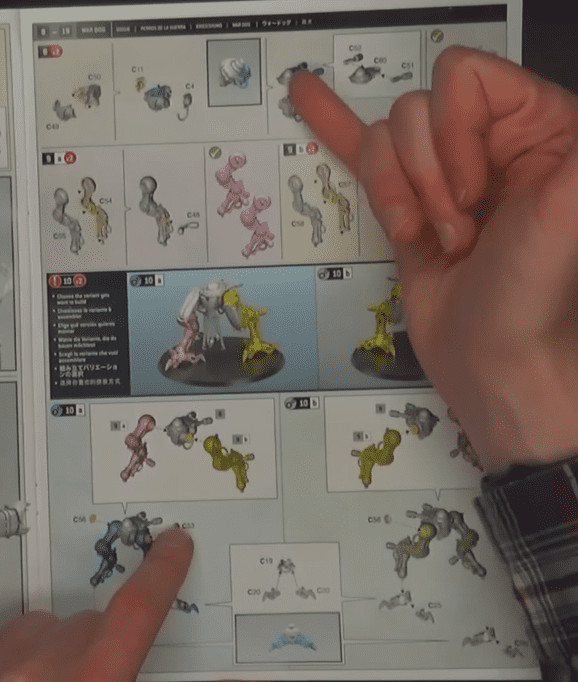
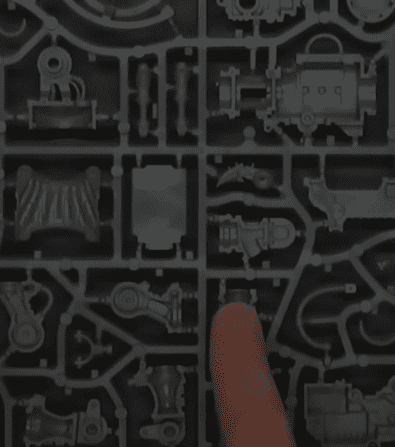
Sprues


Magnetize & Build Chaos Knights Abominant, War Dog Karnivores
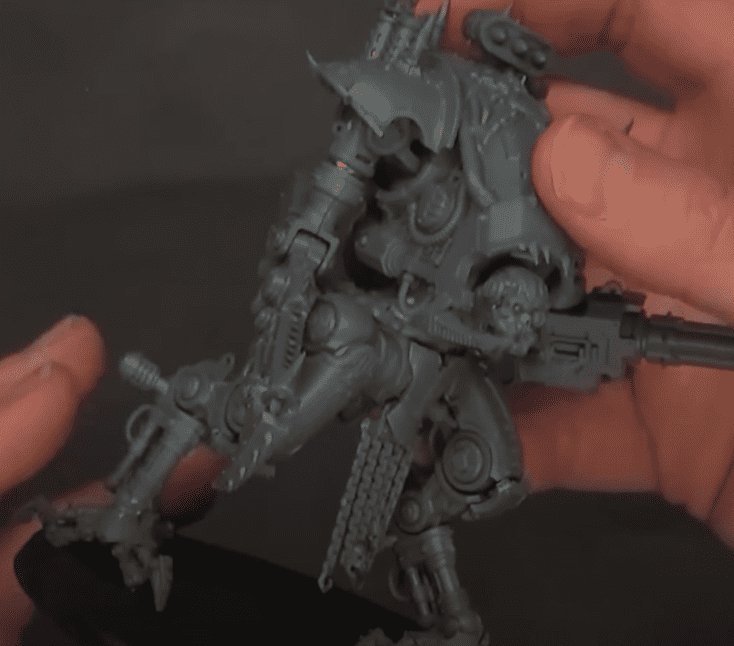

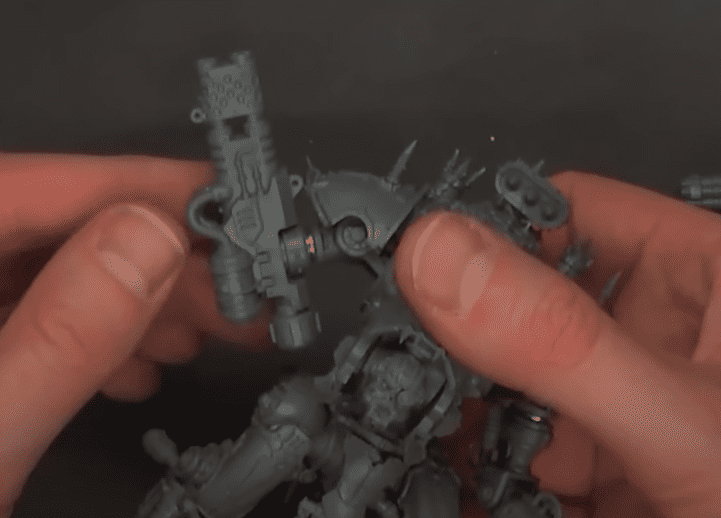
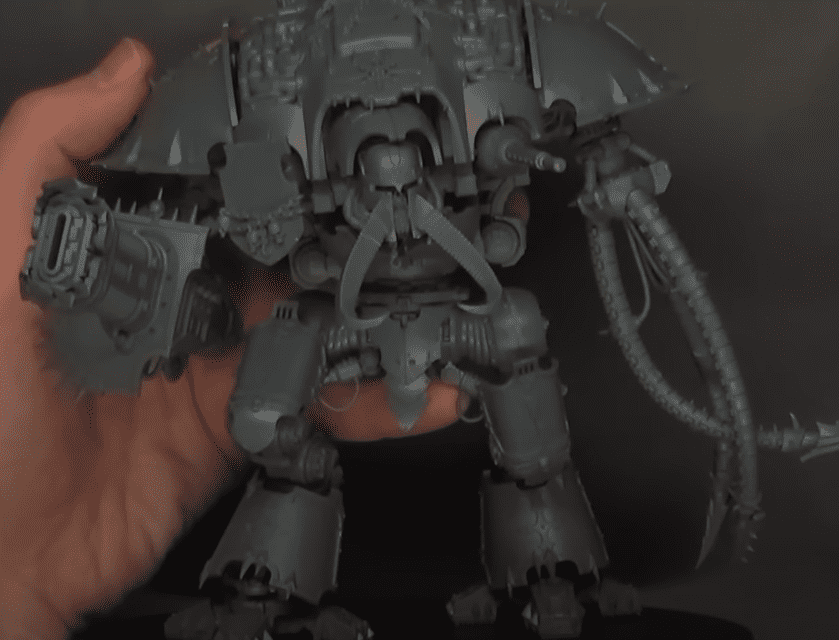

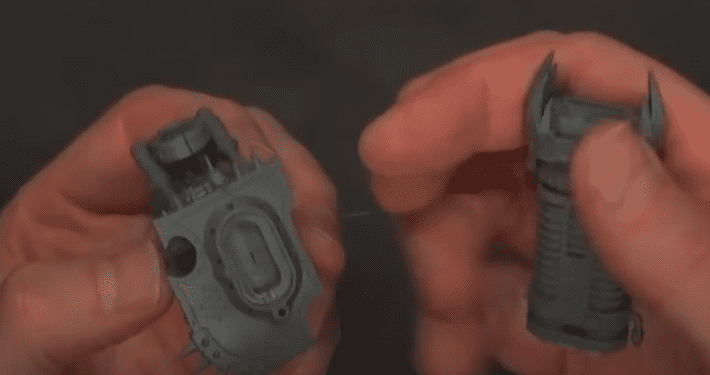
List of Magnets & Tools You’ll Need
- Karnivore Weapons: 1/4 x 1/16
- Karnivore Waist: 3/8 magnet for the bottom of the waist and a 5/8 for the top
- Abominant Weapons: 5/16 magnet for both sides
- Abominant Waist: 3/8 magnet for the bottom of the waist and a 5/8 for the top
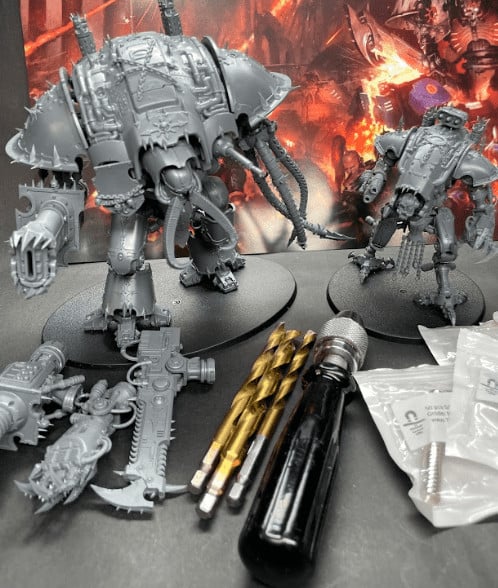
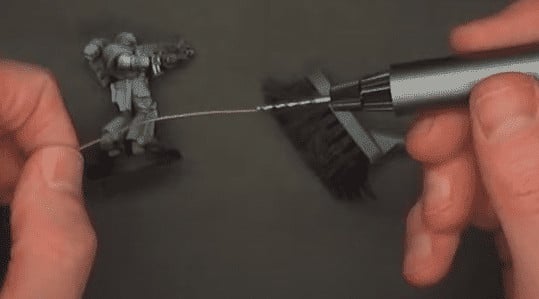
- Hand Sized Pin Vice For larger projects like Knights, Forge World kits etc.
- Pin Vice For Miniatures We like the army painter one, but there are a ton to choose from
- Drill Bits For Magnets (small quick release) Larger Bits (for vehicles etc.) Quick-release set
- Wowstick Motorized Drill makes pinning and drilling out barrels a breeze and helps with magnetizing miniatures, but you still need a pin vice to bore out pilot holes over 1/8″ in diameter.
- We get all our magnets for hobbying from The Magnet Baron. Use coupon code Spikey10off to get 10% off your next order with them!
Get Your Magnets Here 10% OFF Use Code Spikeybits10
After seeing this unboxing review, what do you think of how to magnetize the Chaos Knights Abominant, War Dog Karnivores? Did you pick one up?
Let us know in the comments of our Facebook Hobby Group, or our new Discord server, and make sure you enter the latest monthly giveaway for FREE today!
Click Here To Follow Us On Google News
Get ad-free access to our hobby videos, a monthly drop of miniatures, and support some of the best creators out there for as little as $6 a month on Patreon!
