I’m a huge fan of Orks, Bad Moons to be specific. The yellow and black with the green skin is super striking and eye catching and a well painted Bad Moon army looks amazing on the table.
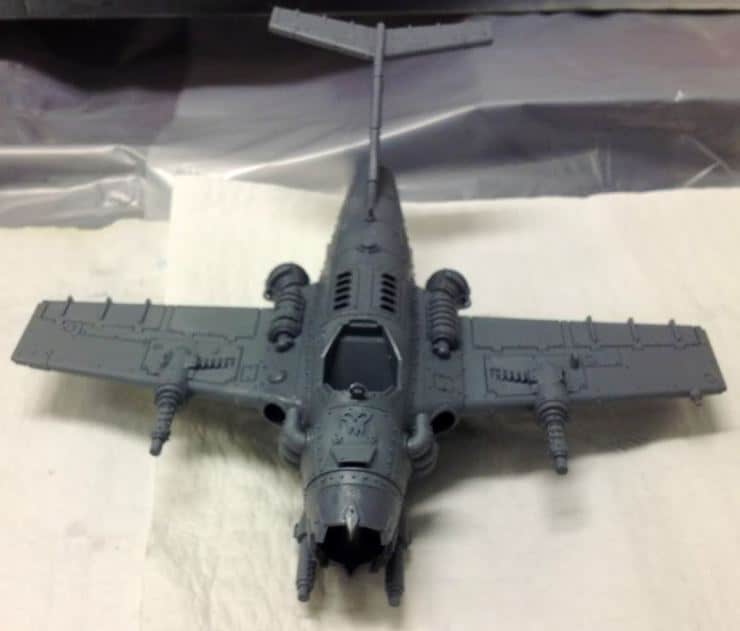
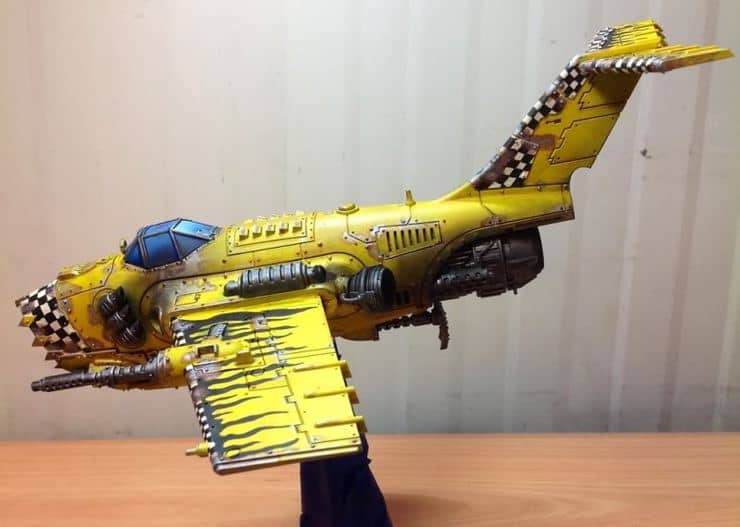
Back in July I bought the brand new Ork Flyer while I was in the States on leave from deployment, boxed it up and shipped it back to the desert. When it got to me I wasted no time in building it as a Dakka Jet.
Then Hobby ADD kicked in and it got put aside in favor of other projects. In March I pulled it out and got started. This is my first Bad Moon model for the Orks I’ll eventually get to and as such it was kind of a test model.
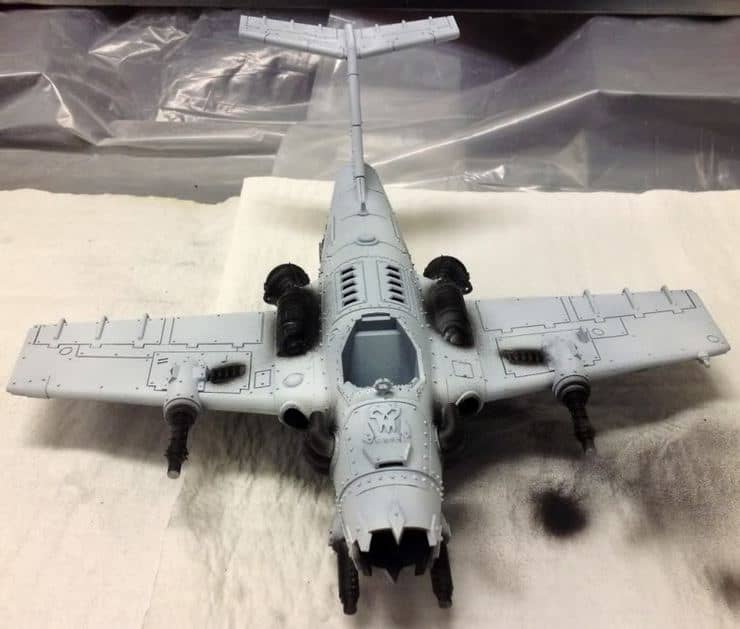
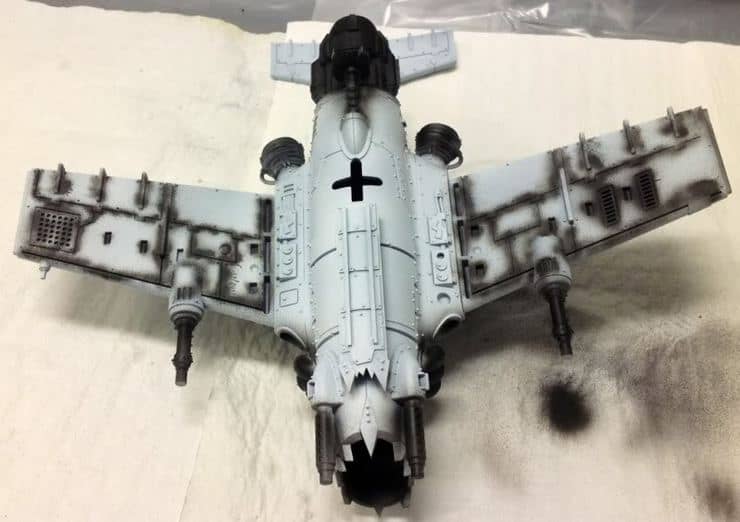
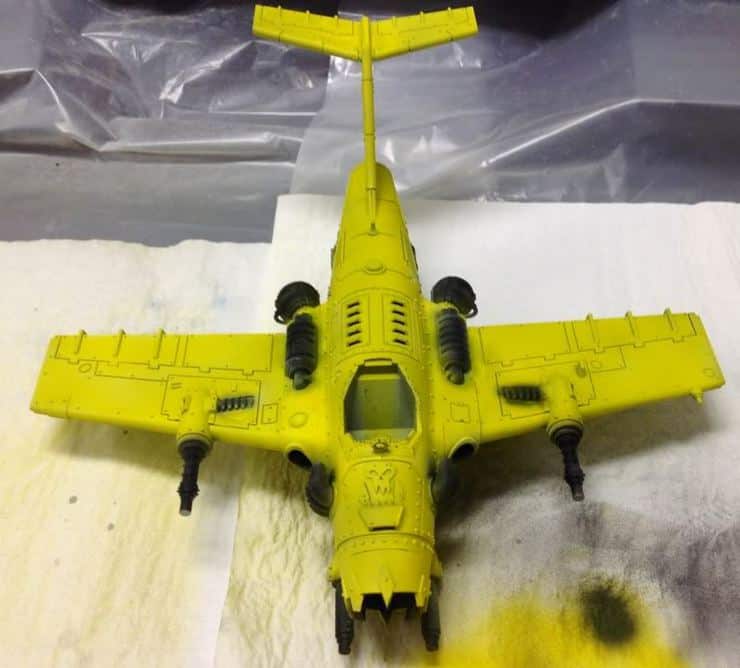
First I primed it using Vallejo White Airbrush Primer (can’t ship spray paint to the desert) then using the Vallejo Airbrush Black Primer I hit the areas that would be metal and did some pre-shading.
After two coats of Vallejo Air Yellow, I knew I had a problem. The yellow wasn’t covering the black pre-shading at all.
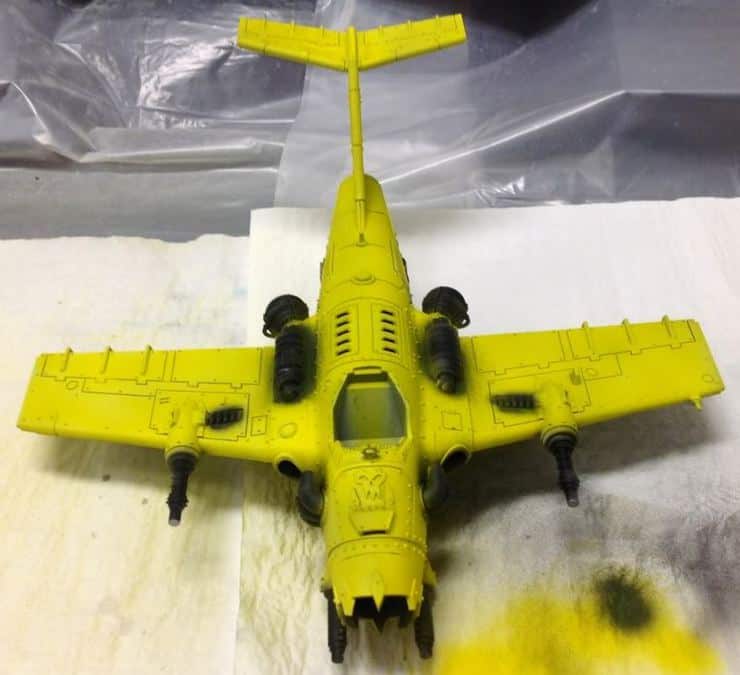
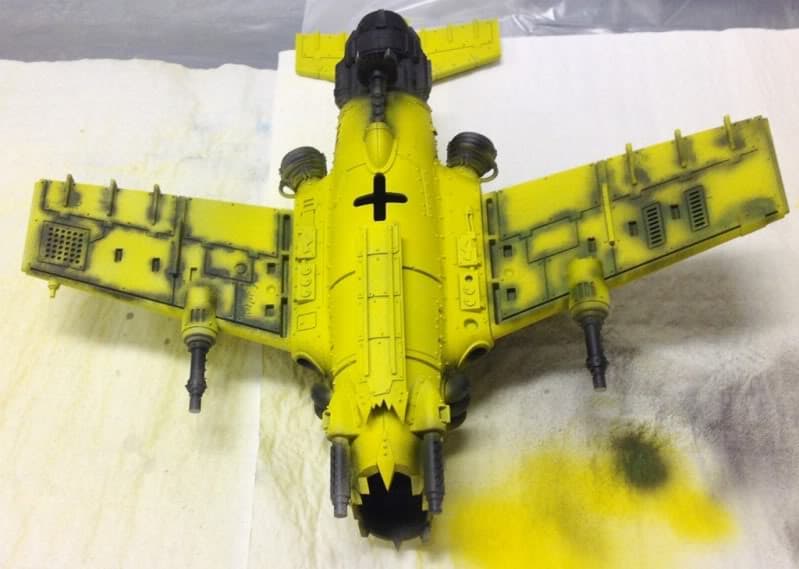
I was forced to forego the pre-shading, covered the pre-shaded areas with white primer again and then applied a few more coats of yellow.
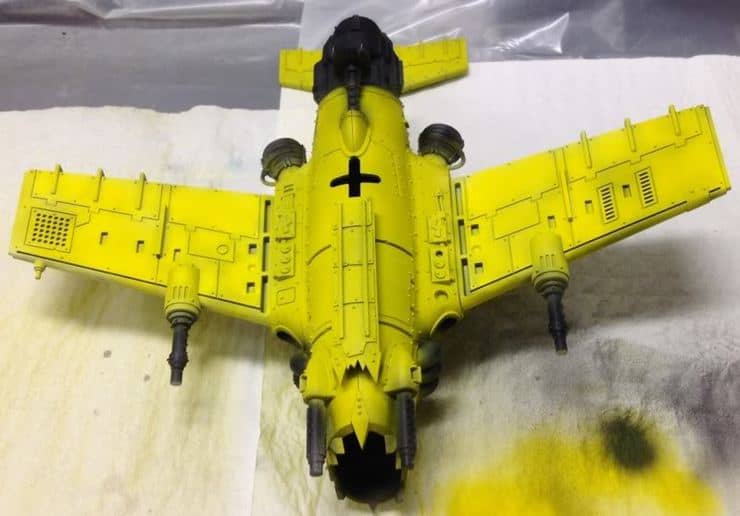
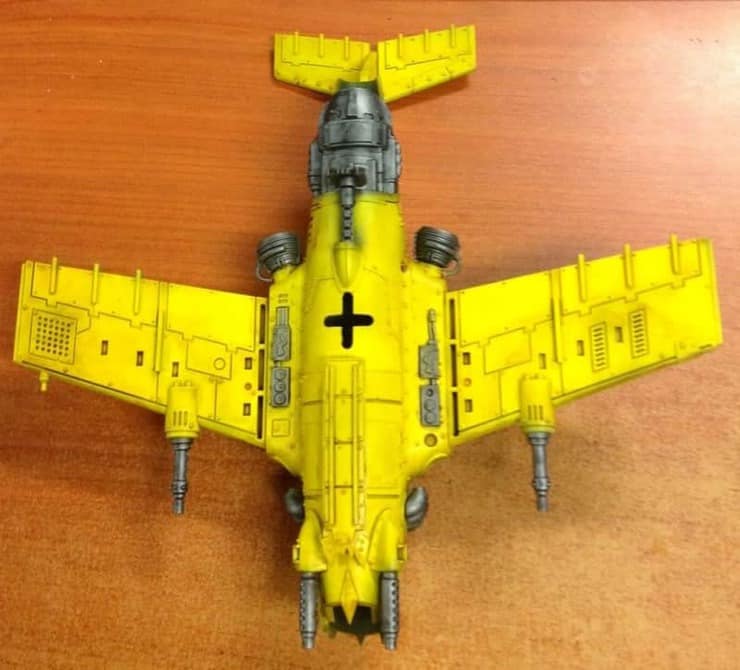
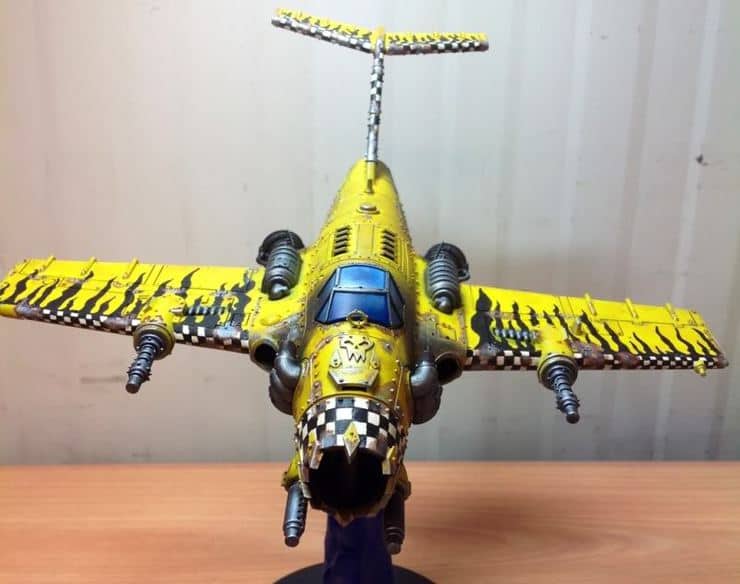
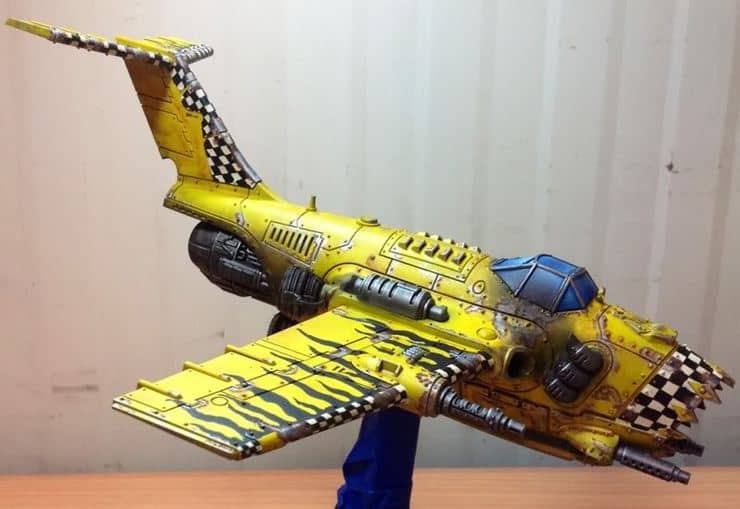
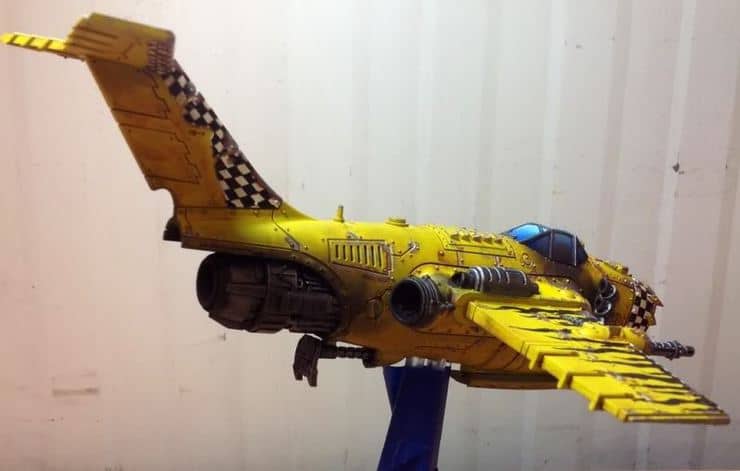
After letting the model sit overnight I brushed on Vallejo Air Steel on all the metal areas because masking would have been a bit of a pain then gave the yellow a wash of GW Seraphim Sepia and the metals a wash of GW Nuln Oil. I let that sit overnight and then I got creative. Using a pencil I drew out some flames on the wings and tail fins and then used a fine tip marker pen to trace out the lines and used a broader pen to fill in the flames. I also airbrushed the canopy with Vallejo Air Blue.

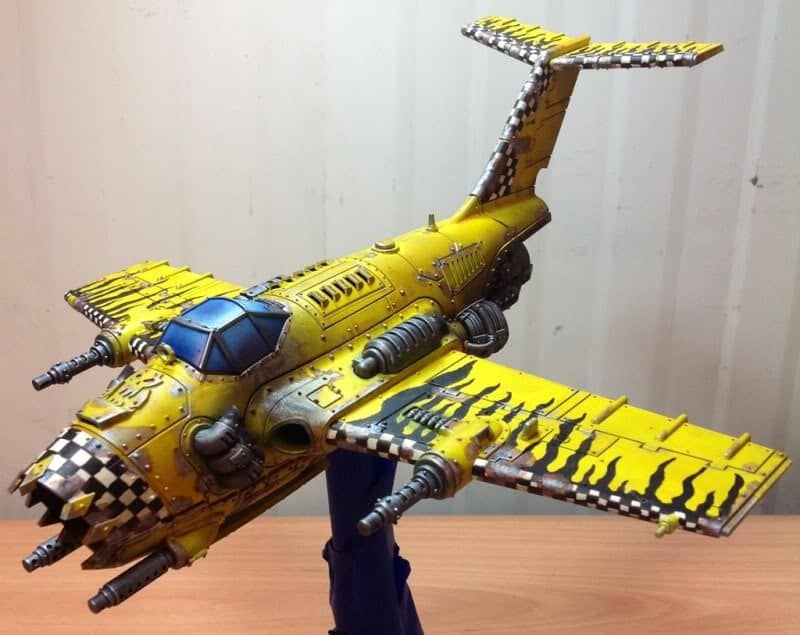
The next step was to mask the areas I needed to paint white in preparation for checker patterns. I airbrushed those areas and let then sit while I worked on the canopy. I did a little wet blending with white and blue to create a bit of a highlight to the canopy. After that was done I used a pencil and the markers to do the checkers. My hand was totally cramped after a few hours of this.
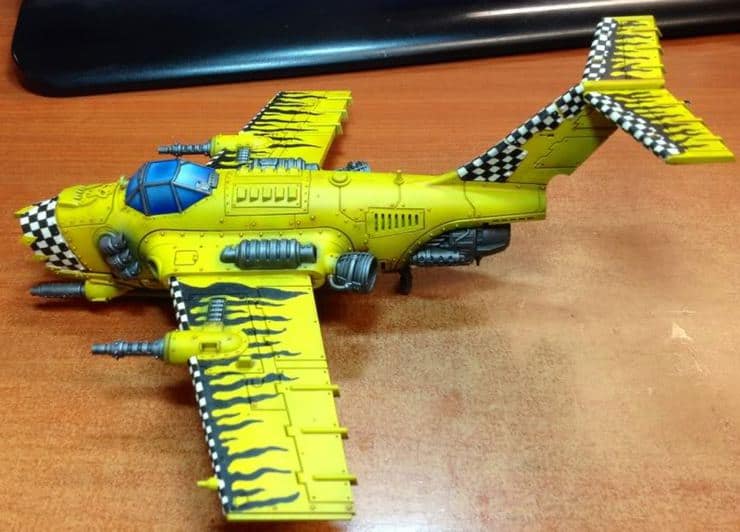
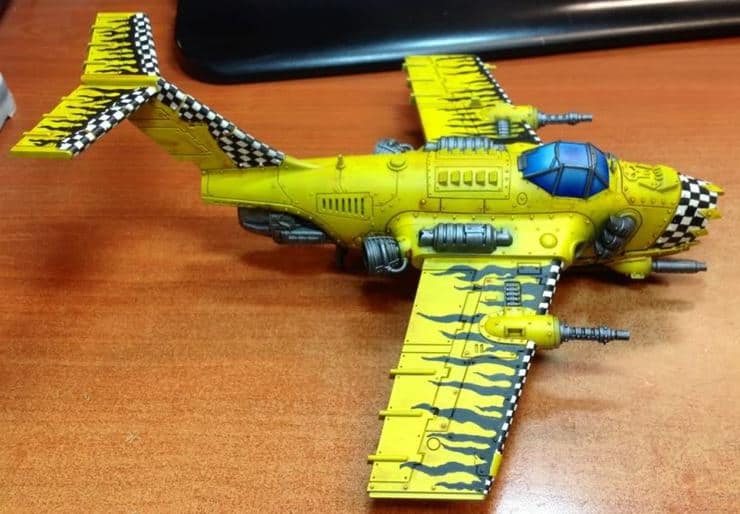
While I was happy with how this turned out overall I realized it really needed some weathering. I used a sponge with Reaper Honed Steel to add chips and worn areas and then sponged a little Reaper Rust Brown. I gave the areas a bit of a wash using Secret Weapon Armour Wash which adds a bit more rusty look to it. Using a soft, dry brush I applied some Forge World Soot Weathering Powder to the areas the exhaust would hit and applied a little to the exhausts themselves. With that I called the model itself done.


About the Author: Rob Baer

Rob Baer
Job Title: Managing Editor
Founded Spikey Bits in 2009
Socials: Rob Baer on Facebook and @catdaddymbg on X
About Rob Baer: Founder, Publisher, & Managing Editor of Spikey Bits, the leading tabletop gaming news website focused on the hobby side of wargaming and miniatures.
Rob also co-founded and currently hosts the Long War Podcast, which has over 350 episodes and focuses on tabletop miniatures gaming, specializing in Warhammer 40k. and spent six years writing for Bell of Lost Souls.
Every year, along with his co-hosts, he helps host the Long War 40k Doubles Tournament at Adepticon and the Long War 40k Doubles at the Las Vegas Open, each of which attracts thousands of players from around the world.
Rob has won many Warhammer 40k Tournaments over the years, including multiple first-place finishes in Warhammer 40k Grand Tournaments over the years and even winning 1st place at the 2011 Adepticon 40k Team Tournament. He was even featured for his painting in issue #304 of Games Workshop’s White Dwarf Magazine.
With over 30 years of experience in retail and distribution, Rob knows all the products and exactly which ones are the best. As a member of GAMA (Game Manufacturers Association), he advocates for gaming stores and manufacturers in these difficult times, always looking for the next big thing to feature for the miniatures hobby, helping everyone to provide the value consumers want.
While he’s played every edition of Warhammer 40k and Warhammer Fantasy (since 5th Edition) and has been hobbying on miniatures since the 1980s, Titans of all sizes will always be his favorite! It’s even rumored that his hobby vault rivals the Solemnance Galleries, containing rulebooks filled with lore from editions long past, ancient packs of black-bordered Magic Cards, and models made of both pewter and resin.