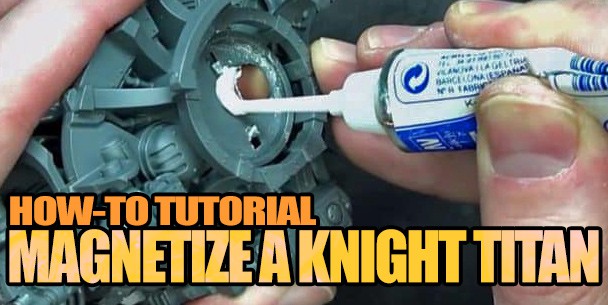
 Here is how to magnetize a 40k Imperial Questoris Knight and future-proof your expensive miniatures with this Titanic tutorial.
When a new codex or ruleset releases for Warhammer 40k, weapons and Knight rules overall will change! Future proof your miniatures now, so you don’t lock yourself into a certain weapon or model loadout!
Here’s how to magnetize your Questoris Imperial Knight.
How to Magnetize an Imperial Knight Questoris: Tutorial
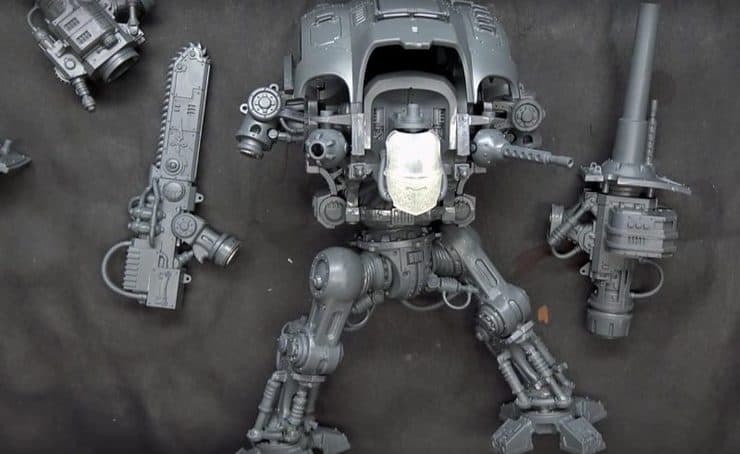
Magnetizing the Arms
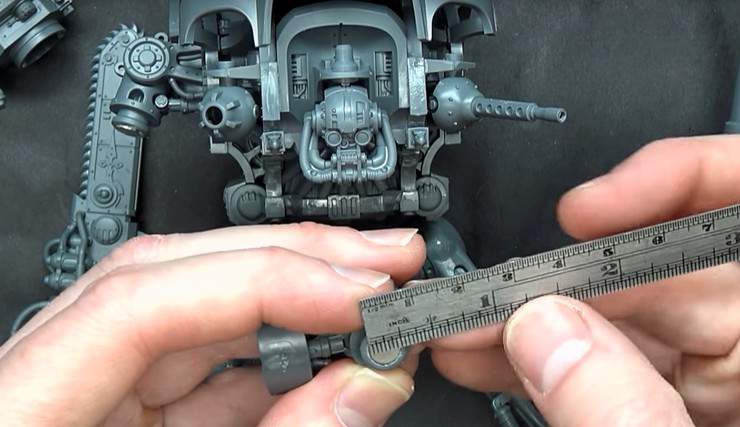
OPTIONAL: The Shoulder Sockets
To be honest, this is an optional step. You really dont have to magnetize the shoulders and can just use the tongue-in-groove setup that the kit comes with.
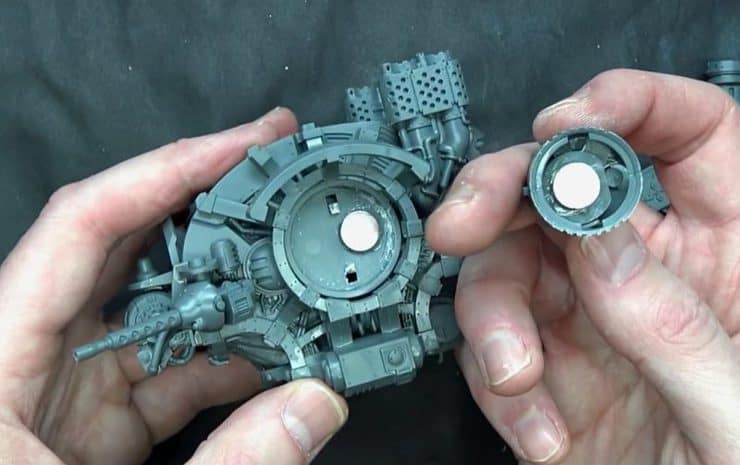
Line everything up in a “measure twice, glue once” process. Since the arm piece is deep (about five magnets deep), we will use our leftover piece of sprue to boost up the size of the magnets. For gluing the pieces of sprue and magnets, super glue will be perfect. A little bit of Zip Kicker CA Accelerator never hurt anyone either.
Apply some kicker to the magnets directly and glue it to the arm. Double Check the polarization before gluing your second magnet and be sure everything will line up by dry-fitting. Once you’ve got everything lined up, glue away!
Lock the Magnet In
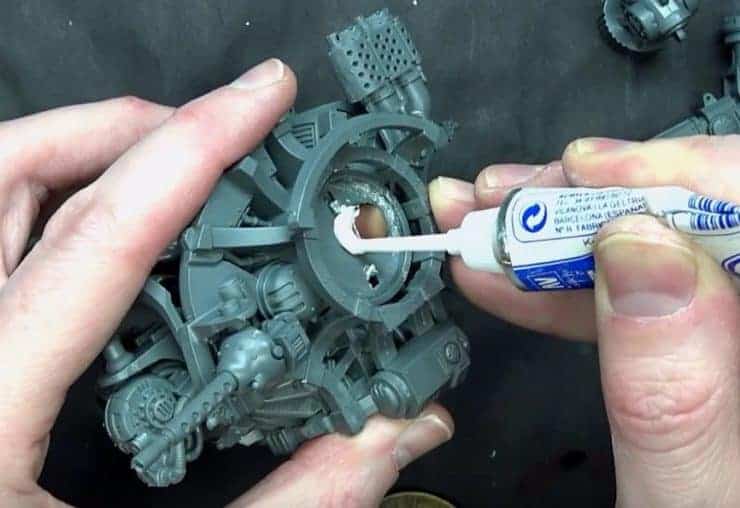
Magnetizing The Waist: (Also Optional)
This step is also optional as well. However, if you want to magnetize the waist to get the twisty motion for your pew pews, we also got you covered.
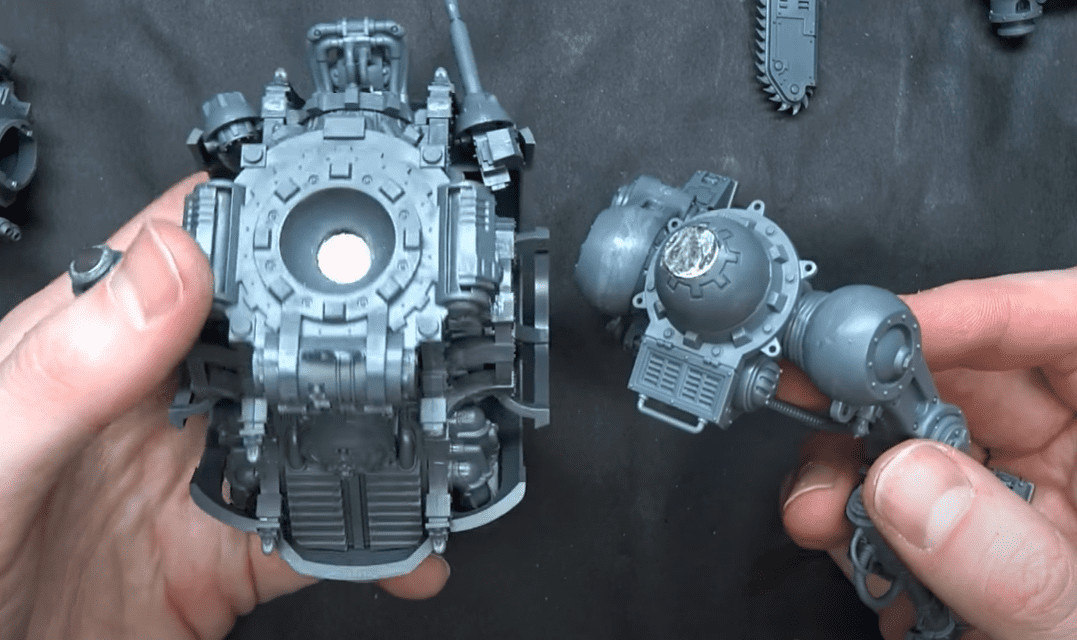
Do the same for the waist nub as well (again with 1/4 x 1/16″ size magnets) on the inside, and that should hold the all your magnets in place 100%
Final Step: Magnetize the Knight Weapons
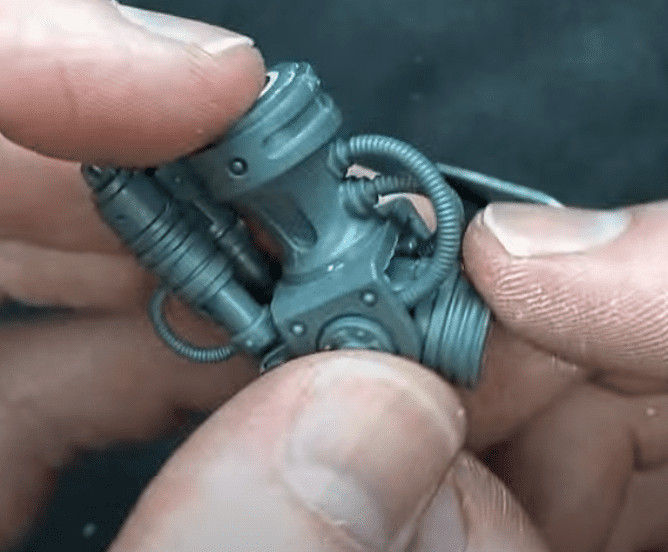
Finished Project
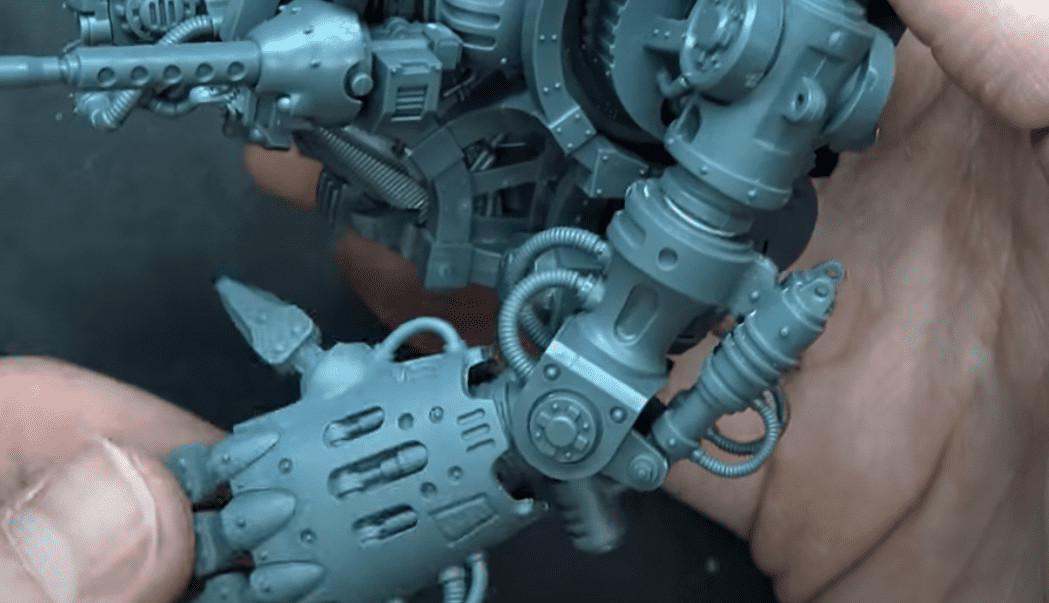
Those steps make magnetizing models quite easy. Sometimes projects will take multiple magnets to fit properly in the model, so be prepared to adjust this. Magnetizing may seem challenging at first, but it makes your life so much easier in both transporting your mini and keeping your in-game options fluid. You also get the best bang for your buck out of the model!
Take a look at the other awesome magnet tutorials available on the site, and be sure to check out the entire process by pressing play on the video tutorial as well!
Do you think the new Imperial Knights will be a force to be reckoned with after the new codex?
Let us know in the comments of our Facebook Hobby Group, and make sure you enter the latest monthly giveaway for FREE today!
Get ad-free access to our hobby videos, a monthly crate of miniatures, and support some of the best creators out there for as little as $6 a month on Patreon!


