Welcome back Hobby Fans! Today Rob is going to walk us through all the steps necessary to make some amazing lightning sheathed power weapons!
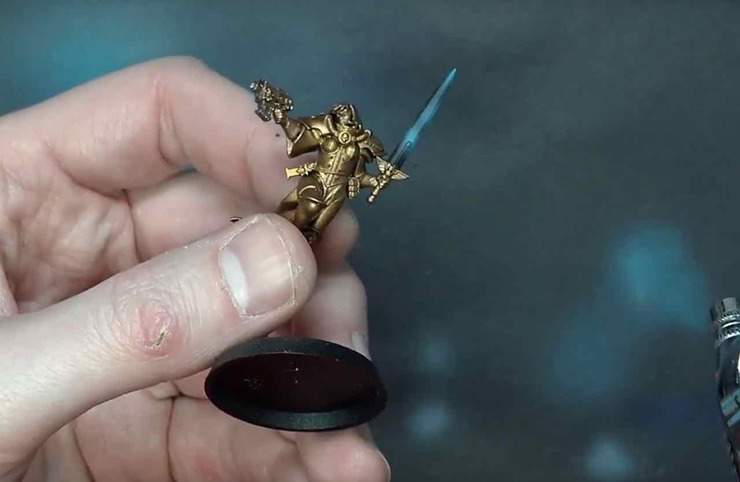
The first step in our process is to lay down a couple of spots of GW’s Temple Guard Blue Air. Spray a couple of spots along the blade making sure to get the tip as well. This will create the backdrop for our lightning bolts and give the blade the impression of power discharging along its length. Technically this can be done with a paintbrush as well, but it tends to take longer and doesn’t usually give as fine a finish as an Airbrush does.
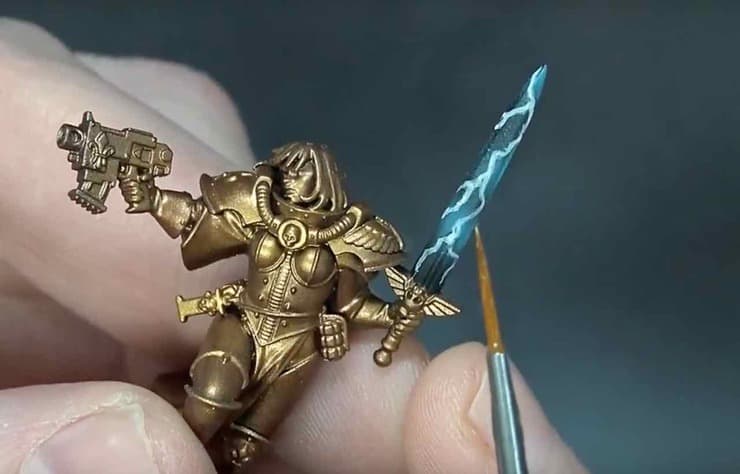
Once our power pulses are finished drying its time to move onto the lightning bolts themselves! Starting with the tip of the sword, paint jagged lines of GW’s Ulthuan Blue along the blade. Try to ensure that any spots you reach paint along the edge of the blade link up with the lightning bolts on the other side, this ensures the ‘sheathed’ look that were striving for.
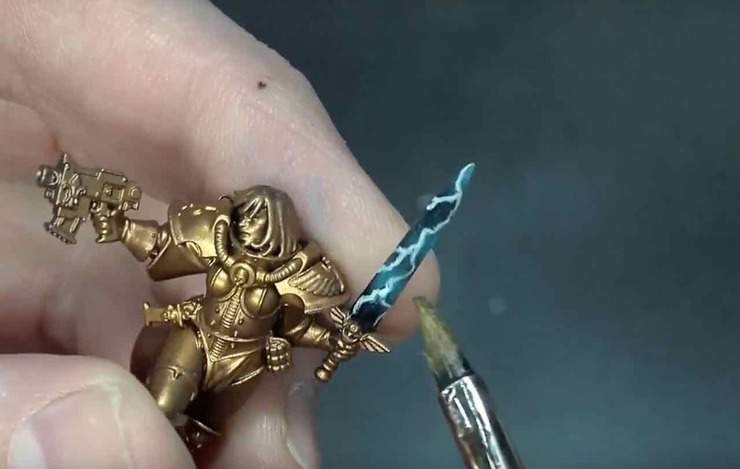
Once the bolts themselves are dry, its time to move onto the final steps! Using GW’s Guilliman blue Glaze, we want to paint the darker spots of the sword. Applying the glaze to the darker spaces helps to subtly alter the hue of the sword and gives the whole thing a more cohesive appearance. Typically you will need to perform this step 2-3 times for best results. Make sure to let each layer dry completely before starting the next!
Once the last layer is dry, its time for one last step! Take your Guilliman blue glaze and lightly apply a thin coat along the entirety of the blade.
Check out the entire video below for more tips and tricks on painting lightning power weapons!
