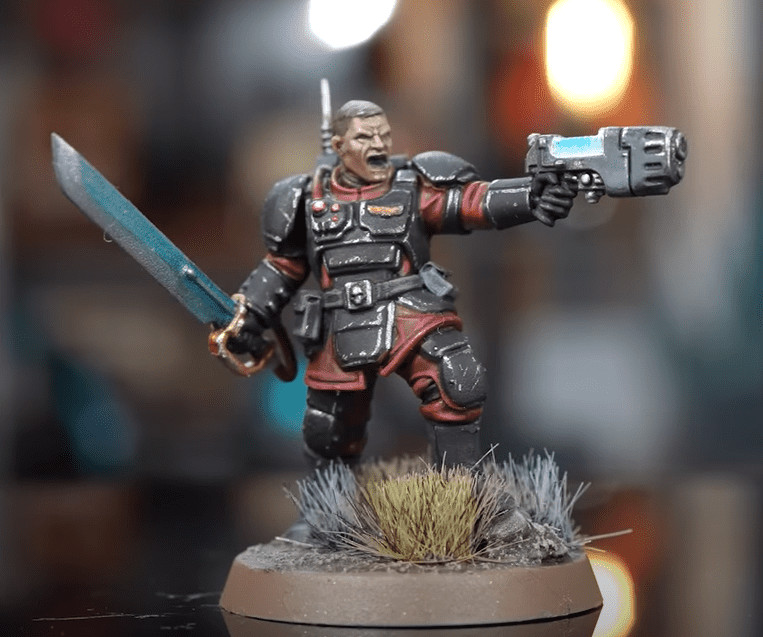
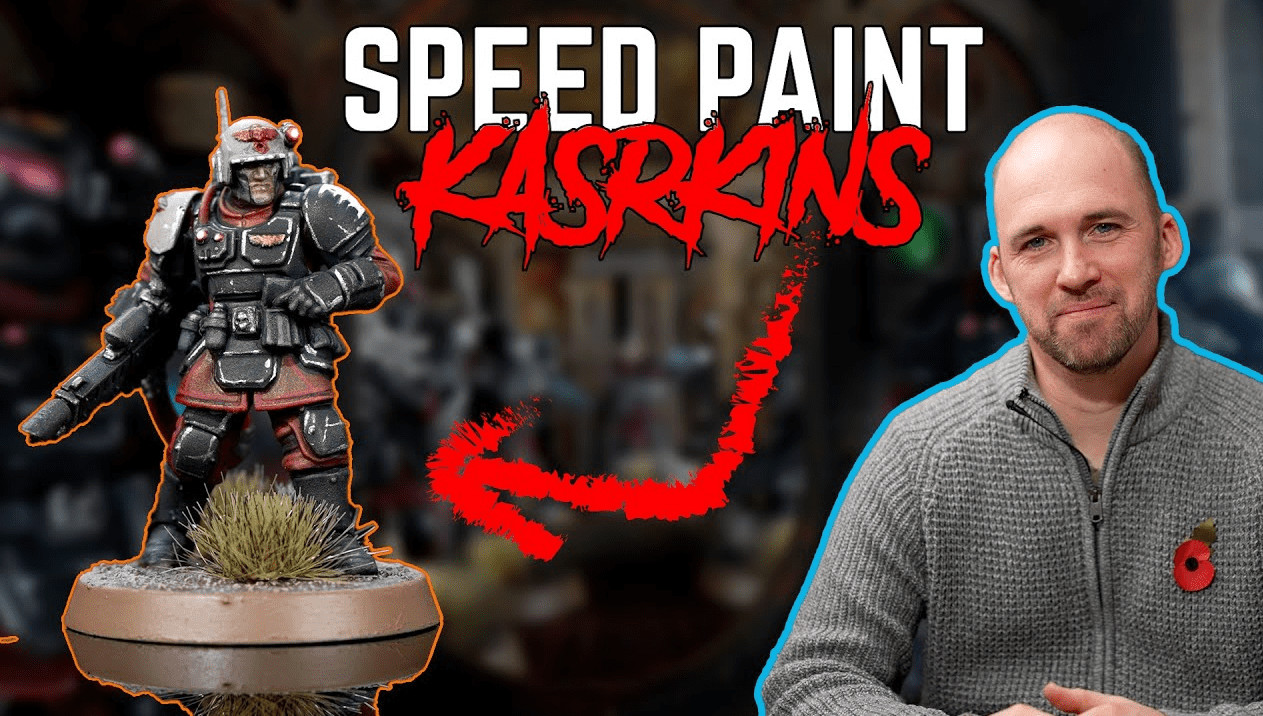
 Learn how to speed paint your Warhammer 40k Imperial Guard Kasrkin with this painting tutorial from Peachy himself!
Peachy has recently joined the Painting Phase and has started making awesome painting tutorials on YouTube! They also have a Patreon, so if you want to show some extra support and get great rewards, go check that out here!
If you’re looking for an easy way to paint your new Imperial Guard minis but don’t want to spend too much time on them, this tutorial will help you tackle the steps without much hassle!
How To Paint Imperial Gaurd Kasrkin: Peachy Painting Tutorial
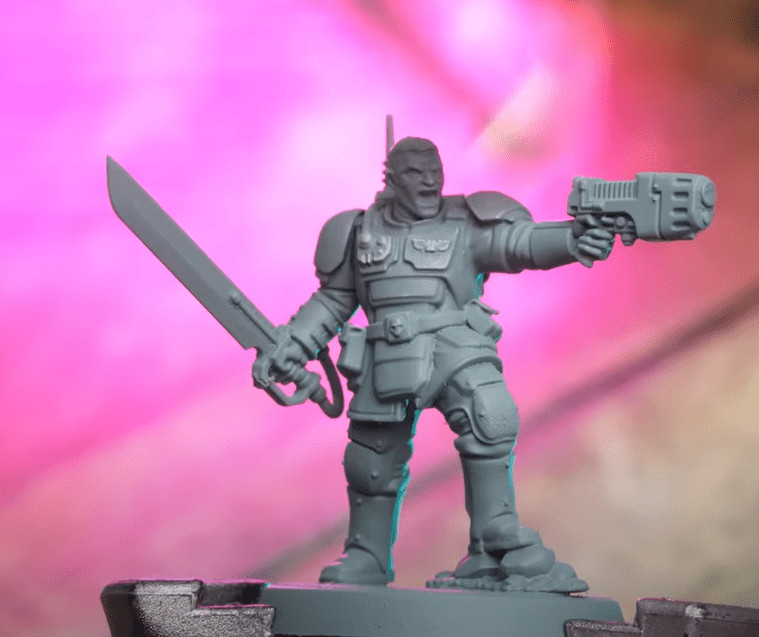
Before we get into all the steps, let’s check out the paints used in this video!
- Mechanicus Standard grey – Undercoat
- Mechanicus Standard grey – pouches
- Flesh Tearers red
- Black Legion
- Iron Hands Steel
- Rakarth Flesh – skin 1
- Bloodreaver Flesh – skin 2
- Retributor armour
- Guilliman Flesh
- Bold White Titanium, Pro Acryl
- Frostheart – Plasma/lenses
- Baal Red
- Wazdakka Red
- Stormvermin Fur
Step 1:
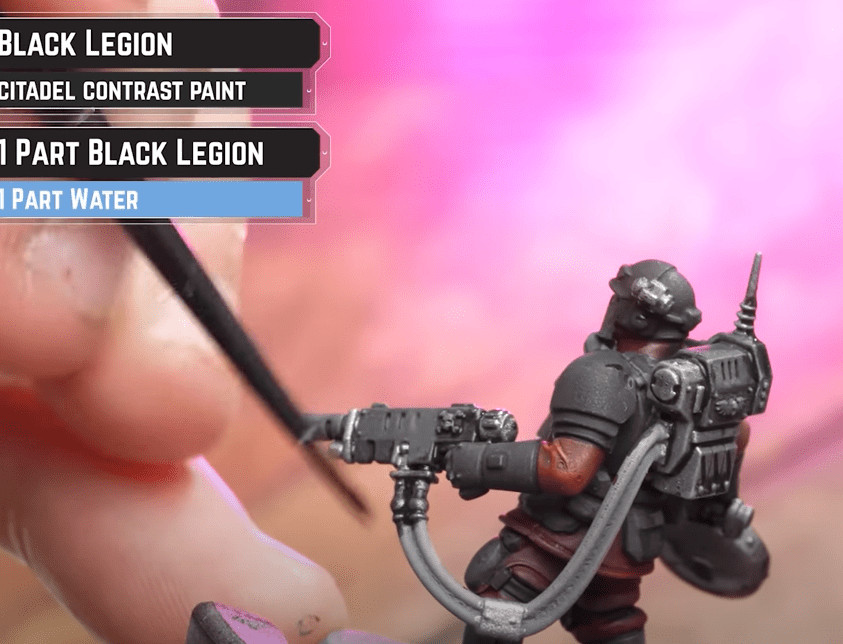
Next, he takes Flesh Tearers Red as a base coat for all the cloth and does a second coat just to be safe. He then takes Iron Hands Steel and hits all the silver areas with it. After that, he then takes Black Legion and does a basecoat on all the armor with that. He then thins it down with 50/50 water and does the coats, a second coat where it needs it, and a quick coat on the guns to tone them down.
Step 2:
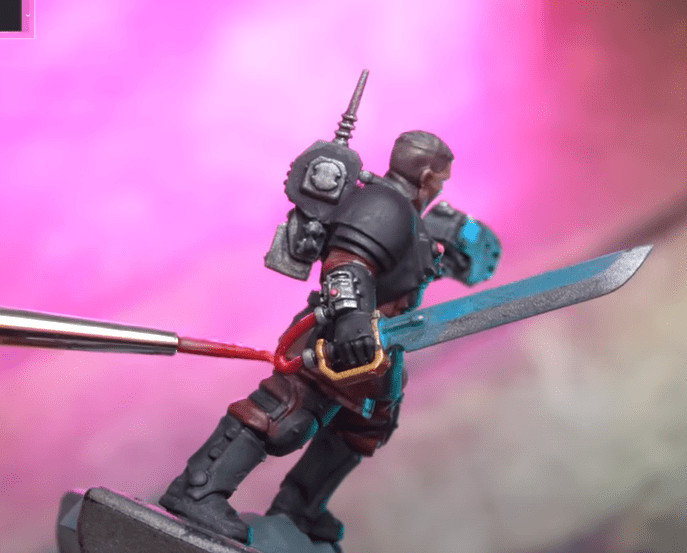
For the lenses, he does a base coat with Bold Titanium White. To get a plasma to glow, he thins down Frostheart and just does a quick coat. To finish off the lenses ha does a watered-down coat of Baal Red.
Step 3:
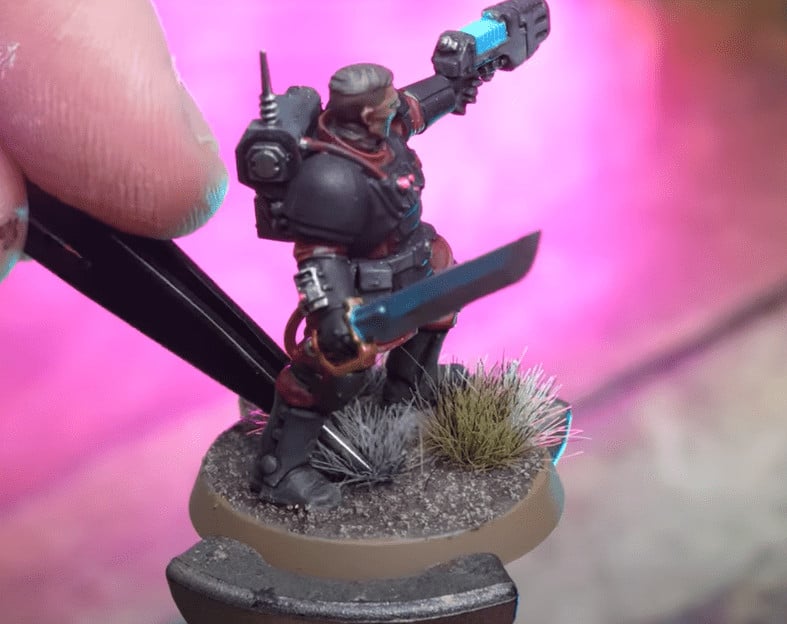
Now, you could totally play games with them like this, but he’s going to take it a step further.
Step 4:
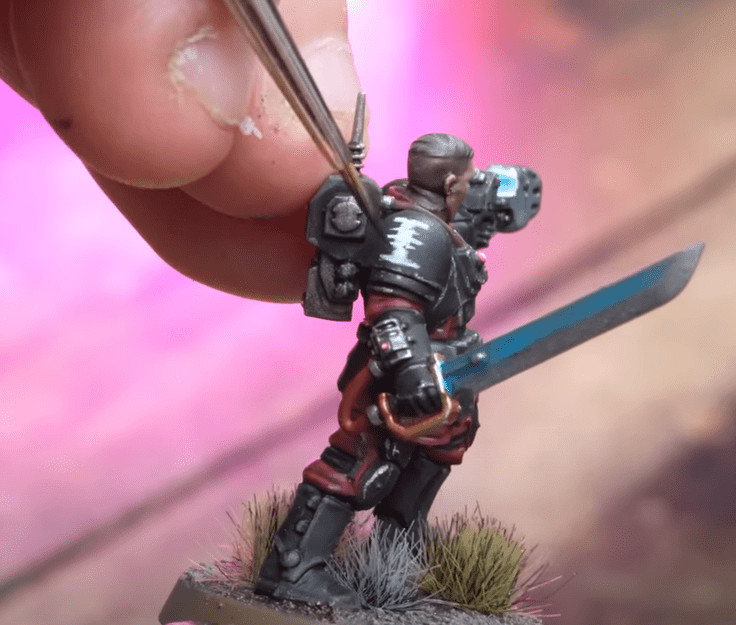
For the skin, he just does a quick highlight of Rakarth Flesh. To finish, he draws an I in white on the shoulder pads, then adds three lines through the middle to make the inquisitorial I.
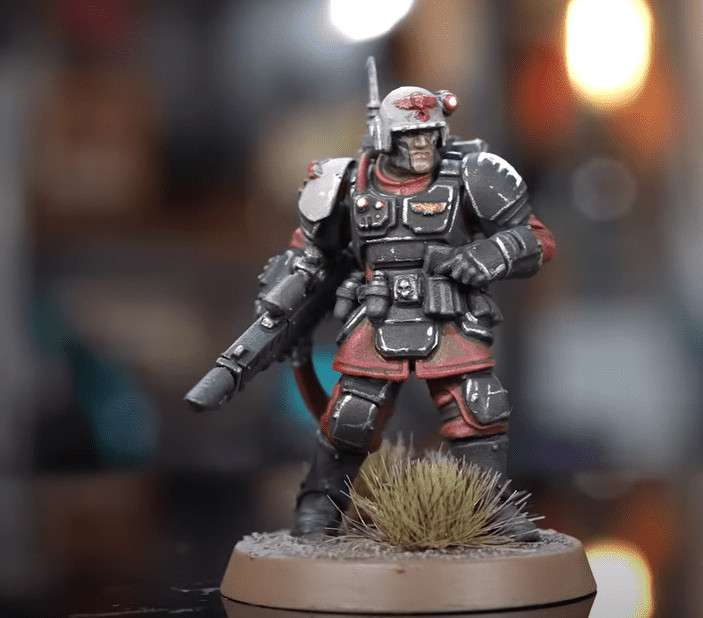
Finished Models
Click Here To Follow Painting Phase on Patreon or YouTube
Have you checked out any of the new painting tutorials by Peachy, like how to paint Kasrkin, since he left Games Workshop?
Let us know in the comments of our Facebook Hobby Group, or our new Discord server, and make sure you enter the latest monthly giveaway for FREE today!
Get ad-free access to our videos, a monthly crate of miniatures, and support some of the best creators out there for as little as $6 a month on Patreon!
This post contains affiliate links, as an Amazon Associate Spikey Bits earns from qualifying purchases.
