Check out how to 3D model your very own miniatures or bits using free design programs that you can download today!
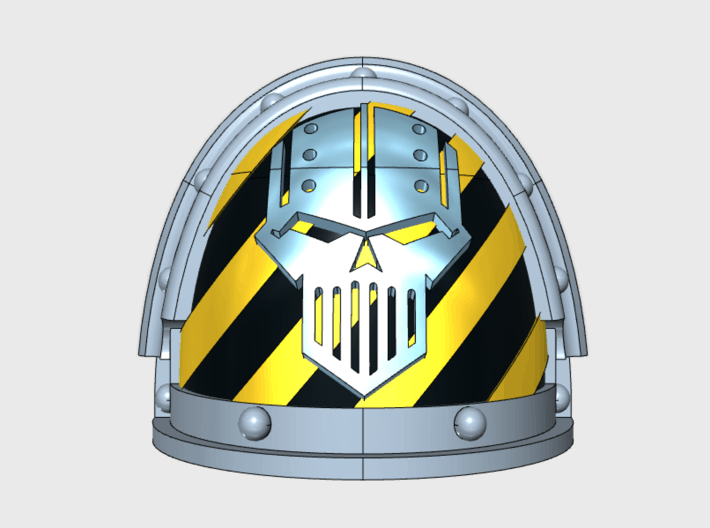
No one knows what the future of 3D printing will be for the tabletop, but today we’re at it again giving 3D modeling more exposure by rolling out some how-to tutorials, like this one, on how to create your own miniature or bits even like the Iron Legion Pads by Pop Goes The Monkey above.
As we mentioned, online consumer printing service and marketplace, Shapeways, has been a popular destination for bits and we’re psyched to see they’re making an effort to demystify 3D modeling by rolling out some how-to tutorials– like this one on how to create your own miniature. Below is part 3 of the step-by-step DIY guide authored by Shapeways Community Manager Andrew Simon Thomas.
You can find Part 1 here and Part 2 here.
When you’re all done, even if you don’t own a 3D printer, you can order your miniature directly through Shapeways themselves.
3D Model Your Own Miniature tutorial– Part 3 (Steps 11-13):
11: Sculptris and beyond: Open Sculptris and import the mesh you’ve solidified here. Sculptris is a cool program because you can treat the 3D mesh as if it were a piece of clay. Digital sculpting is similar to traditional sculpting in that we’re no longer following a step by step system for making adjustments, but going by “feel” and making incremental changes. Take your time and have fun with it. Remember to work from largest to smallest forms (start with the whole finger before the fingernail) and save early and often so you can go back if you don’t like what you’ve done.
I’m using primarily 4 tools with a variety of settings.
Tools settings: Every tool shows a “radius” by which it will affect that portion of the mesh, I recommend starting large as possible and working down to the smallest as you resolve the parts of the sculpt.
Strength: This is how easily you’ll affect the mesh when you use a tool. I recommend starting stronger and making bigger changes in the beginning, then refining as you go. Remember most of this process is iterating, you’re making a decision and then refining it (or fixing totally necessary mistakes as you go. Hold Alt on your keyboard to switch from adding to subtracting.
Draw: This allows you to add or remove thickness of the materials. This is great for when you’re building up new forms and maintaining the integrity of older ones.

Inflate: To enlarge or shrink areas of the mesh. This is similar to draw but it enlarges the space rather than adding onto it.
Flatten: Very useful for making areas smoother and adjusting the surface.
Smooth: Sort of a 3D version of erase, it evens out the mountains and valleys on the surface of the mesh.
Crease: This is really useful for drawing lines and indents into the mesh, think of it like drawing a pencil across clay.

Move: Grab a part of the mesh and shift it over. Nice for making big changes to the mesh.

12: Add the accessories: Now I’ve got a sculpted figure with some details and personality. I’m ready to finish him with some bits and accessories. First, I’ll add a base (Shift+A) by creating a cylinder, scaling and moving it into location.
I make sure that the base is the right size to hold him up and that his feet slightly overlap with the base.
Next I’ll give him a shield so he can protect himself. I use the base to start, I duplicate it and and move it into position.
I inset the front face and extrude inwards so that there’s a lip around the edge. Later I’ll paint something cool onto his shield for decoration.
I add some torus, which is a donut shape-like loop to act as straps so that it looks like the shield is attached to his hand. Again, I want them to overlap but not so much so that the straps stick through the other side of the shield.
Finally I add a box to create the sword. I scale it down so that its the correct size. Then I’ll duplicate the box and rescale it to be the hilt.
I add a subdivision surface modifier (see Refining the forms from earlier if you haven’t) to each to give it some more shape. And add more loop slices for good measure.

I move the vertices on the end of the sword to make the pummel and move the whole sword into position.
13: Upload and print! Now I’m ready to export the model and upload to Shapeways. I head to Shapeways.com and log in (create and account if you haven’t already!). I hit upload and select millimeters as my scale. Once the model has been uploaded I noticed that the figure is too small, so I scale him up to around 40mm tall so that it will look good once printed. It’s very important to consider real world sizes when printing your miniature because you don’t want it to be too small and easy to break!
Now you’re ready to order! A typical 28mm scale miniature will be about $3 to print in white strong and flexible nylon (good for prototyping) and $10 in FUD and BHDA (the ideal materials for painting miniatures).
Oh, and when you’re done– consider submitting your miniature to Shapeways and Wacom’s Heroes and Villains contest for your chance to win an Intuos Pro Small tablet and $500 Shapeways store credit (and other prizes).