Each Baneblade box gives you the bits to make any version of the Baneblade. But did you know you can make one model with all 8 variants?
Variety is the spice of life when it comes to Warhammer 40k. Don’t waste your money on multiple kits! Check out how to assemble your Baneblade kit so you can swap bits out for all 8 variants!
With varying points costs and situations, having magnetized bits and options helps with playing WYSIWYG games. This overview goes through the basics of getting the Baneblade set up to allow for every available option and build.
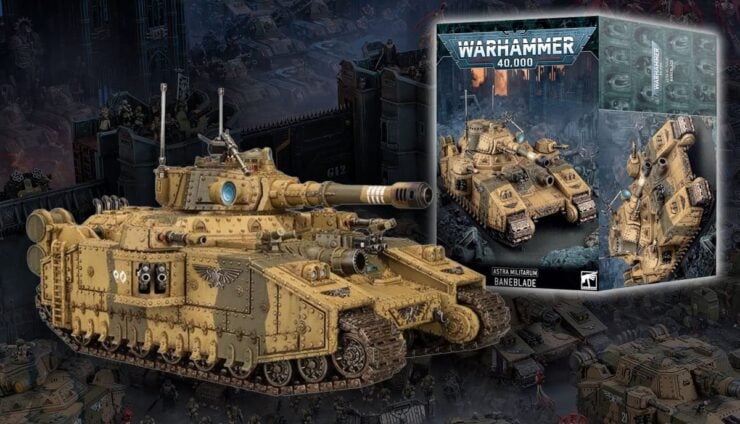
Baneblade Tank (2019 Re-release): $140
Get Yours For Less From Miniature Market

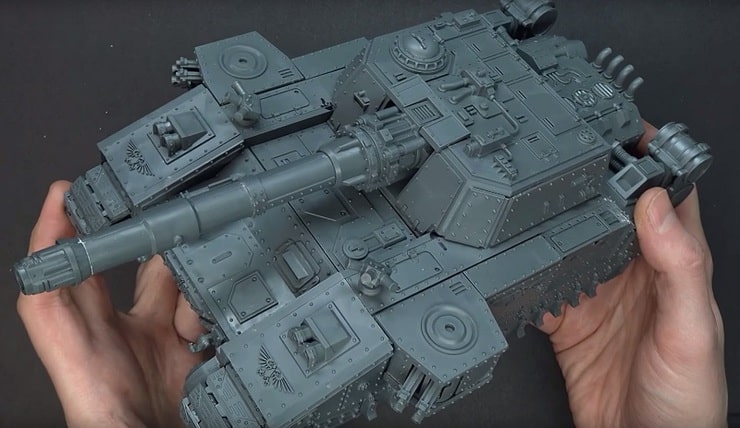
This plastic kit contains 295 components (no, that isn’t a typo) to make an Imperial Guard Baneblade. Alternatively, you can also make a Banehammer, Banesword, Doom Hammer, Hellhammer, Shadowsword, Stormlord or Stormsword super-heavy tank using this kit. Also included is 1 Transfer Sheet which can be used to add markings and insignia.
Initial Setup
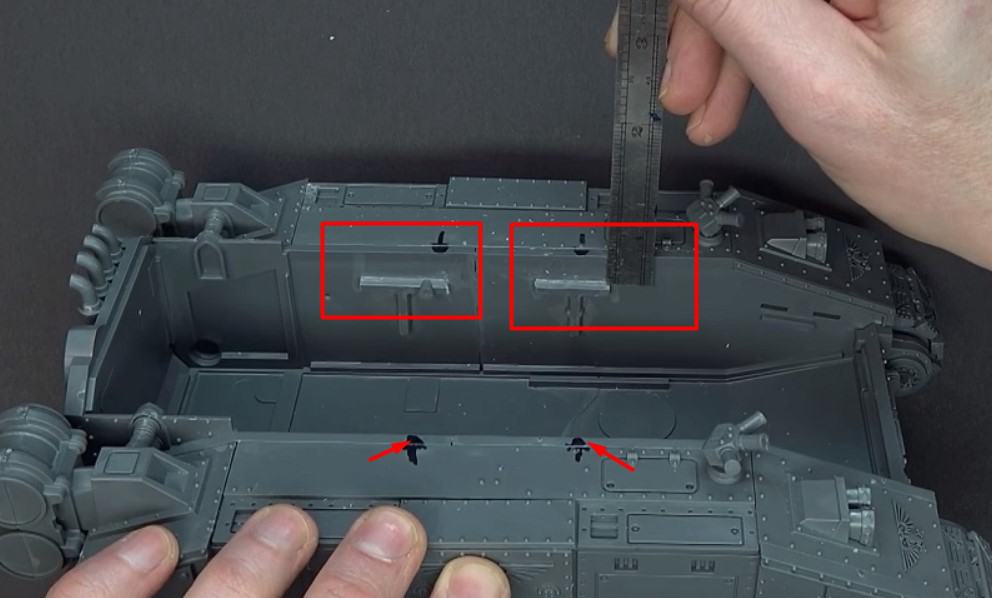
Start with building up the model to include treads, but not gluing in the top panels. Instead, magnets will be going underneath these panels. Measuring can get a little bit tricky here but you’ll need to add a few pieces of spare sprue from 1.5″ off center from the front of the armor plate, 6/8″ off center from the back, and 7/16″ from the top. Make these sprues as flat as possible to support the different hull options.
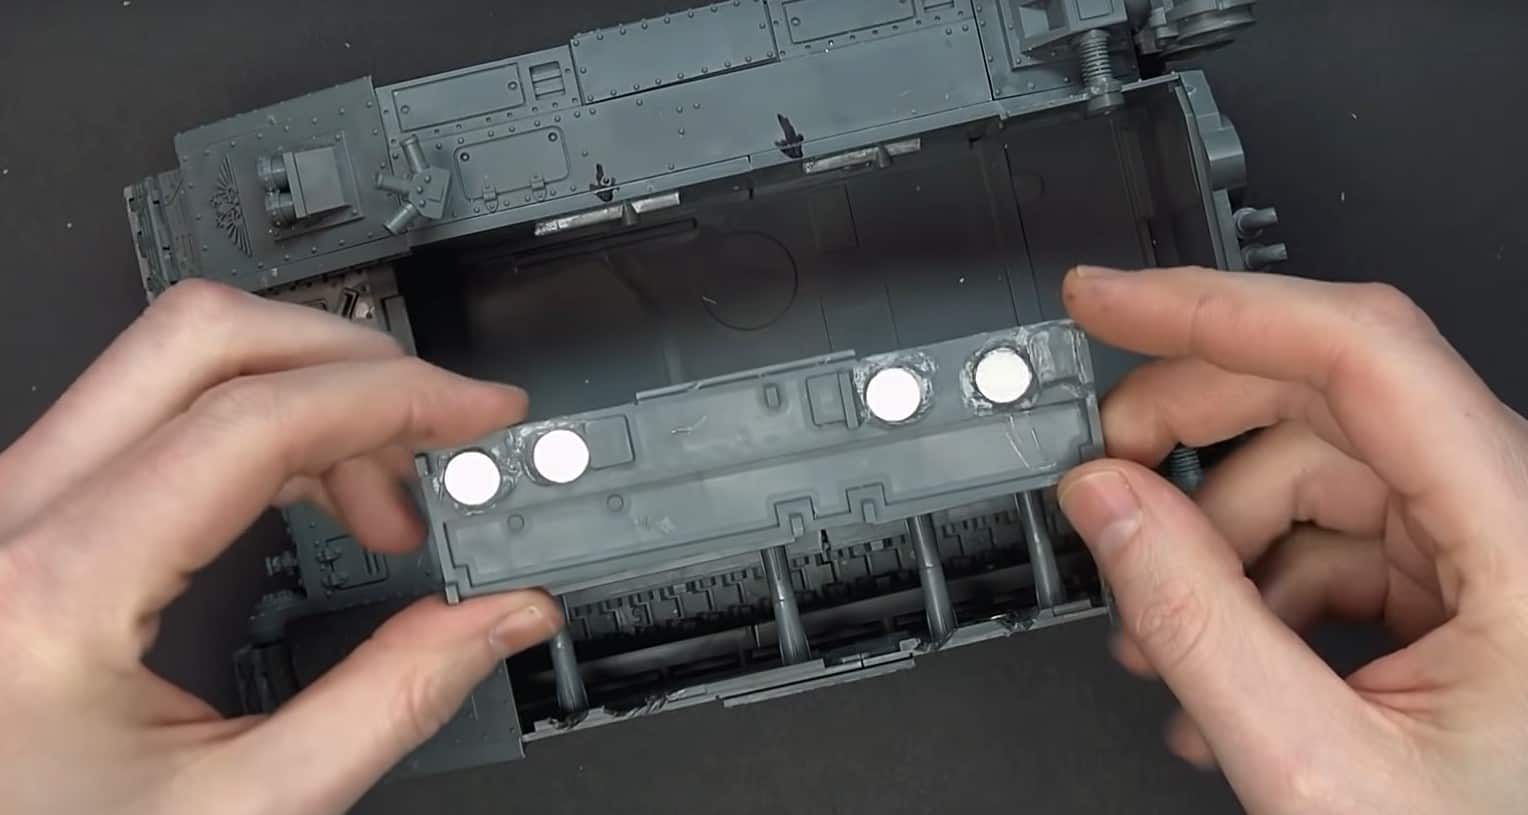
Top Panels that Need to Be Magnetized for Sponson Support DO NOT GLUE.
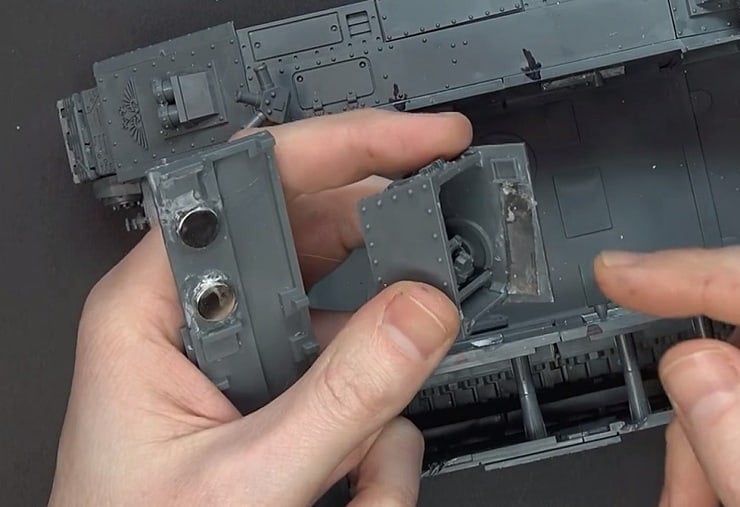
Front Plate Assembly. Cut tabs off of sides to sit flush with hull
Next, you’ll take the front plate sprues and put them in place. Don’t glue them-they are meant to slide in and out depending on your variant. However, you’ll want to make these sprues as flat as possible to support the different hull options. Just clip the tabs off the sides.
Baneblade Main Weapon Assembly Options
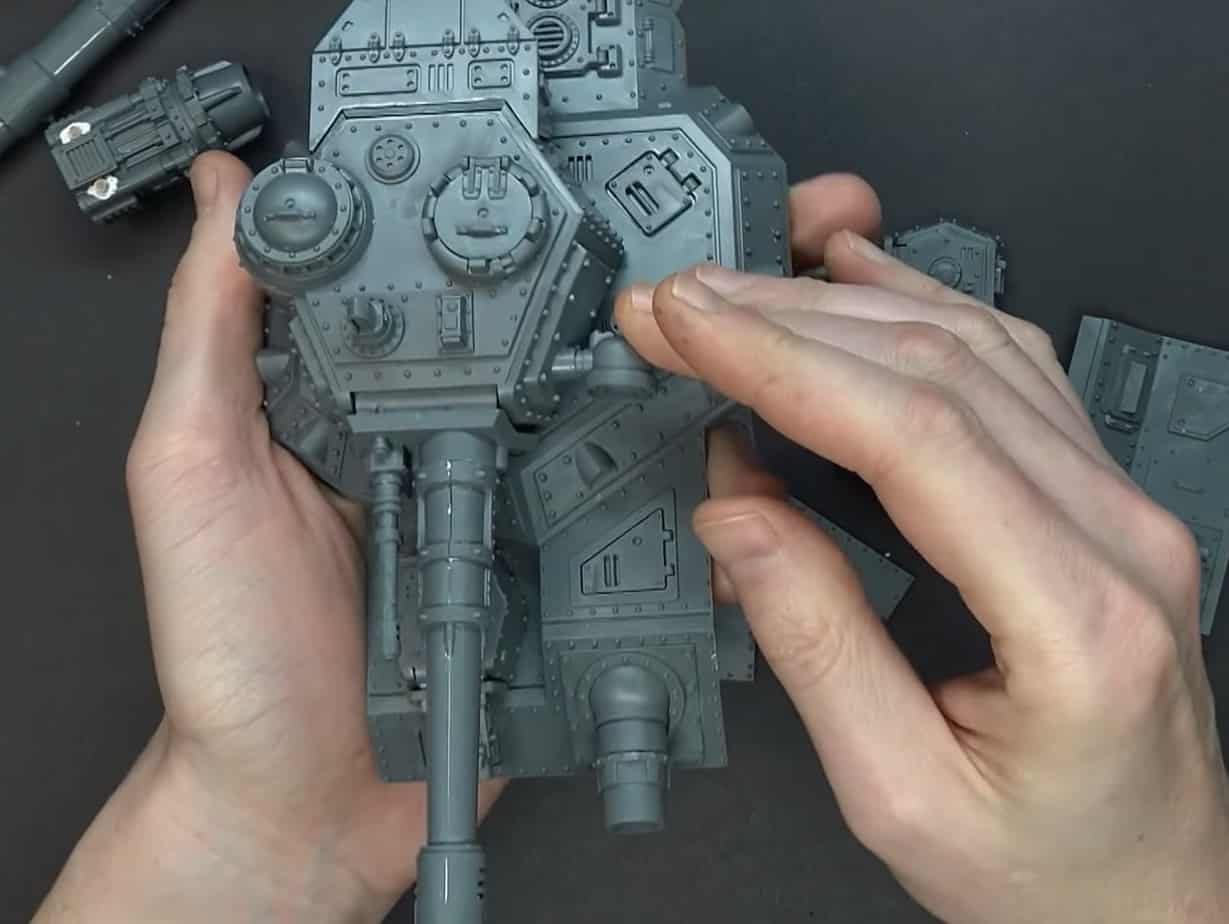
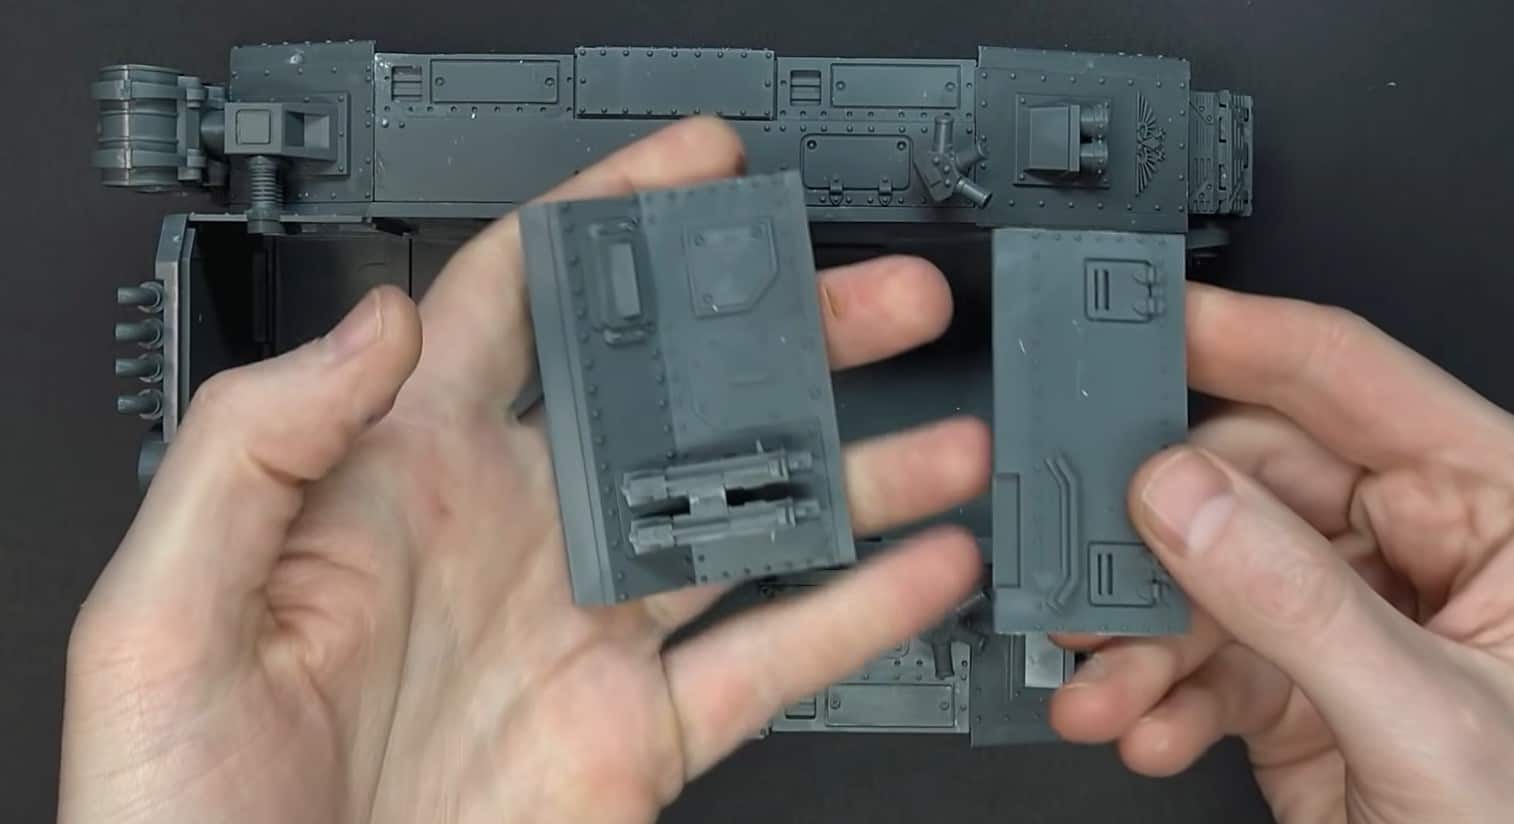
Once you’ve got the hull taken care of, you’ll want to go ahead and sub-assemble all of the sponson weapons and main cannons for your Baneblades. Make sure you dry fit and magnetize any connection points. Remember, the goal here is to make everything interchangeable. When it comes to throwing magnets on, make sure they are on their correct sides to stick together. Check and re-check.
Building The Different Baneblades
The interior plates need to be magnetized with 3/8″ magnets, which gives the ability to add the sponsons. With the sponsons, glue in thin strips of tin to attach to the magnets. The metal strips are great since they lie flat, don’t need any drilling, and you don’t have to worry about polarities.
When it comes to assembling all of the other variants of the Baneblade, remember that they all use the same hull. Once you get the sponsons and tracks set up for swapping out, all of the other turret options should sit into the cradle of sprues you made. If you magnetized everything properly all of the main weapons/sponsons should be completely interchangeable.
If you need some more clarification and want to see the step-by-step process check out our video! Magnet Baron also sells an upgrade kit now that contains all these magnet parts and tin strips as well!
Have you magnetized your Baneblade already? What’s the variant you use the most? What other tips would you recommend to players building this kit? Let us know in the comments of our Facebook Hobby Group.