 Today The Army Painter walks us through how to paint easy and realistic skin tones- check out how to do it!
The Army Painter is known for having some of the best and most affordable paints on the market! But they also have an extensive collection of tutorials and paint guides. Their tutorials are perfect for learning how to get your minis on the table. If you want to see everything The Army Painter has going on, check it out here.
Today they are walking us through a really cool mini, that has a ton of flesh, but painting it doesn’t have to be hard! Just as a note, all the paints used in this video will be from them, which you can pick up all the colors here.
How to Paint Easy & Realistic Skin Tones: The Army Painter
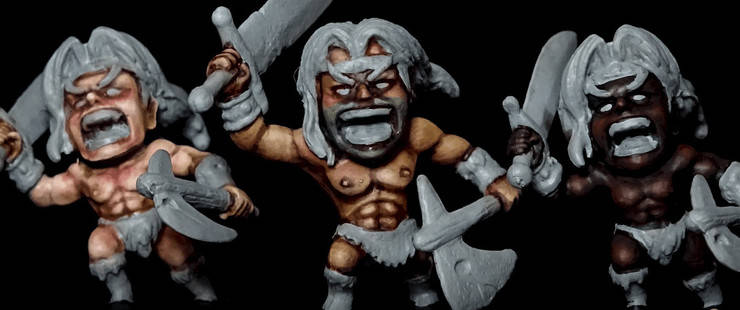
 They are using some paints from their newest set and are going to be painting up 3 different styles using minis from Arcadia Quest. They will also be using the Soft, Strong, and Dark Skin Washes. Let’s see how you can make awesome skin with just three colors. He also starts with a wet Palette.
Base Coats
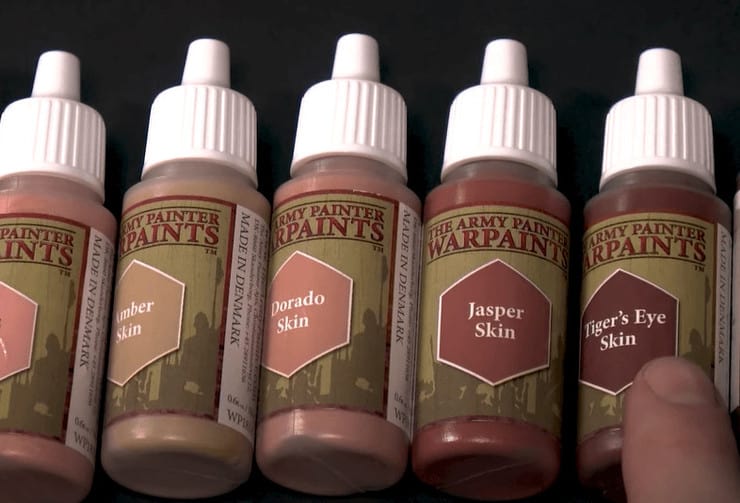
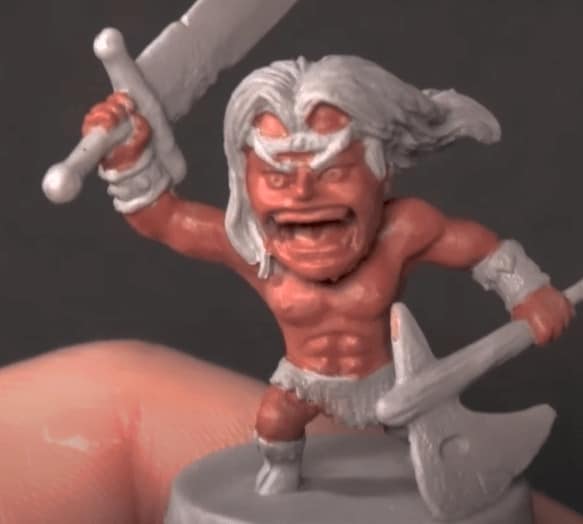 He starts by putting Topaz Skin, Ruby Skin, and Opal Skin onto his wet palette and thins them out just a little bit with some water. Then apply a nice smooth base coat with the Topaz all over the model. They are just working on the skin, so don’t worry about the other base coats yet. Just to note, since they are doing three tones, he then applies a base coat of Onyx Skin to one, and Jasper Skin to another.
Washes
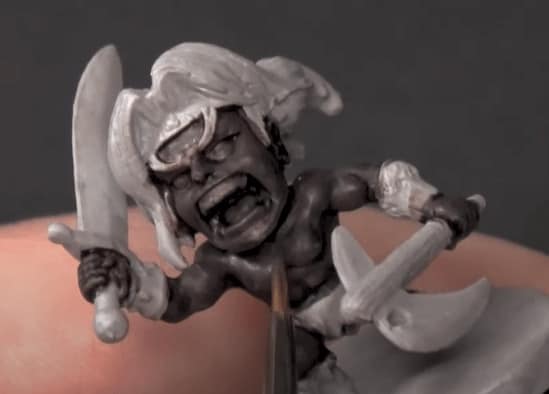 Take the Strong Skin Wash and apply it all over where you did the skin, just be sure to not let it pool too badly. You can apply this as heavy or light as you want, just depends on how dark you want it. He recommends applying in a top-down fashion, letting gravity help you paint. He then does a Dark Skin Wash on the darker model and a Soft Skin Wash on the lighter model. It takes a little for this to dry, so don’t rush. He’s switching to Grom #3 here (the one with the darker tones so far) and is hitting it again with the Onyx Skin. This just re-establishes the base color, but be sure to leave a lot of the wash. You don’t want to erase what you just did, but this will give your mini a more realistic feel.
Highlights
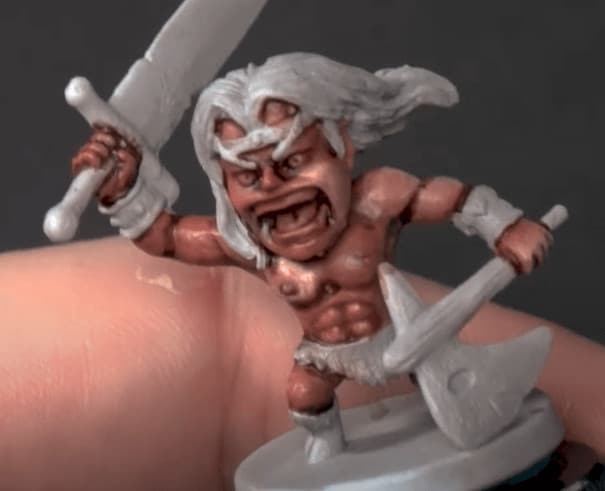 He switches to Grom #2 here and starts with a highlight of Dorado Skin. If you’re a little more advanced, you can add some water in and blend the highlights in, just be sure to hit all the areas that light would naturally hit. Such as the tops of the muscles and cheeks. Just be sure to leave some of the darker skin underneath. You can always come back and blend in some of the darker tones from before if you need to. He also goes back and does the same steps on the other two minis.
 Now it’s time for a fine highlight. He starts with the Opal Skin and just hits the very tops of the skin, like the highest parts of the muscles, cheeks, etc. Once again, he goes back and hits the highlights on the other two minis.
Pigment Tones
 He mixes the Garnet Pigment Toner and Warpaints Mixing Medium in a standard plastic palette. He goes back to Grom #1 and applies this to the face and the chest. It will bring out the natural rosiness of the skin. He then goes back and uses Obsidian for #2 to give the effect of stubble.
There you have it! Three great skin tones without much hassle! All you have left to do now is go and paint in the other details!
Be sure to follow The Army Painter on Youtube for more great content like this.
Get Your Army Painter Paints Here!
This post contains affiliate links, as an Amazon Associate Spikey Bits earns from qualifying purchases.