 Join us in the journey of assembling and painting a Warlord Titan from start to finish! Needless to say, it was quite the undertaking!
There is going to be a lot of videos, tips, and trick for getting your own mini finished. Or, just something fun to check out even if you don’t plan on grabbing a giant mini. Let’s get into it!
Assembling & Painting a Warlord Titan: Start to Finish
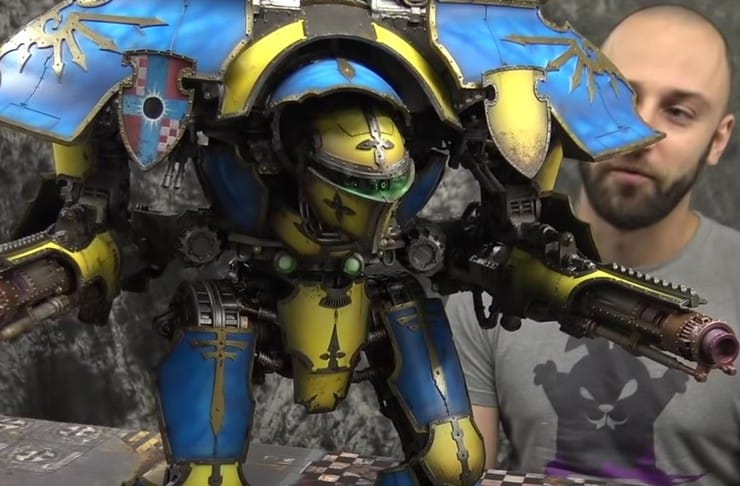
 Since we’re going to start from the bits, this is the end result achieved! Now let’s see how it went from a pile of resin to a beautiful mini!
Unboxing the Initial Kit
While the video says part two, we’re putting it first because this is all about building the giant body! If you want detailed instructions on how to actually build this behemoth, watch the video above, or check out our highlights below.
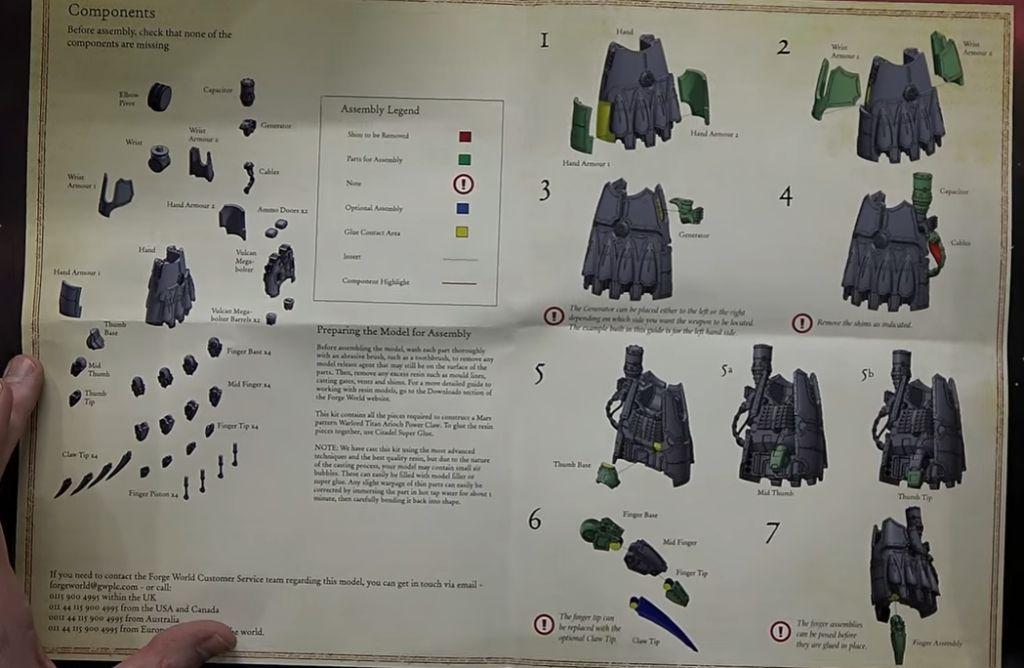
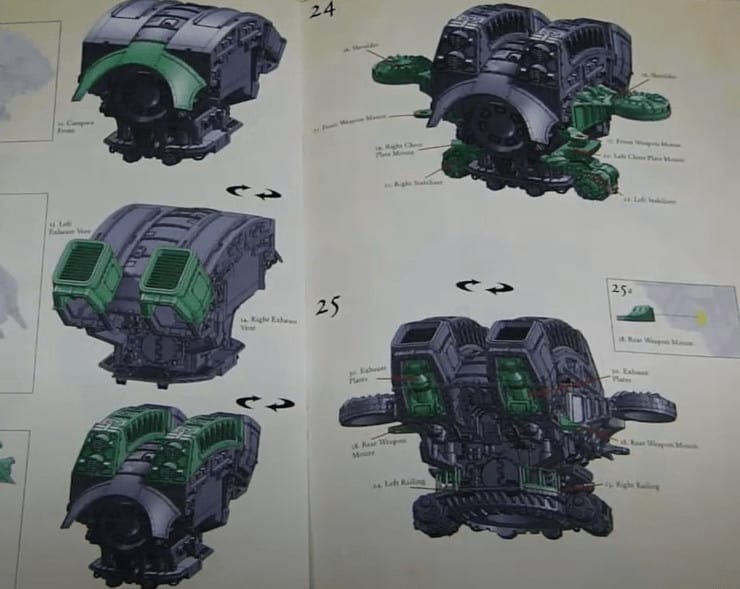 Just looking at the instructions is daunting! The booklet is giant and if you’re building one of these, be sure to save up all your spare patience you have laying around.
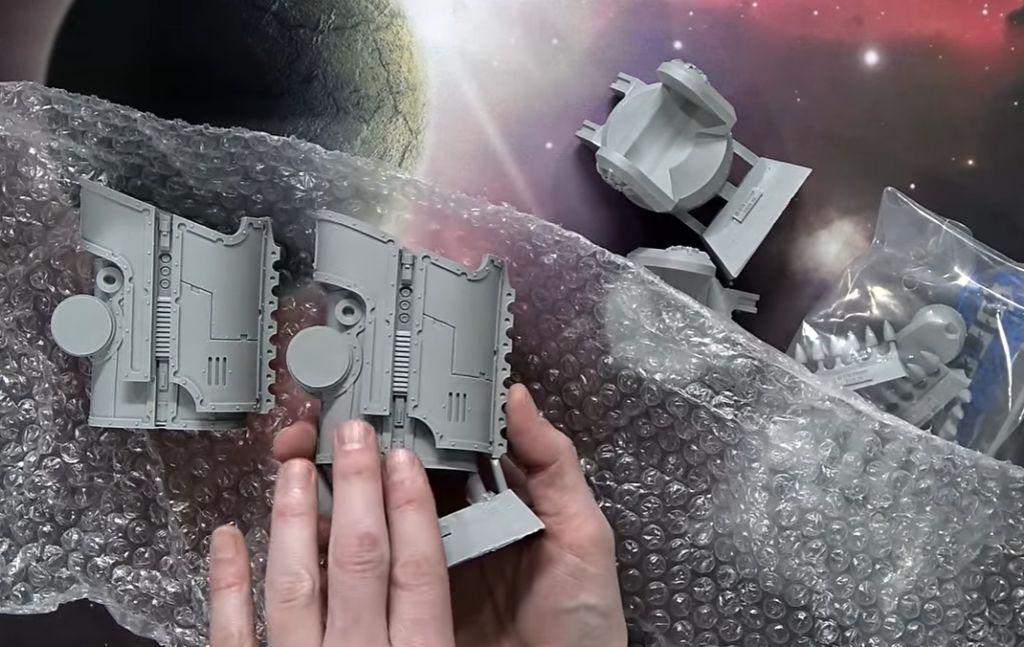
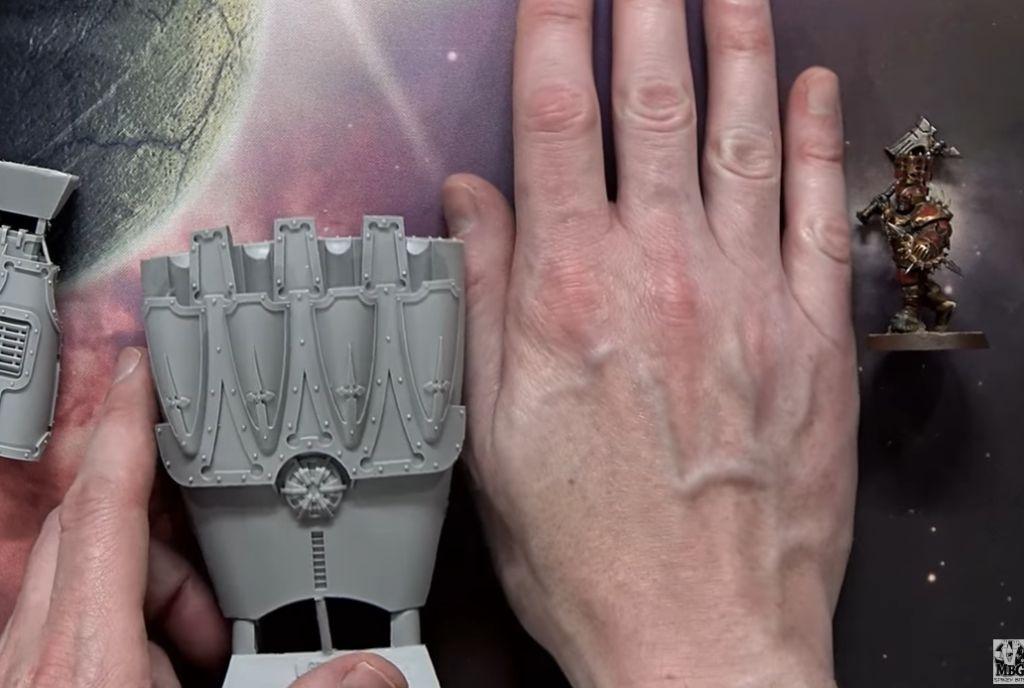
 The one-piece is as big as Rob’s entire hand! Since it’s all resin, this weighs a ton.
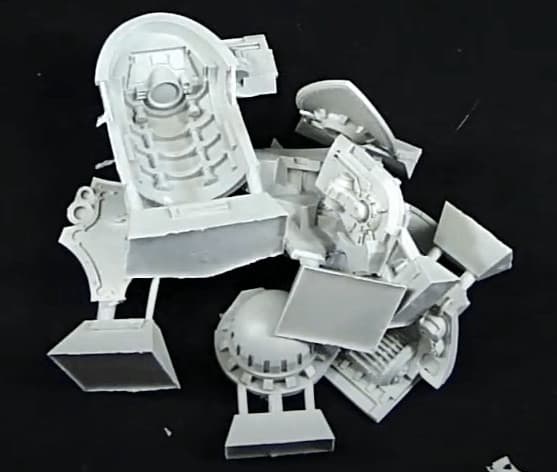
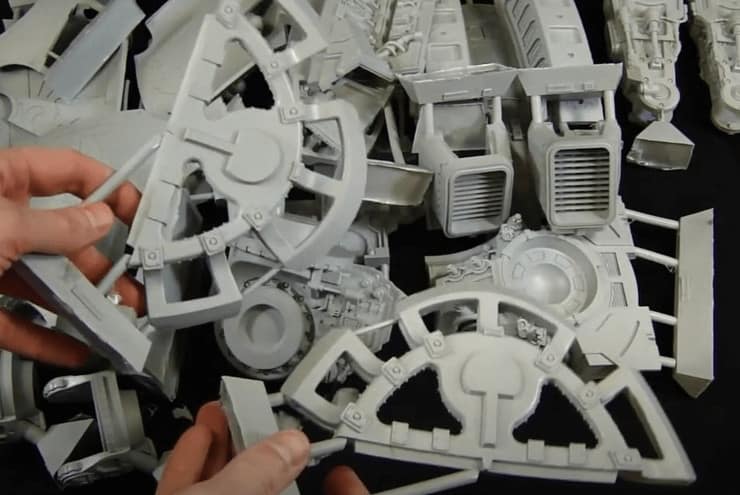 When you lay out all the bits it just gets even more of a daunting task. This isn’t even everything in one kit!
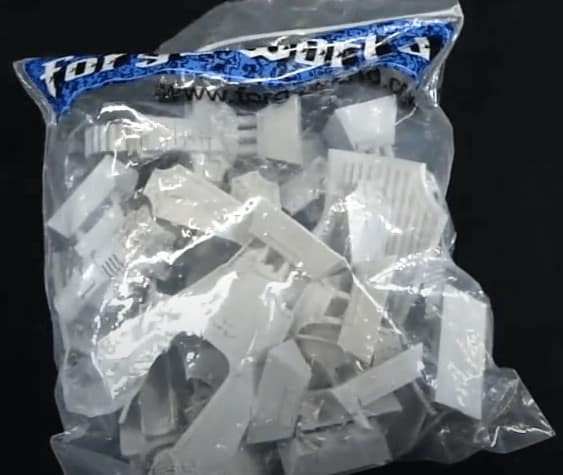 This bag is just for a single part. Usually, this is the bag an entire Forge World model comes in, not this bad boy. Now that we have most of the pieces for the body, it’s time to look at the head and weapons.
Head & Weapons
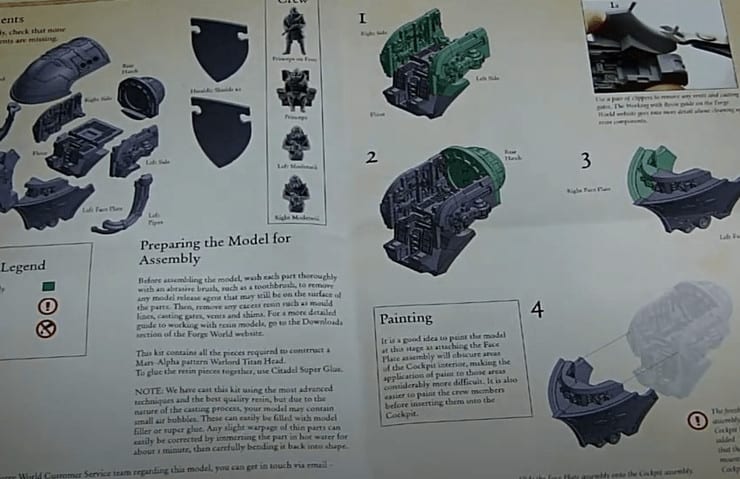 Again, seeing the instructions for such small sections really shows you just how big this is.
 The head is so giant, but luckily the kit is very well designed, so everything actually snaps in pretty well.
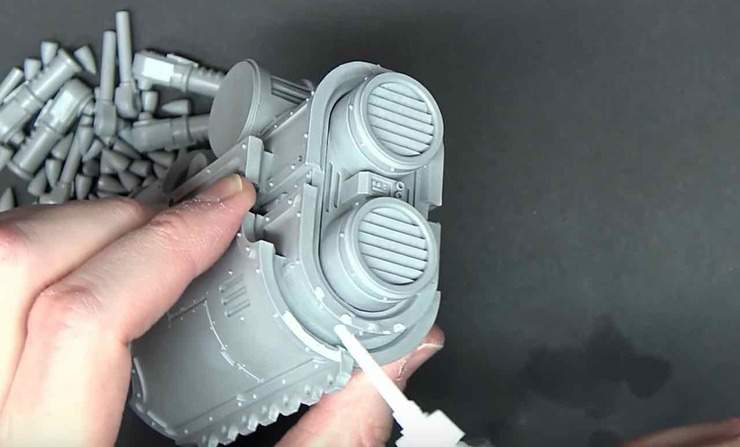
 The armor plate and weapon are both giant, but again, everything snaps together okay here and is just filled with detail.
Unboxing the World Warlord Titan Weapon Systems
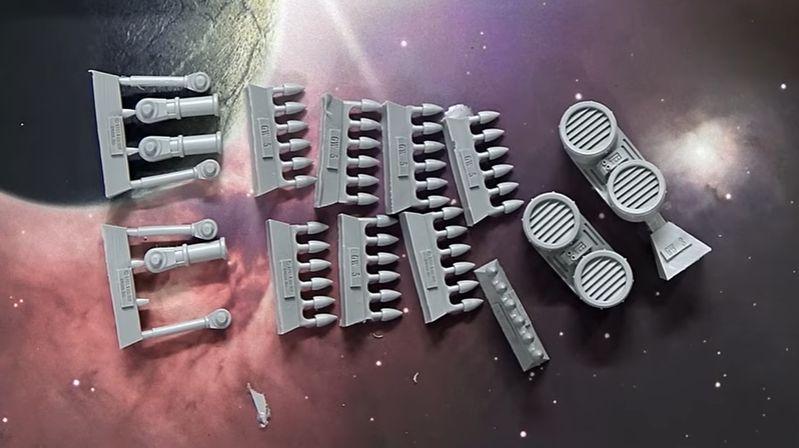
First, we are going to take a look at the Missile Launchers.
 Each missile has its own separate bit and the larger parts are just massive chunks of extremely detailed resin.
 Next up, we will take a look at the Mars Pattern Warlord Titan Arioch Power Claw. Fingertips or claws can be attached to the fingers of this massive hand.
 The hand is so massive that is it about the size of a Land Speeder and very close to the size of a human hand.
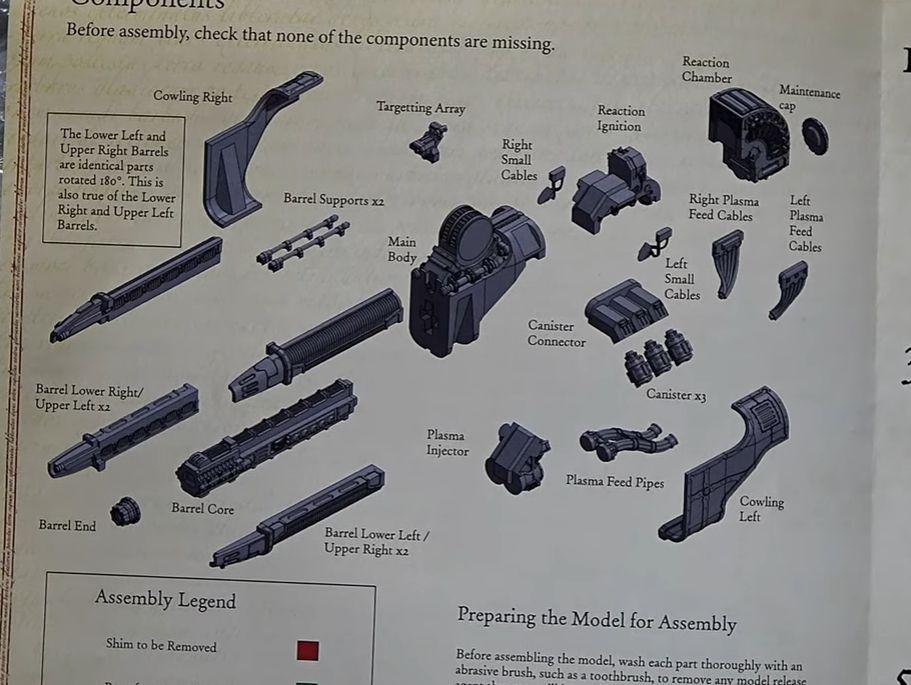
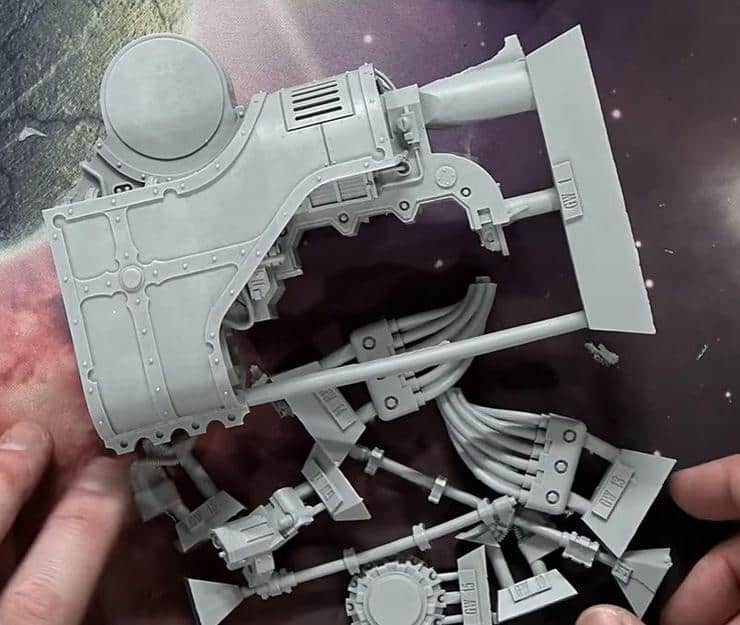
 And finally, we look at the Sunfury Plasma Annihilator. Once you get a look at the exploded view you can see how detailed this kit really is.
 This weapon can be assembled either left or right but you need to keep track of which side you’re building it for because of the mounting setup.

 Just the joint where the weapon attaches to the titan is the size of a 32mm base.
Tips for Building it
Rob is going to guide us through the trickiest bits of assembling this beast, namely the arms and the legs. Without proper setup, these critical components can fail, causing your expensive and painstakingly assembled beast crashing to the ground.
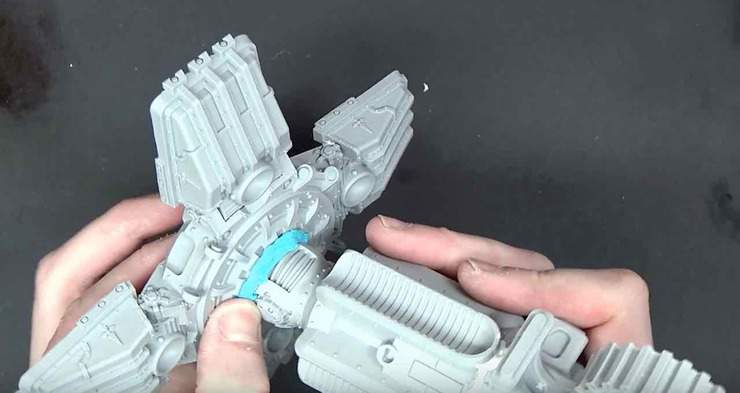 One of the most important steps when assembling a model on this scale is dry-fitting your parts. This lets you get a feel for how everything is going to come together in the end and helps show which components might be warped or where you need to add some extra support in the form of pins or dowels.
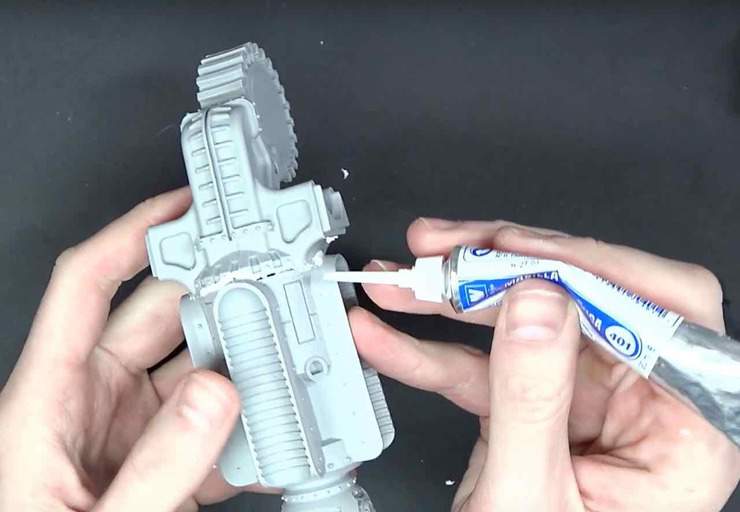 Once you have the parts correctly assembled, it’s time to tackle the gaps. In an ideal world, all the Forgeworld components would fit together perfectly, but sadly the limitations of the materials mean that gap-filling Forgeworld stuff isn’t going away any time soon.
 Ensuring your new masterpiece has the proper support while it dries is especially critical when assembling the load-bearing parts like the Legs and hips. Rob talks about the different tools he uses to ensure everything sticks together long enough for things to set.
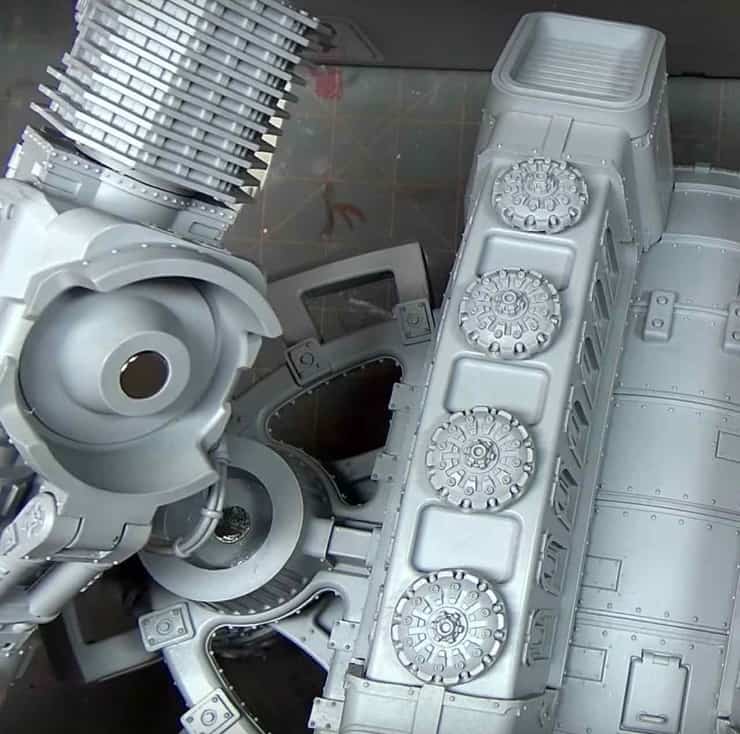
 After those long hours spend grinding drilling and scrubbing super glue off your fingers, it sure feels good to get it all together and see it on the table, doesn’t it?
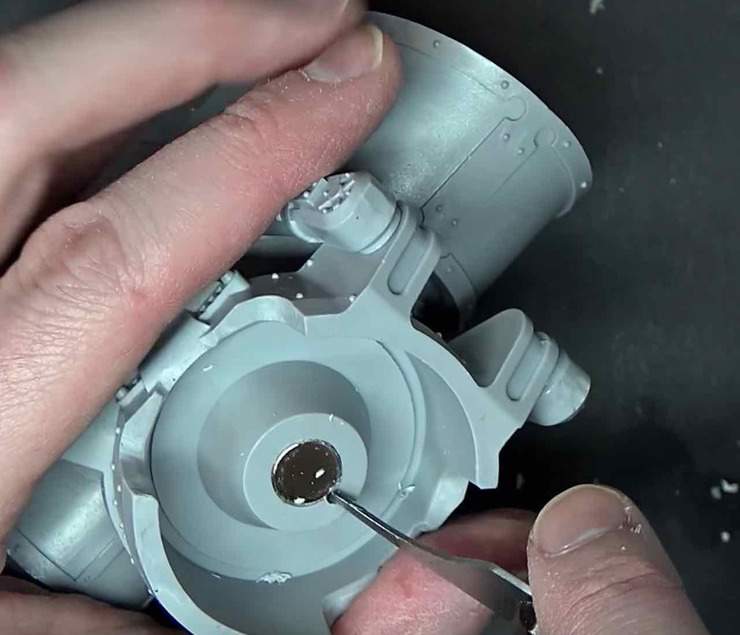
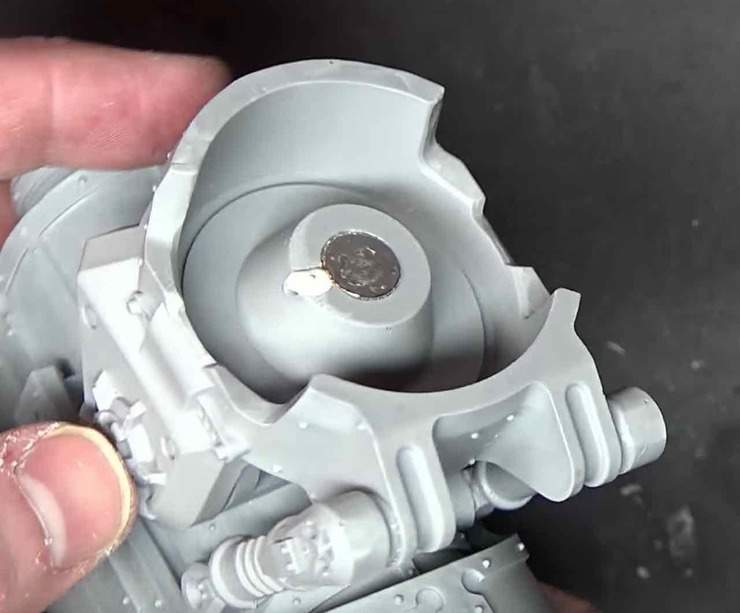
Magnetizing the Head & Weapons
If you’re spending this much money, you might as well magnetize it!
 Rob always recommends using the right tool for the job! In this case, you need to make sure your magnets are large enough to support the weight of the parts you’re attaching! Most of the magnets used in the Warlord Titan assembly are pretty large!
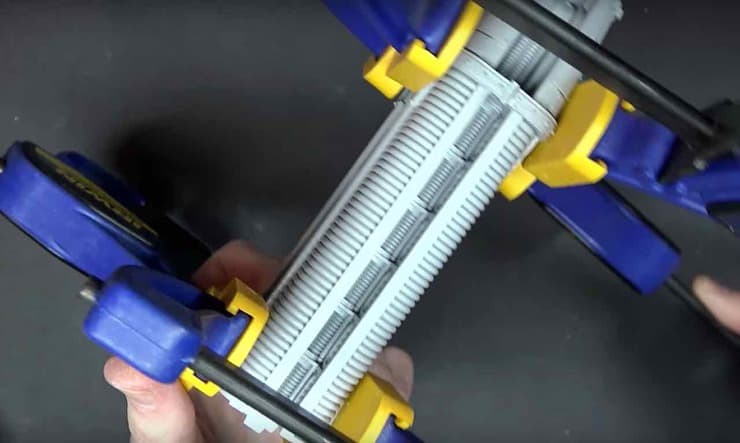 If you’re struggling to get all the parts to stay together while your glue dries, some cheap hand clamps are great additions to your toolbox!
These clamps are super cheap on Amazon, running about $5 each!
 If you find yourself with components that have small bubbling issues, you can always stick some of the ever amazing Vallejo plastic putty into the bubbles! This stuff dries in about a day, and can be filed flat afterward!
This Vallejo putty is amazing stuff!
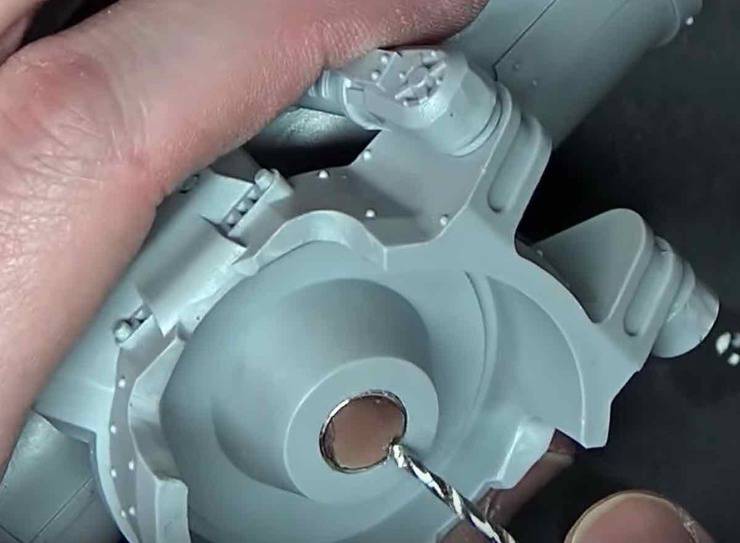
 Ever put a magnet in with the wrong polarity? Fear not! Rob covers some quick tricks to popping the magnet out, preserving the model and the magnet! By drilling a hole right next to the magnet, you can pop it out if you’re quick enough, flip the magnet, and get it back into place with minor effort!
 Once again that awesome Vallejo plastic putty comes to the rescue! Repairing the damage as good as new! Once this dries, Rob will file it flush and the whole magnet mistake will be in the distant past!
Painting the Monstrosity
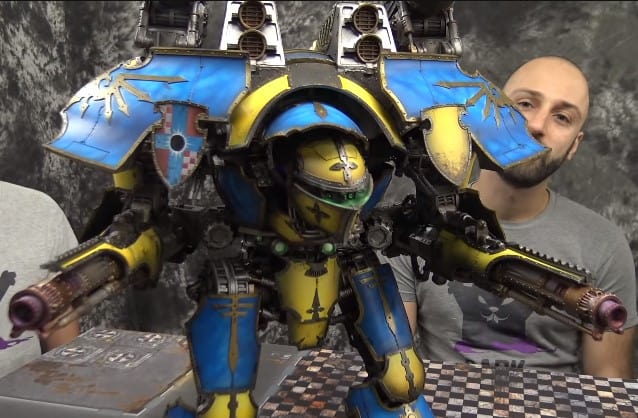
Now that it’s all built, it’s time to paint it up. But luckily we sent this away to the crazies at Dark Bunny Creatives. Let’s hear how they did it.
Then look no further than this painted model showcase featuring the talented Dark Bunny Creatives team and a Warlord Titan!
This surely is one of the biggest and best-painted figure showcases yet, so don’t miss it! Reportedly over 60 hours of painting, this job needed three separate project fronts to reach full completion
Breaking up this project needed planning to determine which painting sequence would be used first. The first coat of paint was on the under-frame of the model, using industrial spray cans, using 4 different colors. The panels were pre-shaded, and once airbrushed, the trim was done wherever it could be done.
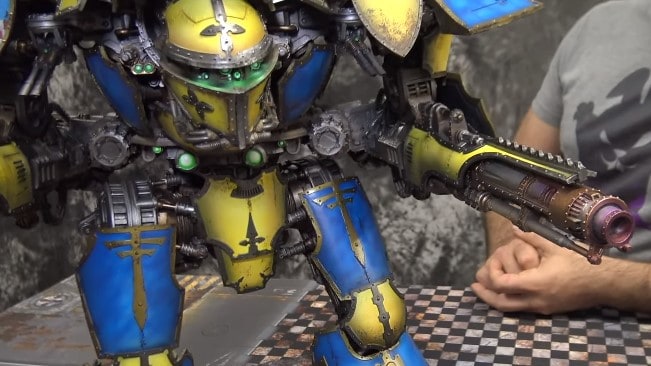 Once the trim was near completion, the weathering was completed as a finishing touch. This project was very time-consuming and challenging, but these painters are proud of their work. The coloring on the model has been done with a marbling style on the flat panels of the armor. A two-tone approach was done for the marbling using a spiderweb pattern.
 The level of the paint job from Dark Bunny for this model is at the Adept level. This model is as big as they come, being one of the largest models on the tabletop hobby market. This Warlord has been fully magnetized and has a multitude of weapon load-outs to choose from!
 If you are looking for a painting commission studio that will cover all your painting needs, then check out Dark Bunny Creatives today!
Have you ever tried to build one of these? Have you ever wanted to buy one?
Let us know in the comments of our Facebook Hobby Group, and make sure you enter the latest monthly giveaway for FREE today!