 Reinforcements 40k TLDR: when reserves arrive, where they can be set up, and what the Movement phase Reinforcements step allows in 10th.
Reserves win and lose more games than most people give them credit for, and 10th Edition folded them into a proper Reinforcements step inside the Movement phase. So before you deep strike anything, it pays to know exactly when your units are allowed to arrive, where you can set them up, and what they can pull off the turn they land.
Here’s the easiest way to look at it: treat Reinforcements as the last thing you do in Movement, plan your drops around what still gets to shoot and charge, and don’t waste a unit arriving somewhere it can’t actually threaten. We’ll walk it phase by phase, the way we have since 10th Edition landed, since that timing is where games get decided.
10th Edition 40k Core Rules: Movement & Reinforcements
Updated on July 8, 2026, by Rob Baer with the latest 10th Edition Reinforcements rules breakdown.
These shots first surfaced over on Imgur back when the book leaked, and they line up with what actually shipped. The short version: Movement runs simultaneously, you move before you shoot, and there’s now a dedicated Reinforcements step at the tail end of the phase that handles everything coming in from reserves.
 This picture comes from Warhammer Community.
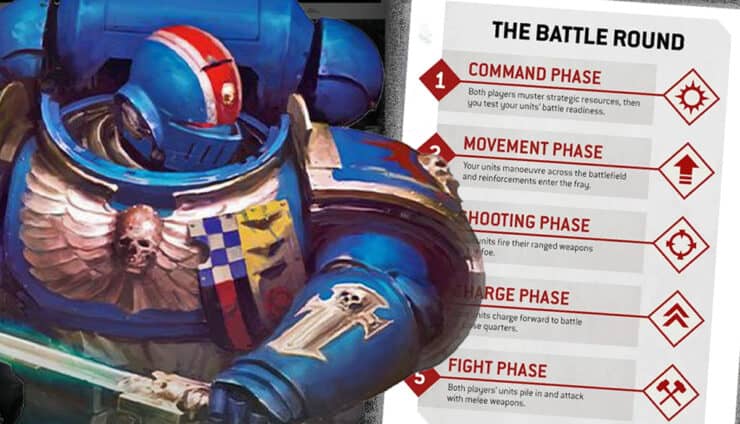
The turn structure is still the same: one player still takes the first turn, to manoeuvre and fight with all the forces at their disposal, and then the second player does the same. This is still called the Battle Round, but seven phases have now become five – and both players will now contest each one to the fullest.
Seven phases became five, and that trim matters just as much as you think it does. Because Movement now carries its own Reinforcements step, everything you bring in from reserves resolves right here, not in a separate arrival phase later. The order of operations is easy now: you finish your regular moves, then decide what drops in, and only after that does shooting even start. Get greedy and set up a unit before you’ve thought about screens, and you’ll feel it two phases later.
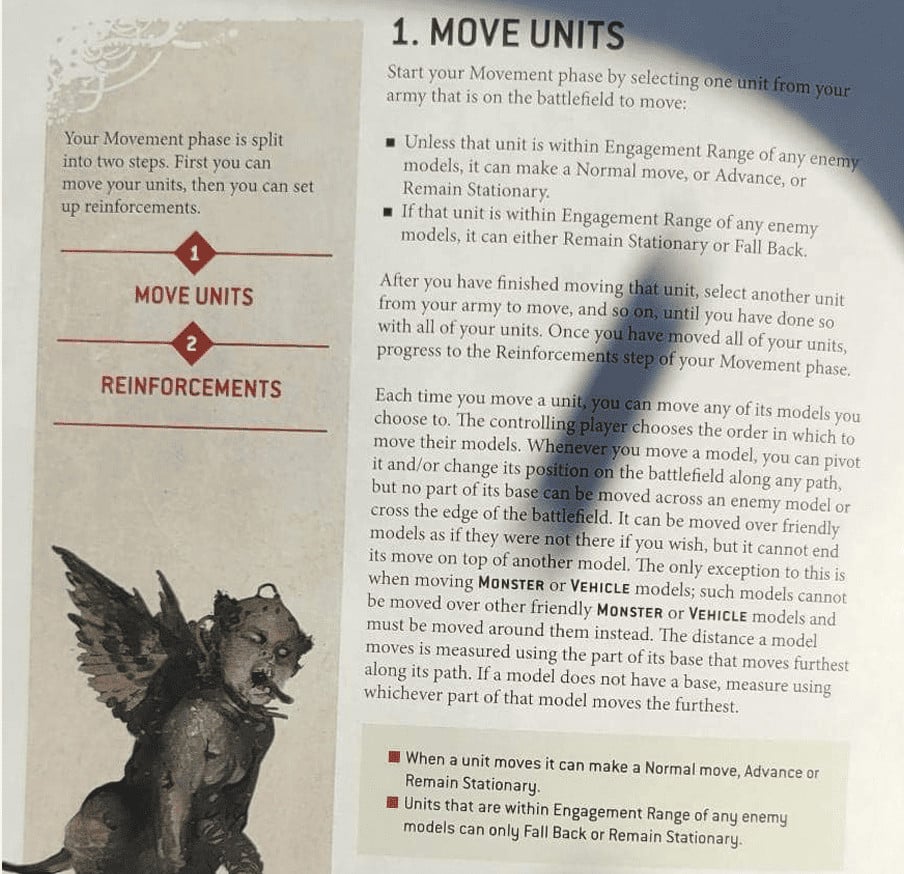
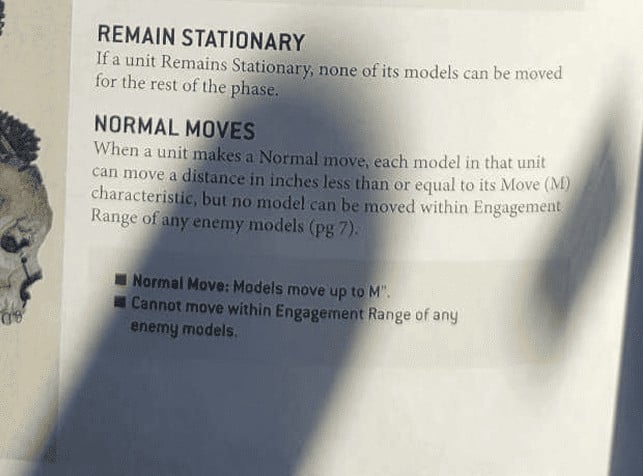
You move everything first now, and the basics carry over from 9th: regular moves, Advances, or Falling Back. The part worth slowing down on is the practical stuff. Monsters and Vehicles still have to move around other units of their own type, so a line of your own tanks can wall in your own Knight if you shuffle them in the wrong order. And for flying models without a base, you measure to the hull, which quietly changes how far one can really screen or block a firing lane.
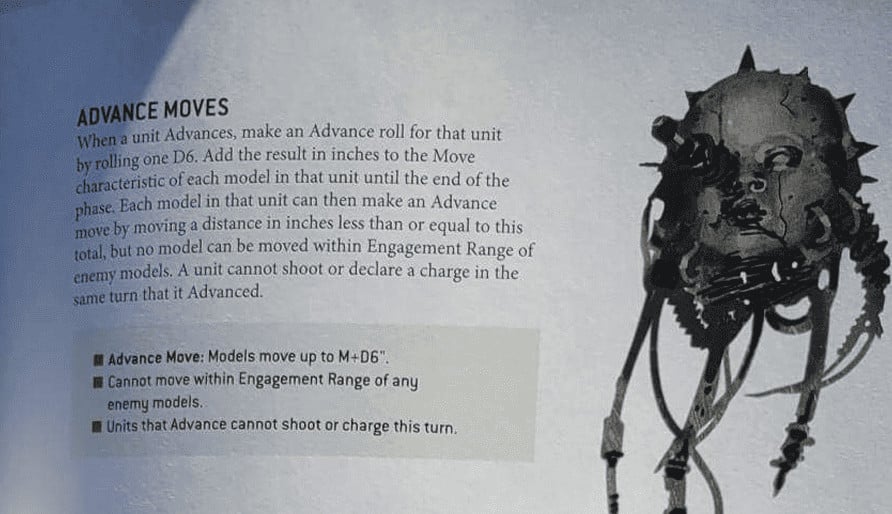
Advances still tack D6″ onto your Move and switch off shooting and charging unless a rule says otherwise, so an Advance is a real commitment, not a free stretch of the legs. It’s simple on the tabletop: Advance when you need the board or an objective, and you’re fine sitting out the turn’s damage, and keep the regular move when you’d rather leave the guns live.
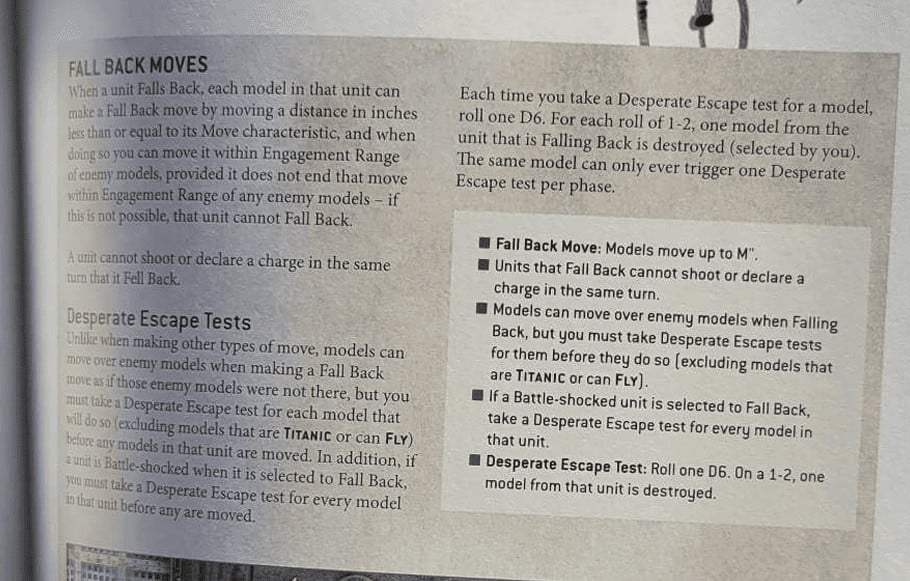 Falling back stays pretty similar: no shooting or charging is allowed, and you can’t fall back into engagement range. However, you can now fall back through enemy models (think of if you’re surrounded but want to get out of combat). Now, on a roll of 1 or 2, a model dies, so you have to want to fall back to do it!
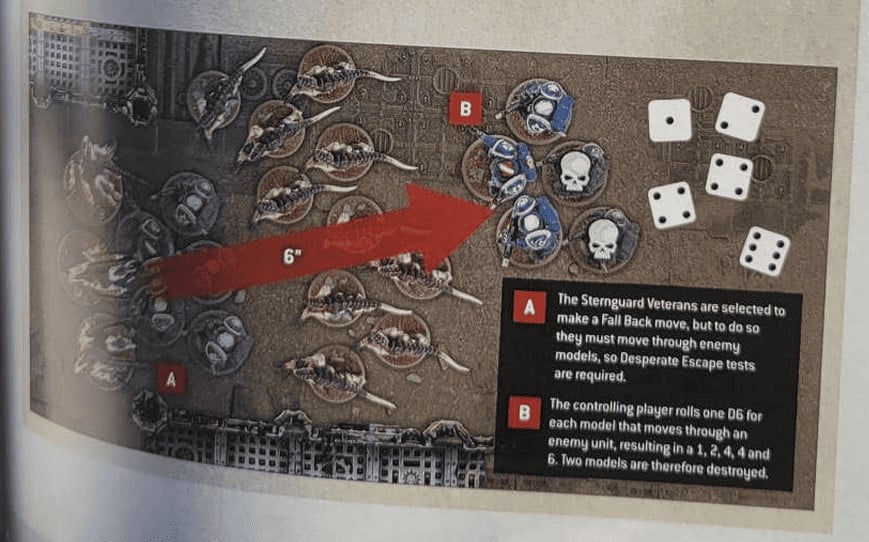 This is a great example: the Space Marines are surrounded and want to get out. When you make a desperate escape roll, full models are destroyed regardless of the wounds!
Moving Over Terrain
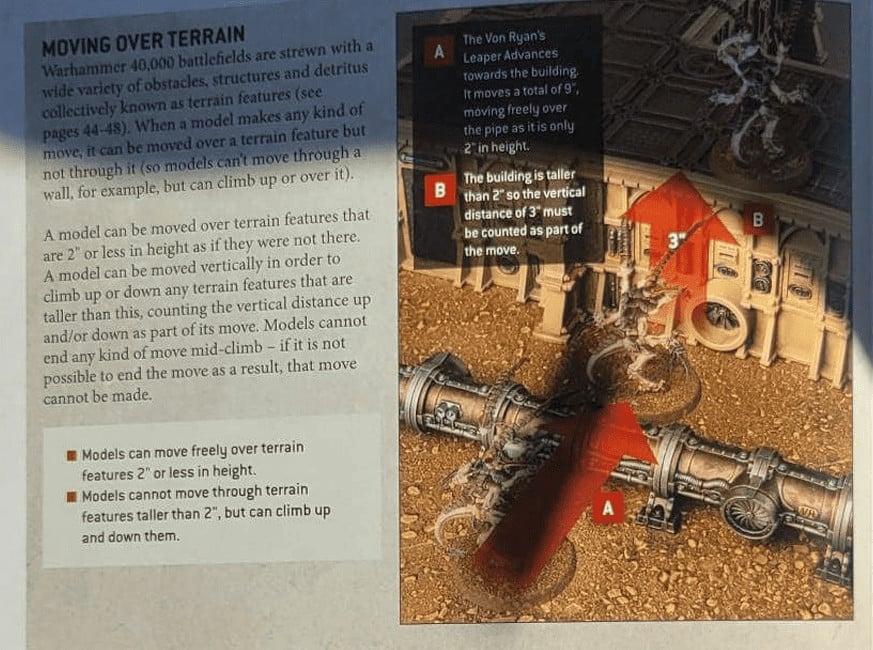
Terrain movement is mostly common sense: you slide over the small stuff like tubes and barrels for free, but anything taller costs you movement to climb, and you still move through walls, never over them.
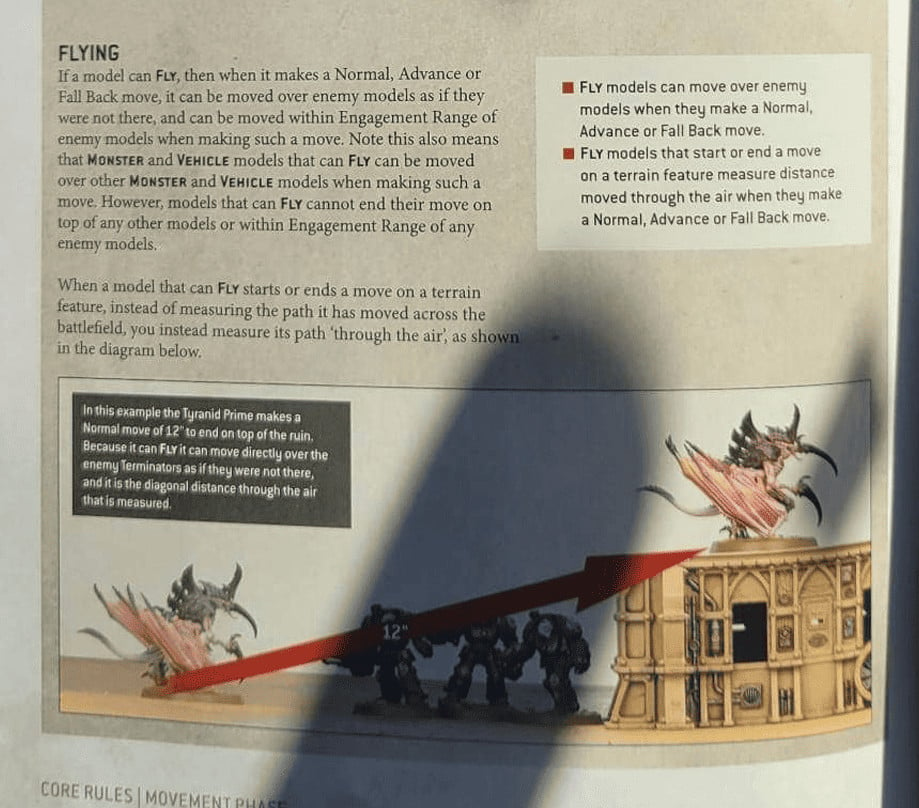
Flying models now measure diagonally, tracing the real path through the air rather than the flat distance across the mat. That path is almost always longer than it looks, so here’s the tip that saves arguments: measure the vertical climb and the horizontal move together as one diagonal run before you commit the model, and if it’s close, get your opponent to eyeball it with you first. We’ve seen plenty of a confident “it reaches” turn into a real stretch once the model has to climb up and over a ruin.
10th Edition 40k Core Rules Reinforcements
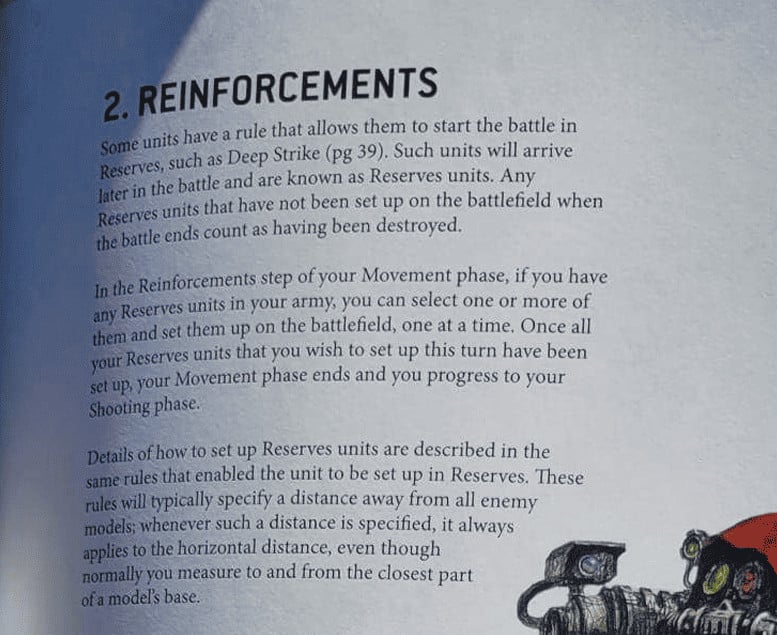
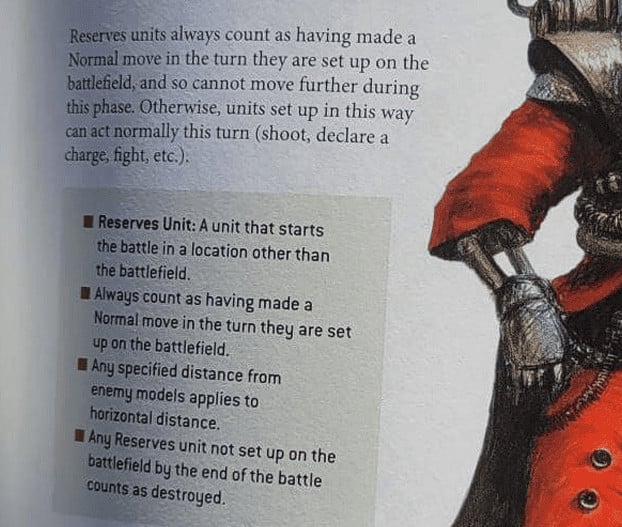
This is the part that actually answers the reinforcements 40k question: the Reinforcements step runs at the very end of your Movement phase. You finish moving your on-board units, you set up anything arriving from reserves, and as soon as those drops are placed, Movement is over. Reserves can’t come down during the first battle round (unless you have a special rule), and anything still sitting in reserve when the game ends counts as destroyed, so holding units back too long just hands away points.
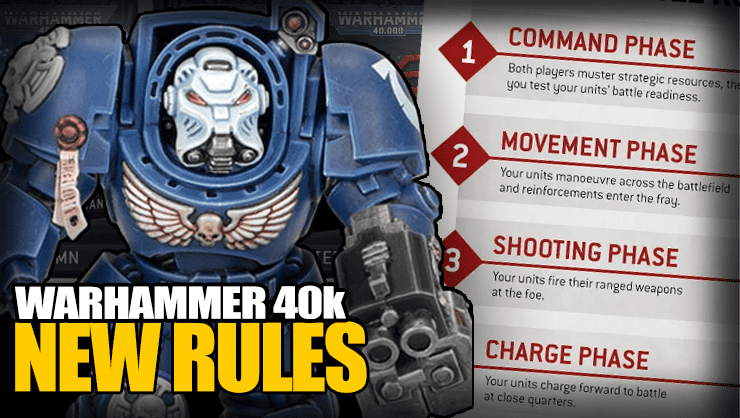
So what can they do the moment they land? Just about everything except moving after landing. A freshly arrived unit can shoot in your Shooting phase and declare a charge in your Charge phase; it just has to be set up more than 9″ from any enemy model. The sequence falls into place once you see it: drop the unit at the end of Movement, open up in Shooting, then roll the charge and hope for the distance. That Terminator squad you held in deep strike isn’t a movement trick; it’s a shooting-and-charge threat that shows up right where you need it.
Final Thoughts on the 10th Edition Reinforcements Step
Put it all together, and Movement in 10th is really two decisions stacked on each other: where your boots-on-the-ground units go, and what you commit from reserves before a single shot is fired. The Reinforcements step is the hinge. Time it well, and your drops land as a shooting-and-charge threat exactly where the enemy is thin. Time it badly, and you’ve spent points on a unit that shows up late and does nothing.
So the habit worth building is simple: move your board first, read where the 9″ gaps are, then bring your reserves down last with a plan for the Shooting and Charge phases that follow.
What do you think about the new Warhammer 40k 10th Edition core rules?