 Check out how to build and magnetize the Forge World Warhammer 40k scale Warlord Titan and its weapons step-by-step.
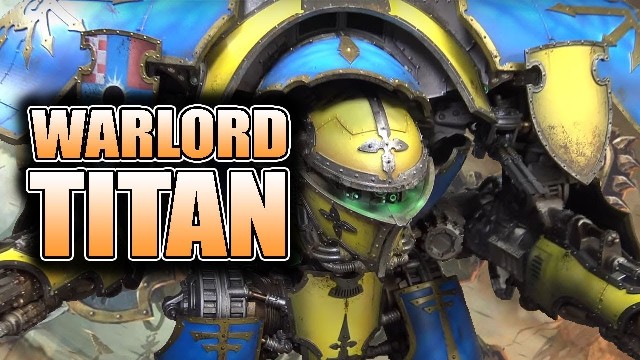
If you’ve just got a Warlord Titan or are still debating about pulling the trigger on one, here’s a tutorial for building and magnetizing it all. Hopefully, this will put to bed some concerns about the model or be a helpful guide to follow as you put yours together!
Build & Magnetize Forge World 40k Warlord Titan Easily!
We’ve got these two videos for you to check out if you want an in-depth look. The first video is more about things to watch for when you’re assembling your Warlord’s legs and midsection, while the second is more geared around arm weapons and the head.
Assemble Your Warlord: Highlights
Rob will guide us through the trickiest bits of assembling this beast, namely the arms and the legs. Without proper setup, these critical components can fail, causing your expensive and painstakingly assembled beast to crash to the ground.
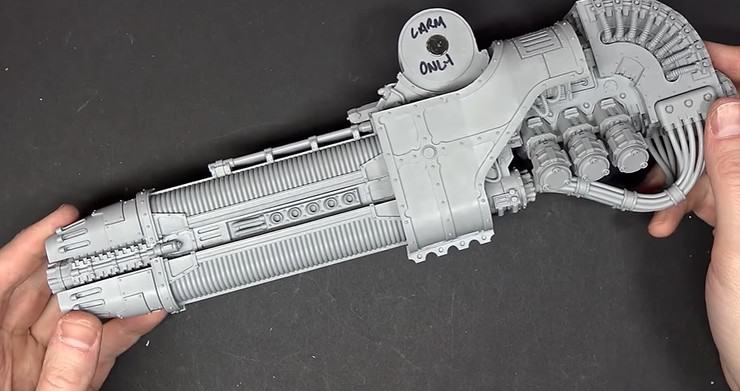
Forge World has also just added the Quake Cannon to the Warlord Titan’s arsenal.
We recommend you watch the videos as they’re over an hour in total length. However, here are some highlights of what to expect.
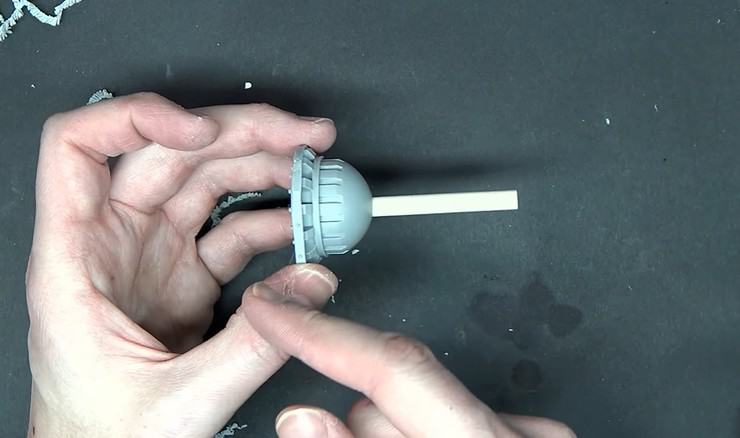
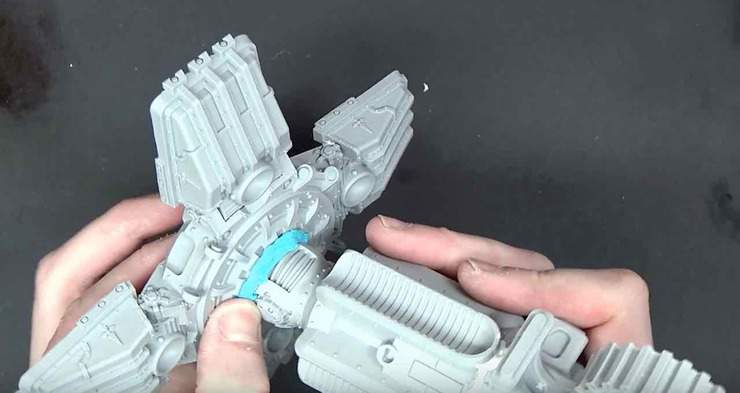 One of the most critical steps when assembling a model on this scale is dry-fitting your parts. This lets you get a feel for how everything will come together in the end. It also shows which components might be warped or where you need to add some extra support in the form of pins or dowels.
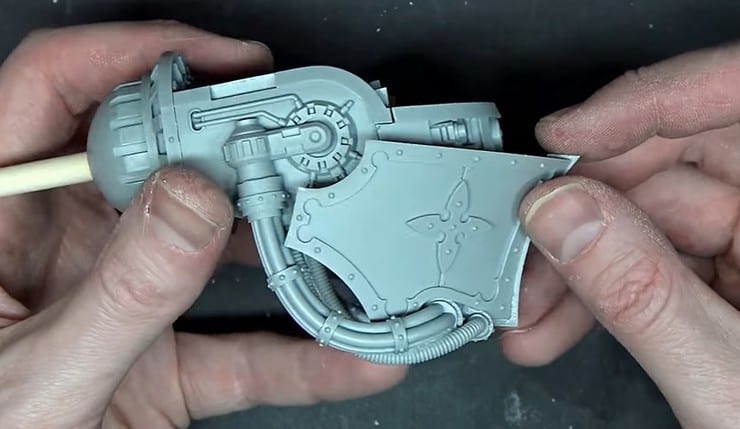
 Once you have the parts correctly assembled, it’s time to tackle the gaps. In an ideal world, all the Forge World components would fit together perfectly, but sadly the limitations of the materials mean that having to gap-fill Forge World’s stuff isn’t going away any time soon.
 Dry-fit, gap-fill, and magnetize where necessary. After that, ensuring your new masterpiece has the proper support while it dries is especially critical when assembling the load-bearing parts. Especially for the legs and hips, as they support everything else!
Rob talks about the different tools he uses to ensure everything sticks together long enough for things to set. It may take a field trip to your local hardware store to get the job done.
Working On The Top: Highlights
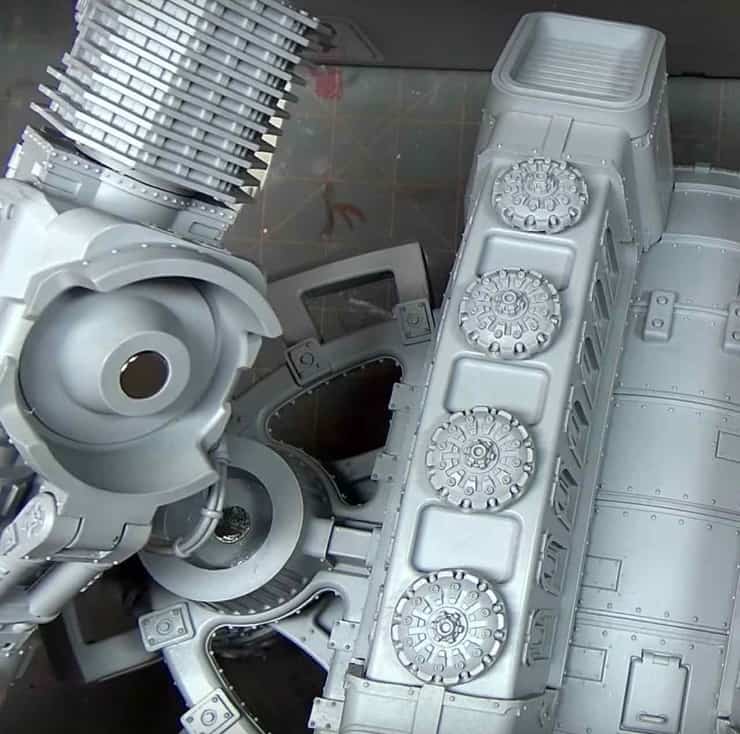 Rob always recommends using the right tool for the job! In this case, you need to make sure your magnets are large enough to support the weight of the parts you’re attaching! Most of the magnets used in the Warlord Titan assembly are pretty large. If you don’t have big magnets, you can also always drill multiple holes and use four or five smaller magnets in a joint.
We get all our magnets for hobbying from The Magnet Baron. Use coupon code Spikey10off to get 10% off your next order with them!
 Whatever magnets you end up going with, be sure that you have the right drill bit. Go slow when you’re drilling, resin is a little brittle at times.
 You can also use dowel rods for pinning the model down. Because of the sheer weight of the model and sub-assembly, it’s better to use more hardy wood than wires that are commonly used for pinning in smaller models.
 If you’re struggling to get all the parts to stay together while your glue dries, some cheap hand clamps are great additions to your toolbox!
You Can Fix Imperfections & Mistakes
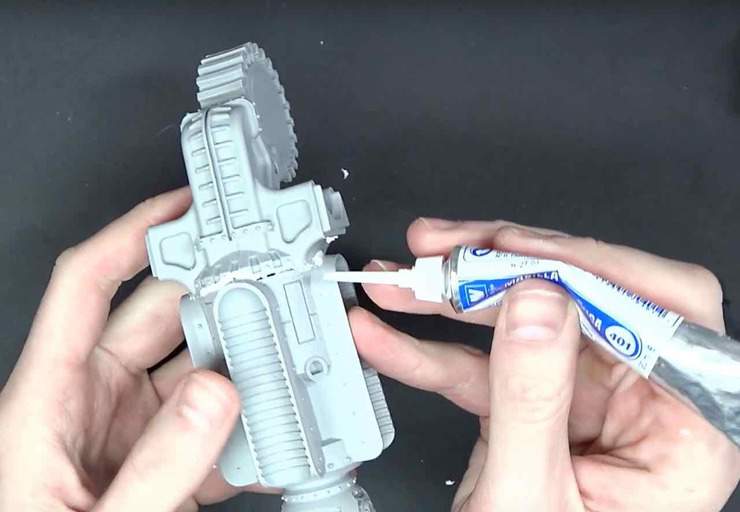
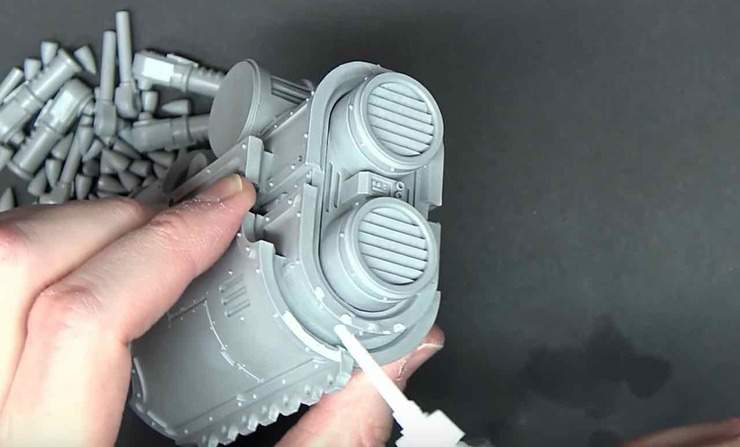 If you find yourself with components that have minor bubbling issues, you can always stick some Vallejo plastic putty into the bubbles too. This stuff dries in about a day and can be filed flat afterward—just a neat little hobby trick.
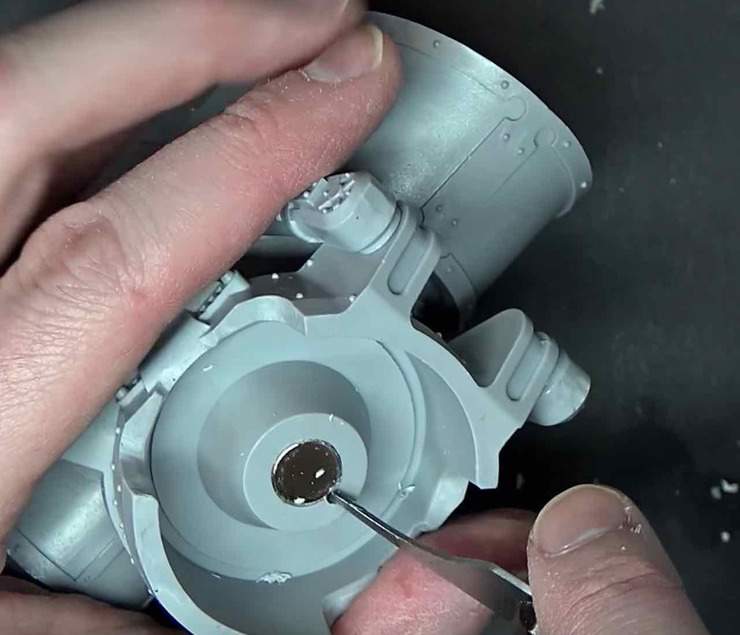 Ever put a magnet in with the wrong polarity? Fear not! Rob covers some quick tricks to popping the magnet out, preserving the model and the magnet! By drilling a hole right next to the magnet, you can pop it out quickly, flip the magnet, and get it back into place with minor effort.
It’s just best to pay attention during the magnetization process. Test all the polarities of the magnets you’re using before you go all in.  Keep repeating these steps as your Titan comes together, and you should have an Imperial killing machine in no time! After those long hours spend grinding, drilling, and scrubbing super glue off your fingers, it sure feels good to get it all together and see it on the table.
40k Scale Warlord Titan Forge World Painted Showcase Centerpiece
Here’s what your completed Titan can look like with all the armor panels on and painted up in your Legio’s colors:
Paint job by Dark Bunny Creatives, in exchange for Promotion.
Has this tutorial been helpful to you? How long did it take you to assemble your Warlord Titan, and what colors did you use to paint it up?
Let us know in the comments of our Facebook Hobby Group, and make sure you enter the latest monthly giveaway for FREE today! You can also support us on Patreon and get ad-free access to the site, plus a ton of minis that helps support some of the best creators out there!