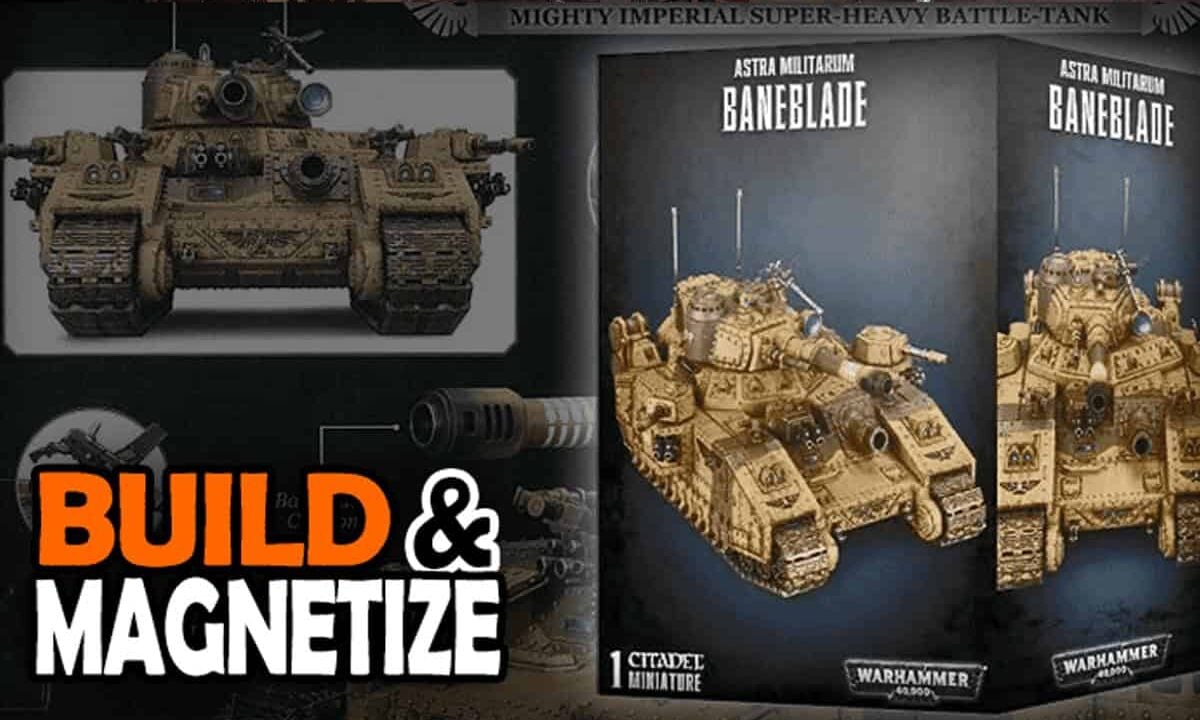
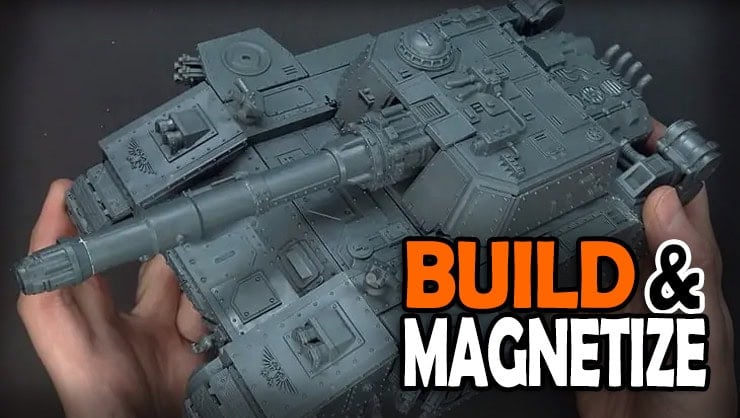
Here’s how to build and magnetize all 8 Baneblade variants with one kit using magnets and spare sprue to make the Octobaneblade!
Variety is the spice of life when it comes to Warhammer 40k. Don’t waste your money on multiple kits; make the mighty Octo-Baneblade! Check out how to assemble your Baneblade kit so you can swap bits out for all eight variants, especially with the new codex out, might as well future-proof your minis when the rules invariably change again.
With varying points, costs, and situations, having magnetized bits and options helps with playing WYSIWYG games. This overview goes through building and how to magnetize the Baneblade to allow for every available option and build.
Imperial Guard Baneblade Tank:
Updated on August 14th, 2026, by Rob Baer with the latest information.
Want a discount and fewer out-of-stock headaches? Hit our Warhammer retailer guide and grab the best option for your region. Links are below.
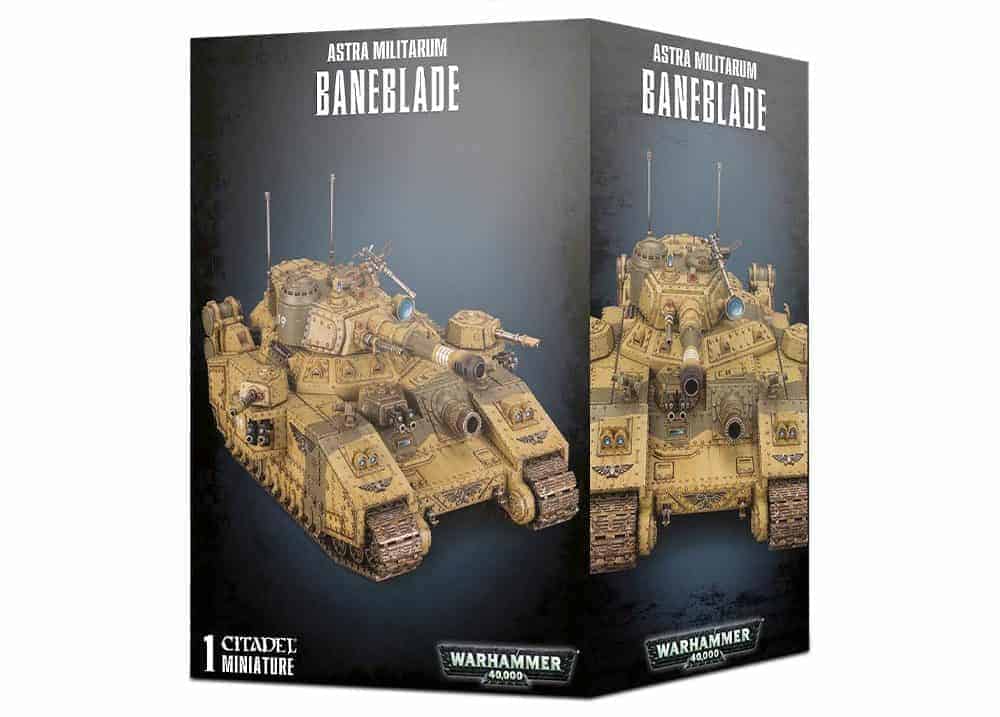
This plastic kit contains 295 components (no, that isn’t a typo) to make an Imperial Guard Baneblade. Alternatively, you can also make a Banehammer, Banesword, Doom Hammer, Hellhammer, Shadowsword, Stormlord, or Stormsword super-heavy tank using this kit. Also included is 1 Transfer Sheet which can be used to add markings and insignia.
We’ve also seen this have a few price jumps recently, so you want to get more out of it than ever before! Let’s see how to magnetize the Baneblade.
How to Magnetize All the Baneblade Variants!
We get all our magnets for hobbying from The Magnet Baron.
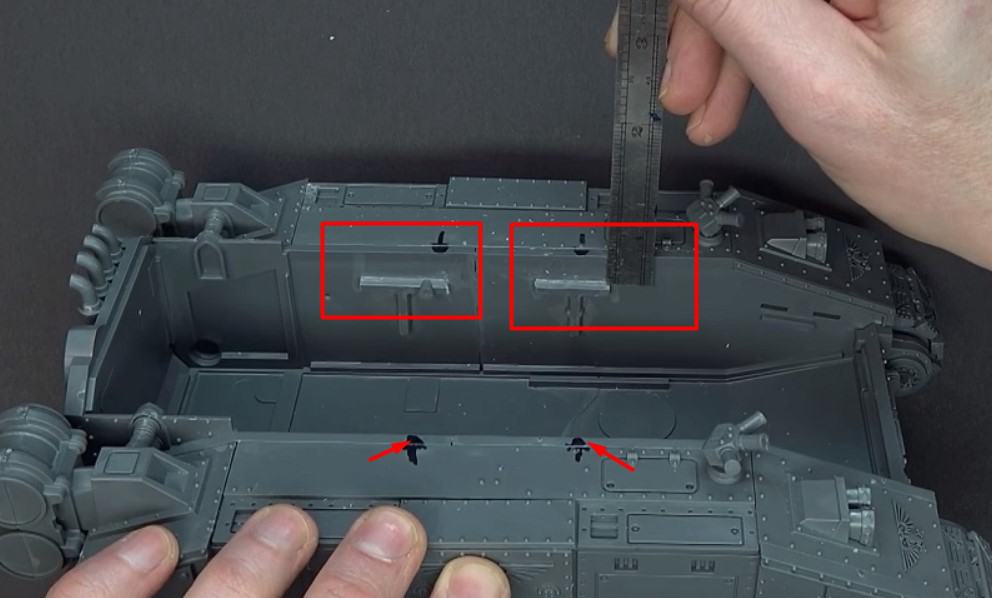
Start with building the model to include treads but not gluing in the top panels. Instead, magnets will be going underneath these panels. Measuring can get a little bit tricky here, but you’ll need to add a few pieces of spare sprue from 1.5″ off center from the front of the armor plate, 6/8″ off center from the back, and 7/16″ from the top. Make these sprues as flat as possible to support the different hull options.
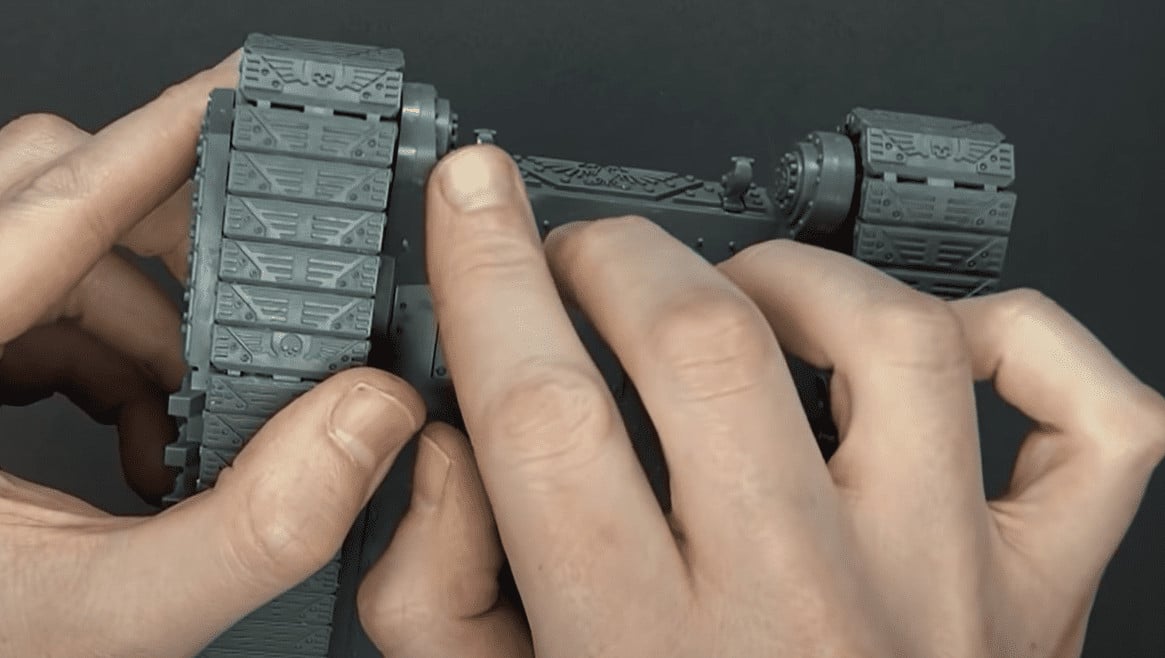 One thing to watch out for when building it up to this point is that you do not want to glue the piece Rob is pointing at to the actual treads, as it will contour your treads inward. You glue the tread only to the little lip on the inside below the area he is pointing at.
Unfortunately, the instructions for this are very unclear.
 Next up, you need this to be as square as you can; if it’s not, we’ll have trouble later on. Mount it to about 7/16th of depth here.
Magnetizing the Baneblade Turret
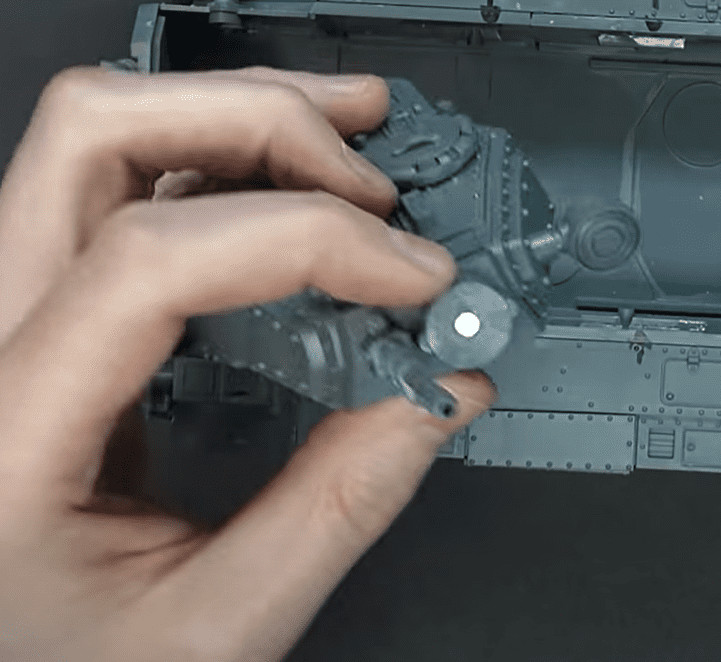 Rob used a 10mm x 2mm (Approximately 3/8″ x 1/16″) for each weapon and another for the turret mount itself (pictured above). Once you have all the weapons magnetized, we can start moving on.
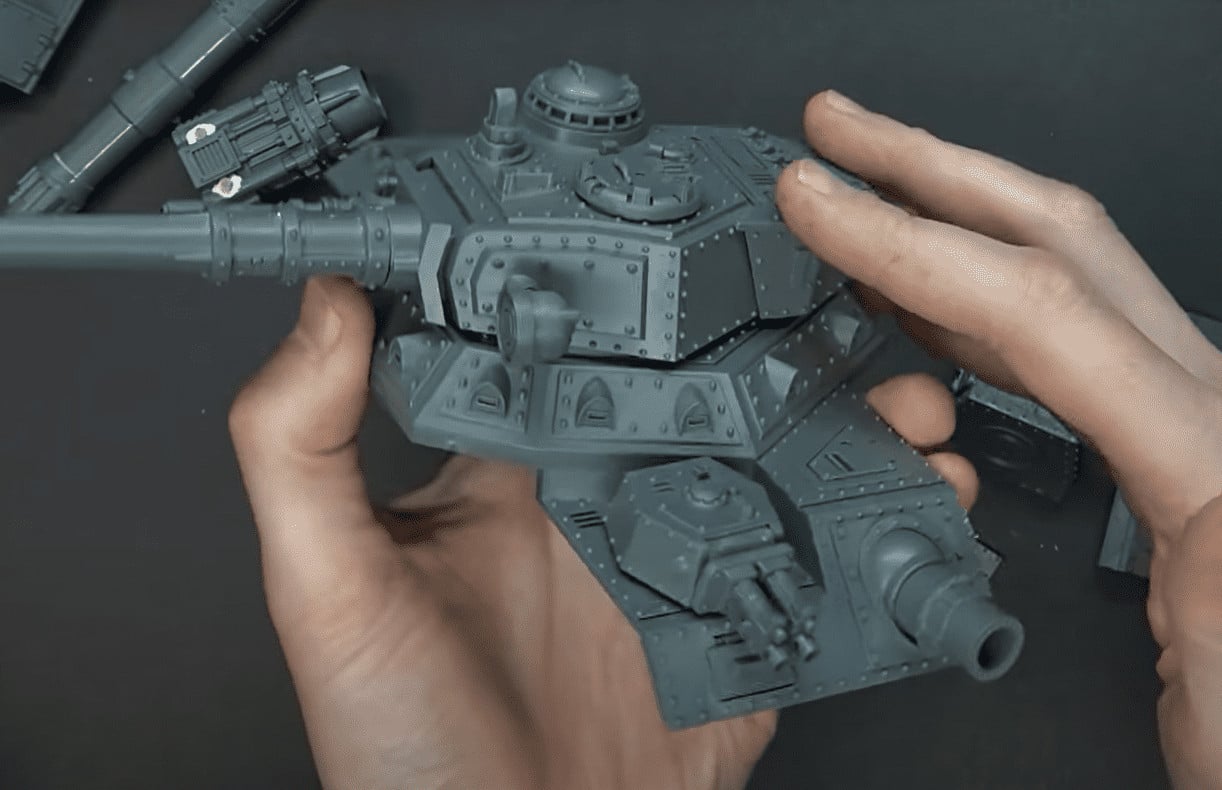 Next up, you want to build the top part separately. Once you get to this stage, you can start magnetizing. But don’t glue any more than this! Also, be sure to dry fit before you move on.
Magnetizing the Sponsons
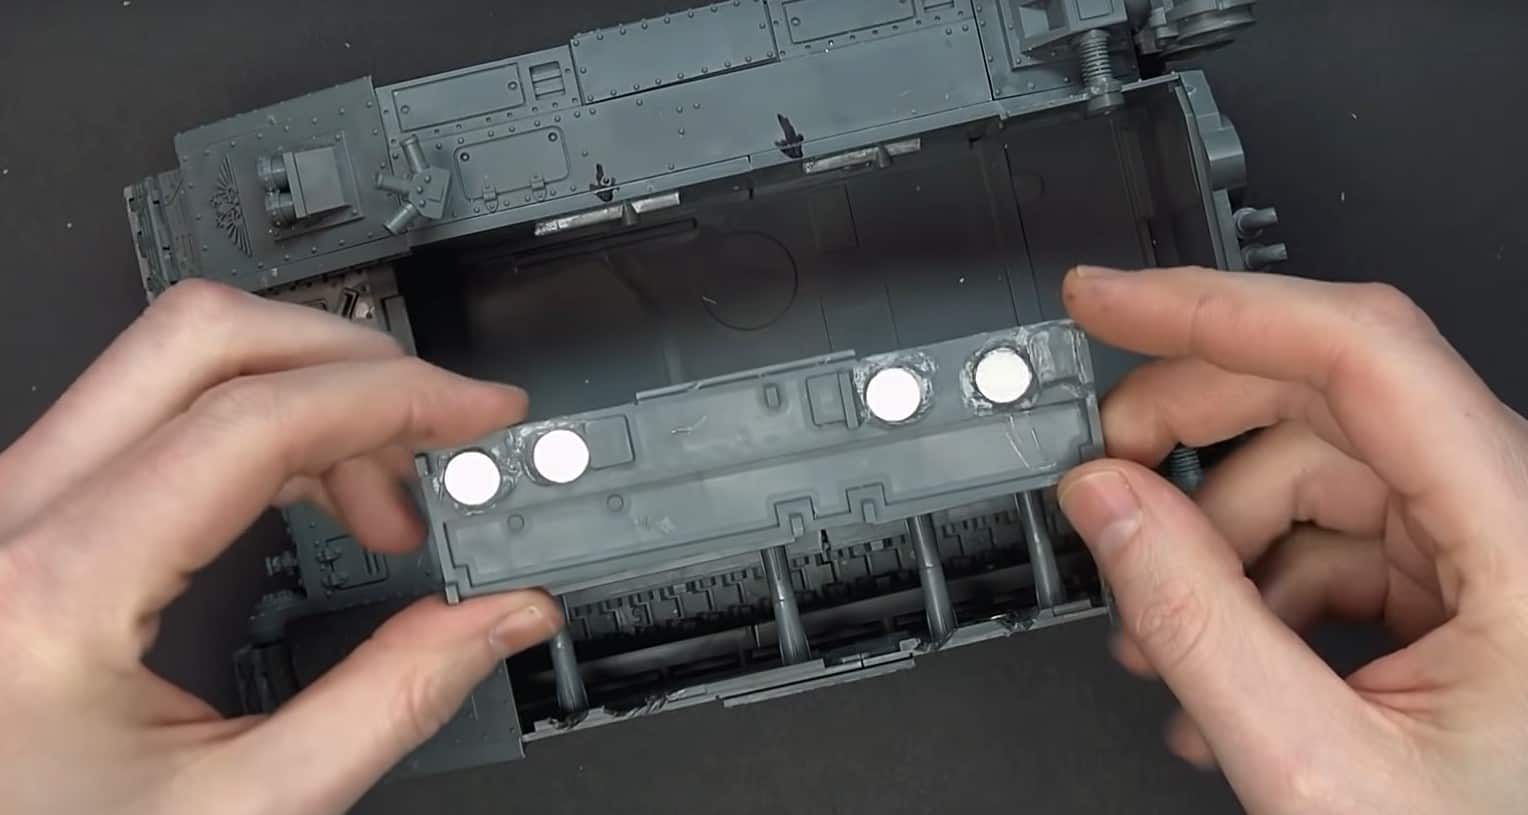 These top panels need to be magnetized to support the sponsors hanging over them. DO NOT GLUE these two pieces so you can attach and replace (if necessary) the magnets underneath. He uses two 3/8″ magnets for the inside piece and just a little piece of tin on each of the sponsons, as pictured below.
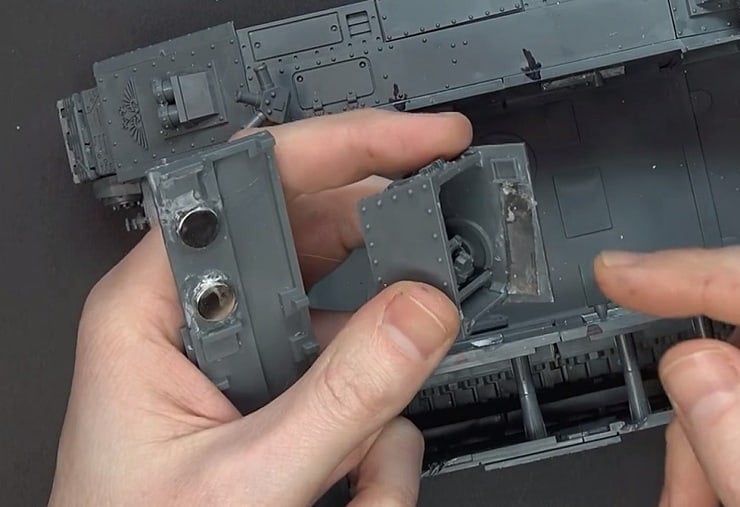
When it comes to the sponsons, glue in thin strips of tin to attach to the magnets. These metal strips are great since they lie flat, don’t need any drilling, and don’t have to worry about polarities.
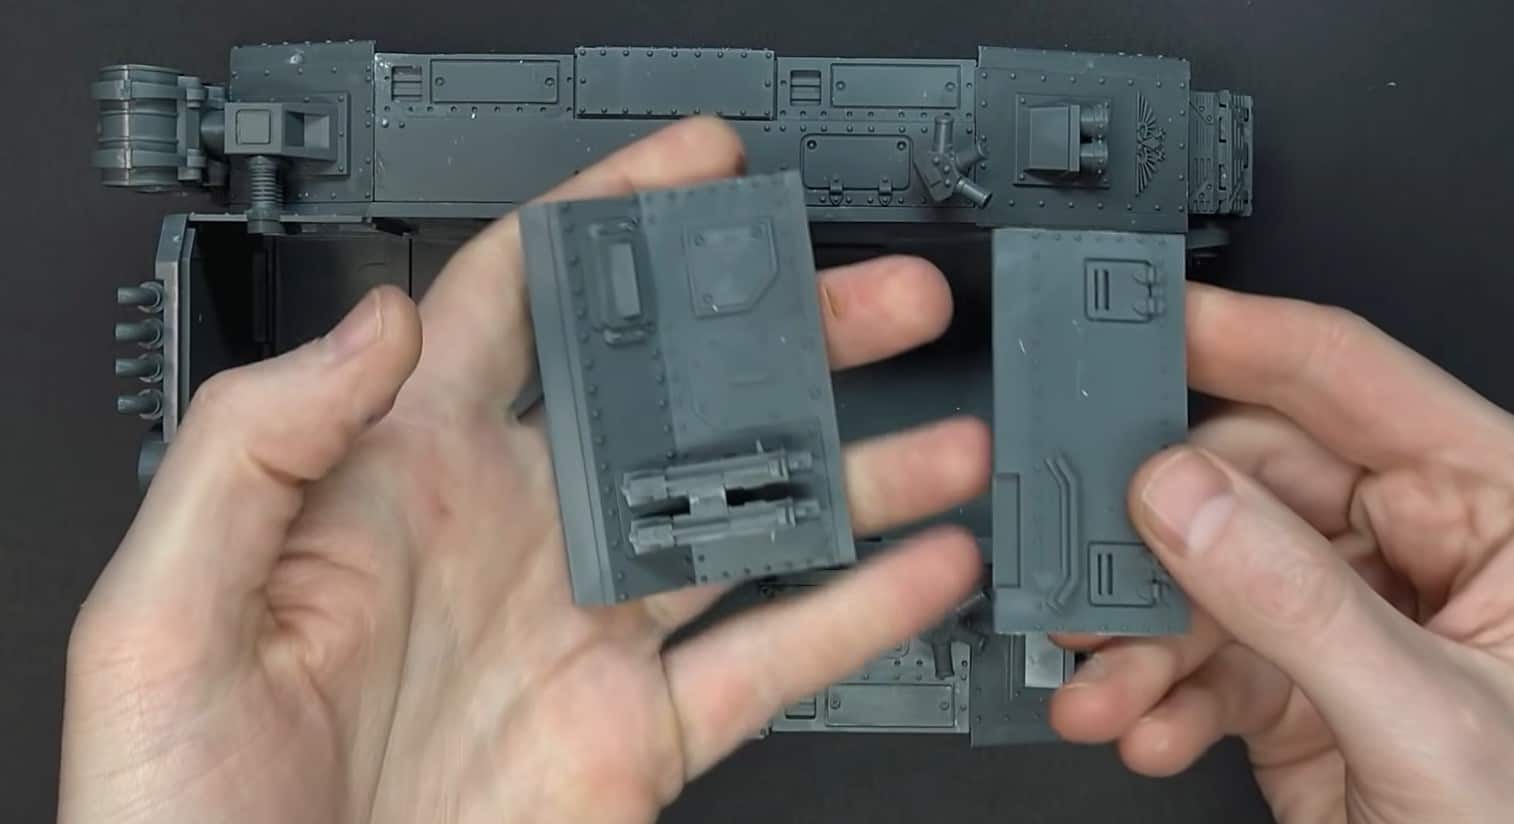
Front Plate Assembly. Cut tabs off of sides to sit flush with the hull.
Next, you’ll take the front plates and slide them into place. Don’t glue them in, as they are meant to slide in and out, depending on your variant. However, you’ll want to make these sprues as flat as possible to support the different hull options. Check out the video for all the details!
Adding the Main Weapons
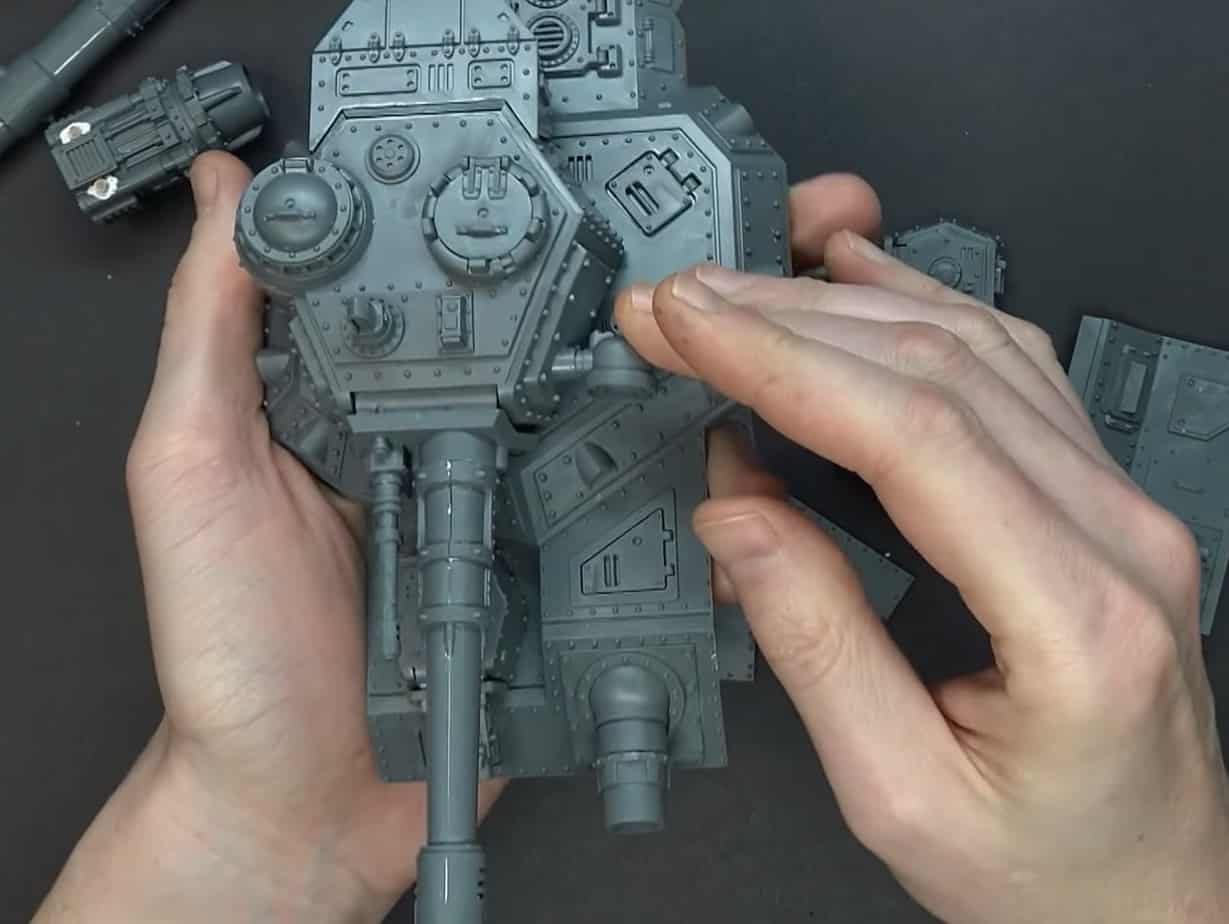
Once you’ve got the hull taken care of, you’ll want to go ahead and dry-fit the top weapon again.
Some of the longer barrels, including the Shadowsword and Banesword guns, hold well enough on friction alone that you can skip the magnet there entirely, if you are building from scratch. Just dry-fit and check before you drill.
Remember, the goal here is to make everything interchangeable. When it comes to throwing magnets on, make sure they are on their correct sides to stick together. Check and re-check.
All 8 Baneblade Variants You Can Make From One Kit
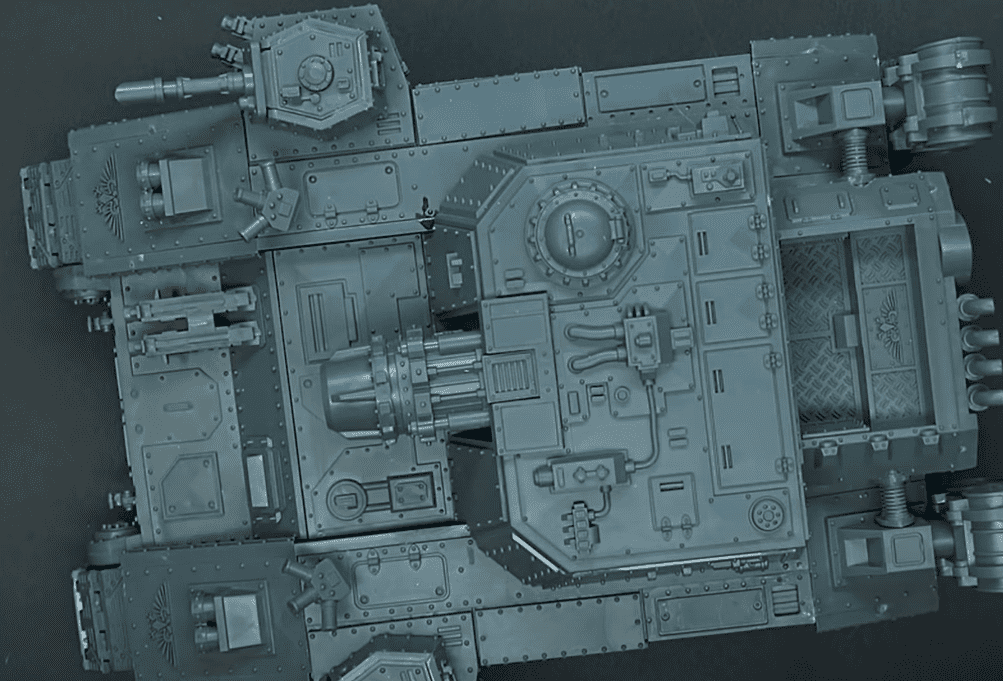 When it comes to assembling all of the other variants of the Baneblade, remember that they all use the same hull. Once you get the sponsons and tracks set up for swapping out, all of the other turret options should sit into the cradle of sprues you made.
The 8 Baneblade Kit Variants
One plastic kit builds all eight of these super-heavy tanks; all sharing the same hull:
- Baneblade – the standard turret-and-demolisher generalist.
- Banehammer – tremor-cannon anti-infantry / control.
- Banesword – quake cannon for heavy armor.
- Doomhammer – magma cannon plus transport capacity.
- Hellhammer – short-range hellhammer cannon for dense targets.
- Shadowsword – volcano cannon titan-killer.
- Stormlord – vulcan mega-bolter and large transport bay.
- Stormsword – siege cannon that ignores cover.
Not sure which loadout to run? See Which Baneblade Variant Do You Choose?
If you magnetized everything properly, all of the main weapons/sponsons should be completely interchangeable. As you can see here, Rob can simply change the parts in and out depending on what he wants to use!
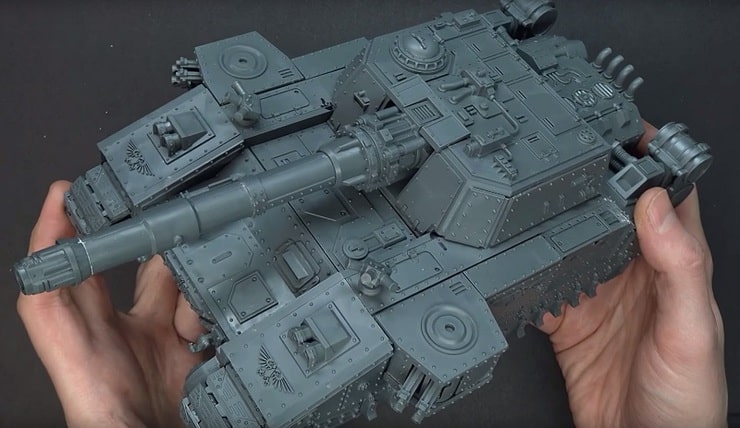
If you need more clarification and want to see the step-by-step process on how to magnetize all eight versions of the Baneblade, check out our video!
Want the kit opened and built from the box first? See Make 8 Tanks In One Kit: 40k Baneblade Unboxing & Build.
Magnet Baron also sells an upgrade kit that contains all these magnet parts and tin strips you’ll need to magnetize a Baneblade or even make an Octobaneblade!
Octobaneblade List of Magnets & Tools You’ll Need:
Magnet Sizes
- 8pcs 10mm x 2mm (Approximately 3/8″ x 1/16″)
- 1pc 6mm x 2mm (Approximately 1/4″ x 1/16″)
- 1pc 3mm x 2mm (Approximately 1/8″ x 1/16″)
- 12pcs 2mm x 2mm (Approximately 1/16″ x 1/16″)
Steel Plates
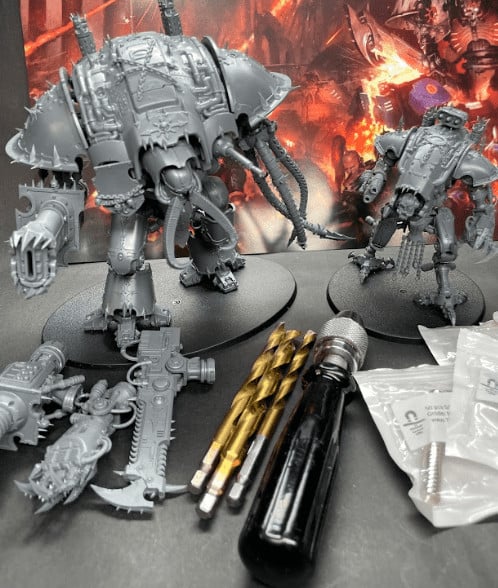 Rob uses this Hand Sized Pin Vice and drill bits to get the holes ready to go quickly for all the magnets.
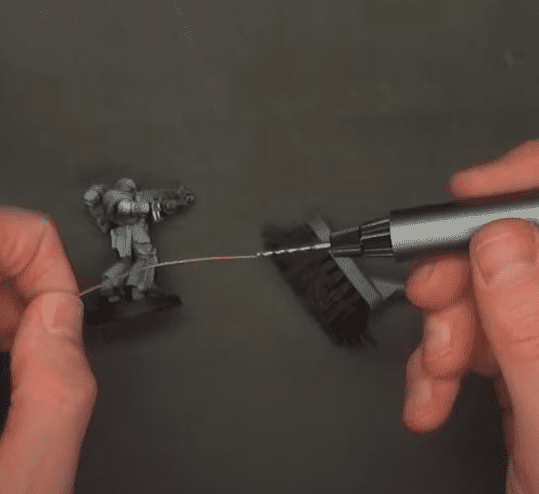 Wowstick Motorized Drill Watch us use at around the 24:00 mark in this video by clicking here.
- Hand Sized Pin Vice For larger projects like Knights, Forge World kits etc.
- Pin Vice For Miniatures We like the army painter one, but there are a ton to choose from
- Drill Bits For Magnets (small quick release) Larger Bits (for vehicles etc.) Quick-release set
- Wowstick Motorized Drill makes pinning and drilling out barrels a breeze and helps with magnetizing miniatures, but you still need a pin vice to bore out pilot holes over 1/8″ in diameter.
- We get all our magnets for hobbying from The Magnet Baron.
Click Here To Get Your Magnets
Be sure to use coupon code Spikey10off to get 5% off your next order
How to Magnetize Other Warhammer 40k Models
The same magnet-and-tin method works on almost any multi-option kit; Knights, Dreadnoughts, Leman Russ turrets and sponsons. Dry-fit first, mark your polarities, and use the same 3/8″ magnets you used on the Baneblade so parts stay cross-compatible across your army.
Frequently Asked Questions
How do I remagnetize my magnet?
You can’t truly re-magnetize a neodymium magnet at home, but if one pops loose while swapping parts, just re-glue it with super glue; matching its polarity to its partner before the glue sets. Mark the north-facing side of every magnet first so all your sponson and turret magnets stay consistent across the eight variants.
Have you tried to build and magnetize all the Baneblade variants yet to make an Octobaneblade?