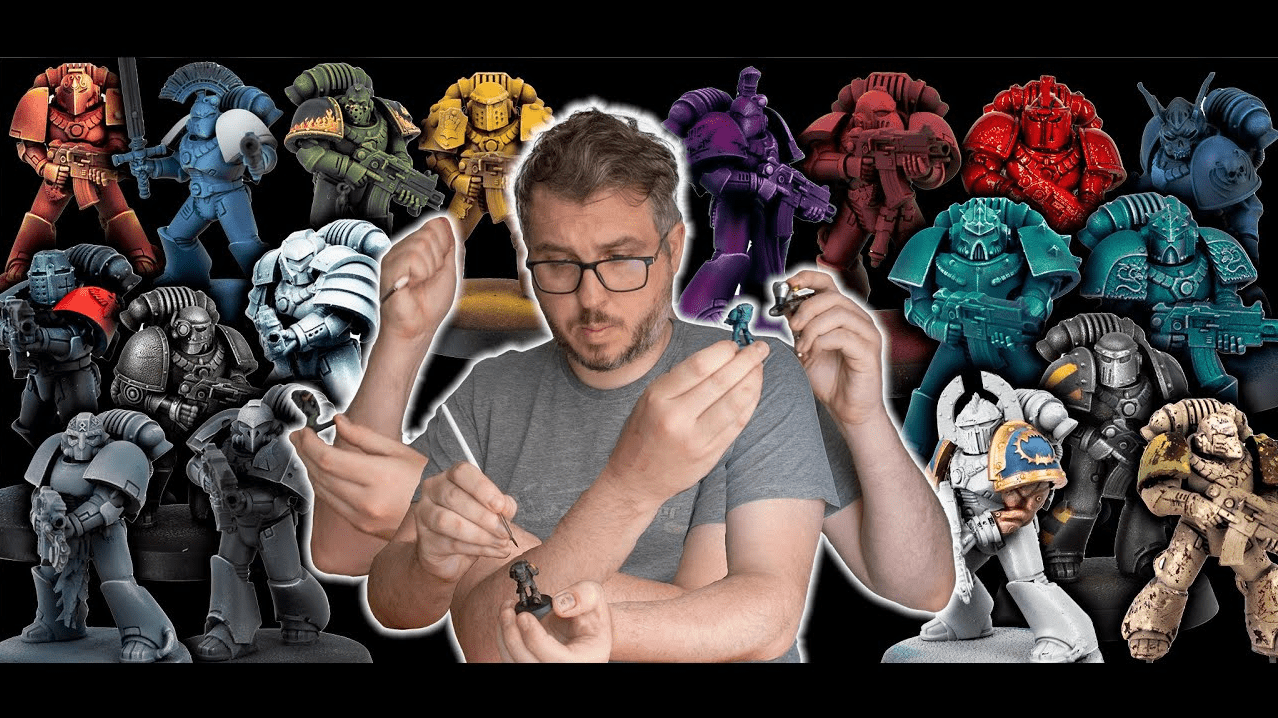
 Paint scheme compendium for Horus Heresy: 18 Legions, core colors plus notes on common variations and markings.
Picking a Horus Heresy army means committing to one Legion scheme across a whole pile of Marines, and Fauxhammer painted up every single one so you don’t have to guess. We’ve pulled the core armor recipe for each Legion into this piece, so you can skim straight to yours, grab the paints, and start batch painting instead of scrubbing back and forth through the video.
This time around, he paints up all the legions in this video! Obviously, it’s quite a long video since it covers all the legions; we’ll bullet-point each legion, but be sure to watch the video for a detailed breakdown! Also note that this is for getting the armor painted, not all the details.
Let’s get into it.
The full video runs long because it walks through all eighteen Legions back to back, so the quick way to use it is to find your Legion below, then jump to that spot in the video for the wet-blend and edge-highlight work we’re not writing out here. Pause it at your Legion, match the paints to the list, and paint along at your own speed.
How to Paint All 18 Horus Heresy Legions: Fauxhammer
Updated on July 31, 2026, by Rob Baer with expanded per-Legion painting notes and a trimmed-down closing.
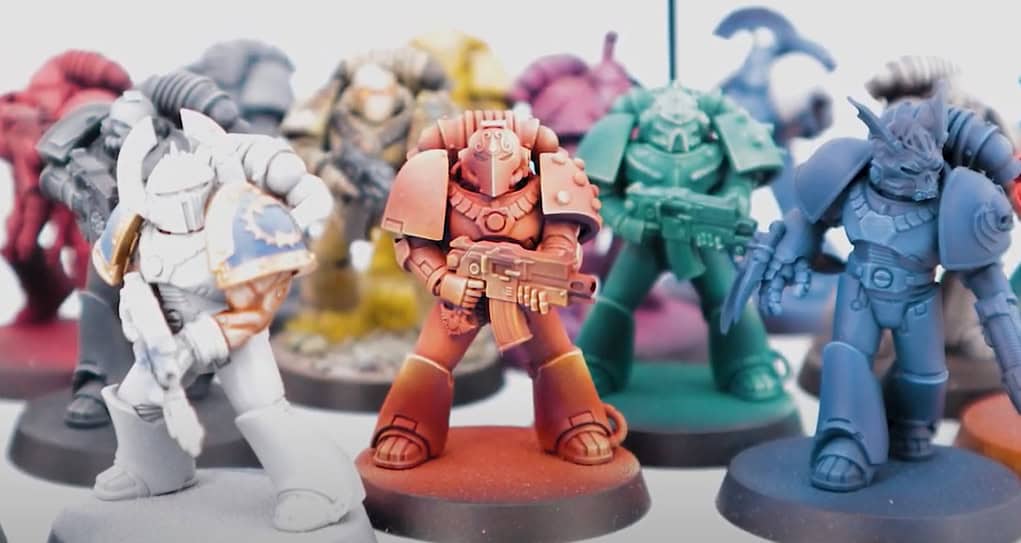
Every Legion below gets its core armor palette, base coat through highlight, so you can prime a batch and run a whole squad at once. Match your primer to the scheme, black for the dark Legions and white or grey where the armor runs bright, and you’ll save the most time up front.
Dark Angels:
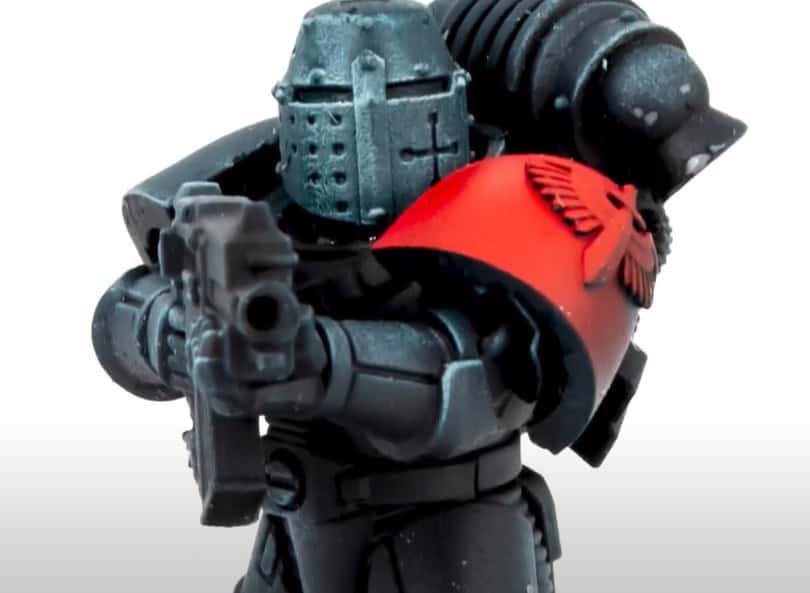
Keep your Dark Angels almost black and let the green only whisper in the recesses where the light doesn’t reach. Save the reds for one spot of color, like the robe or a wing icon, so it actually pops against all that dark plate.
Emperors Children:

Lay the white ink down smooth as your base before the purple Contrast goes on, or it’ll pool and blotch on you. A satin or gloss finish sells that pre-Heresy sheen better than a flat matte.
Iron Warriors:
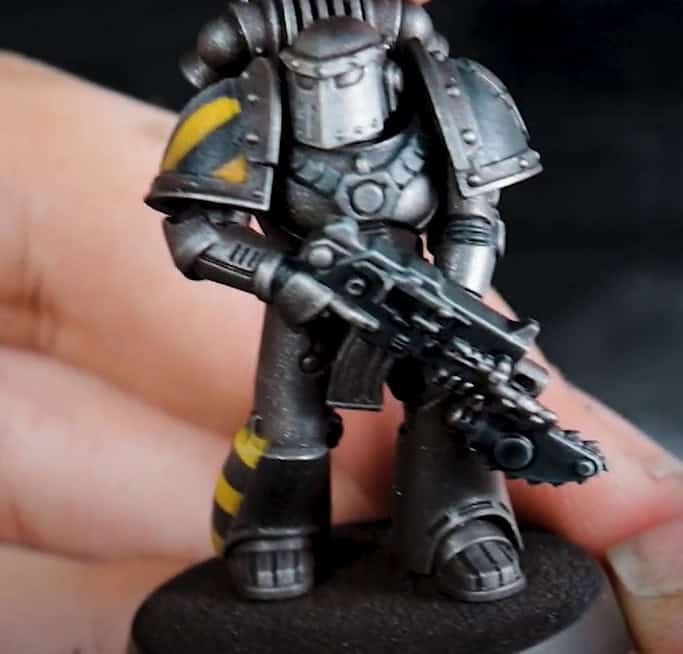
Base the metal, then knock it back with a dark wash so it looks like worn iron instead of shiny chrome. Keep the hazard stripes to a couple of trim panels rather than every edge, since a little goes a long way.
White Scars:

White armor is all about thin coats built up off the grey, so resist the urge to glob it on or it’ll go chalky fast. Keep the shadows cool with the Dark Reaper and save the sharpest white for the top edges.
Space Wolves:
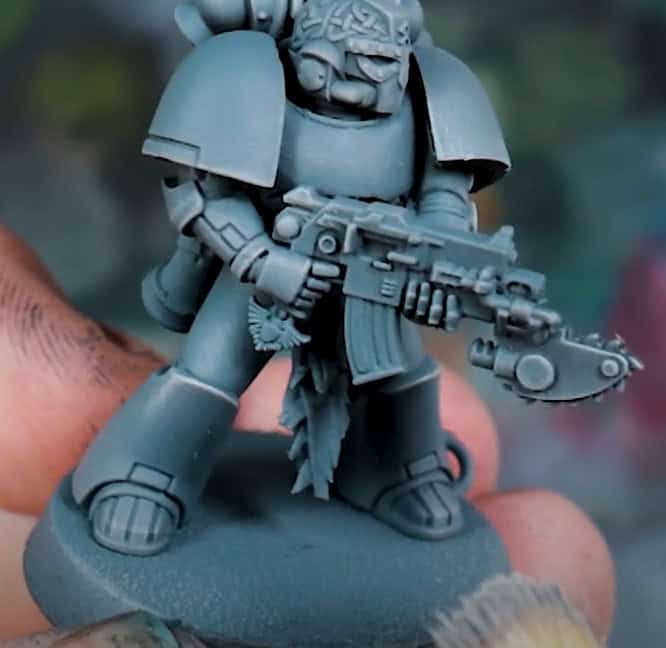
This is the blue-grey wolf, not the green-grey one, so lean the midtones out to a cool color. Reserve the brighter Dawnstone for the top edges so it looks like a highlight instead of flooding the whole panel.
Imperial Fists:
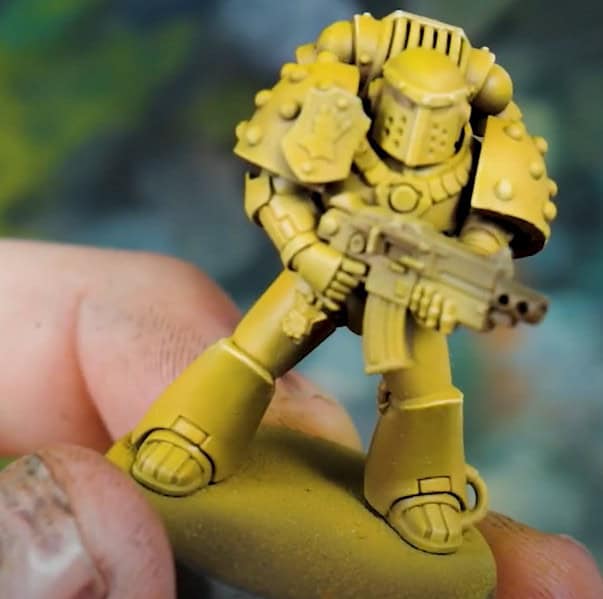
That brown undercoat is what keeps the yellow from going chalky, so let it do the shadow work down in the recesses. Climb up through Averland into Yriel Yellow in thin coats, and the armor stays rich instead of washed out.
Night Lords:
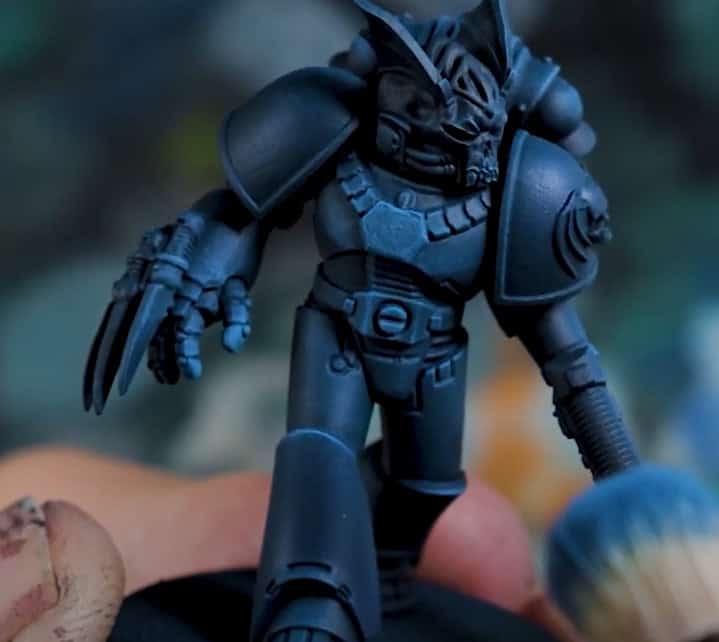
Keep the blue highlights sharp where the light would catch the plate. The lightning and iconography aren’t covered here, but plan where they’ll sit before you seal anything, since they’re a pain to add over a finished model.
Blood Angels:
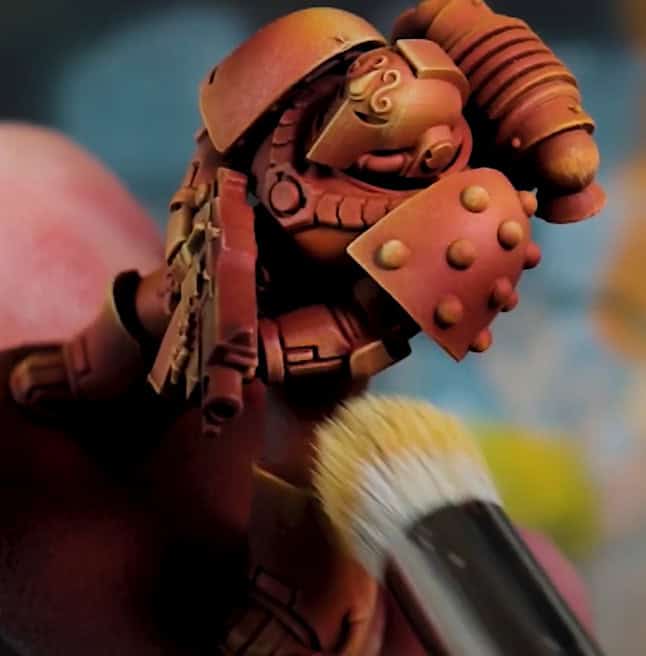
- Black Spray
- Naggarath Night
- Mephiston Red
- Wild Rider Red
- Troll Slayer Orange
- Yriel Yellow
- Screaming skull
This is the warm, bright Blood Angels red, not a deep crimson, so push Wild Rider and a touch of orange out toward the edges. If you’re trimming the list down, the real essentials are the Naggaroth base, Mephiston, a Wild Rider highlight, and an orange edge.
Iron Hands:

With this many metallics you have to separate the panels from the trim, so drop a dark shade into the recesses to break it up. Keep Runefang Steel to the sharpest edges only, or the whole model blurs into one grey lump.
World Eaters:

The greys and whites carry the armor itself, the blues go on the pauldrons and plates, and the gold and flesh tones are there for trim and markings. Keeping those roles straight is what stops the scheme looking muddy.
Ultramarines:
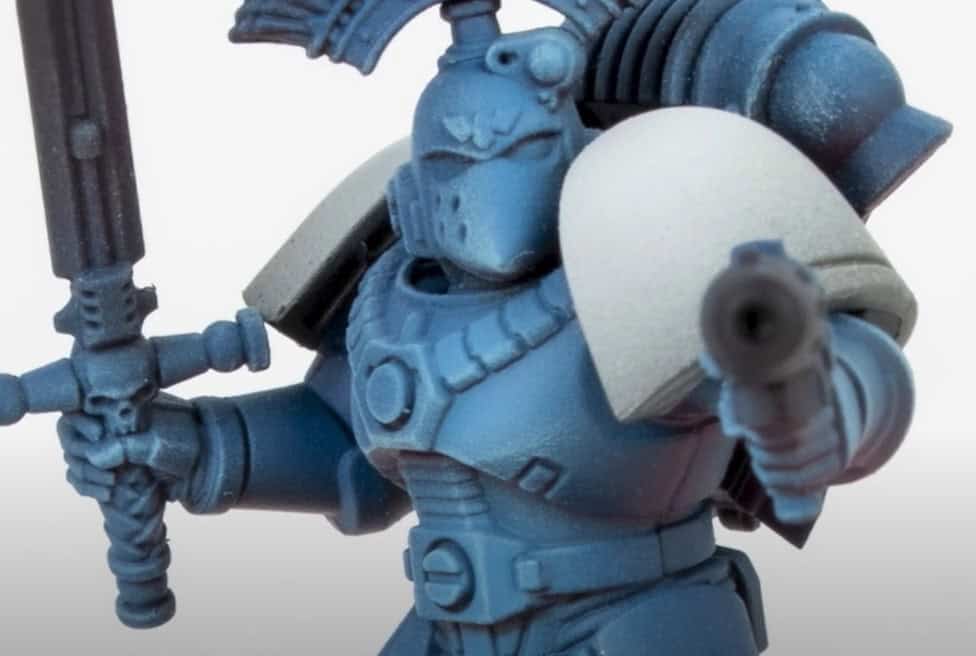
The blues do all the heavy lifting on the armor, while the red is trim and the whites are for markings and shoulder detail. Keep those accents tight rather than flooding the model, and the blue stays the star.
Death Guard:
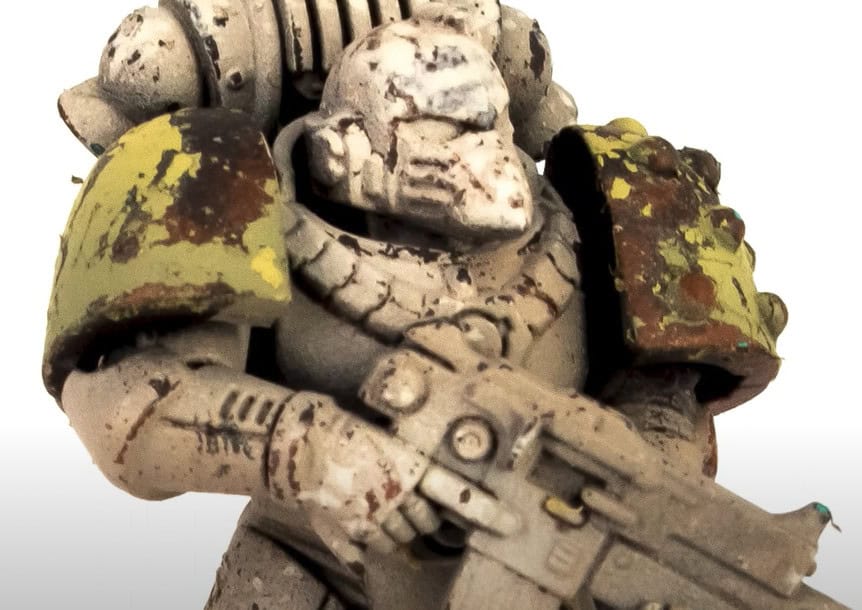
The Worn Effect goes on between your metal and the top color, so you can chip the paint back afterward for that rotted, flaking plate. Skip it and you lose most of what makes Death Guard armor look diseased in the first place.
Thousand Sons:
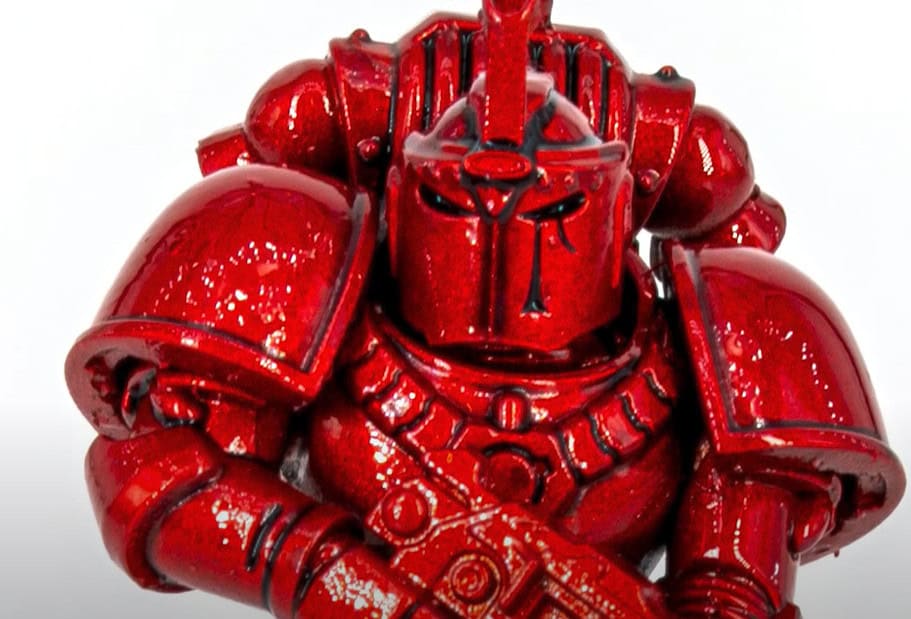
Save the Tamiya panel lining for last; once the armor’s sealed, then run it into the recesses so it flows along the lines and wipes right off the raised plates. Rushing it before the seal coat is how you end up with stained gold.
Sons of Horus:

Keep the teal consistent by highlighting up through Kabalite into Sybarite Green the exact same way on every model, or the squad ends up a patchwork. Tuck the bone and ivory onto the trim so it looks like an accent, not a second armor color.
Word Bearers:

You want deep, dark crimson here rather than a bright red, so keep Wazdakka to the edges only. The script and trim are usually picked out in bone or gold, which is where a lot of the Legion’s character lives.
Salamanders:
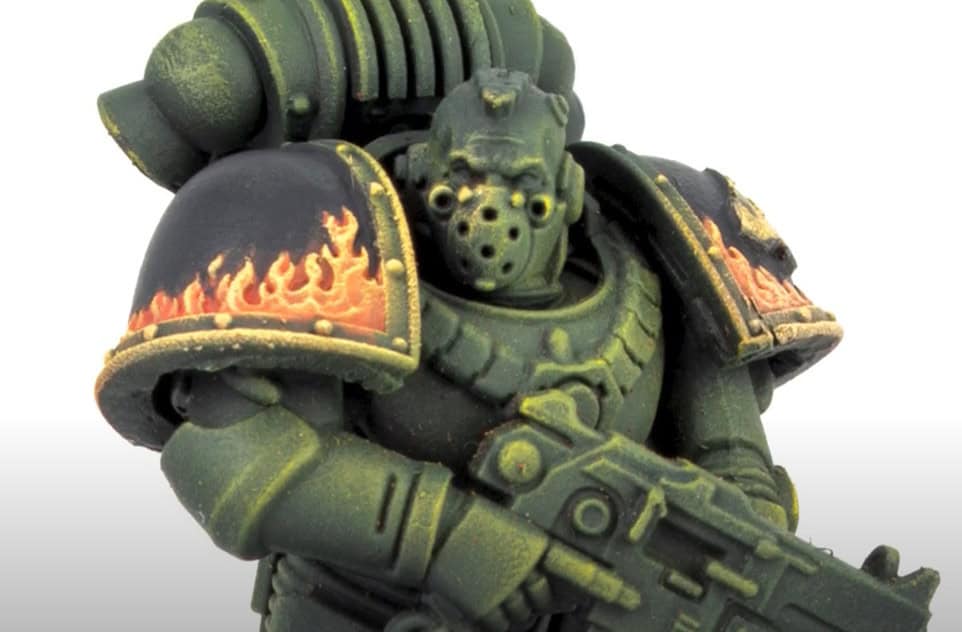
- Nocturne Green
- Vulkan Green
- Loren Forrest
- Elysian Green
- Flash Gitz Yellow
- AK Scarlett
- Medium Orange
- Radiant yellow
- Ice Yellow
The real core here is the greens, Nocturne through Vulkan and Elysian, and that is most of what you need for the armor. The long run of yellows and oranges is for blending flame effects, so treat those as optional unless you’re going for glowing fire.
Raven Guard:
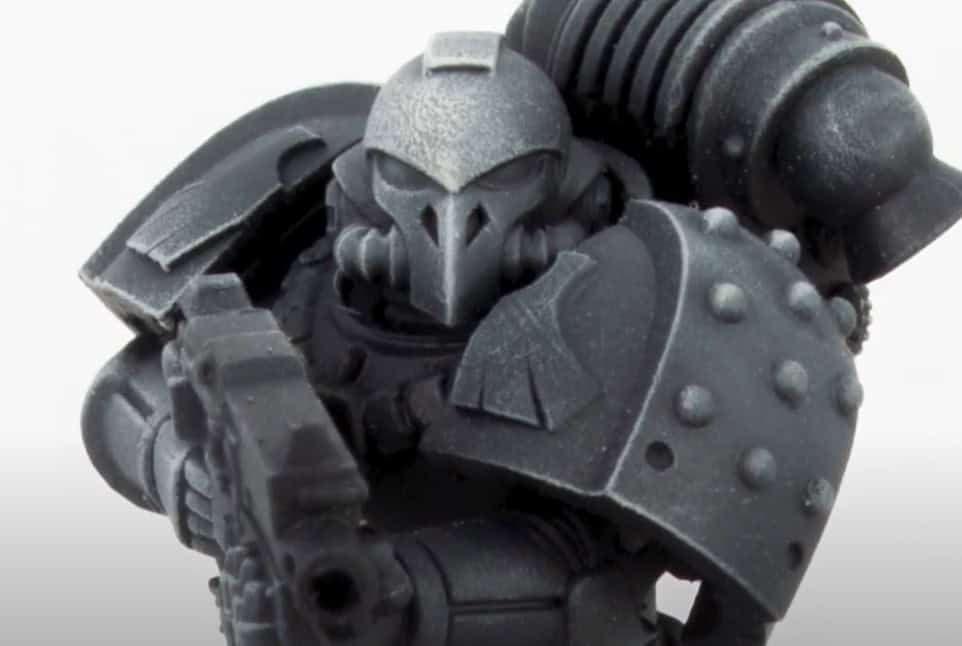
Black armor lives or dies on the edge highlights, so keep the base genuinely dark and only let the greys catch the hardest top edges. Too much Dawnstone or Grey Seer and it stops looking black altogether.
Alpha Legion:

The trick to the metallic turquoise is a bright chrome or silver base first, then Terradon Turquoise and Talassar Blue thinned right down over the top so the metal glows through the color. The silver comes back at the end as your edge highlight to snap the shine back in.
There you have it, all the legions (well, other than the redacted ones…)
Source: Fauxhammer’s Website and YouTube
This post contains affiliate links, as an Amazon Associate Spikey Bits earns from qualifying purchases.