 JonBius has been putting out some really great beginner-friendly Gundam videos recently, and today he’s tackling those pesky seam lines.
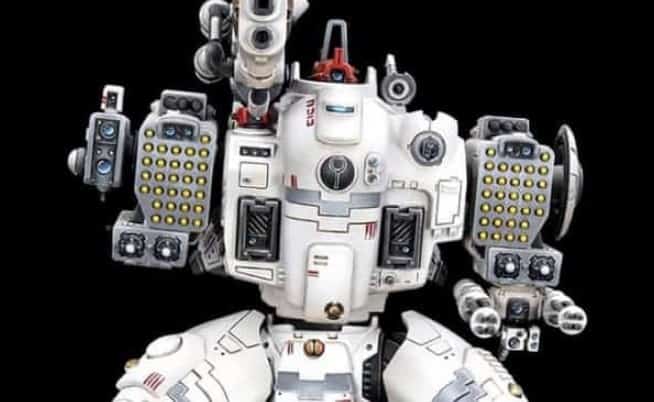
JonBius puts out some pretty good modeling content! He recently did an entire series on building and getting the HGUC RX-78-2 (which is a great starter kit) Gunpla to the best he can get it. As someone who builds Gunpla occasionally, I could really learn some stuff from him, even though this is pretty focussed on new builders.
HGUC RX-78-2 Gundam Revive Model Kit, 1/144 Scale

- Utilizing the Kusabi (wedge) gate system, it allows removal of the runner without a noticeable nub mark
- Includes beam rifle, shield, beam sabers, bazooka
- Runner x5, sticker, Instructions
Fixing Gundam Models Seam Lines For Beginners
This tutorial is mostly about assembling Gundam models, but there is a really great tip inside this video on how to fix those pesky seams that Gunpla love to have.
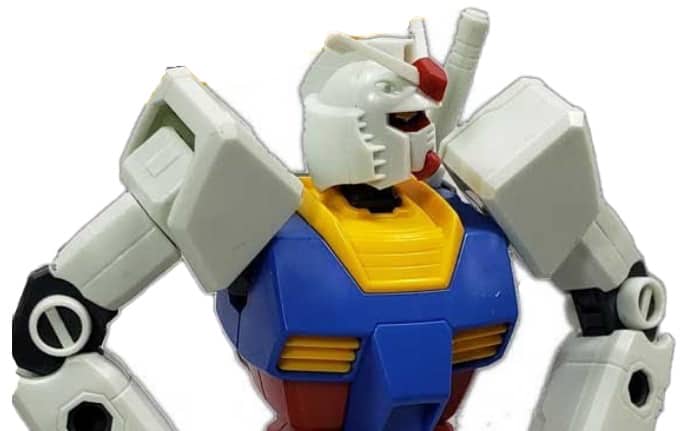
 You may have noticed that some of the seams fall right on the edge of armor panels, so they look quite natural. However, like the example above, sometimes they don’t line up and you’ll get a seam straight through a spot it shouldn’t be.
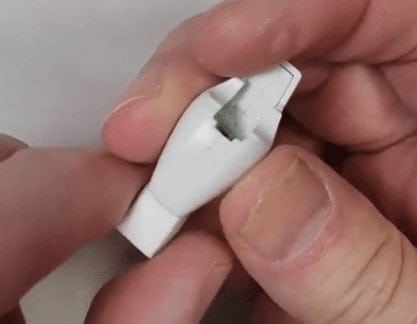
The first and easiest way is to grab either a scribing tool or Xacto knife and lightly follow the seam to deepen and widen it ever so slightly so that it matches the “natural” panel seams.
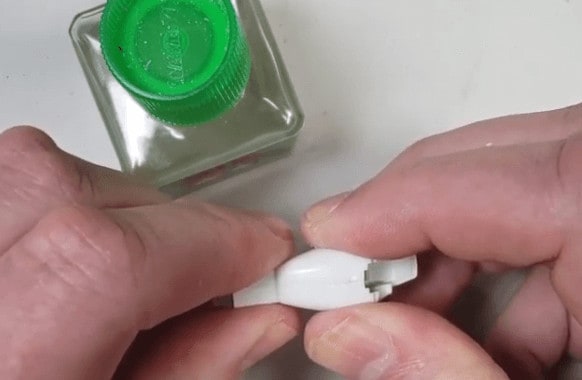 The other option uses Tamiya Extra Thin Cement, although you can use any melding glue, as these will melt the plastic to bind them together. Just apply the cement to the seam and squeeze the piece together for a little bit then allow it to sit a fully reharden. After then you can take your sanding tools and sand down the excess material.
There’s also another method he doesn’t cover that involves clipping off small pieces of the runners into a small pot then adding cement to melt it all together and forming a sort of “color-coated cement.” This method requires a lot more cement and extra pots, so it may be too much work. It also takes extra time to dry but is more guaranteed to leave no seams at all.
Whichever method you choose, you are well on your way to fixing any stubborn seams!
Get Your HGUC Gundam Here
Watch the video below for tips and even some extra steps that’ll make your model look like a pro did it! Be sure to subscribe to his channel for more hobby tutorials on everything from Airplanes to Warhammer!
This post contains affiliate links, as an Amazon Associate Spikey Bits earns from qualifying purchases.