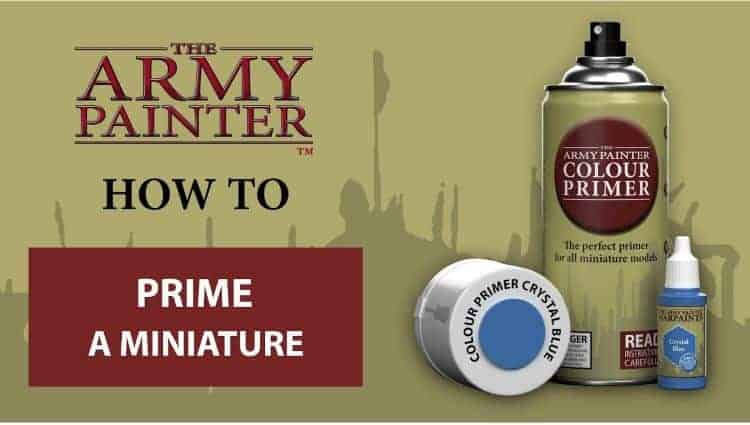
 If you haven’t been painting for a while, sometimes it can be hard to know how to actually prime a miniature, check out the Army Painter’s tips!
The Army Painter is known for having some of the best and most affordable paints on the market! But they also have an extensive collection of tutorials and paint guides. Their tutorials are perfect for learning how to get your minis on the table. If you want to see everything The Army Painter has going on, check it out here.
Today they are walking us through something that’s simple, but most of us take it for granted. Priming is super important and can really change up the look of your mini. This is geared towards newer people but has some good tips for veterans as well.
Just as a note, all the paints used in this video will be from them, which you can pick up all the colors here. Let’s see how to do it!
How to Prime a Miniature: Army Painter Tutorial
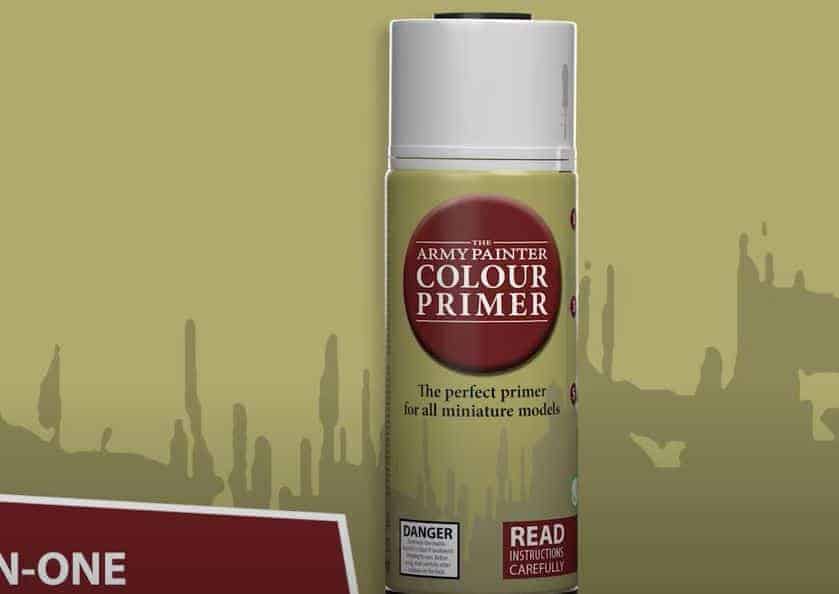 One thing that’s really awesome about Army Painter sprays is they are both a primer and base coat in one for metal, plastic, or resin. This will really save you time in the long run from having to paint second base coats.
 They also have full-color match sprays, meaning they will match perfectly with their Warpaint and Air line.
Priming Basics
 First, give the can a good shake for at least one minute. Then, they recommend using a flat head screwdriver to open the can, this stops you from damaging the nozzle when you rip it open with your hands.
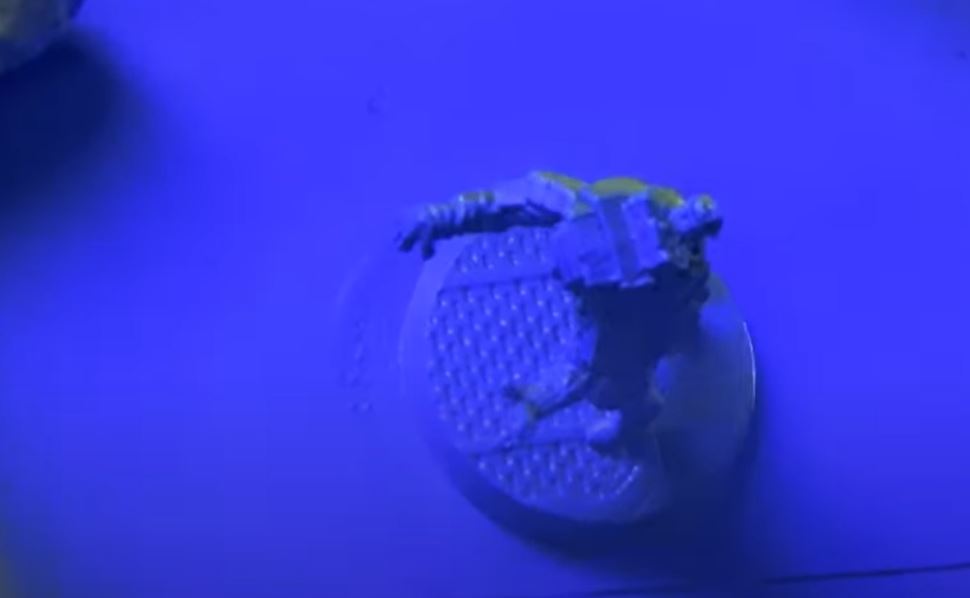
Next, attach your mini to a piece of cardboard with some blue-tac, so you can move it around and spray all sides. just like the picture above. Either spray outside or in a well-ventilated area, you don’t want to breathe too much in.
When spraying your models, spray them about 5″ away from the can, and be sure to do thin coats. Even if you need more than one coat, always make them smooth.
Let the Primer do the Work
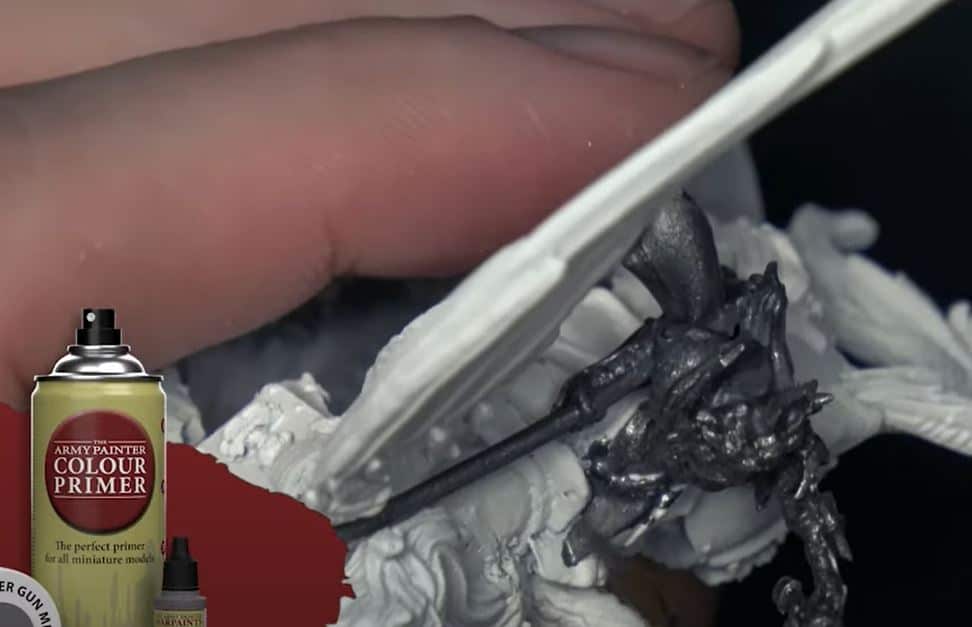 Choose wisely here, because you are basically doing a base coat. So if you are painting Orks, why not use green to start? You’ve saved yourself loads of time. In the example above, they’ve primed the Pegasus white and the rider Boltgun Metal. Choosing your primer as a basecoat will save you tons of time and hassle.
There you have it! Some great tips on getting your models ready for paint!
Be sure to follow The Army Painter on Youtube for more great content like this.