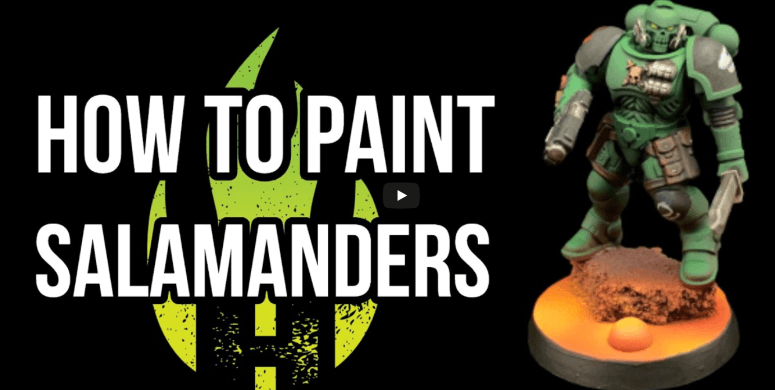
 Salamanders are one of my favorite Space Marines Chapters, and when it’s this easy to make them look so good, what’s not to love?! Let’s learn how to paint Salamanders!
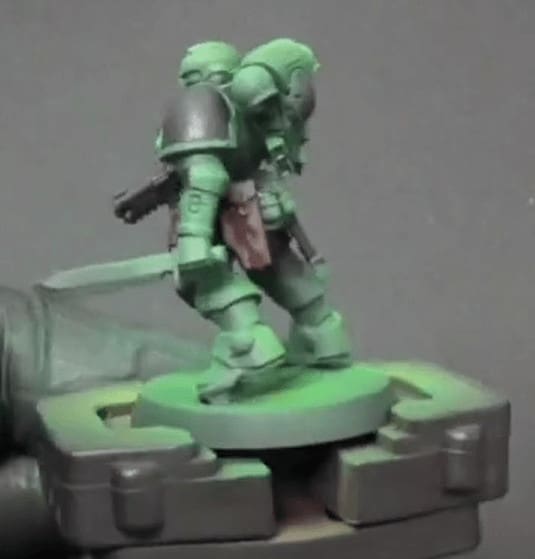
Welcome to the first video in the Painting Space Marines series, where we show you how to paint a Space Marine from every chapter ( well… we’ll get there )! There is no better model to kickstart this series than a striking Salamander Marine on a lava base!
https://www.youtube.com/watch?v=vIgeB_upkhY&list=PLYUIDy6y_Wic84SoO9zQx4Gl5TlGyjeNB&ab_channel=HellfireHobbies
As a note, the lava bases will have their own tutorials eventually. In the meantime, here’s how to paint Salamanders.
How to Paint Salamanders: Hellfire Hobbies Tutorial
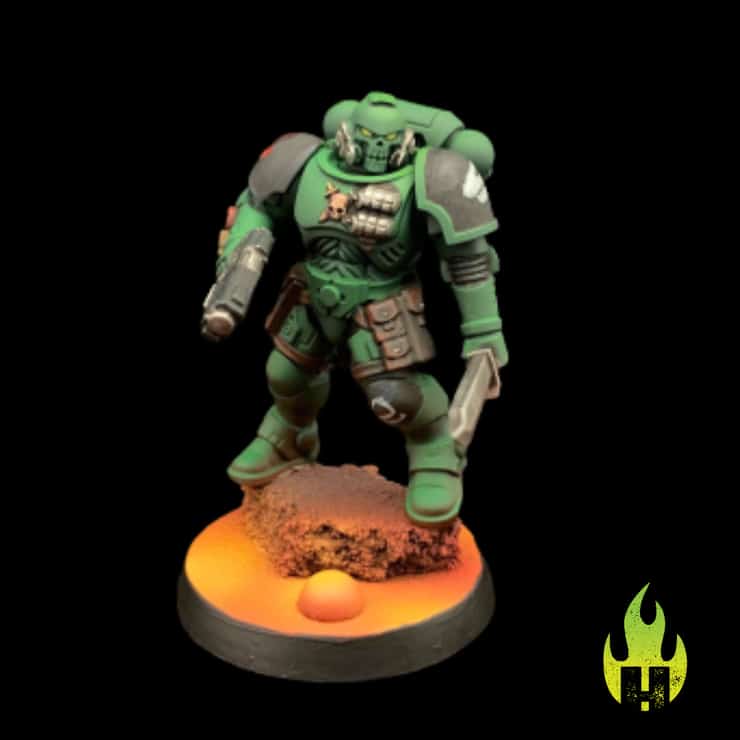
This model, like all marines painted for this series, was painted live and took around 2 hours, start to finish, including some breaks to chat and/or spill shades everywhere. This is done step by step and the techniques in the video are perfect for painting a whole army to a standard that will make them stand out at any tournament or gaming club.
Green
 There are many ways to paint the Salamanders’ Green armor, but in my opinion, bright green is the way to go. Start with Caliban Green or Angel Green. You can use a shaker can for this or an airbrush. Just get a smooth and opaque base coat.
Next, using an airbrush, we apply Warpstone Glow over our basecoat, making sure to leave plenty of the dark green showing through. Especially on the lower parts of the model.
Then, we spray some more highlights using Moot Green. Don’t go overboard with this, you want a few highlights, but the model should remain mostly Warpstone Glow looking.
This is enough airbrush for now. We can also paint a few highlights with Moot Green on the armor to make the edges look crisp. If you need some more tips, go check out what else is going on!
Black
 There are a few areas we want black on the model, and we’ll paint them all the same way. This saves a lot of time and adds consistency throughout the army.
Pick any black you want and basecoat the shoulder pads, gun, joints, and cables.
To highlight our black, we will be using Stegadon Scale Green. The green hue of this dark paint ties in really well with the green of the armor. You don’t need to make the highlights super smooth, as we will wash the black surfaces with Nuln Oil next.
The wash tones down the Stegadon Scale Green quite a lot, and ensure these parts look black and not off gray.
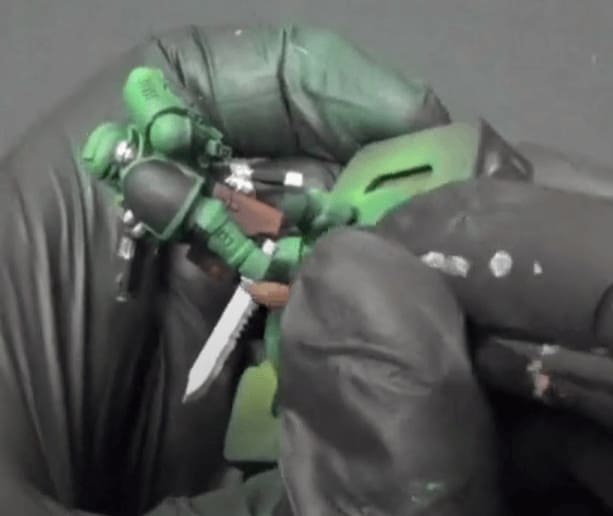
Brown
 Much like the black, every belt, pouch, and strap will be painted using the same brown. Over a base coat of Rhinox Hide, highlight using Doom Bull Brown. Doombull is a dark and reddish tone that won’t make these details stand out too much.
Details like this should be painted and given care, but should not contrast so much as to become the focus of the model.
Gold & Silver
 Metallics are done in a fairly simple way that has a great finished look. Highlight both the gold and the silver with Shining Silver. Gold is shaded with Agrax Earthshade and silver with Nuln Oil.
Flames
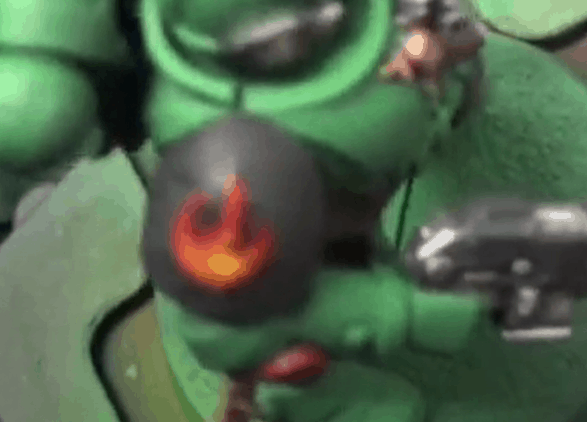 Flames are an important part of Salamanders, and lucky for us, they are easy to freehand. I’m a firm believer that less is more when it comes to flames, but you do you.
The trick with any freehand is picking a starting color that is opaque and won’t require more than one coat to cover, like Mephiston Red.
Highlighting flames is basically a reverse highlight. The lighter colors go towards the inside of the flame, and the outer parts of the flames stay red. You can either blend in orange and yellow, or simply paint lower and smaller flamers the lighter you go.
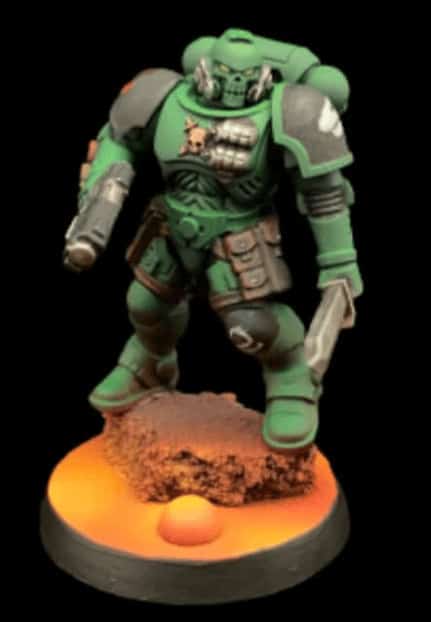
And there you have it, the perfect way to start your new Salamander’s army!
If you are curious about what he has to say, and for more details on the techniques watch the full video above! Also, be sure to Subscribe to Hellfire Hobbies if you enjoy his content!
Go Subscribe to Hellfire Hobbies Here!
This post contains affiliate links, as an Amazon Associate Spikey Bits earns from qualifying purchases.