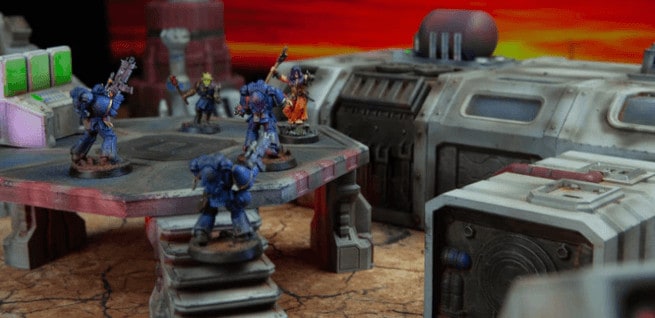
Learn how to get your Black Templars Bladeguard battle-ready with this speed painting tutorial from Wyatt at Jack of Clubs Painting.
Jack of Clubs Painting is a regular here and today he’s giving us some advice on quickly getting your own Black Templar army ready to throw-down.
Follow along with the video for a detailed tutorial to get these minis done fast!
Black Templars Bladeguard Painting Tutorial
 For the initial basecoat use a black primer. Then, to give the model some depth, mix Monument Blue Black and Dark Natural Grey in a 50/50 mix. Spray the whole model to give it a light highlight everywhere. This will give the model far more depth than just a pure black primer. Then mix Monument Light Neutral Grey into the remaining airbrush mix. Just highlight where you feel appropriate here, nothing too specific. Just be sure to not use too much and take away from the feel of black Armor.
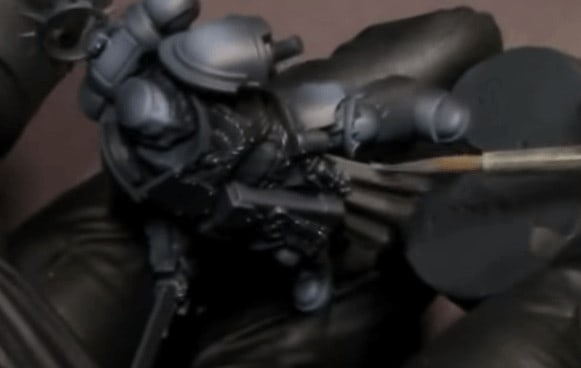 To finish the basing, take Dark Warm Grey and highlight all the areas that we know are going to be lighter. This helps the transition from black to lighter colors. This takes some time but be patient. Next, he blocks out the shoulder pads with the Light Neutral Grey from before. Let it dry completely and then do a second coat to really cover the area.
Brush Base Coats
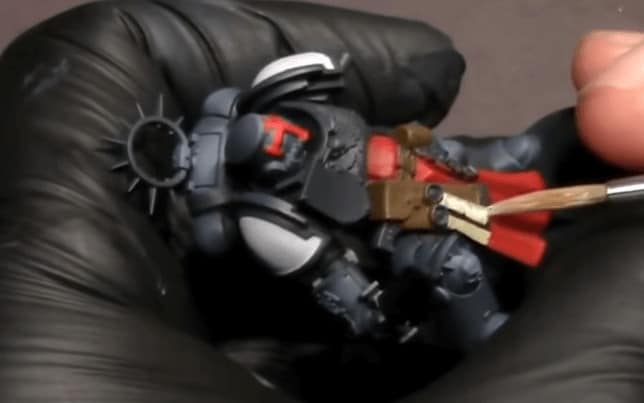 Next, we move on to the red and other highlights. Start with Monument Burnt Red and cover any area that is going to be red. Then do a quick highlight of all the red areas with a very watery Monument Bold Pyrrole Red. The reason for the very watery paint is to give the cloth and highlight a very smooth look. Then use Dark Golden Brown to hit all the holsters and pouches. After that hit all the seals with a bone color or ivory paint. These are just base coats with nothing fancy going on.
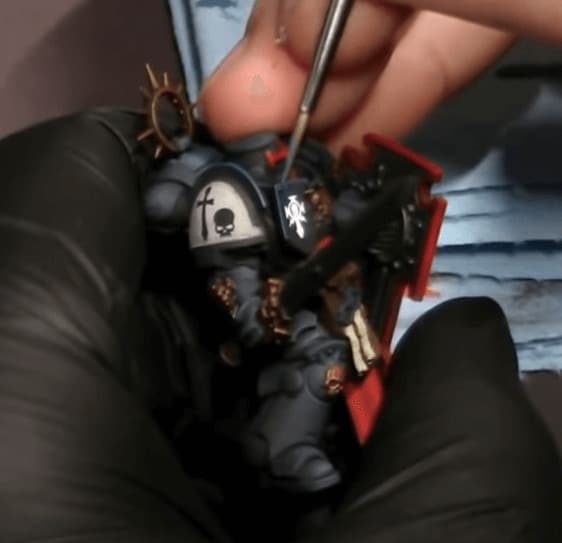
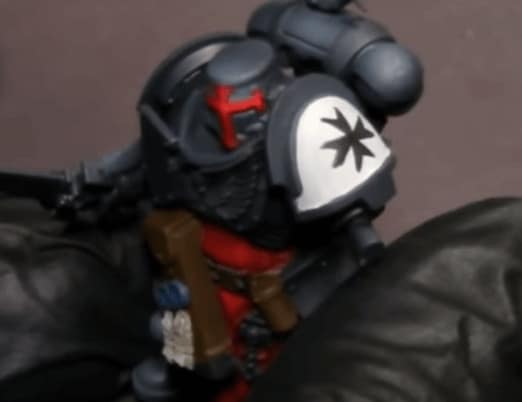 Next, he freehands the Templar logo on the shoulder pad with black. This looks hard but is really easy. He just makes three straight lines for each part of the cross, while looking at something for reference. Then when the outline looks right, he colors in the lines to complete the cross. For the other shoulder pad, he makes a small sword, but you can do anything you want here or just leave it white.
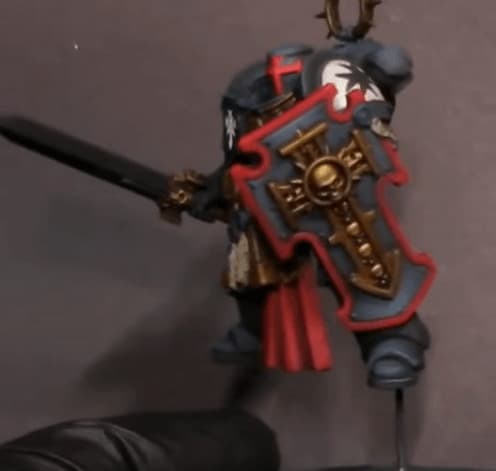
 Then, he uses Victor Gold for all the armor seals, shield parts, and the weapon hilt. Make sure you get very even and full coverage on this step. If the paint starts to get clumpy, rinse it off before moving forward. Gold can get very odd if you don’t keep your brush wet. After that has dried for half an hour minimum, he puts the Mr. Weathering Color multi black oil wash over the entire model, keeping the brush moving fast and not letting paint build up on anyone part of the model.
Dipping the brush more and more into the solvent it comes with as he goes on. This helps blend the oil and keeps everything from pooling in one spot.
Detail Work
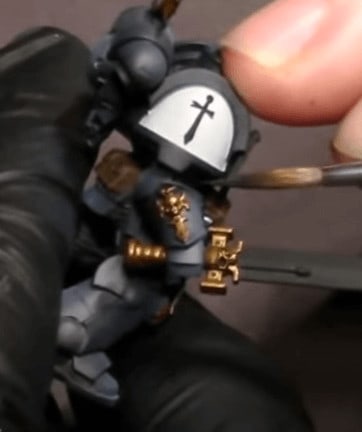
 Be careful before moving on because that step can take a while to dry. Before you move on to highlighting next is a quick matt varnish over the entire model. Finally, we move onto highlights. Take the Light Natural Grey and highlight everywhere that makes sense. Like armor edges, Helmet edges, tops of the knee pads, etc…
Try to keep these lines as crisp as possible but subtle because we still want the armor to look black, not grey. But we do need the highlights as they really make marine armor pop. Last things last, do a pseudo dry brush over the entire model with very small amounts of the grey. This gives it depth. but don’t put on so much that the armor looks grey and not black.
 With that, the model is looking battle-ready and you can feast on your ten extra VP’s! If you want to learn more from Wyatt’s insight, watch the full video! And if you love his work, check out another great set of painting tips here.
Follow along with the latest from Jack of Clubs on YouTube or LIVE on Twitch four nights a week!
This post contains affiliate links, as an Amazon Associate Spikey Bits earns from qualifying purchases.