This beginner’s guide to painting glowing effects is a perfect fit for everything from weapons to Xenos engines. Take a look at the easy process here!
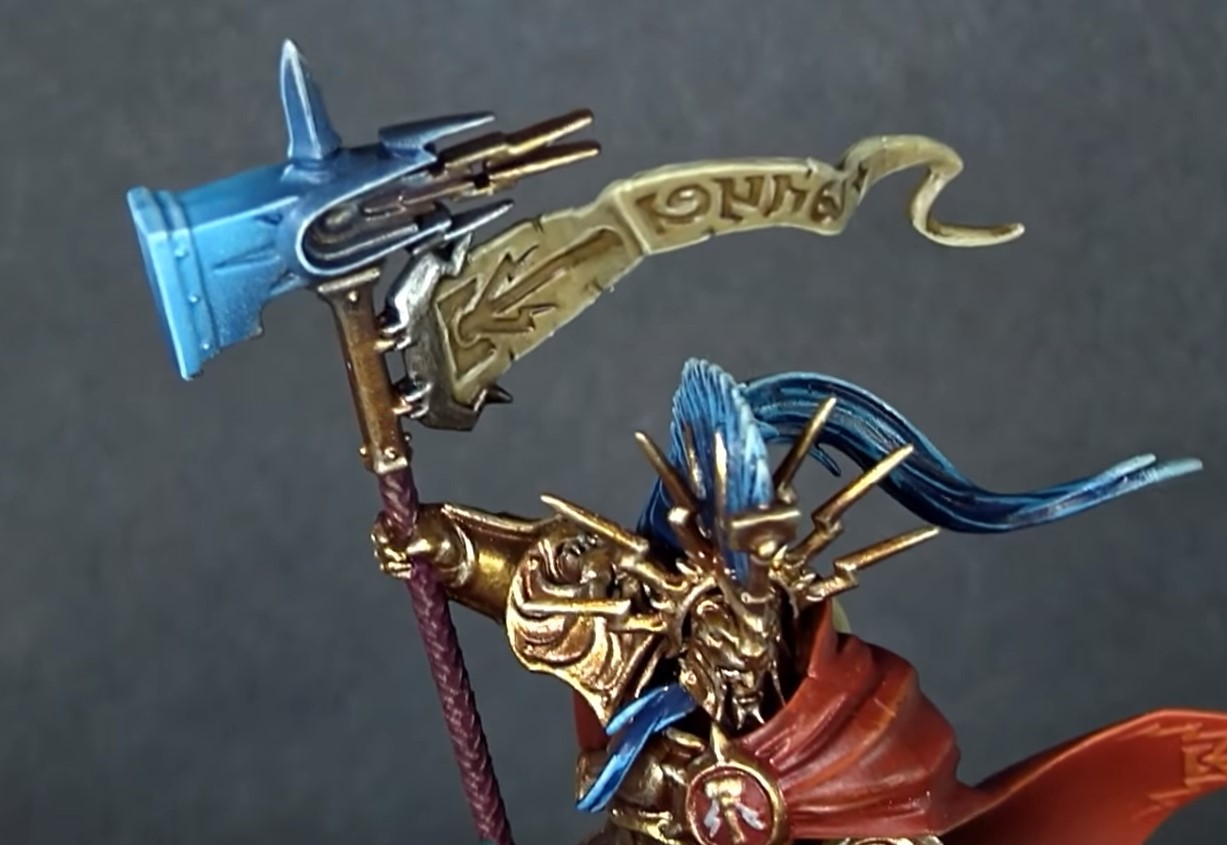
There are five easy steps for getting really easy blue glow effects on your models, which is perfect for engines and weapons. Take a look at these five steps to adding that final touch to any miniature to make them even better!
Step 1 – Paint Selection
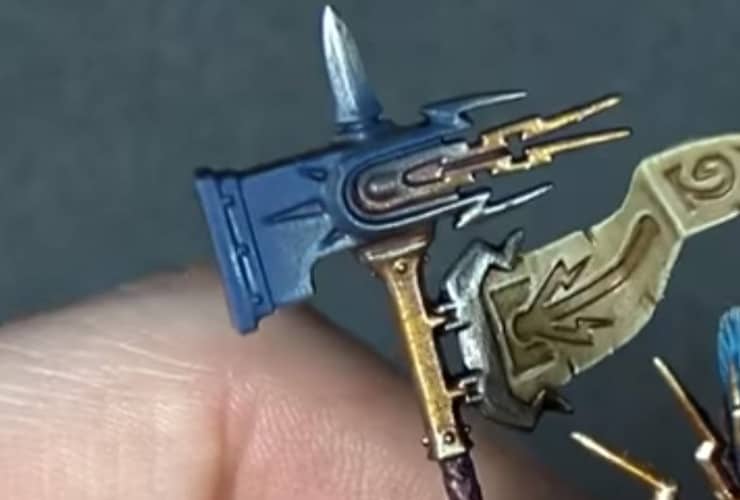
The first step to getting that blue glow is selecting the right paint. In this case, Games Workshop’s Kantor Blue air paint will be used. The air paint because the large surface will be easier to cover with the airbrush, however you can brush the paint on as well then fade out to the edge. To apply, angle down along the edge, covering the base layer on the surface in a fade, leaving some of the silver visible.
Step 2 – Starting the Fade
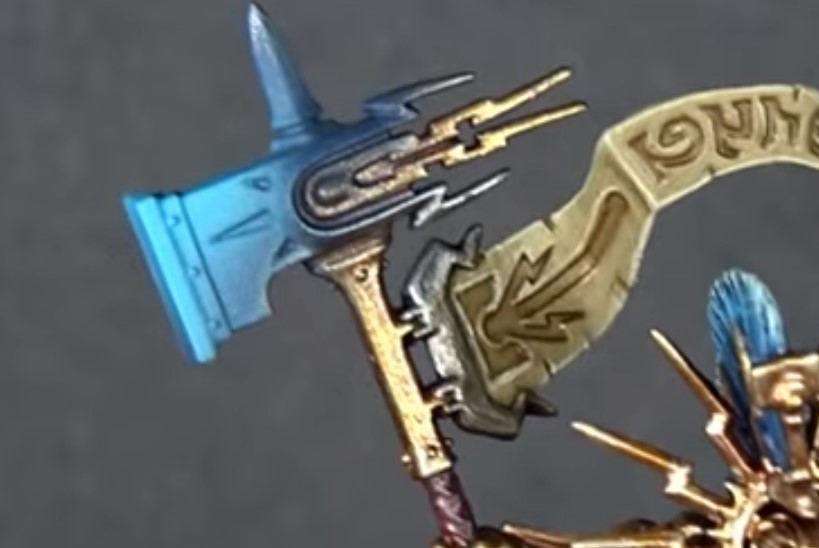
Lothern Blue from Games Workshop is put into the airbrush to get a middle blue to the fade. You can mix your base and fade together if you need a middle color between them. This is really useful when using a paintbrush to apply the fade, or if working with a larger surface area. With this second fade, start at the top and pull back to create that glowing fade effect. Again, you don’t want to pull this colour onto the gold too much. A little is fine to give it a glow, but too much would require touching up the gold and fading in a blue glow. Keep the brightest part of the paint at the spot on the weapon you want the glow to emanate from.
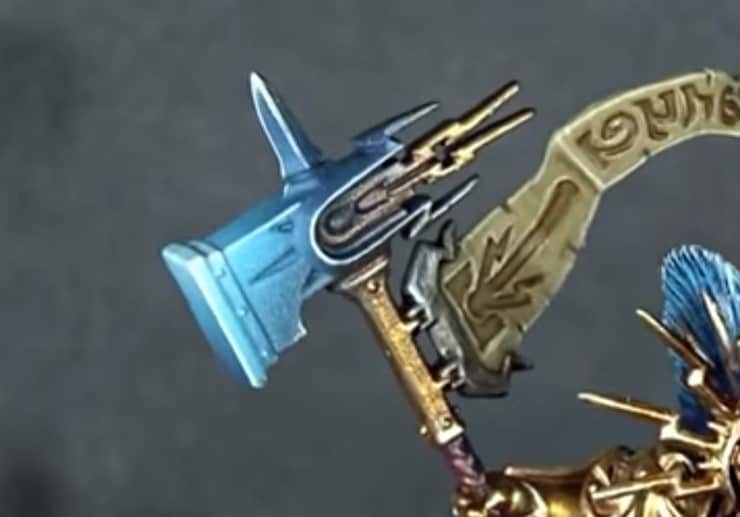
Step 3 – Brighten

Ulthuan Grey from Games Workshop is next, with a drop of Lothern Blue mixed in. Straight Ulthuan Grey will be too startling at this point, so that pastel-y blue is useful to blend into the brightest glow. Hitting the edges with this mix leads up to the brightest glow. Fade this towards the front of the hammer, pulling back slightly along the hammer to create that glow.
Step 4 – Hyper Highlighting
Paintbrush time! Ulthuan Grey is used to add hyper highlights by applying at an angle on the edges. The solid line edging brightens everything and creates that super high point the glow would originate from. Apply the edge highlight to all major edges. After finishing the edge highlights, let it dry completely then apply some matte coat to seal in the paint.
Step 5 – Glazing Brings You Together
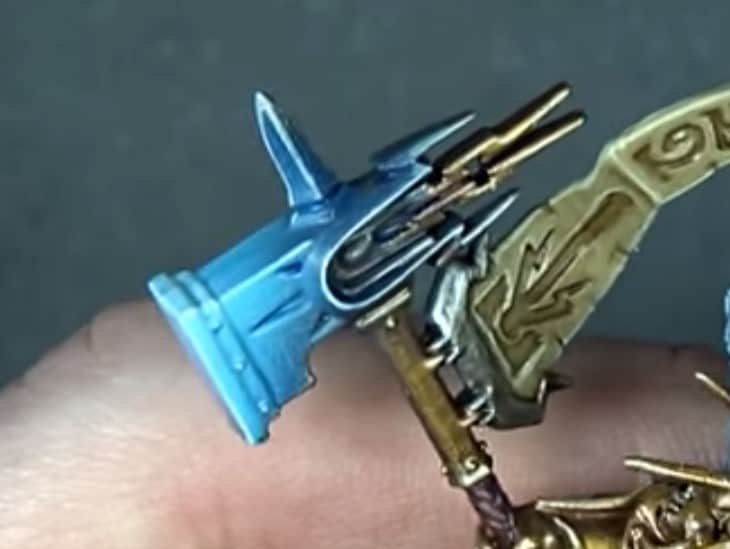
After the paint is dry and the model is coated in matte varnish, time to glaze the entire thing and bring it all together. Guilliman Blue glaze from Games Workshop is mixed with Future Floor Wax and water to thin out the glaze even more, so it is nice and translucent. The thinned glaze is then brushed over the blues, giving definition to the recesses and brings things back down in places needed. This contrast helps the highlights pop even more and creates a more realistic look to that glow. Brush the glaze all over and don’t let it pool, especially over flat surfaces, or it will stain. This mixture will have a gloss to it, so another matte coat will be required.
Once dry, the shine has a great fade and contrast throughout. These steps use airbrush and paintbrush combined, but can be completed with solely a paintbrush. Take a look at the entire process yourself by pressing play on the video below!