Want a table’s worth of terrain, but a little short on cash with all the new releases? Don’t miss these tips on how to do both!
For this article, we’re covering two different kinds of terrain that you can use to cheaply cover a good chunk of your board. Previously, we’ve gone over easy to make ruins so, this time were going over walls that can be as big or as small as you want.
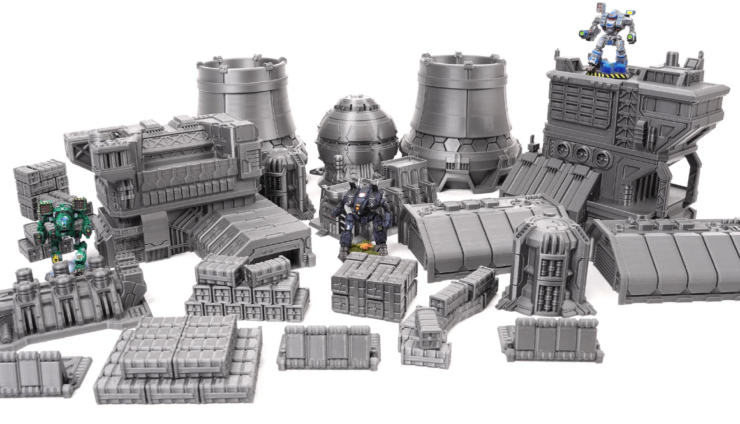
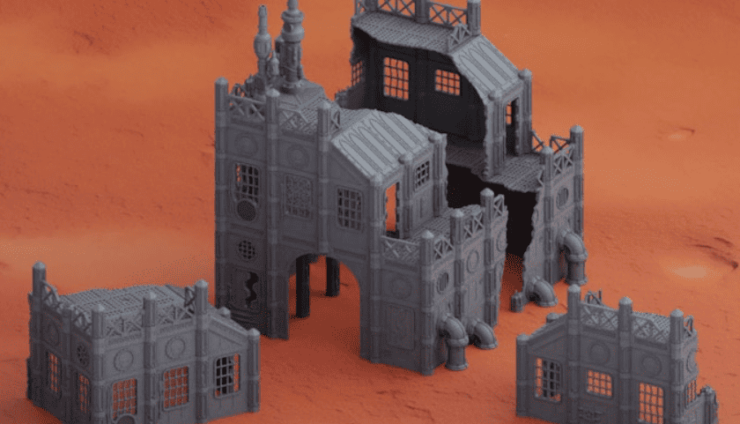
Then, we’ll look at 3-D printing and how you can take advantage of this technology.
Summer is the perfect time to buy cheap materials to make some easy scenery for your new gaming board!
DIY & How To Print Cheap 3D Game Table Terrain
For our cheap walls, the best way to find material is going to garage sales and specifically looking for the foam kids play mats that lock together. You can usually get a set of 4-6 for about dollar or less. Each one of these squares was enough for about 4 walls.


Start by cutting out rough block shapes (or the shape you desire) until you have a bin full. Seriously, just keep cutting until your hand hurts. Then take some Elmer’s Glue mixed about 2:1 with water and starting gluing your stones down however you want.
I tried to make it look like the walls have seen some damage over time. I opened up areas that you can see or run through. Once that’s done you’re ready to paint! As always with homemade terrain, I suggest using the cheaper acrylic paints you can find at a chain hobby store rather than the expensive stuff. Paint the stones whatever color you like.
For these, we wanted a red sandstone type of rock. We started with black paint, then hit it with some random bits of red and orange. This is all random, without rhyme or reason to where we put the color. After that, we dry brushed grey across all the stones to bring out edges.

Then we take a piece of hardboard and cut out a shape we want to use as a base, for our walls we just made them rectangles. When cutting this I usually use a hand saw which is a little bit of a struggle, but it’s easy to sand the sides smooth. You can use other types of materials for the base but I recommend staying away from cardboard as it tends to be too thin to hold the weight of scenery on top.
Next paint your base, we kept ours a brownish green to fit in with our gaming table mat. Using the water/glue mixture we glued the completed walls onto the bases and let that dry overnight. After that, we brought out some of our extra stones and flocks and glued them to the base of the wall.
Our main goal was to try and show they’d been there a while. By adding stones and grasses at the base we showed that they are well established. Those details also help hide any holes or imperfections we created when gluing it to the base.
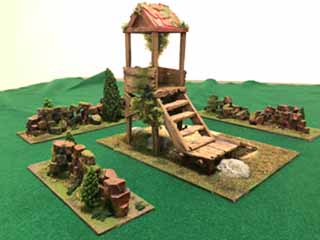
Finally the walls were finished by taking a final mixture of the flock and gluing it into nooks and crannies where the roots of the plants might have been able to take hold. For kicks and giggles we added a couple smaller shrubs and trees to make the pieces more interesting. You can see the finished pieces in the picture below surrounding a watch tower we made (more on that later).
Lets shift gears and talk 3-D printed terrain and how you might be able to get some without owning a 3-D printer yourself. Starting with finding the right files for a 3-D printer. These are called STL files and can be found on various free download sites. (We use this site alot.) If your looking for something designed just for miniatures there are all sorts of websites where you can buy the files for download.
Once you have your file downloaded you need to find somewhere to print it, which can get expensive. You’re paying for time, labor, and shipping for a company to do it for you. However, with a little digging, you can usually find one nearby at a public space (like a library) that you can rent.
Try public universities as well, they tend to have them for staff but because tax dollars go into funding the university the libraries are open to the public. I have used the one at MSU in the mitten state and this is an example of the page you will see.
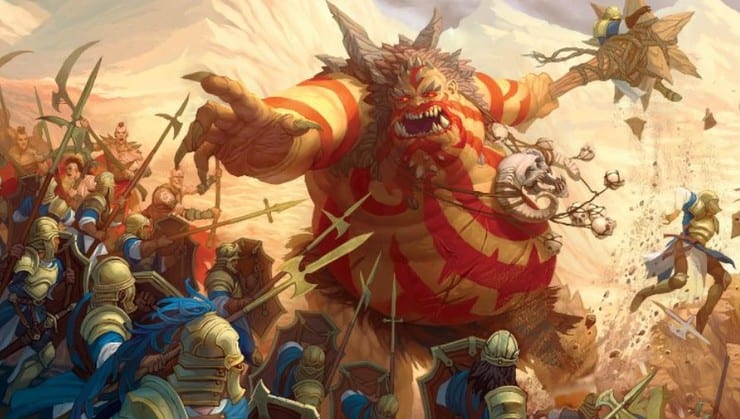
Note the different printers and cost, the greater the detail the more expensive they get. You’ll want to balance that with what you’re submitting. For example, below is a statue I printed using the Makerbot and PLA filament plastic just to see what it would look like.
The total cost on it was $6.80 which is pretty inexpensive for a piece of terrain that you just print. I then practiced airbrushing on it to give it some color and, voila, you have a WAAAAGGGHHH statue for your gaming board. If you end up wanting something more detailed resin might be the way to go. But that’s about 40% more expensive. This statue would have been just shy of $11.00 rather then $6.80.

It’s that easy to find a file and print it. Just make sure you ask how much the amount of material the file will take before agreeing to the print.
A lot of times the free files you download won’t tell you or will have the wrong amount in the description and you don’t want to go into printing blind.
Will you be printing any new stuff for your gaming table? Let us know in the comments!
![]()
More Thoughts on How To Hobby For Noobs!