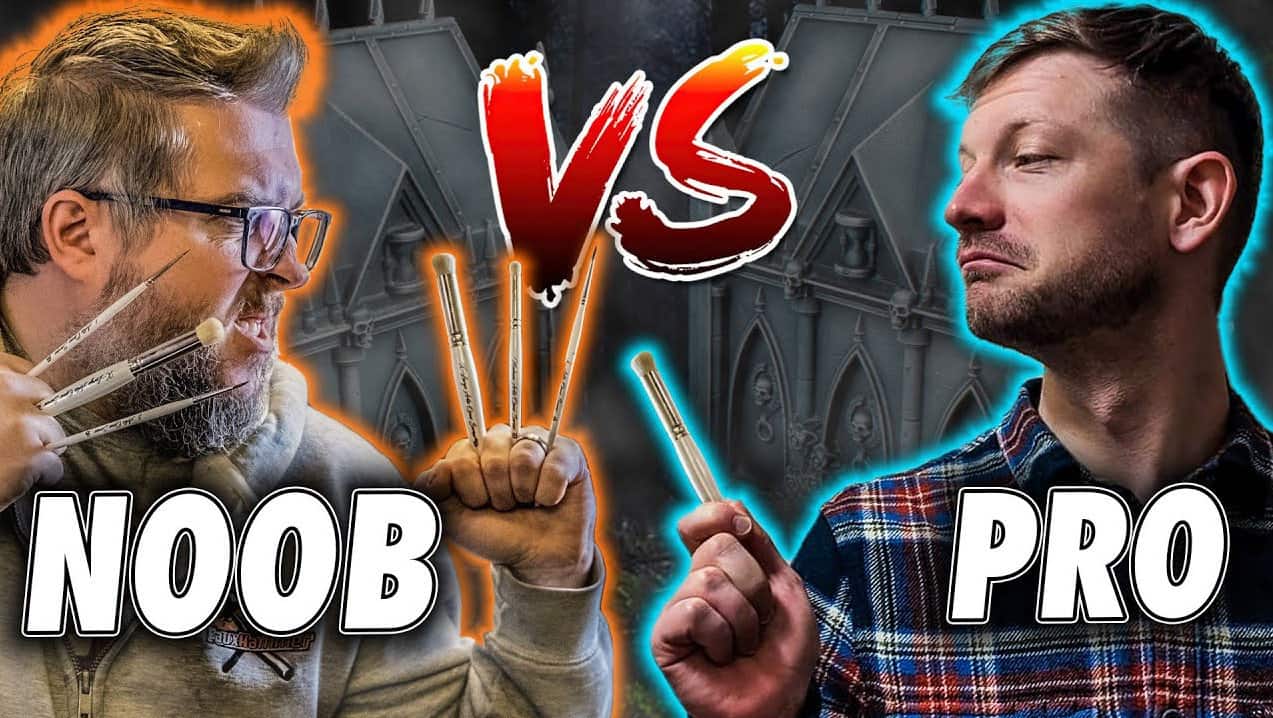
 Fauxhammer has some great tips for drybrushing miniatures that will take you from a noob to a pro in no time- here’s how!
Fauxhammer has some amazing hobby content, and you can follow him to level up all your painting and conversion techniques!
This time around, he showcases a bunch of tips and tricks for drybrushing miniatures like a pro!
Tips For Drybrushing Miniatures: Painting Tutorial
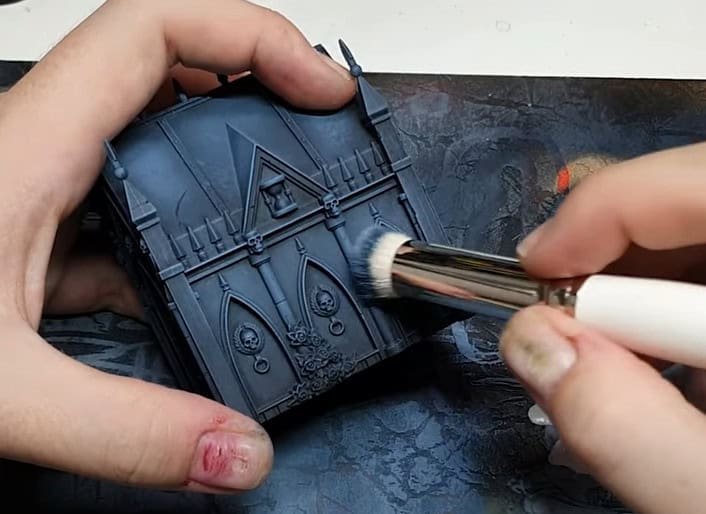
 Let’s get right into the tips for drybrushing miniatures. First, you want to use the biggest drybrush you can get away with for the job! This will cover more of the model faster, get a smoother look, and reduce how long your painting takes. What he means by this is the biggest size that will work and won’t get awkward.
To note, he’s using the Artis Opus drybrushes for these.
Tip #2: Posture
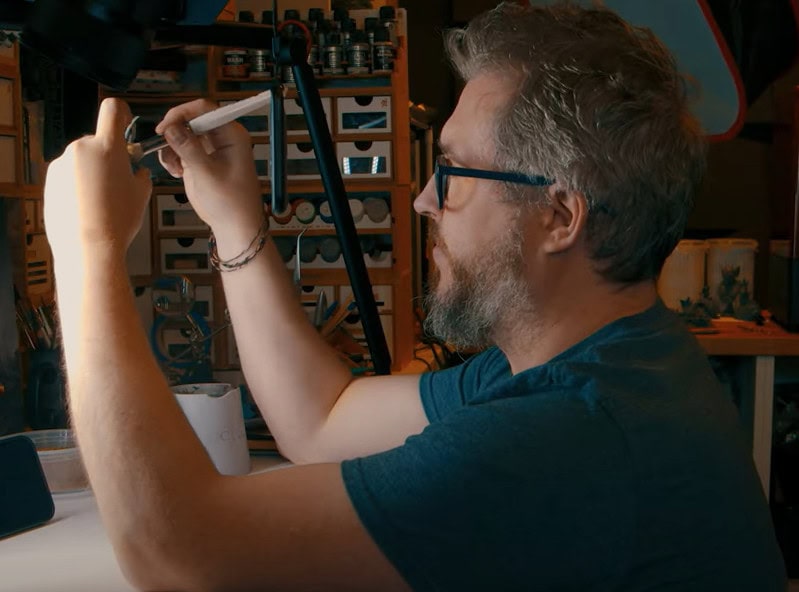 The second tip is all about your posture! You want to sit somewhat below your desk so you can rest your arms on a table and have a stable base. You can see more on that above.
Tip #3: Clean Your Brush
 Sometimes people say not to clean your brush, but you actually should! Here’s how you should clean your brush: take a texture palette, move it back and forth until there is no color left, and then use the edge to get rid of the crud.
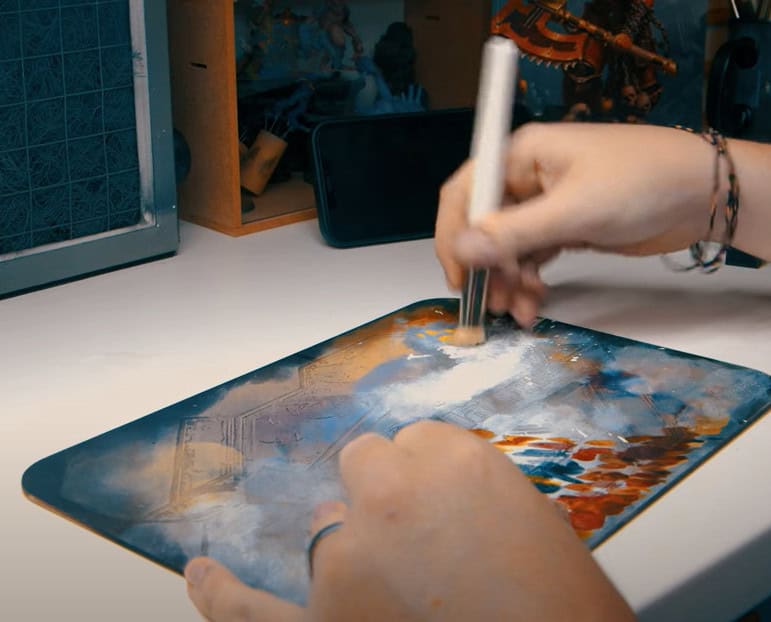
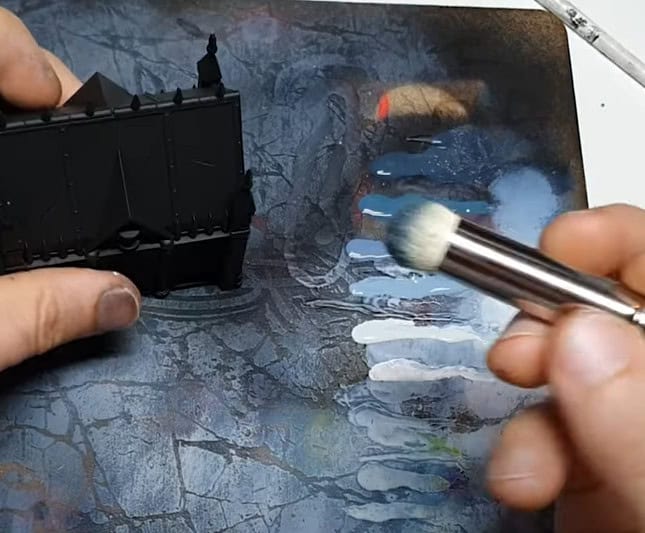
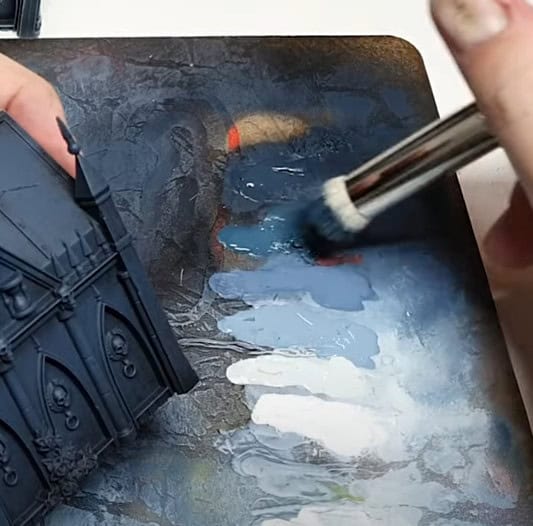
Tip #4: Texture Palette
 A texture palette is excellent for drybrushing, as you can load paint onto it, load it onto your brush, and remove the excess from your brush. This also lets you test how your paints will look on the texture.
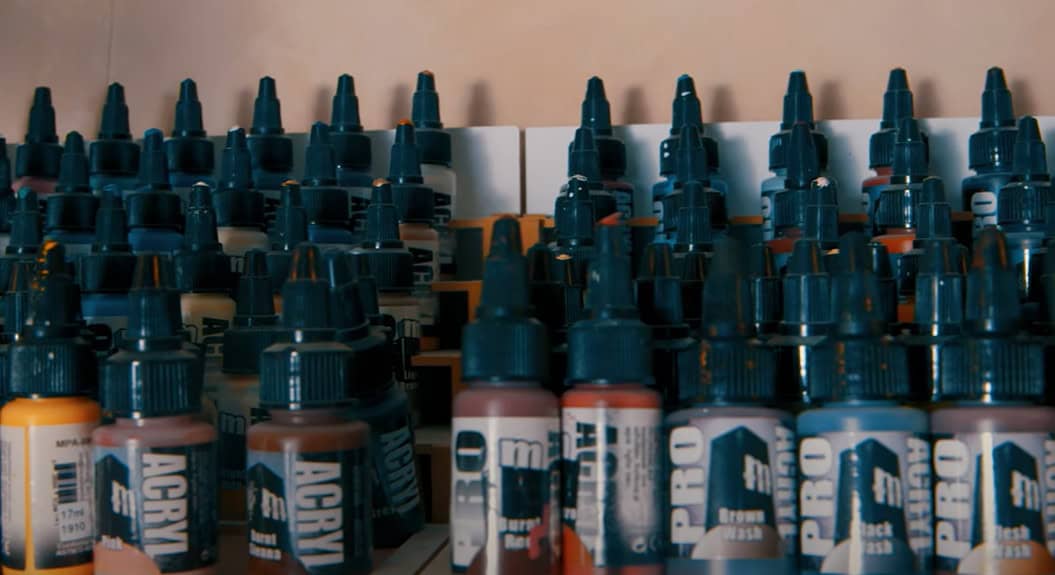
Tip #5: Prepare Your Colors
 It helps to have your paints ready in advance! Instead of jumping from one color to the next, you can mix your colors as you drybrush. So be sure to lay them out on a palette.
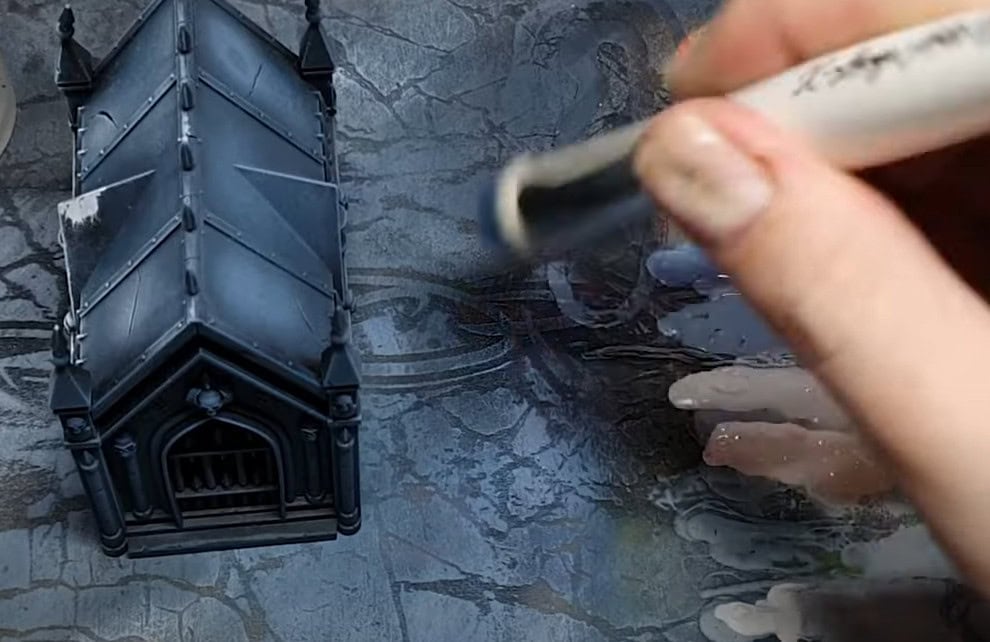
Tip #6: Wet Your Brush
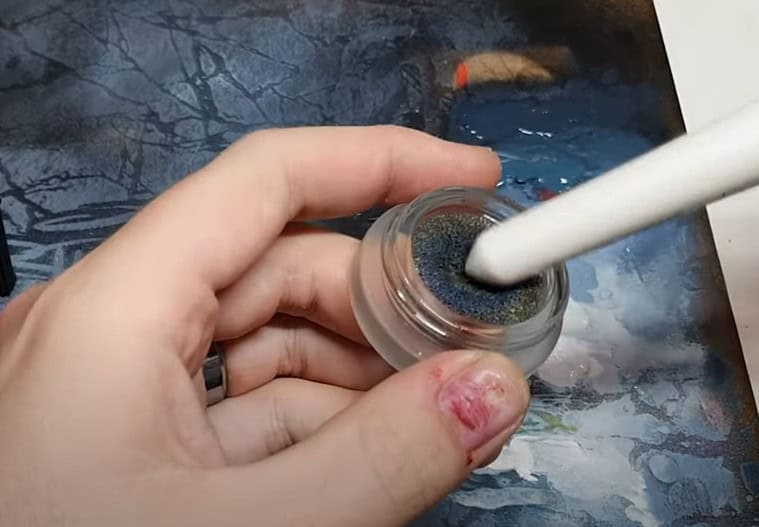 No don’t dip it in water; just dampen your brush. Put a slightly wet sponge down and rub the brush on that; just a drop or two on your dampening pad. Just be sure not to use too much water here.
An easy way to tell is to look at the end of your bristles, and if they are clumping, you’ve put on too much water.
Tip #7: Load Paint From the Side
 You want to grab the paint from the side of the brush, not just stick the brush in head first.
Tip #8: Stipple, Swipe, Swoosh, & Smoosh
 Don’t forget the 4-s’s! Always use one of these four methods when drybrushing, as it will keep your paint going on well. Swoosh and smoosh to get all the paint on there and blend it in.
Tip #9: Slow Down to Speed Up
Don’t rush your early stages! In the beginning, most people go very fast to get the base of paint on, but if you rush the first steps, it will take you longer overall.
So, take your time with each step.
Tip #10: Paint Matters
 Paints make a massive difference because each paint reacts differently when drybrushing. So, experiment with your colors and decide which works best for you!
Be sure to watch the tutorial video below for more drybrushing techniques that you can watch in real time!
What did you think about these tips and techniques for drybrushing miniatures?
Let us know in the comments of our Facebook Hobby Group, or our new Discord server, and make sure you enter the latest monthly giveaway for FREE today!
Get ad-free access to the site, a monthly crate of miniatures, and support some of the best creators out there for as little as $6 a month on Patreon!

This post contains affiliate links, as an Amazon Associate Spikey Bits earns from qualifying purchases.