 Jon Bius has been putting out some great beginner-friendly hobby videos and today he tackles building the Star Wars: Legion BARC Speeder
Jon has some great Star Wars modeling content on his channel, so if you need help with yours, he’s a great channel to check out! If you want to see more of his videos, you can see them out here!
Watch the full video below for all the tips and tricks or check out our notes on it! We could all really learn some helpful stuff from him, even though this is pretty focused on new hobbyists. Let’s jump into it.
Star Wars: Legion BARC Speeder – Jon Bius Tutorial
 Here’s the awesome mini from Fantasy Flight Games we’ll be taking a look at today! You can grab yours here if you already don’t have one!
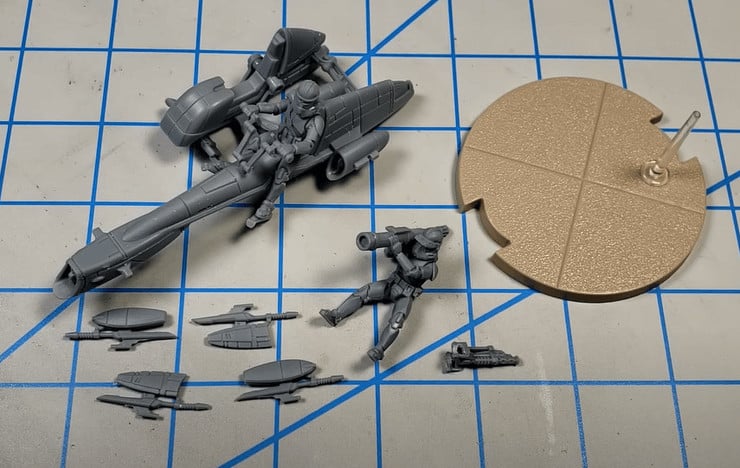
The Parts
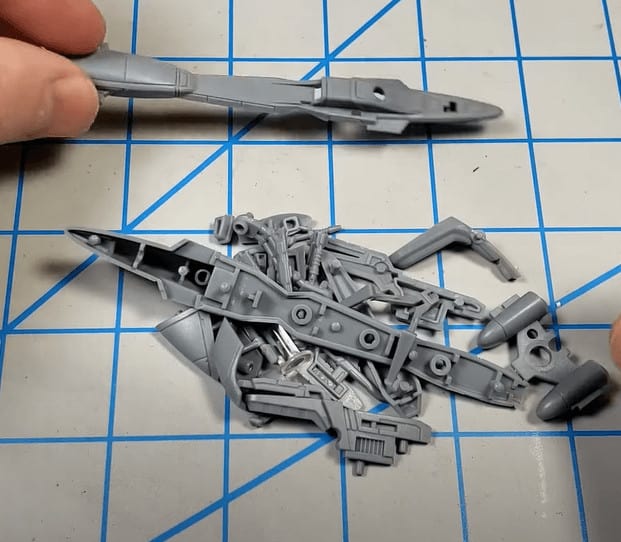 The parts came in a bag and not on a sprue, but there will be some mold lines to take off.
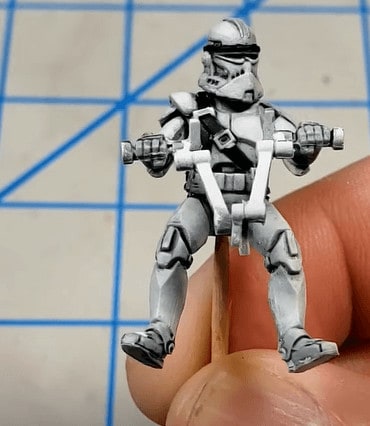
Assembled Speeder
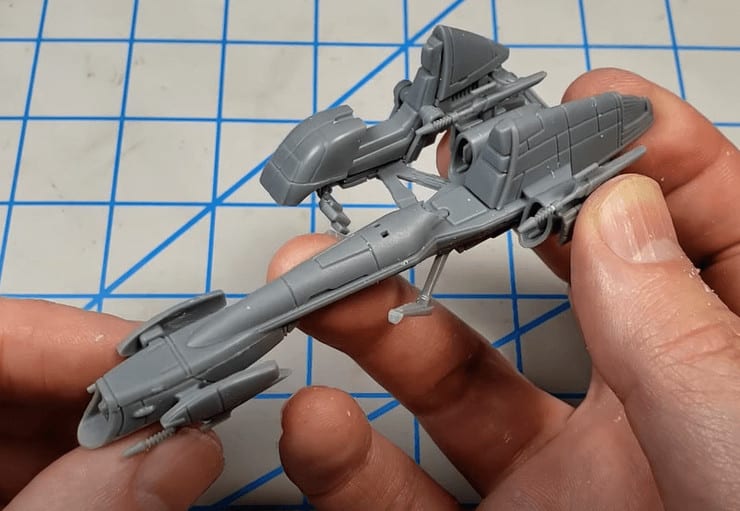 The speeder went together very quickly, in under an hour. He uses Tamiya Extra Thin Cement for his build, but you can use whatever glue you have on hand. Just make sure you trim off the mold lines before moving onto the build.
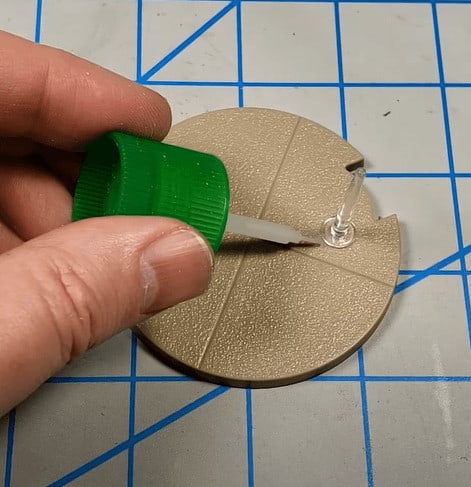 If you put the model in the center of the base it seems a little off. He dry-fit the base to where it looks the best and then glued it down once he was happy with the placement.
 This is how he sub-assembled them for easy painting.
Priming

 He uses Synylrez White Primer to get them the coat he wants to start with. Next, mask off the areas you don’t want to be red with some very thin tape. Once you have the red areas defined, he taped off the rest of the mini he didn’t want to be hit with the next color of spray. After that, he hits it with a quick varnish spray. Then he spays it with Tamiya Red. Once it’s dry he unmasks the mini.
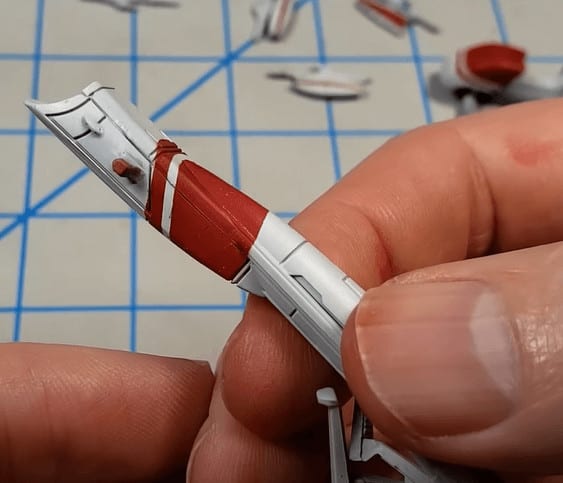
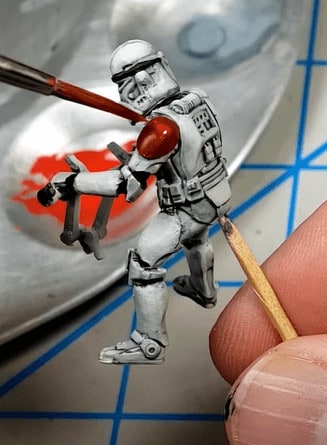
Chipping
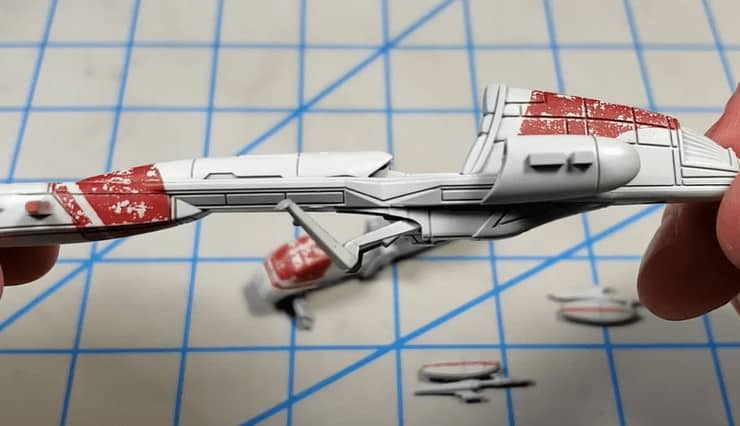 Before the paint is fully dry, he takes a wet brush and goes over the areas he wants some battle damage on. This will work because of the varnish you did earlier. It’s just a process of continuing to wet down the brush and going over the areas until you have the look you want.
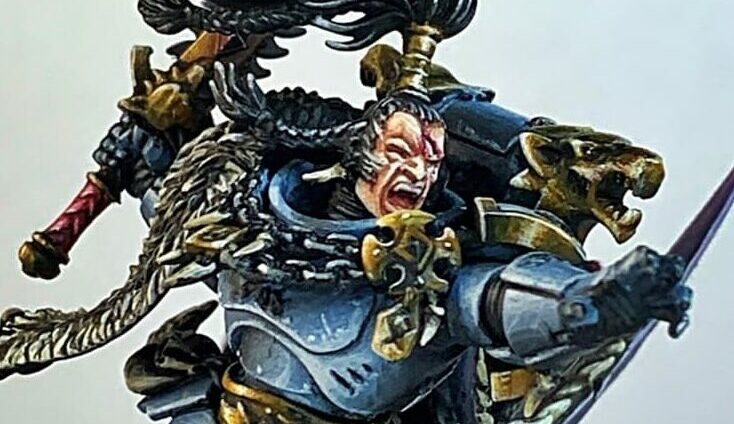
Painting the Riders
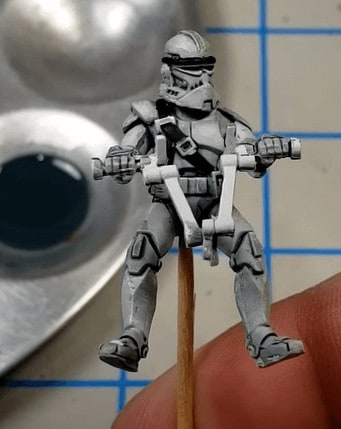 Do a 75/25 mix of Apothecary White Contrast and Black Templar Contrast with a tiny bit of flow improver and Technical Contrast Medium. Then paint that over the entire mini pulling in from the armor plates. This shades all the recesses and gives the armor a bit of color. No need to be too careful here as we’re hitting the entire mini with it.
 Once dry we’ll come back and bring out some highlights. Next, use 3 parts Vallejo cold white and one part Vallejo Sky Gray and thin it down with some water. Build the areas upon the flat armor that would be facing the light. Pull the strokes to the middle of the mini, so the whitest parts will be where the light would naturally be. This will take a few coats so be patient and make sure you have a good opacity.
 Next, use Vallejo white and just hit the most upturned edges. It’s just a process of getting it on there and blending it a little bit. He then uses Black Templar Contrast and hits things like the gloves, joints, and places he wants more shadows. The last step is to use Gory Red and hit the shoulder pad, and then do a quick highlight with a lighter red to finish it up.
Working on the Speeder
 Use a mix of Vallejo Chocolate Brown with just a touch of German Gray in it. Then stipple around the engine grills to make it look like some exhaust soot is coming out. He does this on all the exhaust ports, where the rider’s feet would be, and anywhere else that makes sense.
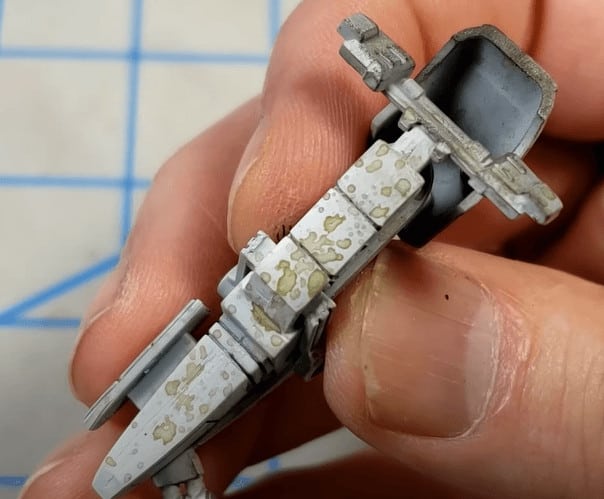
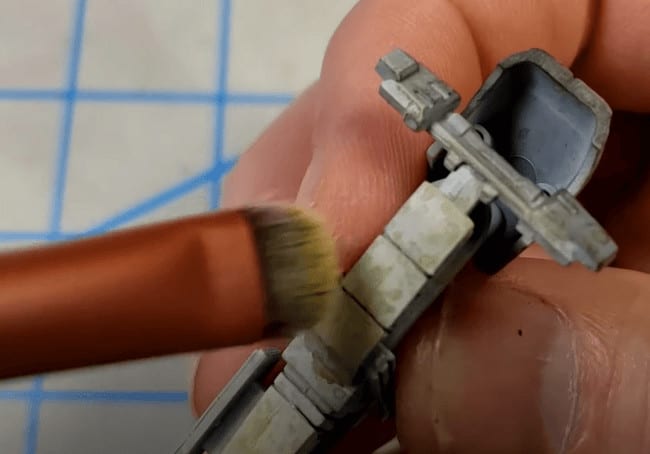 Next, to give it some earth/dust effects, he mixes Vallejo Desert Dust Wash at three parts with one part of Vallejo Brown wash. Then he uses a splatter technique and hits the bottom of the mini by splattering the wash onto the mini from about an inch or two away. You could do this with oil or enamels if you don’t like the way it looks. Then he takes some Vallejo Beige and dry brushes on the underside of the mini and the lower edges of the speeder.
Finished Speeder
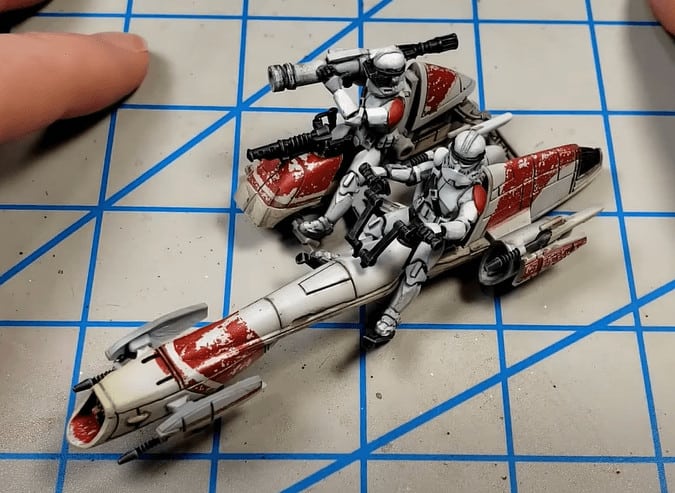 Then all you need to do is glue all the sub-assemblies together and you’re done!
Watch the video above for tips and even some extra steps that’ll make weathering your model look like a pro did it! Be sure to subscribe to his channel for more hobby tutorials on everything from Airplanes to Warhammer!
Go Subscribe for More Tips!
This post contains affiliate links, as an Amazon Associate Spikey Bits earns from qualifying purchases.