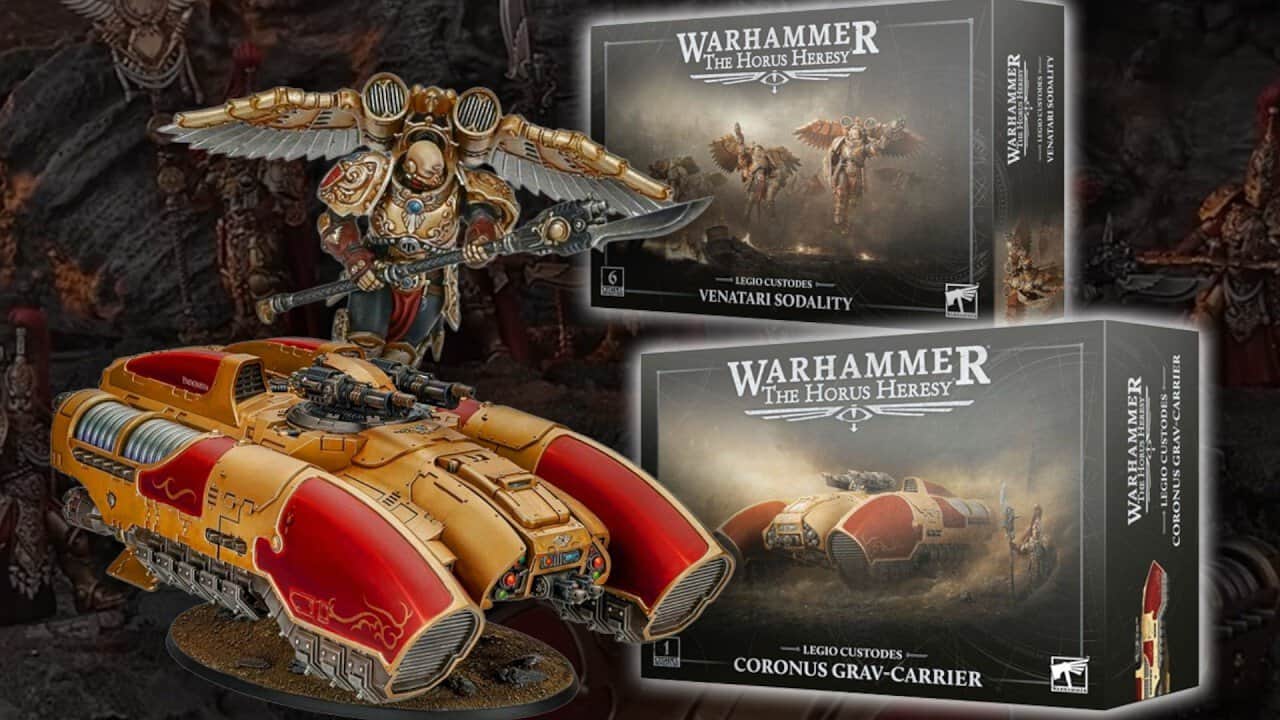
The new plastic Coronus Grav Carrier and Venatari rise above their Forge World resin versions, as both are much easier to magnetize, paint, and store now.
If you built the old resin versions, you probably remember the hassle. Warped lances, awkward jump packs, no magnetization, and missing loadout options could eat up your hobby time before you even got to painting. The new plastic kits sort out most of that, and if you’ve been waiting to pick up the big Custodes transport, now’s the time.
Luckily, you can still run both in a 40k or HH army with the rest of the plastic Custodes range. They’re still pricey: the Venatari runs around $82, while the Coronus comes in near $127, but compared to the old Forge World resin prices, they’re a much better deal.
Magnet Baron Makes Magnetizing The Kits Easier
- What’s happening: the plastic Venatari and Coronus are easier to build, store, and magnetize than the old Forge World resin kits.
- What we have seen so far: the kits include more options, a fully detailed interior, and parts designed to stay modular.
- What’s next: GW’s Forge World-to-plastic pipeline is worth watching beyond these two releases.
Every qualifying purchase from this article helps Spikey Bits keep the lights on and the fun going.
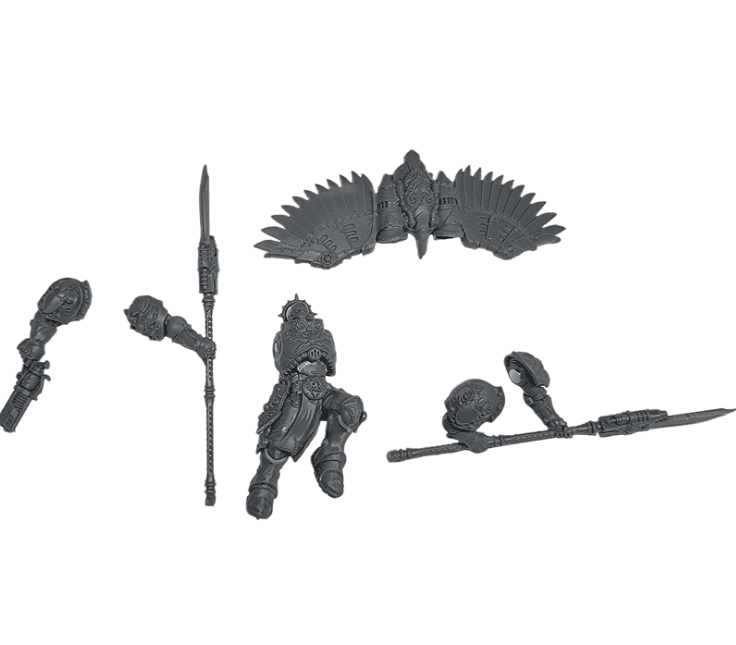 Magnetizing Custodes Venatari gives you the freedom to swap weapon options, but figuring out every magnet size and mounting point can turn a straightforward build into its own side quest.
Magnet Baron’s Venatari and Coronus Grav-Carrier Custom Magnetization Kits give you all the sizes in one place. The Venatari kit comes with the torso and arm magnets together with acrylic flight-stand stems, printed rock anchors, and a positioning guide. You’ll still need to drill the loose torso with a 3mm bit before assembly, but the rest of the sizing work is already sorted out for you.
They’ve also put together a magnet setup for the plastic Coronus Grav-Carrier covering its turret, hull weapon, and flight stand, which is worth knowing if you’re building more Custodes armor alongside your Venatari.
Grab your kits here and get 5% off with promo code Spikey10:
- Venatari Magnetization Kit
- Coronus Grav-Carrier Magnetization Kit
- Pallas Grav-Attack Magnetization Kit
- Gryfalcon Jetbike Sodality Magnetization Kit
- Telemon Dreadnought Magnetization Kit
The Plastic Venatari Finally Gives You Every Option in One Box
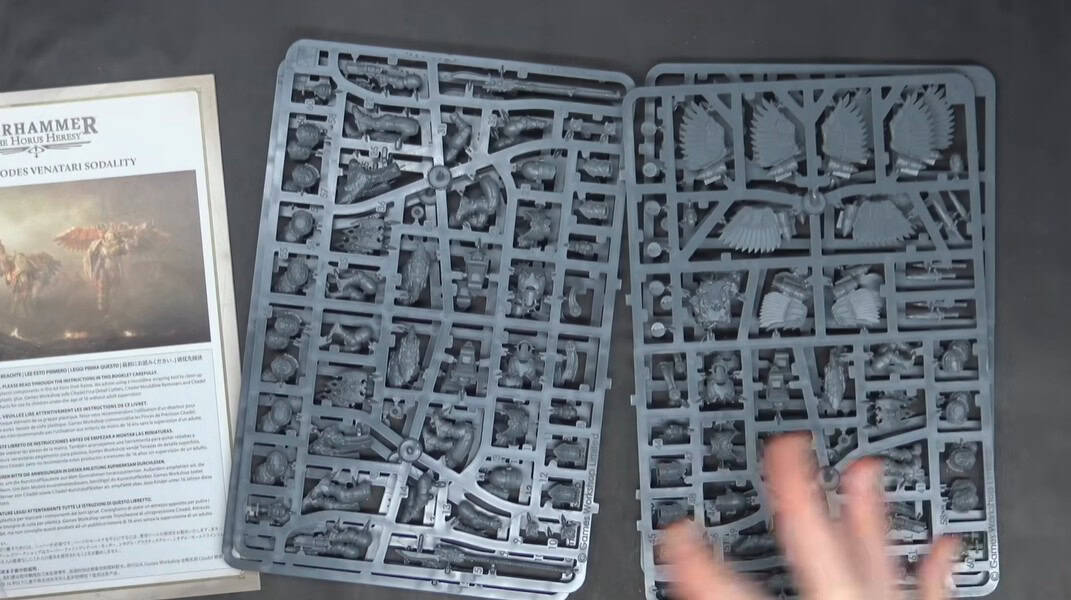 Here’s where the plastic version of the Venatari pulls ahead right away. The resin kit gave you one loadout, and if you wanted something else, you had to track down a lot of extra parts. This box, on the other hand, has spare shoulder pads, extra jump packs, and several weapon options on the sprue.
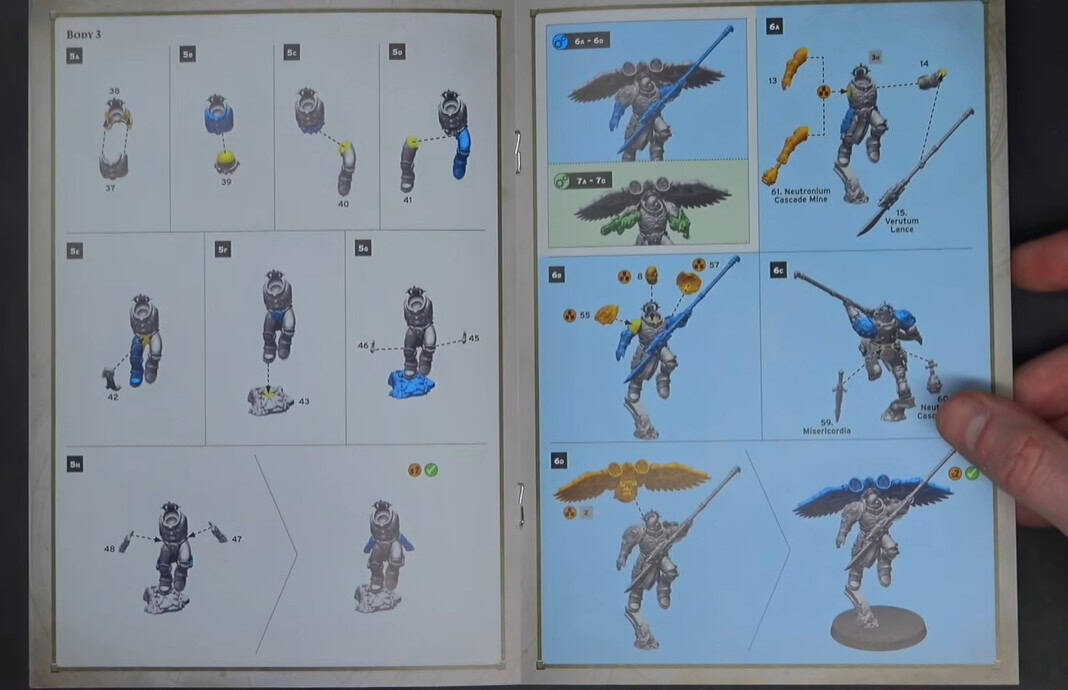 So now if you want to swap loadouts, the new plastics make that pretty straightforward. Add a few magnets (which makes transporting them easier and safer), and you can switch the lance, buckler, gun, and alternate arm poses without building duplicate squads or having to source more shoulder pads.
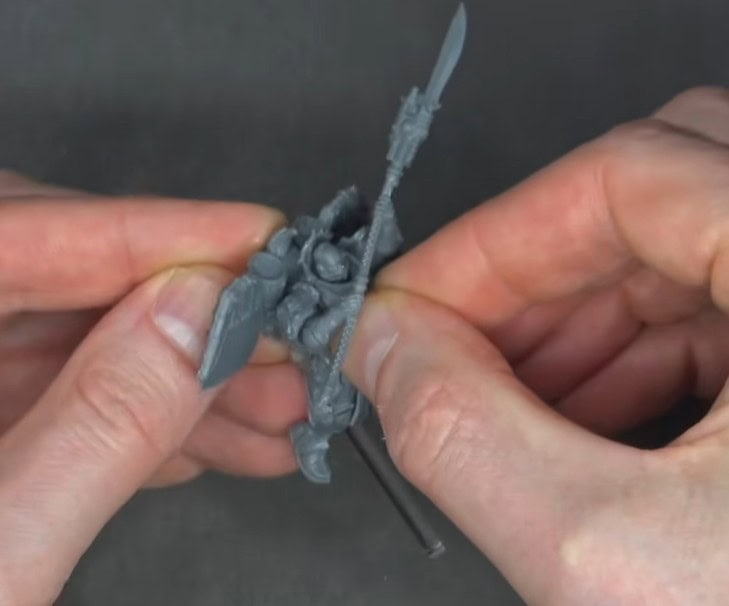 The resin jump packs did look a little more dynamic; we’ll give them that. But for assembling, posing, and actually working with the models, though, the plastic kit’s the easier choice.
The Coronus Grav Carrier Hides a Full Interior You Can Paint
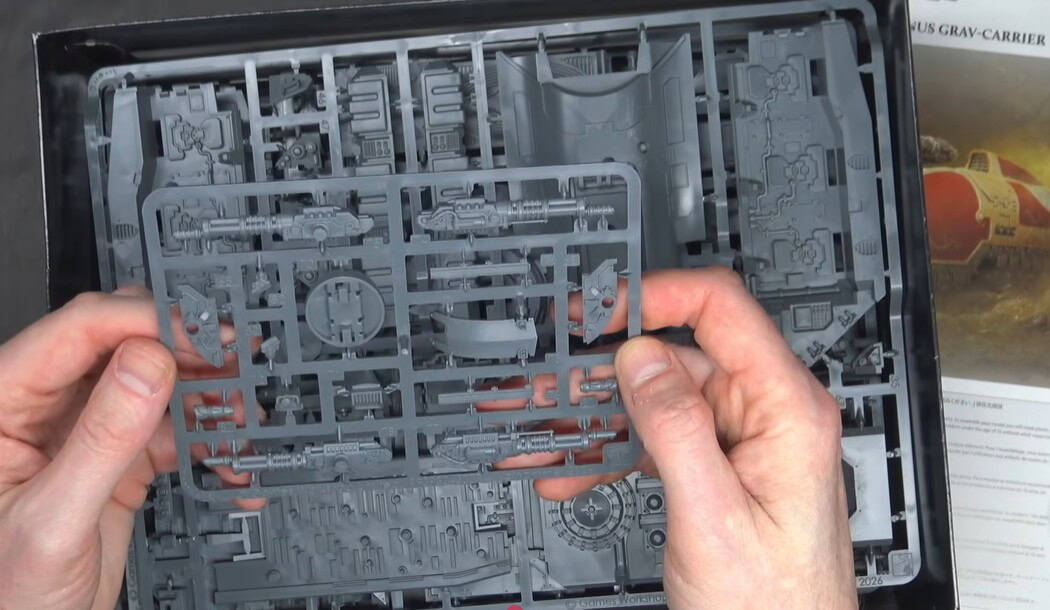 The Coronus is still a big, detailed centerpiece, and you can easily spend most of an afternoon building it. That’s familiar territory for the grav-carrier chassis, but once you pop the top off, you get to see where the plastic kit gets really interesting.
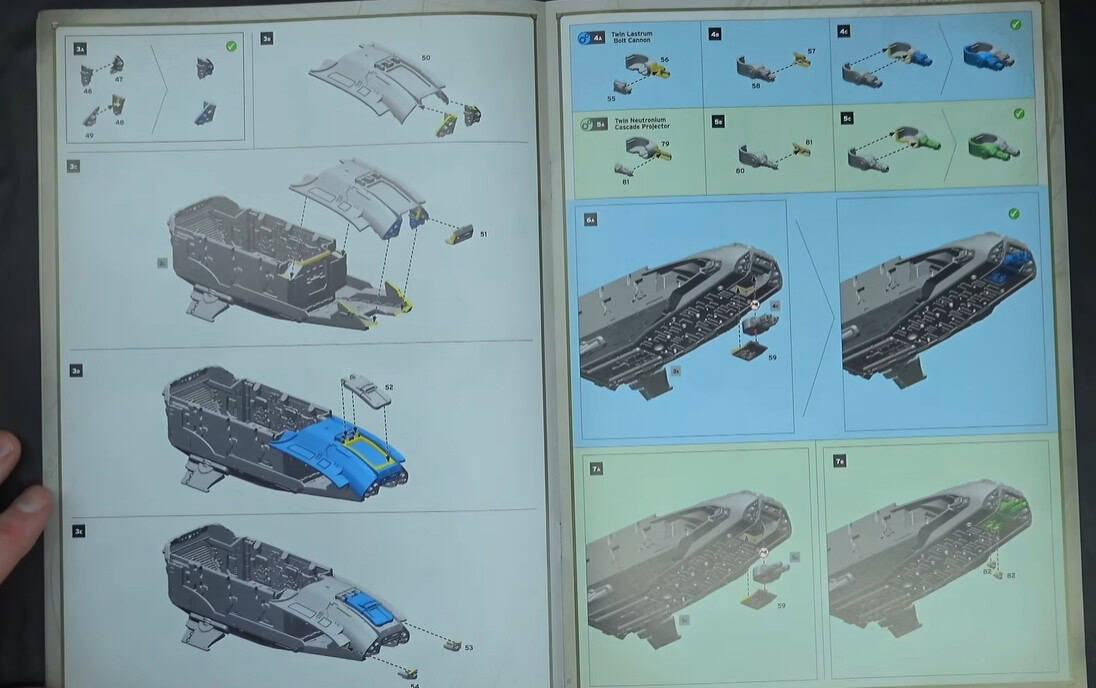 It has a complete interior, with floor detail, cockpit equipment, and a rear access area you can paint. We liked that kind of hidden detail on the older resin gunship, but getting it without wrestling warped resin is even nicer.
GW could’ve just sealed up the hull and called it done. Plenty of transports are closed up like that, especially with models caught in the Heresy-era rules shuffle. Instead, you’ve got a lot more to paint if you want to put in the time.
Leave Parts 51 and 59 Loose Before You Reach for the Glue
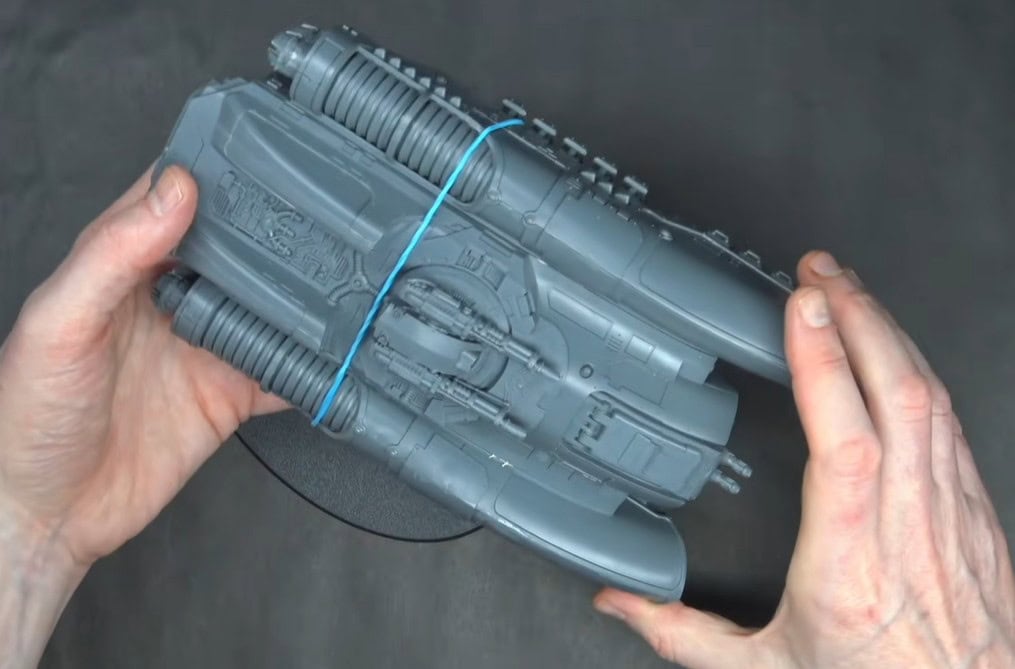 One build tip you really want before the glue comes out: leave the top and side panels alone for now. Parts 51 and 59 can stay loose or push-fit. That way, you can paint the interior properly and still swap the two front weapon options later.
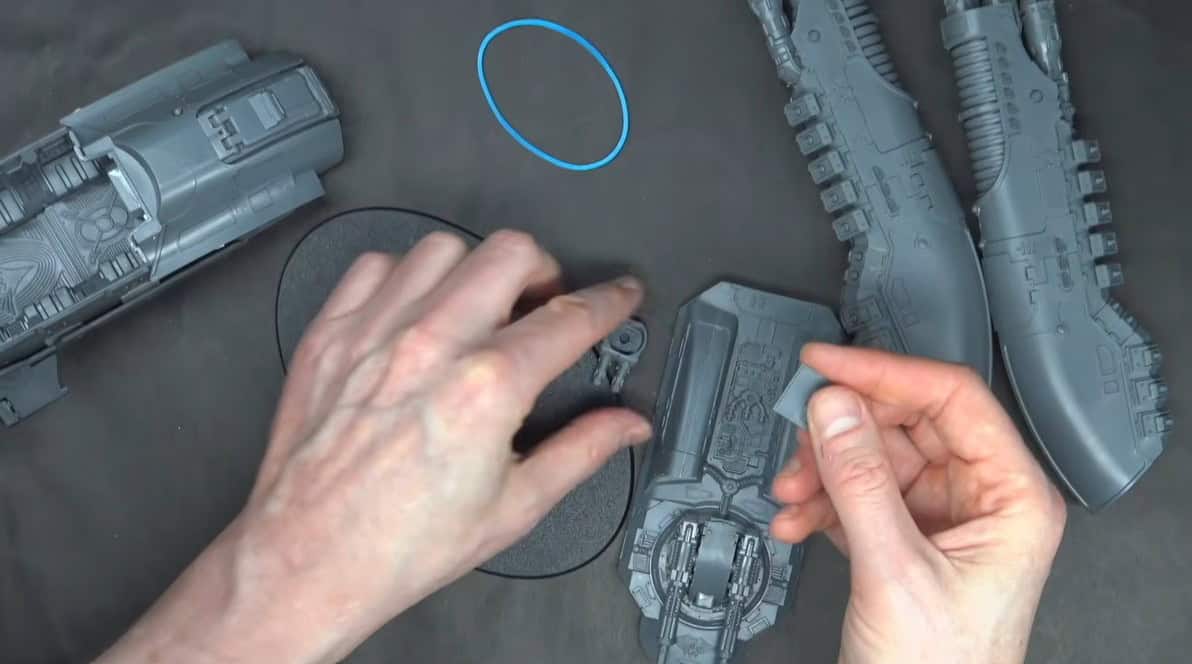 We used a rubber band to hold the hull together while building, and it worked fine. The fit’s good enough to leave several sections removable without turning the build into a whole project.
You probably don’t need the larger Magnet Baron flying base for the plastic Coronus, either. GW’s flight stand already has a hexagonal connector that keeps the model from spinning on its base if you just want to use that.
Final Thoughts on the Coronus Grav Carrier and Venatari
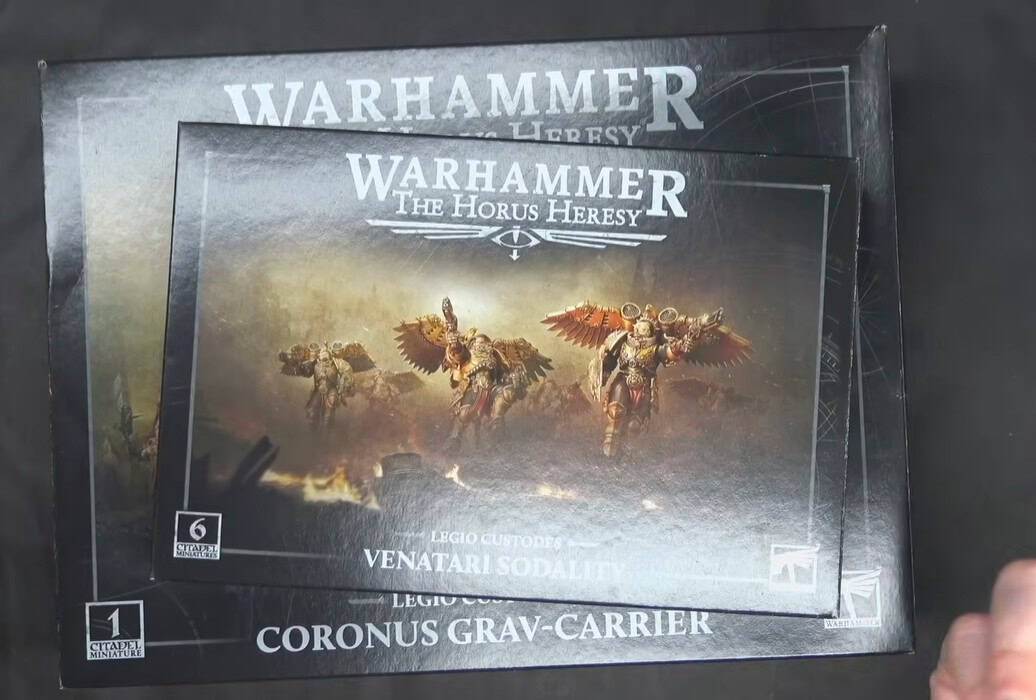 This is the sort of Forge World-to-plastic update we’d like GW to keep making. You get better builds, easier storage, more options, and prices well below the old resin versions. Plus the magnetization kits from Magnet Baron are much easier to add to both of these when you’re not drilling into resin.
We give GW grief when it’s earned, so they do get the credit where it’s due here. The Coronus and Venatari work better as plastic hobby kits, and if future resin replacements follow their lead, keep them coming, please!
🔗 Related Reads:
- Bigger Is Better: Custodes Grav-Carrier Unboxing
- Better Than A Land Raider? Custodes Grav-Carrier Unboxing
- Adeptus Custodes Models Went Full Plastic In New Previews
- New Custodes Gunship & 30k Rules Changes Revealed
- How to Magnetize Resin & Plastic Bases For Miniatures
- Best 40k Magnets Guide To Magnetize Your Warhammer Models
- How to Magnetize Your Minis For Storage, Painting, & More
Are the plastic Coronus Grav Carrier and Venatari enough to make you finally ditch the old Forge World resin?