 Been working hard on constructing your own hobby table? Our guest writer is here to give you the rest of the steps on how to build a sweet gaming space!
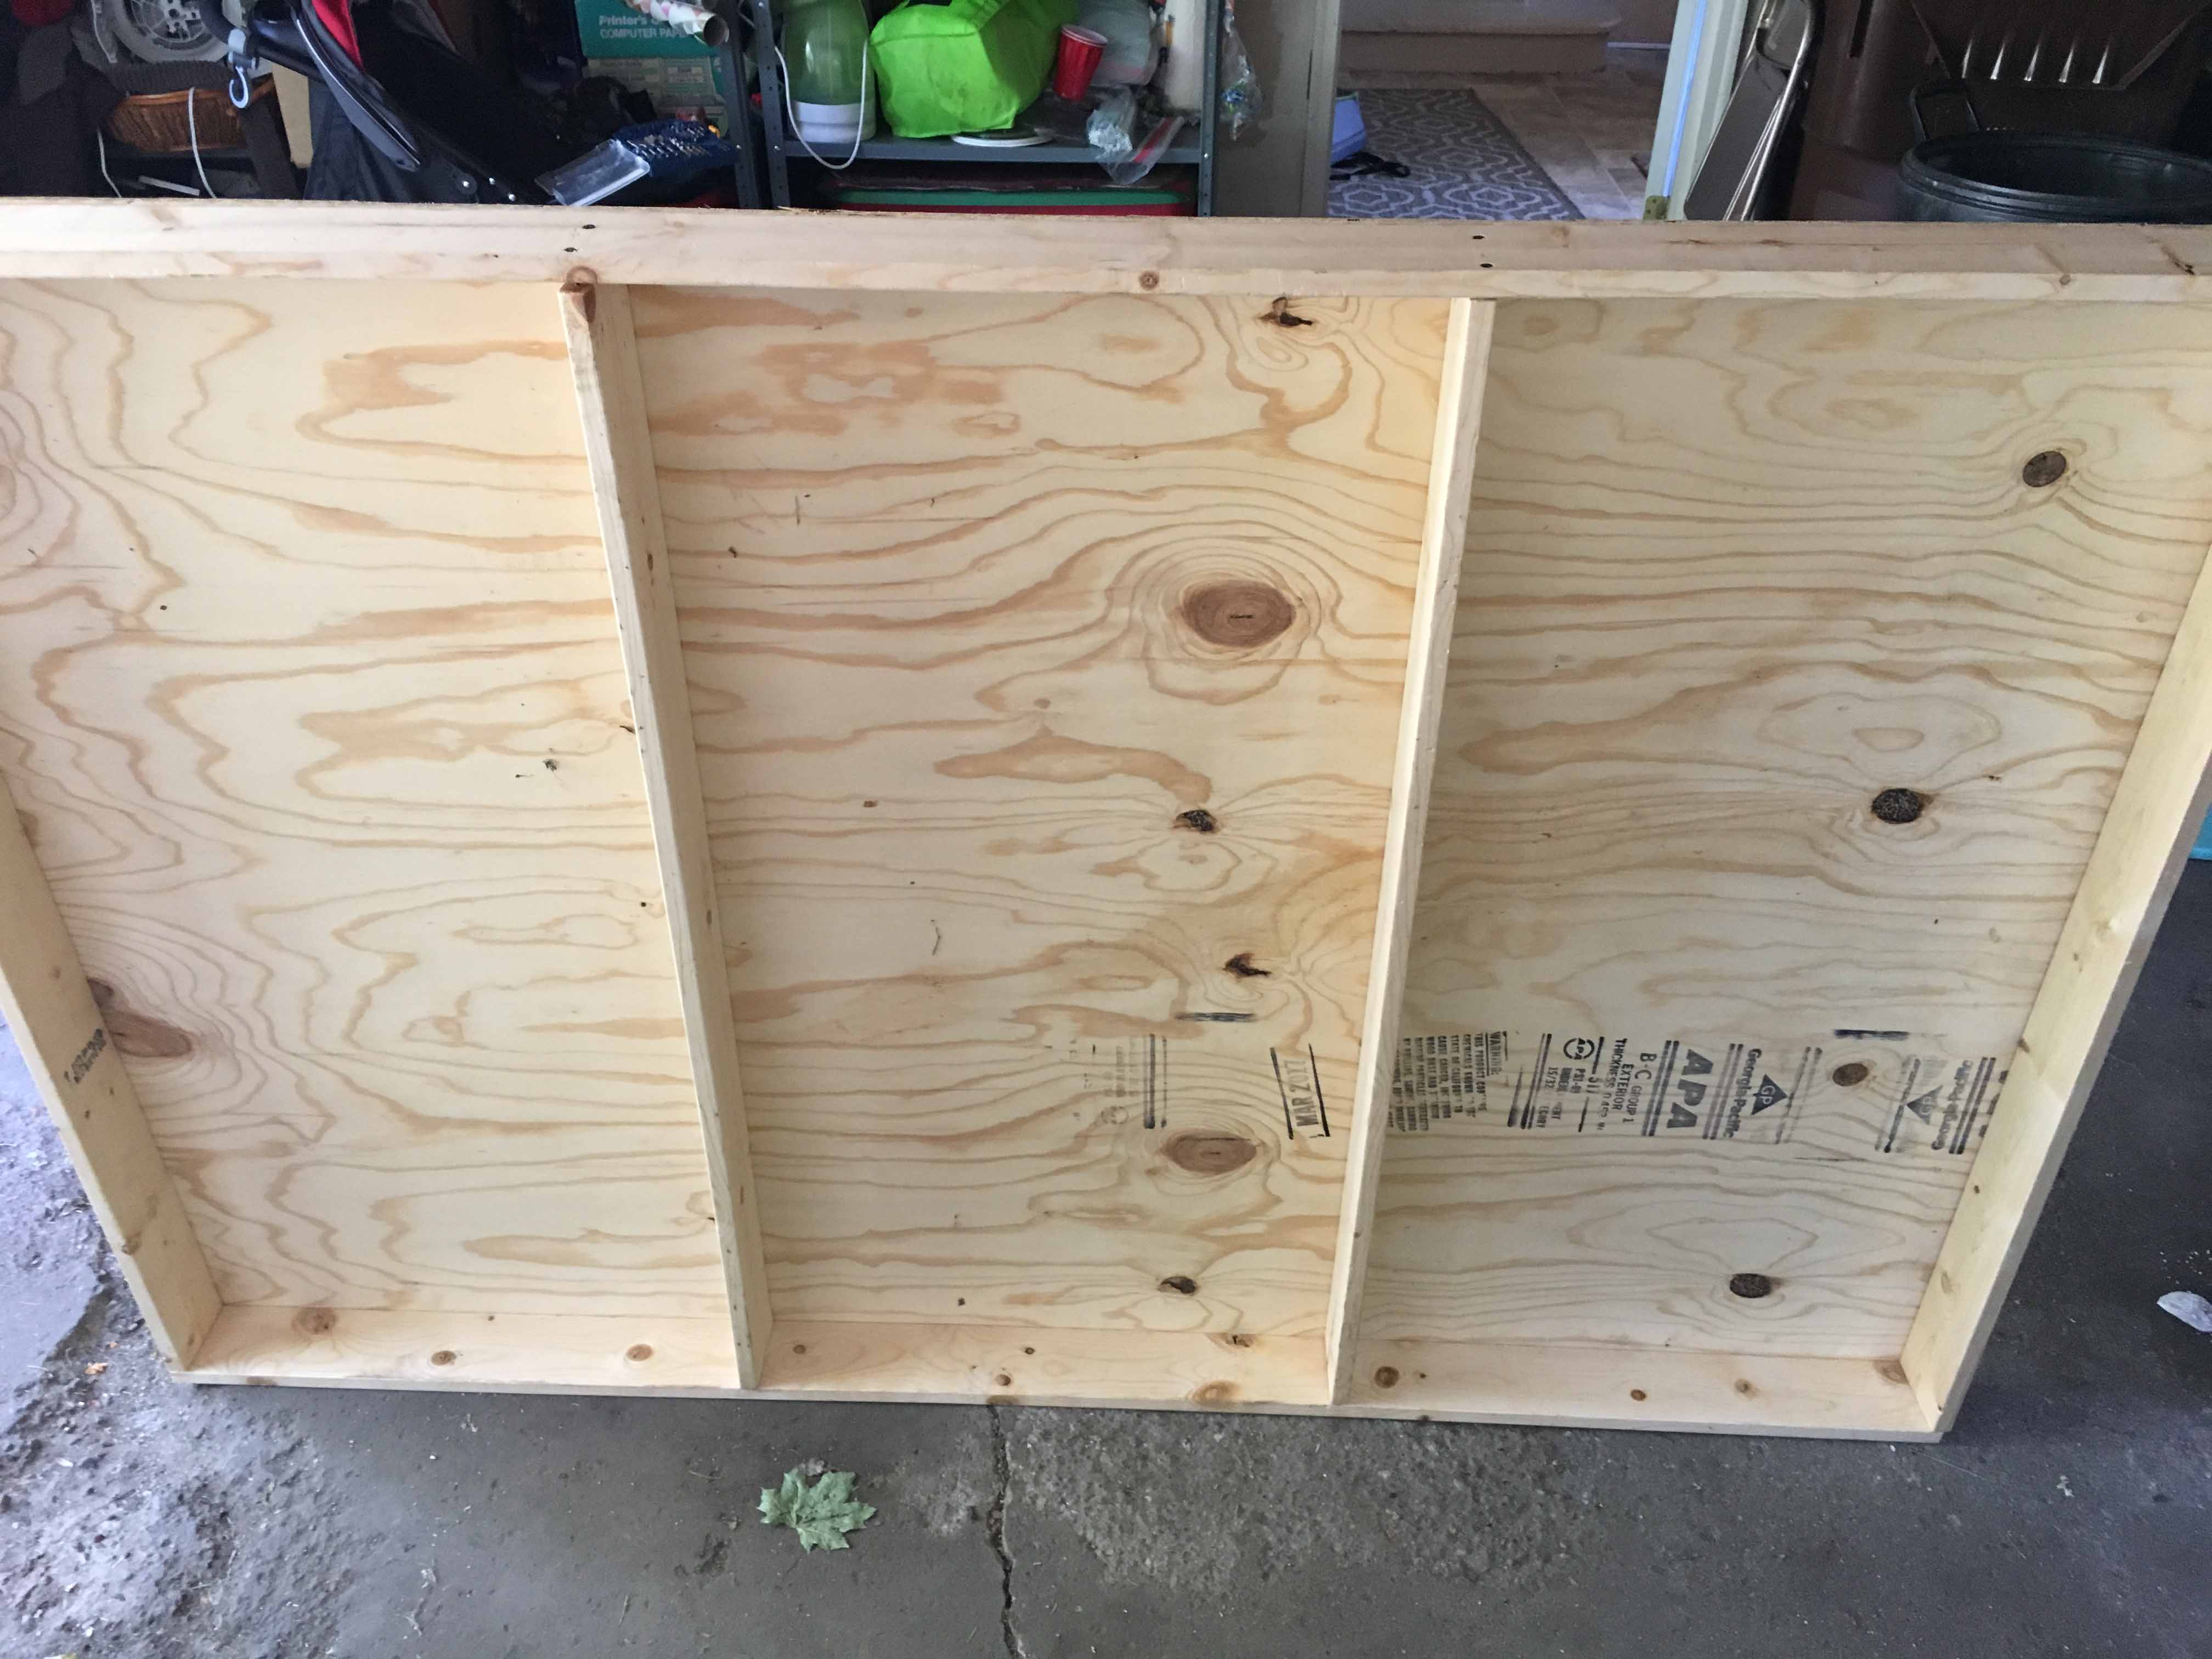
Welcome back! Hopefully, since the last time we met, your frame came together easily and you’re ready to finish off your table! If you have no idea what I am talking about, but think building a war gaming tables sounds neat, see Trav The Builder: Building a Gaming Table Part 1 of 2, which is the previous post! Your table at this point should look like this, more or less:
- (A) ONE 4 foot by 8 foot piece of sanded plywood (1/2 inch thickness) – 19 dollars
- (B) ONE 4 foot by 4 foot piece of sanded plywood (1/2 inch thickness) – 7 dollars
- (C) TWO 1 inch by 4 inch 6 foot boards – 6 dollars total
- (D) FOUR 1 inch by 4 inch 4 foot boards – 8 dollars total
- (E) ONE box 1 and ¼ inch dry wall screws – 4 dollars
- (F) ONE box 1 and ½ inch dry wall screws – 4 dollars
- (G) Staining product, I used the pre-soaked wipes – 7 dollars
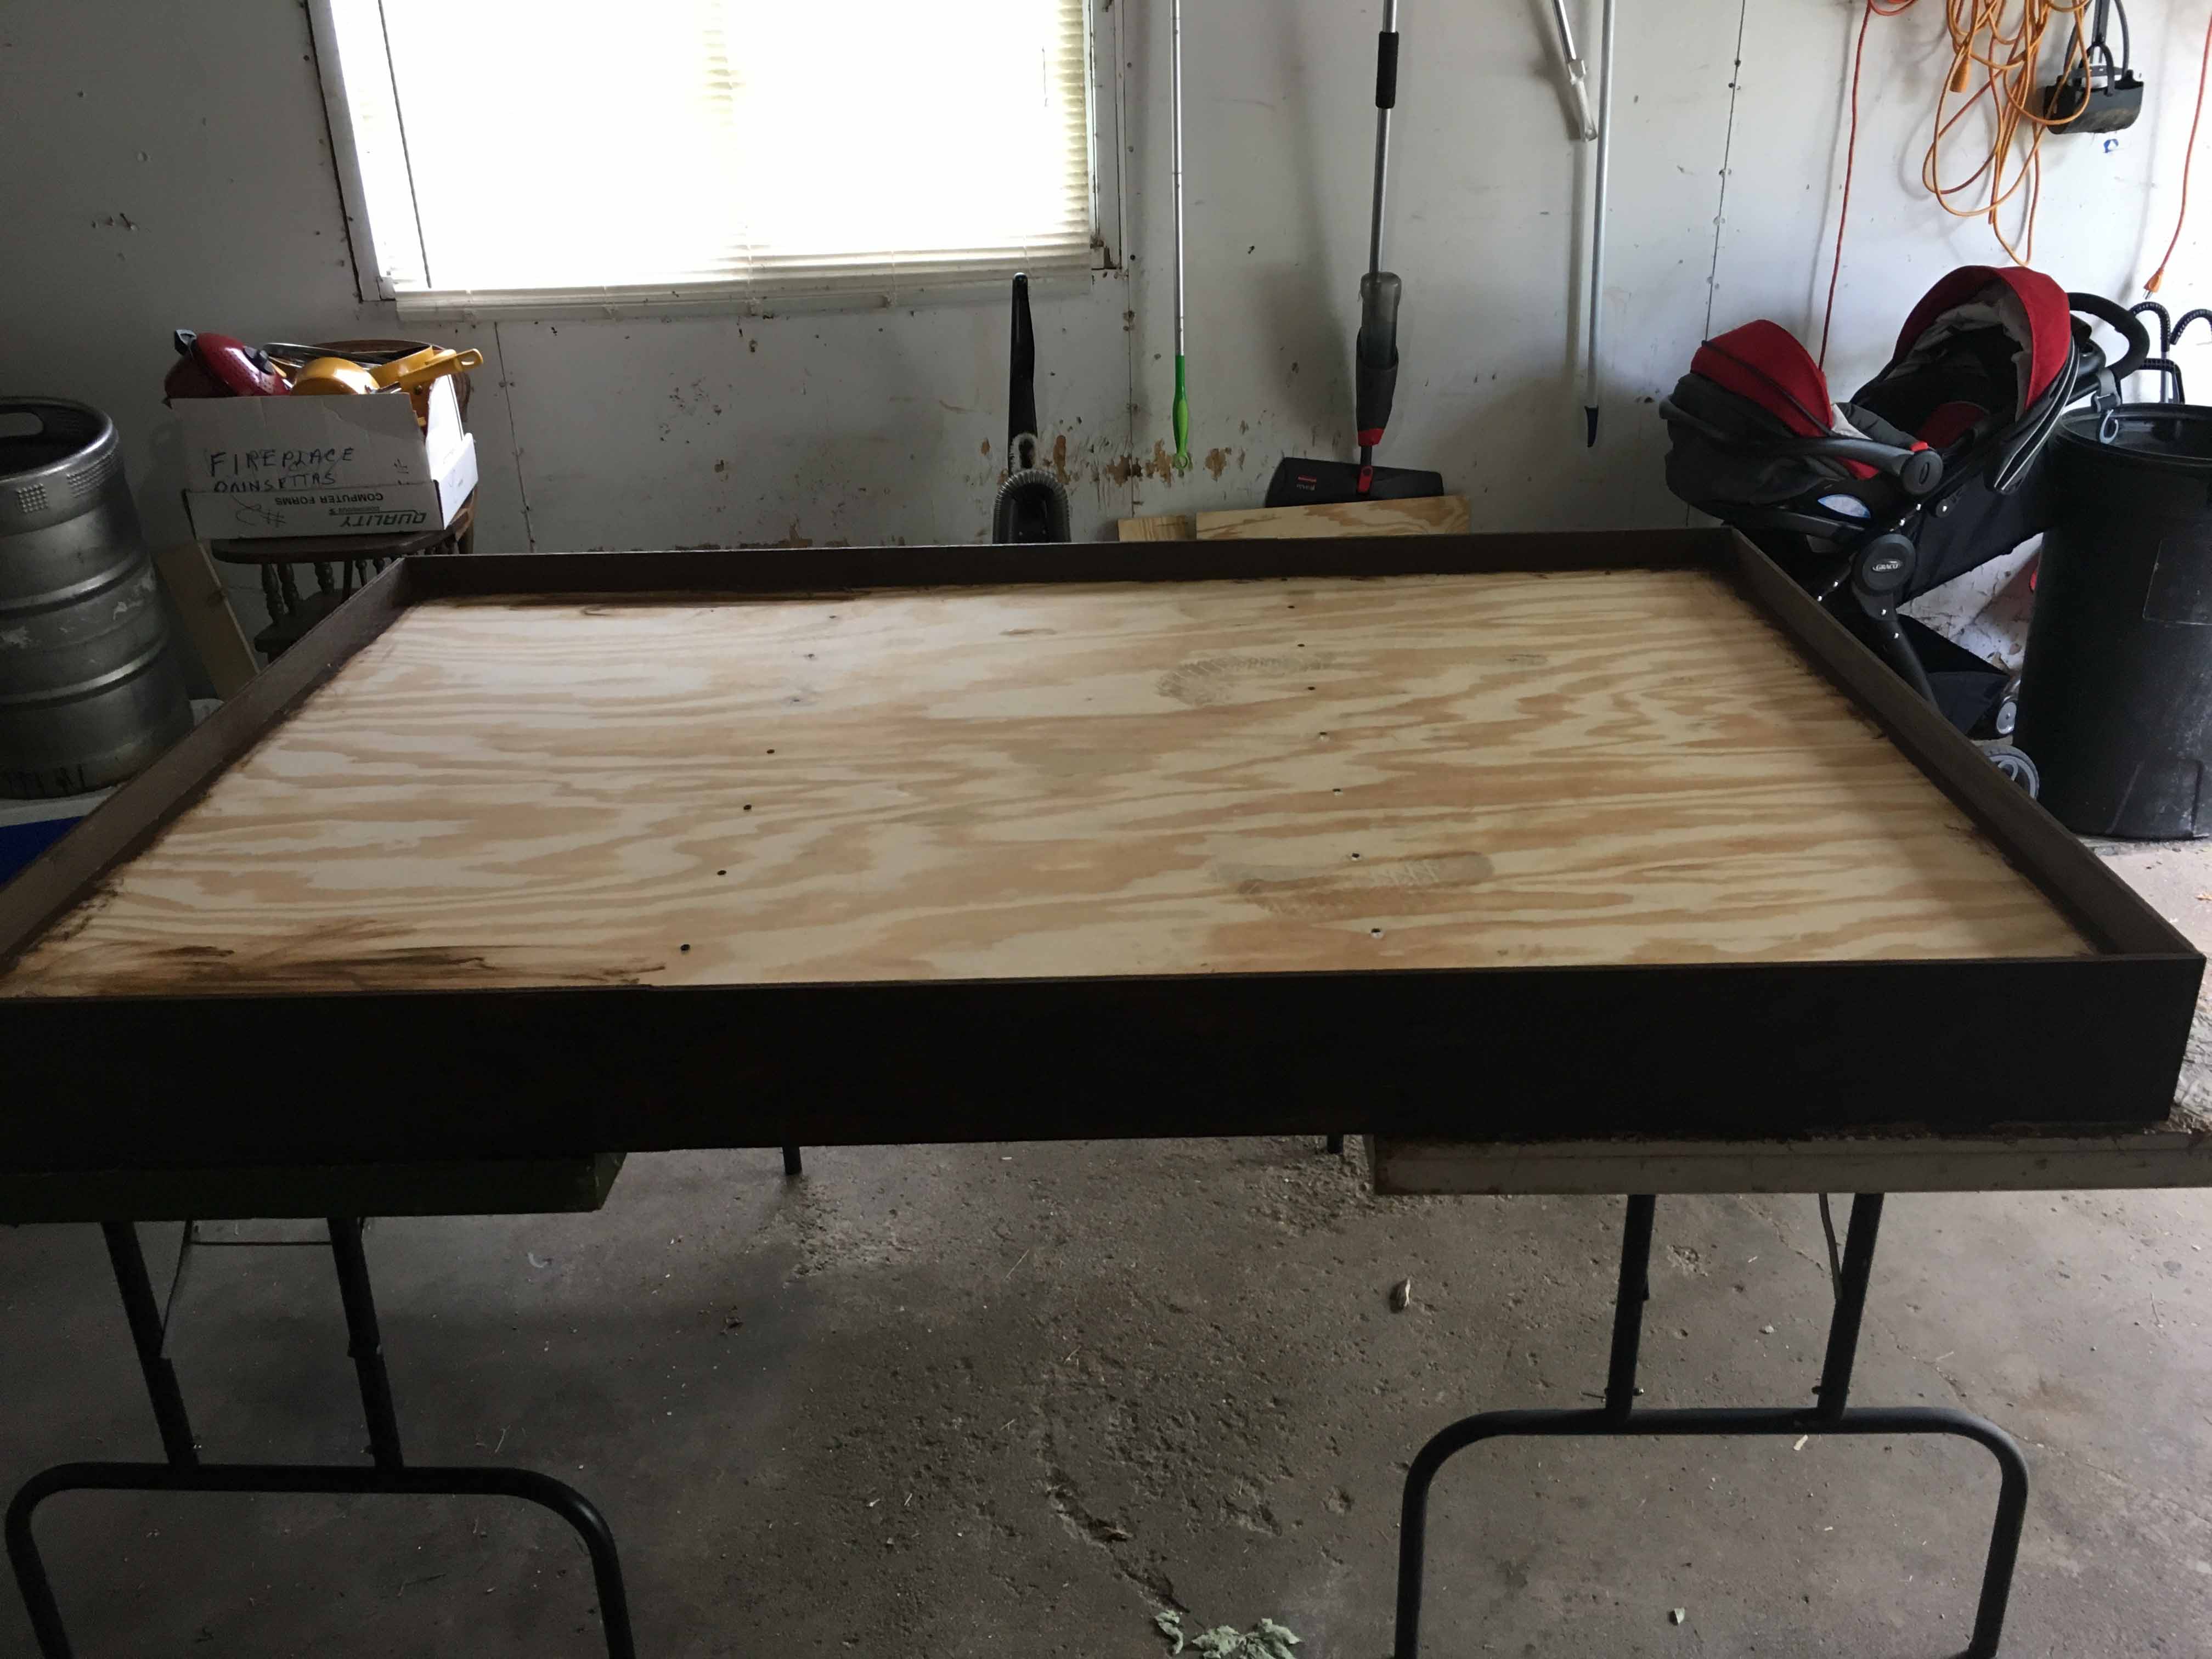
Now we have to add the sides to prevent those pesky dice from rolling off the table. Starting with the 2-foot pieces of plywood you had cut (A.2), you’re going to attach them on the 4-foot sides of the table. For the width and smaller sides I used 1 and ¼ inch dry wall screws (E) for this and drill one in every 6 inches using starter holes, about 3 inches up from the bottom.
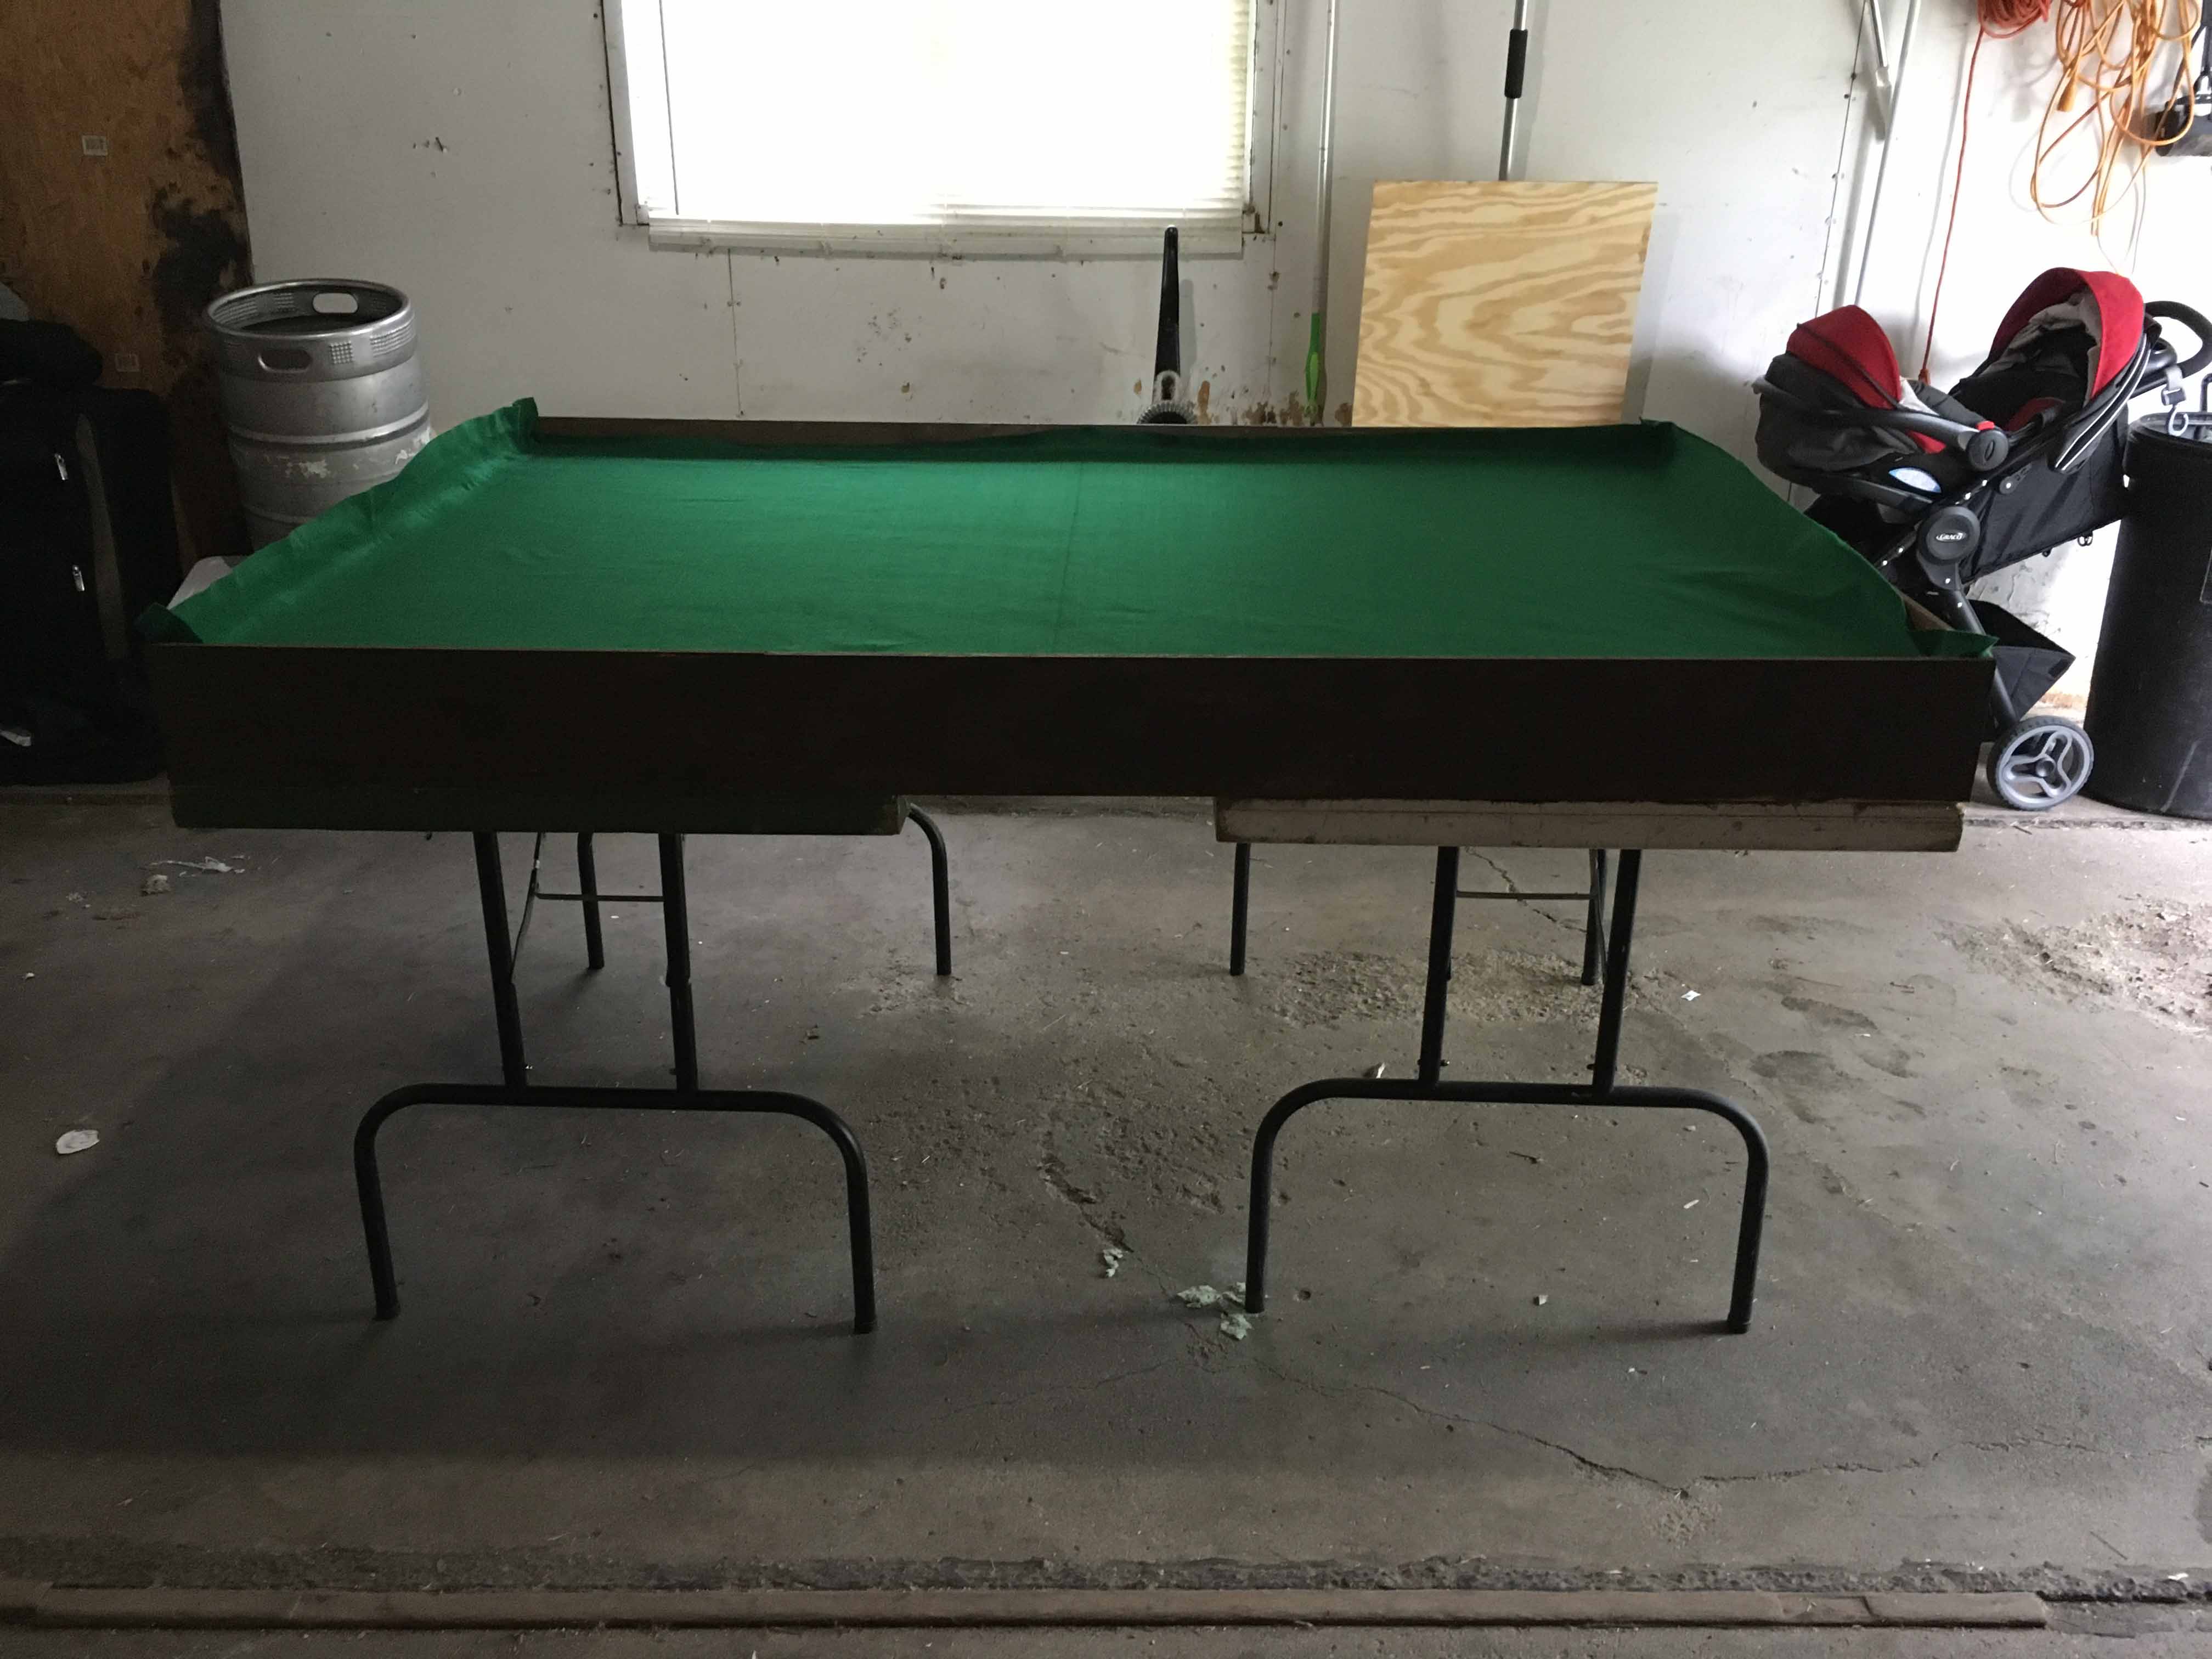
Do this for both 4-foot sides, and once you are done, you are close to the home stretch. Doing the 6-foot length sides (the bigger sides) the same way, except you are going to use 1 of the 4-foot pieces (B) and 1 of the 2-foot 1 inch pieces (B.2) per side. That extra inch covers the 2 half-inch thickness from the width railings you just put in. Following the same process of drilling starter holes then the 1 and ¼ inch drywall screws (E) as before, screw these into the side. By doing it one board at a time and try and keep them flush against one another when putting them next to each other so the gap is minimal. Once finished, it should look like this. (Note mine in this picture was stained already.)
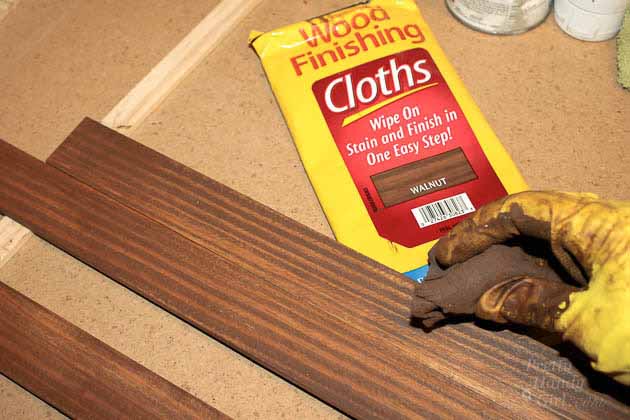
 Now you are ready to stain your sides (G), and if you want to stain the table top itself that is up to you. I decided out of cost and laziness to cover mine with battle mat and to only do the rails. Speaking of covering it, the cheapest option I found was to go into your local craft store (here in the Mitten State it is Hobby Lobby, Michael’s, or JoAnn’s) and buy a piece of felt that is the color you want.
The nice people at the store will even cut it for you for free, just make sure it is 4-foot by 6-foot (some pieces of fabric do not get as big as 4-foot width). Cost was $4 with a coupon! Every fabric store has an online coupon; be sure to pull it up on your phone or print it off before going.
For the staining, follow the instructions that they recommend and let it dry for a day or two, then put your piece of felt on top and boom, you’re good to go! With the wipes it is super easy, you just put on the gloves, open the pack, wipe the parts you want stained, and then throw out the wipe. (Note that one packet is enough for the rails but not the table itself, so you will need more if you choose to do that as well).
 As you can see this is a pretty easy and affordable way (about 60 bucks) to build a gaming space. You can set this on the floor, on a kitchen table (just be sure to cover the kitchen table), or do what I do and use a couple of 2-foot by 4-foot folding tables to support it. Folding tables are pretty easy to find at garage sales or on Craig’s List for cheap!
 There you have it, your own gaming space! Have you ever built your own hobby table? What tips have worked for you? Let us know in the comments below!
![]()