 Today The Army Painter walks us through how to paint a Deathwing Captain in the classic colors, check it out!
The Army Painter is known for having some of the best and most affordable paints on the market! But they also have an extensive collection of tutorials and paint guides. Their tutorials are perfect for learning how to get your minis on the table. If you want to see everything The Army Painter has going on, check it out here.
Today they are walking us through a really cool mini! With the new codex out, many people have been wondering how to get the classic feel. Well, wonder no longer, just watch this tutorial!
Just as a note, all the paints used in this video will be from them, which you can pick up all the colors here. This is a pretty long video, so we’re going to break it into two parts, so be sure to check back next week to see how it all finishes. Let’s see how to do it!
How to Paint Deathwing Captain: Army Painter Tutorial
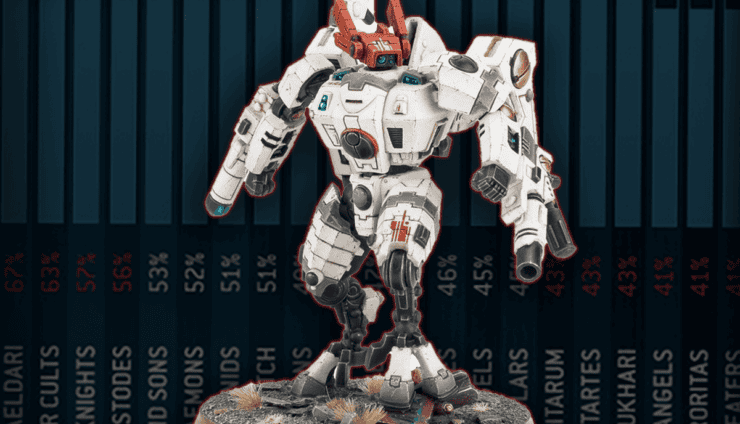
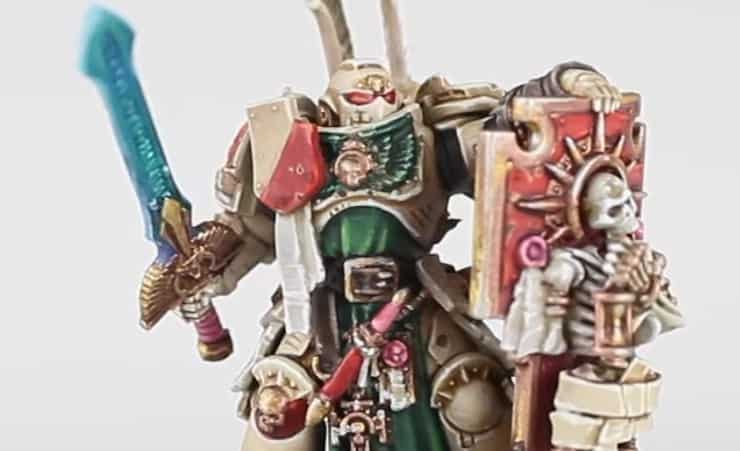
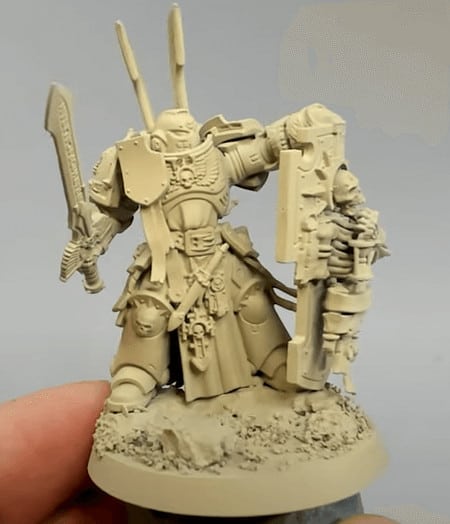 Here’s the mini we’re going to be painting up today! Let’s see how to make it awesome.
Base Coats
 Once it’s primed, he takes Werewolf Fur and hits a shade on all the recessed areas of the mini, giving it some shading and making the next steps easier. Then add some Sleketon Bone to the airbrush and hit the mini from a top-down angle to start giving it a little bit of highlighting.
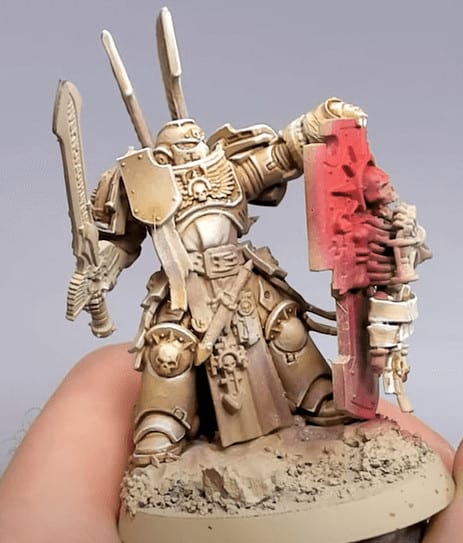
Next, add some Chaotic red to the airbrush and do a quick basecoat on the shield. Then go a little lighter to Dragon red and hit the shield from the top down and lastly, use Pure Red at the very very top of the shield.
Working on the Armor
 To start building some texture, take the Skeleton Bone on a dry brush and stipple across all of the armor, this will make it seem not so smooth. You don’t want this to be too dry, make sure you have enough paint on there to actually stipple it. Then do the same thing but with Drake Tooth and only to the middle of the armor.
Finish this style off by hitting just the helmet with Brainmatter Beige. Once dry, mix some Quickshade Light Tone and Mixing Medium and do a quick wash all across the mini to really blend everything together. Once that dries, take some Soft Tone and this time just highlight where you really want some extra shadows, like on the boots and the recessed areas.
To finish this step off, take the Drake Tooth and hit some very light edge highlights around the edges of the armor, and lastly, go all the way to Brainmatter Beige and do even lighter highlights. This is optional but, if you want, take Dirt Spatter and dot it across the edges of the armor, this gives it a feel that the armor isn’t quite so fresh and unused.
The Green Areas
 Start with Angel Green as your base coat and hit all the robes in two simple coats. To make the eagle emblem pop, he takes the Glitter Green and layers it over top, this will really make it pop and look different from the robes. Next, he takes a Green Tone wash and hits all the green in a quick wash.
Once that’s dry, go back to the Angel Green and hit all the highlights, but leave the recesses to give it some shadows. You can move this up in color as much as you want, depending on how light you want your robes to be. His final highlight is Mouldy Clothes, but you can go higher if you want.
Working on the Red
 Go back to your Chaotic Red and hit all the remaining areas you want to be that color, like the scabbards and such. He also does a diagonal over-the-shoulder rundle and the knee pad to give it a little pop.
Next, he does very two very thin coats of Pure Red over the areas he based before. After that, he takes Quickshade Red Tone and hits all the areas of red, including the shield. Once that is dry he goes back over and highlights with the Pure Red, eventually going up to Mars Red.
There you have it! A great-looking mini halfway done without too much hassle.
Be sure to follow The Army Painter on Youtube for more great content like this.