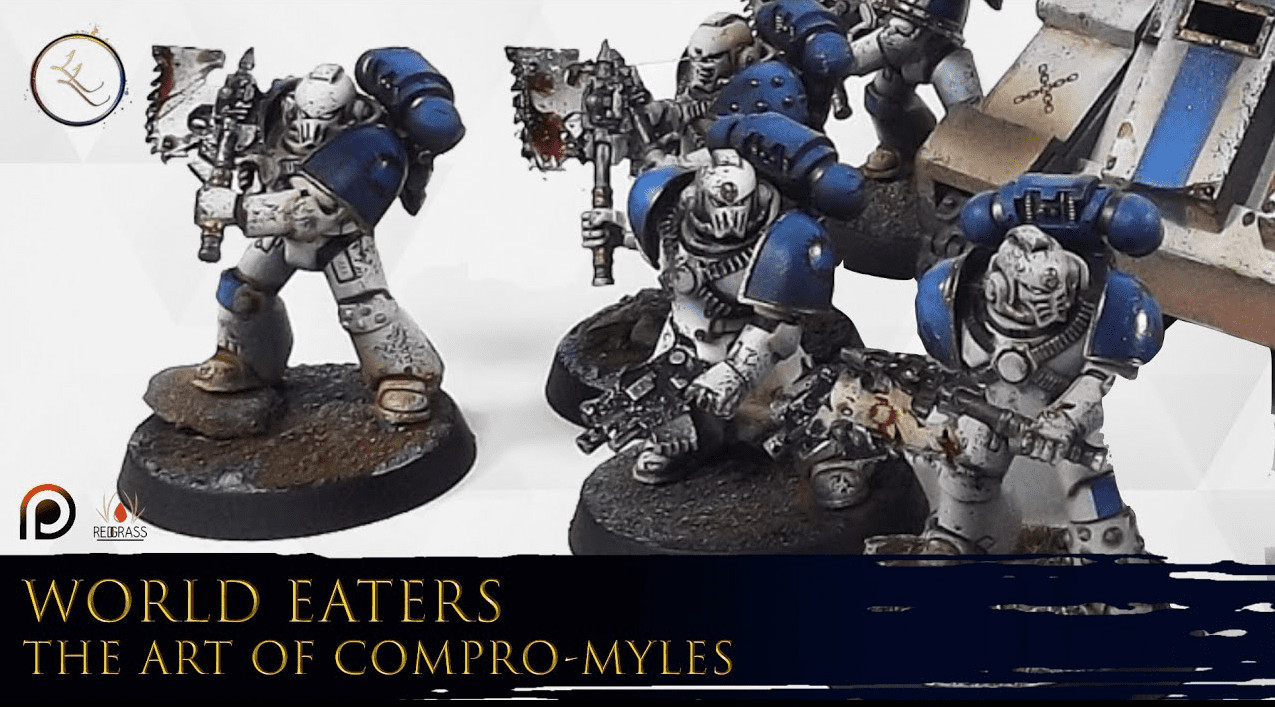
 Learn how to paint Horus Heresy World Eaters with this easy painting tutorial from Lil’ Legend Studio- check it out!
Lil’ Legend Studio has a ton of great painting tutorials, and they are always easy to follow and get your minis on the table with awesome quality.
This time around, we’re focusing on getting your Horus Heresy minis ready for the tabletop! Now that the new edition is in full swing, it’s time to get your forces painted.
How to Paint Horus Heresy World Eaters Painting Tutorial
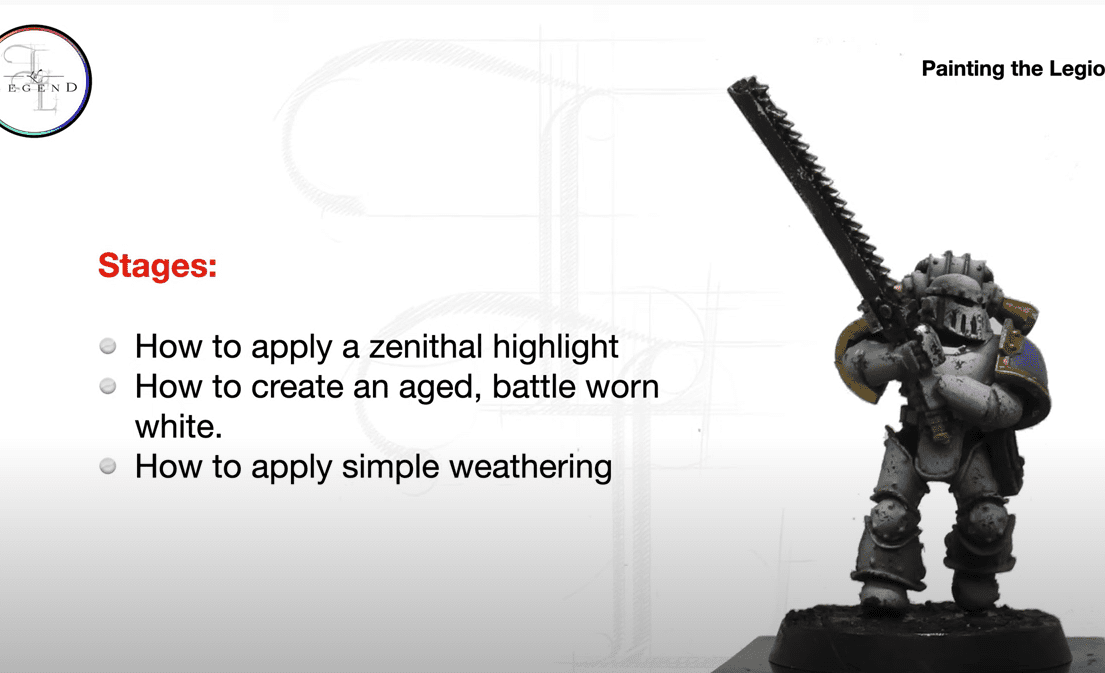 We’re going to go for a Grimdark look here that can be achieved by all skill levels! Let’s see how to do it.
Step 1:
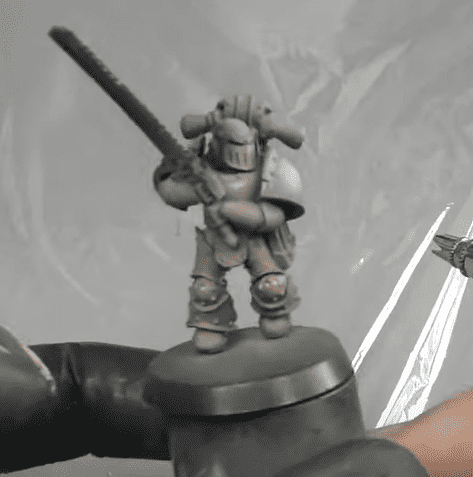 He starts with Opaque White over a black primer as a pre-shade. He doesn’t try to do this in one pass, just slowly builds up the shade with a few coats and really tries to push the contrast here. Then Myles mixes Walnut from Scale 75 with three parts thinner.
He’s basically using this as a wash on the white areas of the armor.
Step 2:
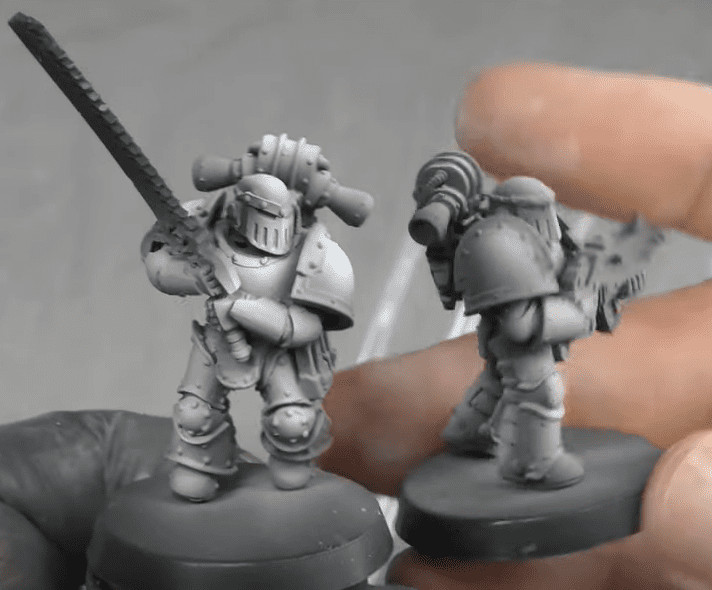 Next up, he adds the white from the beginning with a little bit of thinner. He uses this just to highlight all the areas of the armor and leave some of the previous colors, so you have a nice transition. You can also really see the difference in whites between the Death Guard armor and the World Eaters.
Step 3:
 Here Myles does some quick masking here with a post-it note and masks off everything around the shoulder pad. Then he takes Kantor Blue and hits the whole shoulder pad with it. Then, he highlights the shoulder pads with Adriatic Blue, just on the tops. Then, he takes Eclipse Grey and adds this into the shadows of the miniature in places like the armor recesses.
After that, he continues to block in colors with Red Leather for the leather pieces, Dark Aluminium for the silver, Necro Gold for the shoulder pauldrons and any other gold areas, and then Silver for the Chainsowrd.
Step 4:
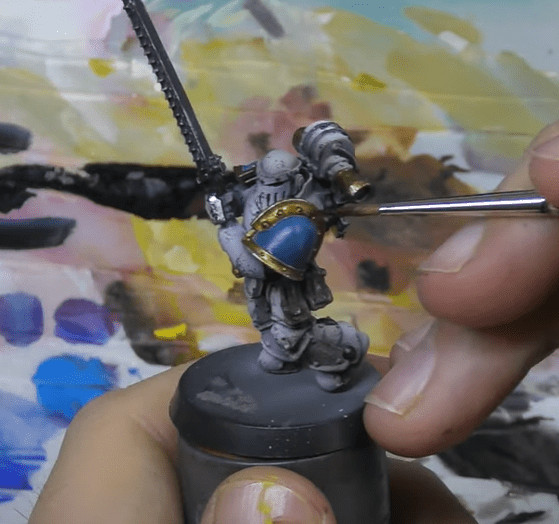 Now onto weathering. He takes a small sponge and puts Eclipse Grey onto that, and just randomly applies it all over the armor for some quick and effective battle damage.
Don’t be too uniform here or it won’t look like real battle damage. He uses Iroko for highlighting the leather, and finally, Reikland Fleshshade for the gold areas. He does also throw a decal onto the shoulder but has more info on how to do that here.
Finished Model:
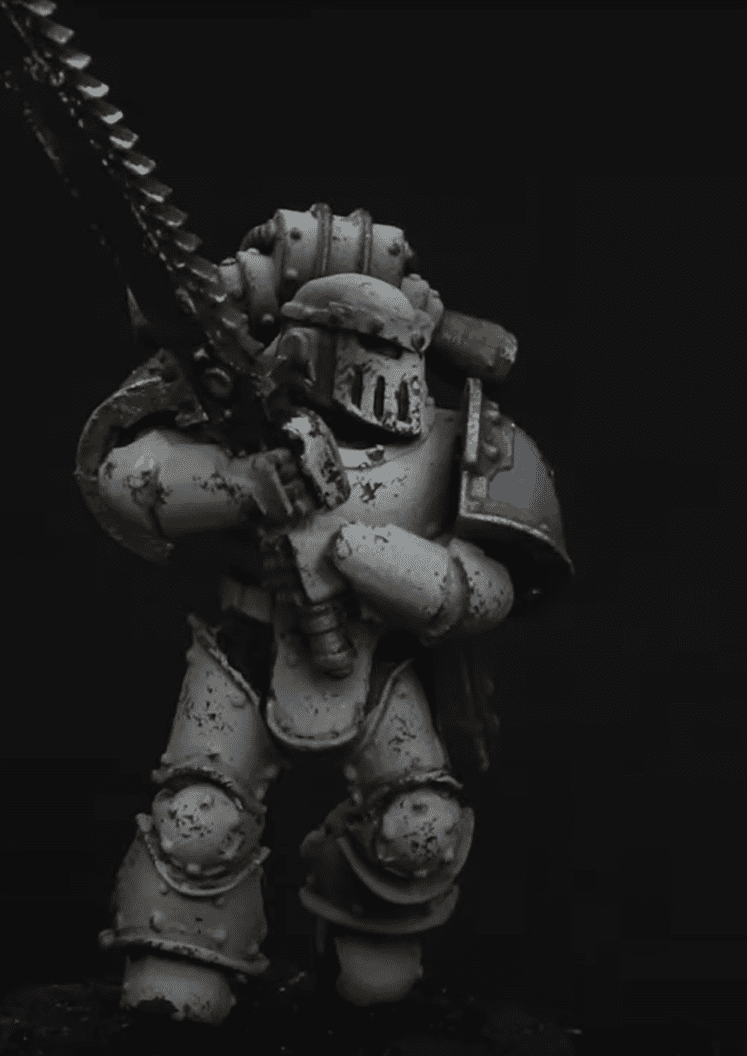 There you have it, a model in under 20 minutes that looks great on the tabletop! Be sure to check out the video below for all the tips!
Follow Lil’ Legend Studio Here to Learn More!
What’s your favorite way to paint World Eaters?
Let us know in the comments of our Facebook Hobby Group, or our new Discord server, and make sure you enter the latest monthly giveaway for FREE today!
Get ad-free access to our hobby videos, a monthly drop of miniatures, and support some of the best creators out there for as little as $6 a month on Patreon!

This post contains affiliate links, as an Amazon and eBay Associate Spikey Bits earns from qualifying purchases.