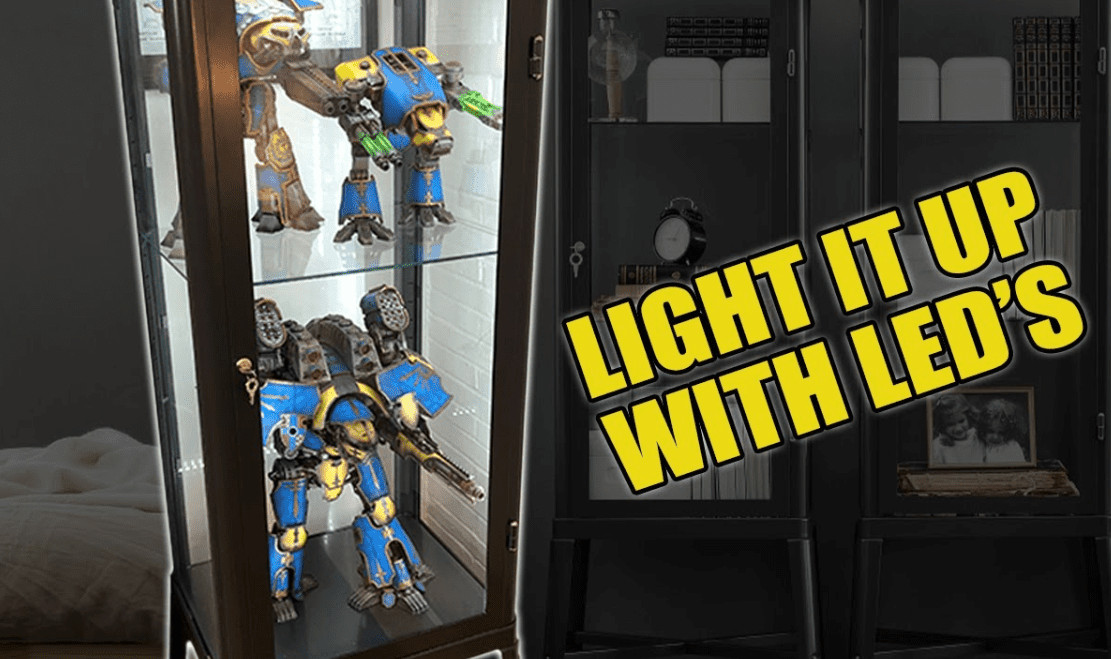
 Check out our tutorial on how to light any display case or IKEA FABRIKÖR cabinet with LEDs for only $20 in just a few easy steps.
Today Rob is back with another video to help make your hobby better! This time around, he shows how to light up your hobby cases (whether from IKEA or not) on the cheap and make your minis pop on the shelf.
If you’ve been thinking about getting some display cases this is definitely worth the watch. You can either watch the full video or check out our highlights below.
Let’s Go!
How To Light an IKEA Display Cabinet Case With LEDs for $20
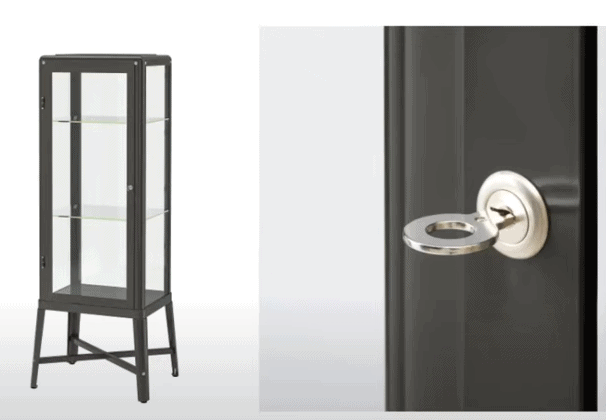
This is how the FABRIKÖR cabinet case comes from IKEA. Don’t worry, the case will soon be filled with all things gaming! It’s about 5 feet tall and 18 inches deep with a width of 22.5 for $179.99 when this was written. By comparison, the hobbyists’ favorite DELTOLF case measures 5 feet four inches and has three shelves, each about 15 inches square, for $99.99.
Like most people during COVID, Rob had some extra time on his hands and figured, why not upgrade the display cases? At the time, you could get it delivered to your house in about a week or so.
LED Kit:
This LED lighting kit will work for any of the IKEA cases or even ones that aren’t, as long as you can get the wire inside and have a place to mount the LEDs!
 At the time of writing, this was only $20.99. So not a bad deal considering the ones from IKEA started at over $40, and, to be honest, aren’t as bright or as customizable.
We have the link for you here if you want to grab the same lights. It comes with six of the 20″ light strips, has a dimmer, remote, and 8 (4″ and 6″) of the hoppers/bracket pieces as well. It’s really nice to be able to adjust the lighting, so you don’t have a blaring light all the time.
This is just one of Rob’s detailed projects; if you want to see all of his favorite hobby supplies, go check this list out here; he swears by them all!
Built IKEA FABRIKÖR Case:
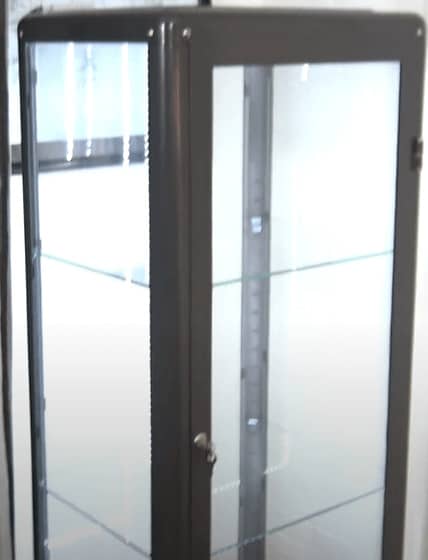
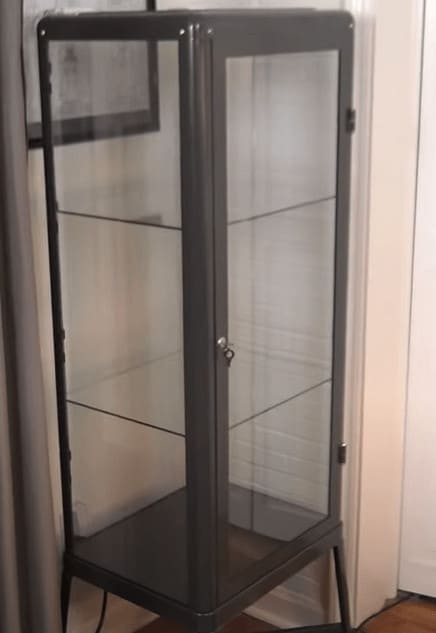 Here’s the case assembled in a corner and ready to go! It also has a nice beveled top so you can put stuff on top if you have a few extra duders. Just note, you do have to be a little careful with this. All the glass panels are large pieces and could (in theory) crack.
They are just held in by some little tabs and braces; just be careful. Rob’s held up well, but just something to think about.
One last thing to note is that there are a few tiny gaps around the door bottom and side. This may allow a tiny bit of dust to build over time. Unless you have crazy airflow, though, you shouldn’t have too much build-up. Maybe just a once-a-year type cleaning of your minis and the glass.
Putting in the LED Lights:

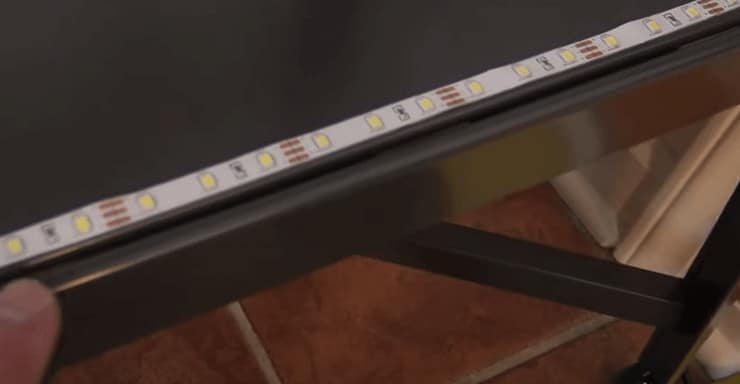
 A look at the wiring all around the case. It is super simple to install because it all just sticks on, but for the sides, you have to use the bracket pieces to get the extra distance and miss the hinges. We’ll touch on that more in a second.
After drilling a small hole with a metal drill bit, Rob pulled the cord in from the top corner to hide the power source and then crisscrossed the top of the IKEA FABRIKÖR case with the LEDs light strips.
Then he pulled it down the side and ran it along the bottom. It works on the bottom because it is blocked by the end of the case. This allows you not to be blasted by the light coming up from below or see the LEDs when the IKEA Fabrikor case is closed.
Using the Bracket Pieces:
 The trick here is to use the jumper bracket pieces to extend it where the hinges meet the door. Just use the 4″ bracket pieces where it makes sense and the 6″ ones for the longer sections. This will give you the extra distance you need to cover the entire case. The LEDs won’t be shining behind the hinges anyways. You have to do this in order to cover the entire case.
It’s probably better to watch the video to see where he places the strips and where he uses the jumper brackets to extend the length of the lights.
How Bright is It?
 At 100% power, it is insanely bright! Like some kind of spaceship or something. Don’t worry though it has a bunch of settings.
 This is the lowest setting. So you can go for all the light or just a tiny bit and everything in between. Really just depends on how much you want to show off your minis!
What Can The FABRIKÖR Fit?
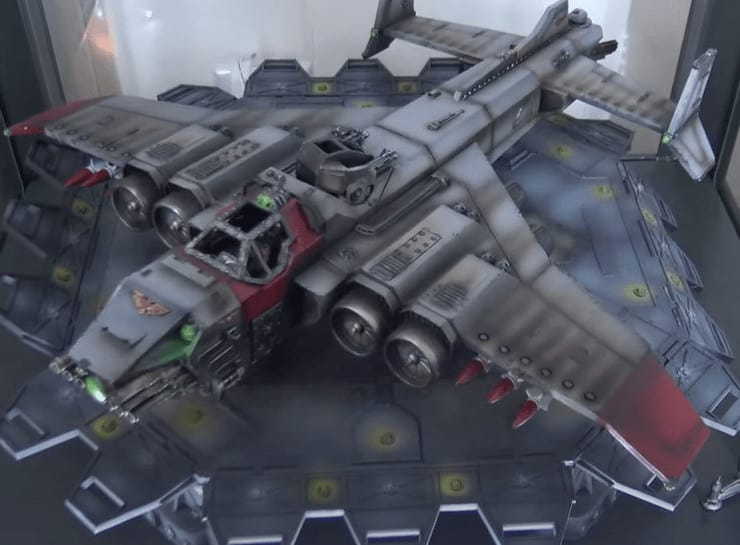

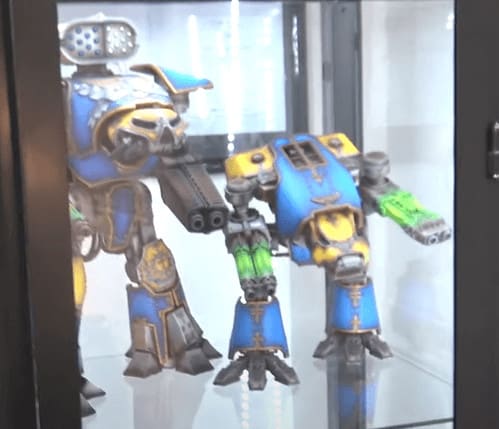
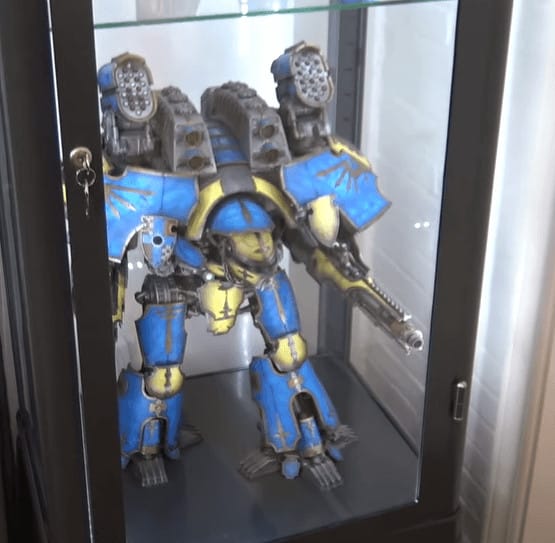 The diagonal is about 22″, so there is much more space in there than in the IKEA DELTOLF case. This is the way to go if you need to store your giant minis! It can even fit a Forge World Warlord Titan in there, as well as a Thunderhawk Gunship
Wall Remote:
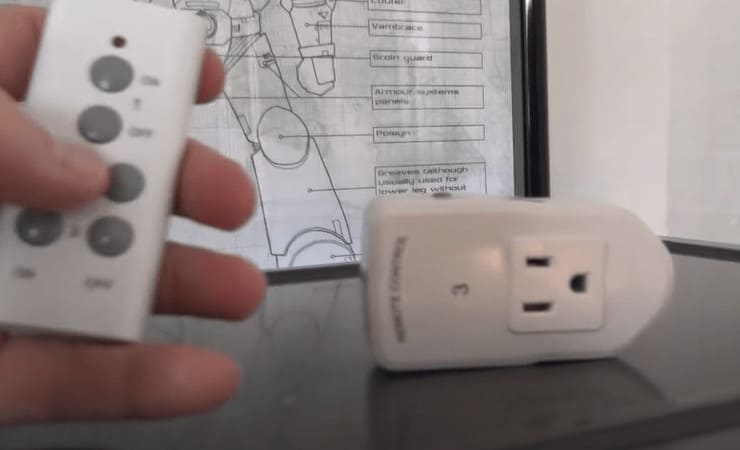 If you have to get a few of these cases it can be annoying to use a bunch of different remotes to control them individually. The solution is one of these super easy wall remotes that just works them all for you. If you want to pick one up, go grab one here.
You can also program one of the LED remotes for any number of IKEA cases as well if you have them all on these same LEDs from above.
That does it for the cases for today! If you’ve been looking for a display case, these are definitely worth checking out for almost any Games Workshop miniature and more!
 The Hobby Products & Tools We Swear By
What do you think about our tutorial on how to light an IKEA FABRIKÖR cabinet with LEDs for $20?
Let us know in the comments of our Facebook Hobby Group, and make sure you enter the latest monthly giveaway for FREE today!
You can also support us on Patreon and help support some of the best creators out there! This post contains affiliate links, as an Amazon Associate Spikey Bits earns from qualifying purchases.
Click Here To Get LEDs for Your IKEA Display Cabinet Case
This post contains affiliate links, as an Amazon Associate Spikey Bits earns from qualifying purchases.